I figured freezer breakfast burritos would be a sad, soggy compromise. You know, the kind of thing you eat because you have to, not because you want to. It took about one bite of my first test batch for that assumption to fall apart completely. Honestly, I was just trying to get ahead on a Sunday, scrambling eggs and wrapping tortillas like some kind of meal-prep robot. The result was so good, I actually got annoyed I hadn’t tried it sooner. These burritos are the opposite of a compromise.
They’re packed with fluffy eggs, savory sausage, gooey cheese, and a little kick from some roasted peppers. The magic is in the technique — wrapping them right and reheating them so the tortilla stays soft and the filling stays hot. No rubbery eggs here, I promise. I’ve tweaked this recipe over a dozen times to get that perfect balance of flavor and texture that survives the freezer. Now, I make a batch every two weeks, and honestly, my mornings have never been smoother.
What started as a desperate attempt to stop buying sad drive-thru burritos turned into a genuine kitchen staple. These burritos aren’t just convenient — they actually taste like something you’d want to wake up for. That’s the kind of win I can get behind. So let’s get into it.
Why You’ll Love This Recipe
These Easy Freezer Breakfast Burritos are the answer to those chaotic mornings when you need something fast, filling, and actually delicious. I’ve tested this recipe more times than I can count, making sure every component holds up to freezing and reheating without losing its soul. Here’s why they work so well:
- Quick & Easy: You can prep a dozen burritos in about 40 minutes. That’s breakfast sorted for nearly two weeks.
- Simple Ingredients: Everything is from a standard grocery run — eggs, tortillas, cheese, meat, and veggies. No fancy health food store trips required.
- Perfect for Busy Mornings: Grab one from the freezer, microwave it, and you’re out the door in under 90 seconds. Seriously.
- Crowd-Pleaser: My kids devour these, and they’re picky. I’ve brought them to brunch potlucks, and they disappear fast.
- Unbelievably Delicious: The secret is patting the filling dry so the tortilla stays crisp-tender. The flavor combo is pure comfort food magic.
What sets this recipe apart is the emphasis on texture. Most freezer burritos end up with watery fillings and sad, chewy tortillas. I figured out that draining the cooked sausage and letting the scrambled eggs cool completely before assembly makes all the difference. It’s a small step, but it’s the difference between a burrito that tastes fresh and one that tastes frozen.
This isn’t just another meal prep recipe — it’s the one that makes you actually look forward to your morning routine. It’s comfort food you can grab and go, with the same satisfaction as a diner breakfast but none of the wait.
What Ingredients You Will Need
This recipe uses simple, wholesome ingredients to deliver bold flavor and satisfying texture without the fuss. Most of these are pantry staples or easy to find at any grocery store. I’ve included a few notes to help you pick the best options for freezing.
- Large eggs — 12 eggs (about 2 cups beaten). Use the freshest eggs you can find for the best flavor. (adds richness and protein)
- Breakfast sausage — 1 pound (450g) ground pork sausage. I prefer Jimmy Dean’s mild or spicy, depending on my mood. (drain excess fat for best results)
- Shredded cheddar cheese — 2 cups (200g). Sharp cheddar melts beautifully and holds up well to freezing. (shred your own for better texture)
- Large flour tortillas — 12 (10-inch size). Look for sturdy tortillas that won’t crack when wrapped. (burrito-sized, not taco-sized)
- Frozen diced potatoes — 2 cups (300g). I use Ore-Ida’s shredded hash browns, thawed and patted dry. (adds heartiness and structure)
- Roasted red peppers — ½ cup (75g) diced. From a jar is fine — just drain them well. (adds sweetness and color)
- Onion — 1 medium (150g), diced. Yellow or white onion works best. (adds savory depth)
- Garlic powder — 1 teaspoon. Don’t use fresh garlic here — it can turn bitter after freezing. (for consistent flavor)
- Salt — 1 teaspoon, divided. (for seasoning eggs and filling)
- Black pepper — ½ teaspoon. (freshly ground is best)
- Butter — 2 tablespoons (28g), for scrambling the eggs. (adds richness and prevents sticking)
- Optional: Salsa or hot sauce — for serving. I like to add a spoonful inside before wrapping for extra moisture. (use sparingly to avoid sogginess)
For the best texture, I recommend shredding your own cheese instead of buying pre-shredded. Pre-shredded cheese has anti-caking agents that can make it less smooth when melted. Also, if you’re using frozen hash browns, make sure to thaw them completely and pat them dry with paper towels — excess moisture is the enemy of a good freezer burrito.
Equipment Needed
You don’t need a professional kitchen to make these burritos. Here’s what you’ll need:
- Large non-stick skillet — 12-inch is ideal for scrambling eggs and cooking the sausage. (a well-seasoned cast iron works too)
- Mixing bowls — one large for the egg mixture, one medium for combining fillings.
- Whisk — for beating the eggs until uniform.
- Spatula — a flexible silicone spatula is best for gentle egg scrambling.
- Cutting board and knife — for dicing onion and peppers.
- Paper towels — for patting fillings dry. This step is non-negotiable.
- Baking sheet — lined with parchment paper, for freezing the assembled burritos.
- Plastic wrap or parchment paper — for wrapping each burrito individually.
- Freezer-safe zip-top bags — for storing the wrapped burritos.
- Optional: Tortilla warmer — helps soften tortillas before wrapping. A damp paper towel in the microwave works just as well.
If you don’t have a non-stick skillet, a well-oiled stainless steel pan will work, but you’ll need to be more careful about sticking. I’ve also used an electric griddle for scrambling eggs in big batches — it’s a game-changer if you’re making a double batch.
Preparation Method
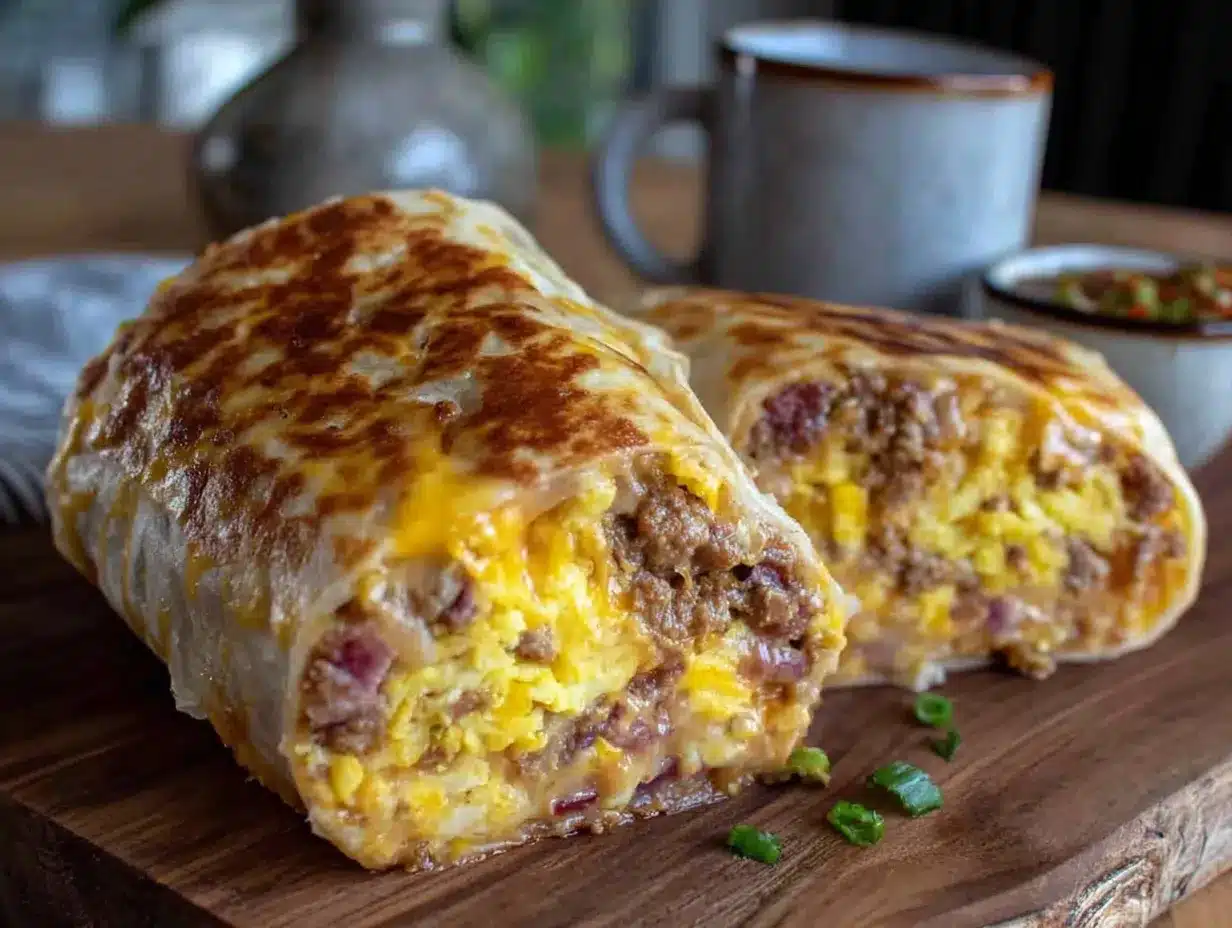
Let’s walk through this step by step. The process is straightforward, but a few details make all the difference for freezer success.
- Cook the sausage. In your large skillet over medium-high heat, cook the ground sausage, breaking it up with a spatula. Cook until browned and cooked through, about 6-8 minutes. Transfer to a paper towel-lined plate to drain. Let it cool completely while you work on the eggs. (This step removes excess grease that could make your burritos soggy.)
- Scramble the eggs. In a large bowl, whisk together the eggs, ½ teaspoon salt, and the black pepper. Melt the butter in the same skillet over medium-low heat. Pour in the eggs and let them set for about 30 seconds, then gently push the cooked edges toward the center with your spatula. Continue this motion until the eggs are just set but still soft — about 3-4 minutes. Remove from heat immediately. (Overcooked eggs get rubbery after freezing, so err on the side of under-done.)
- Cook the potatoes and aromatics. In the same skillet, add a drizzle of oil over medium heat. Add the diced onion and cook until soft, about 3 minutes. Add the thawed and patted-dry hash browns and cook until golden and crispy, about 5-7 minutes. Stir in the diced roasted red peppers and garlic powder. Remove from heat and let cool. (Crisping the potatoes adds texture that survives the freezer.)
- Combine the filling. In a large bowl, gently mix the cooked sausage, scrambled eggs, potato mixture, and shredded cheddar cheese. Stir until everything is evenly distributed. Taste and adjust salt if needed. (I always sneak a spoonful here — it should be well-seasoned.)
- Prepare the tortillas. Warm the tortillas in the microwave for about 20 seconds, wrapped in a damp paper towel. This makes them pliable and less likely to crack when folding. (Work with 2-3 tortillas at a time to keep them warm.)
- Assemble the burritos. Lay a warm tortilla on a clean surface. Spoon about ½ cup of filling into the center, spreading it into a log shape. Fold the sides inward, then fold the bottom edge over the filling. Roll tightly, tucking the sides as you go, until you have a snug cylinder. (Don’t overfill — a tight roll is key for even reheating.)
- Wrap for freezing. Place each burrito seam-side down on a piece of plastic wrap or parchment paper. Wrap tightly, twisting the ends to secure. Place the wrapped burritos on the parchment-lined baking sheet, making sure they aren’t touching. (This prevents them from freezing into one giant blob.)
- Freeze solid. Place the baking sheet in the freezer for at least 2 hours, or until the burritos are completely frozen. Once frozen, transfer them to a freezer-safe zip-top bag, squeezing out as much air as possible. Label with the date and contents. (They’ll keep for up to 3 months.)
Cooking Tips & Techniques
I’ve learned a few things the hard way so you don’t have to. Here are my best tips for perfect freezer burritos every time.
Don’t skip the draining step. The first time I made these, I was in a hurry and didn’t drain the sausage or pat the potatoes dry. The burritos were edible, but the tortillas got that sad, soggy texture after a week in the freezer. Now I’m militant about it — every component should be as dry as possible before assembly. It’s the single most important tip for texture.
Let everything cool completely. I know it’s tempting to assemble while the filling is still warm, but that creates steam inside the burrito, which leads to ice crystals and sogginess. I spread the filling on a baking sheet to cool for about 15 minutes before wrapping. It’s worth the wait.
Use the right tortilla size. 10-inch tortillas are the sweet spot. Anything smaller and you’ll struggle to wrap without tearing. Anything larger and the burrito is unwieldy. I’ve tried both, and 10-inch is the Goldilocks option.
Reheating is an art. For best results, unwrap the burrito from the plastic wrap, wrap it in a damp paper towel, and microwave on high for 90 seconds to 2 minutes. Let it rest for 30 seconds before eating — the filling is molten hot. If you have more time, you can reheat in a 350°F oven for 15 minutes for a crispier tortilla.
Batch cooking is your friend. I make these on a Sunday afternoon while listening to a podcast. The active cooking time is about 30 minutes, and the assembly takes another 10. For the effort of one meal, I get 12 breakfasts. That’s efficiency I can get behind.
Variations & Adaptations
One of the best things about this recipe is how adaptable it is. Here are some of my favorite variations.
Vegetarian version: Swap the sausage for 1 cup of black beans (rinsed and drained) and 1 cup of sautéed mushrooms. The mushrooms add that savory, umami quality that mimics meat. I’ve made this for my vegetarian sister-in-law, and she didn’t miss the sausage at all.
Spicy southwest: Add ½ cup of canned diced green chiles and 1 teaspoon of cumin to the filling. Use pepper jack cheese instead of cheddar. Top with a spoonful of salsa before wrapping for extra moisture. This version is my personal favorite — the heat wakes you up.
Low-carb option: Use large low-carb tortillas (I like the ones from Mission) and swap the potatoes for extra eggs or crumbled tofu. The filling still holds together beautifully, and you save about 15g of carbs per burrito.
Cheesy bacon ranch: Replace the sausage with 8 strips of cooked, crumbled bacon. Add 2 tablespoons of ranch seasoning mix to the egg mixture. Use a blend of cheddar and mozzarella. This version is indulgent and tastes like a diner breakfast in a tortilla.
Make it dairy-free: Use vegan cheese shreds and omit the butter when scrambling eggs (use oil instead). The texture is slightly different, but the flavor is still solid. I’ve tested this with my dairy-sensitive friend, and she gave it two thumbs up.
Serving & Storage Suggestions
These burritos are designed for convenience, but a little attention to serving makes them feel special.
Serving: I love serving these with a side of salsa, sour cream (or Greek yogurt for a healthier twist), and a sprinkle of fresh cilantro. If I have extra time, I’ll add a quick side of refried beans or a simple fruit salad. For a grab-and-go breakfast, just wrap one in a napkin and head out the door.
Storage: As mentioned, store the frozen burritos in a freezer-safe zip-top bag, squeezing out as much air as possible. They’ll stay fresh for up to 3 months. I write the date and flavor on the bag with a Sharpie so I know what I’m grabbing.
Reheating: The best method is unwrapped, wrapped in a damp paper towel, microwaved for 90 seconds to 2 minutes. Let it rest for 30 seconds before eating. If you’re reheating from the refrigerator (thawed overnight), 60 seconds is usually enough. For a crispier tortilla, reheat in a 350°F oven for 15 minutes or in an air fryer at 350°F for 8 minutes.
Flavor development: Honestly, these burritos taste better after a week in the freezer. The flavors meld together, and the texture actually improves. I’ve eaten them after a month, and they were still fantastic. Just make sure to keep them well-wrapped to prevent freezer burn.
If you love make-ahead breakfasts, you might also enjoy these easy mason jar blueberry compote overnight oats for a no-cook option, or these creamy overnight peanut butter protein oats for a protein-packed alternative.
Nutritional Information & Benefits
Here’s an estimated breakdown per burrito (based on the recipe as written, without optional add-ins):
- Calories: 420
- Protein: 22g
- Carbohydrates: 32g
- Fat: 24g
- Fiber: 3g
- Sodium: 780mg
Health benefits: Eggs provide high-quality protein and choline for brain health. Sausage adds iron and B vitamins. The potatoes offer resistant starch, which is great for gut health when cooled and reheated. The bell peppers are packed with vitamin C. This is a balanced meal that will keep you full for hours.
Dietary considerations: This recipe is naturally gluten-free if you use gluten-free tortillas. It can be made dairy-free with the substitutions mentioned above. For a lower-sodium option, use reduced-sodium sausage and skip the added salt. For a lower-calorie version, use turkey sausage and reduce the cheese to 1 cup.
If you’re looking for other quick, healthy meal prep ideas, these easy no-bake peanut butter chocolate energy balls are perfect for snacks, and these easy chewy sunbutter honey granola bars are another grab-and-go favorite.
Conclusion
These Easy Freezer Breakfast Burritos have genuinely changed my mornings. No more rushing, no more skipping breakfast, no more sad drive-thru options. I can grab one from the freezer, microwave it, and have a hot, satisfying meal in under two minutes. It’s the kind of small win that makes a big difference in a busy week.
I hope you give these a try and make them your own. Play with the fillings, adjust the spice level, and find your perfect combination. That’s the beauty of this recipe — it’s a template, not a rigid set of rules. And honestly, the best version is the one that works for you.
If you make these, I’d love to hear about it. Drop a comment below with your favorite variation, or tag me in your photos on social media. And if you’re looking for another make-ahead breakfast idea, try these moist lemon poppy seed zucchini muffins — they freeze beautifully too. Happy cooking, and here’s to better mornings!
Frequently Asked Questions
Can I use egg whites instead of whole eggs?
Yes, you can use 2 cups of liquid egg whites instead of whole eggs. The texture will be slightly less rich, but they’ll still work great. Just be careful not to overcook them — egg whites get rubbery faster than whole eggs.
How do I prevent the tortillas from getting soggy?
The key is to make sure all your fillings are as dry as possible before assembly. Drain the sausage on paper towels, pat the hash browns dry, and let the scrambled eggs cool completely. Also, avoid adding too much salsa or wet ingredients inside the burrito before freezing.
Can I cook these in an air fryer?
Absolutely! To reheat from frozen in an air fryer, cook at 350°F for 8-10 minutes, flipping halfway through. The tortilla gets beautifully crispy. For a softer texture, wrap the burrito in foil before air frying.
How long do these last in the freezer?
Properly wrapped and stored in a freezer-safe bag, these burritos will stay fresh for up to 3 months. After that, they’re still safe to eat, but the texture may start to decline. I recommend labeling the bag with the date so you know when you made them.
Can I make these without meat?
Yes! Swap the sausage for 1 cup of black beans (rinsed and drained) and 1 cup of sautéed mushrooms. You can also use crumbled tofu or tempeh for a plant-based protein option. The rest of the recipe stays the same.
Pin This Recipe!
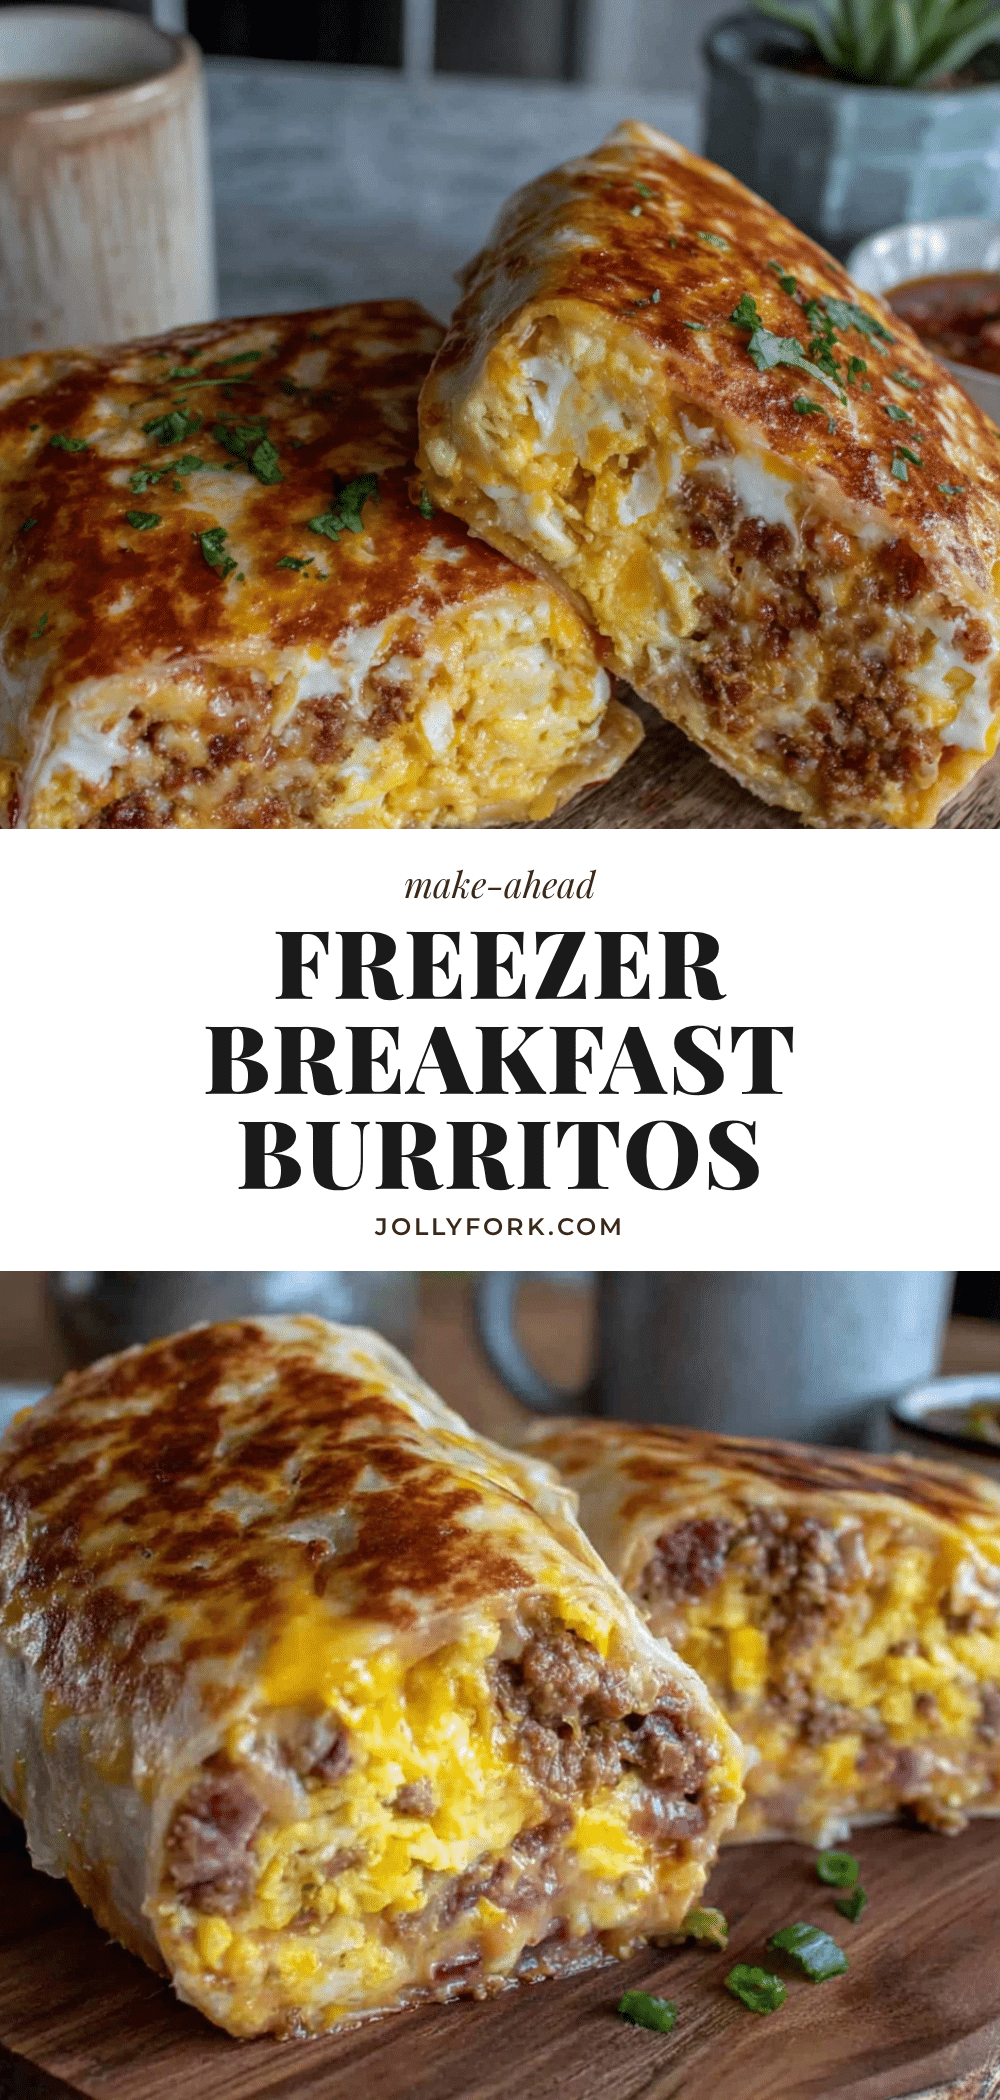
Easy Freezer Breakfast Burritos for Quick Mornings

These Easy Freezer Breakfast Burritos are packed with fluffy eggs, savory sausage, gooey cheese, and roasted peppers. They’re the perfect make-ahead breakfast that reheats beautifully for a quick, delicious morning meal.
- Prep Time: 15 minutes
- Cook Time: 25 minutes
- Total Time: 40 minutes
- Yield: 12 servings 1x
- Category: Breakfast
- Cuisine: American
Ingredients
- 12 large eggs (about 2 cups beaten)
- 1 pound (450g) ground breakfast sausage
- 2 cups (200g) shredded cheddar cheese
- 12 large flour tortillas (10-inch size)
- 2 cups (300g) frozen diced potatoes (hash browns), thawed and patted dry
- ½ cup (75g) diced roasted red peppers (from a jar, drained)
- 1 medium onion (150g), diced
- 1 teaspoon garlic powder
- 1 teaspoon salt, divided
- ½ teaspoon black pepper
- 2 tablespoons (28g) butter
- Optional: salsa or hot sauce for serving
Instructions
- Cook the sausage: In a large skillet over medium-high heat, cook the ground sausage, breaking it up with a spatula, until browned and cooked through (6-8 minutes). Transfer to a paper towel-lined plate to drain and let cool completely.
- Scramble the eggs: In a large bowl, whisk together the eggs, ½ teaspoon salt, and black pepper. Melt the butter in the same skillet over medium-low heat. Pour in the eggs and let set for 30 seconds, then gently push cooked edges toward the center. Continue until eggs are just set but still soft (3-4 minutes). Remove from heat immediately.
- Cook the potatoes and aromatics: In the same skillet, add a drizzle of oil over medium heat. Add the diced onion and cook until soft (about 3 minutes). Add the thawed and patted-dry hash browns and cook until golden and crispy (5-7 minutes). Stir in the diced roasted red peppers and garlic powder. Remove from heat and let cool.
- Combine the filling: In a large bowl, gently mix the cooked sausage, scrambled eggs, potato mixture, and shredded cheddar cheese until evenly distributed. Taste and adjust salt if needed.
- Prepare the tortillas: Warm the tortillas in the microwave for about 20 seconds, wrapped in a damp paper towel, to make them pliable.
- Assemble the burritos: Lay a warm tortilla on a clean surface. Spoon about ½ cup of filling into the center, spreading it into a log shape. Fold the sides inward, then fold the bottom edge over the filling. Roll tightly, tucking the sides as you go, until you have a snug cylinder.
- Wrap for freezing: Place each burrito seam-side down on a piece of plastic wrap or parchment paper. Wrap tightly, twisting the ends to secure. Place the wrapped burritos on a parchment-lined baking sheet, making sure they aren’t touching.
- Freeze solid: Place the baking sheet in the freezer for at least 2 hours, or until the burritos are completely frozen. Transfer to a freezer-safe zip-top bag, squeezing out as much air as possible. Label with the date and contents. They’ll keep for up to 3 months.
Notes
For best texture, drain sausage and pat hash browns dry to avoid sogginess. Let all fillings cool completely before assembly to prevent ice crystals. Reheat by unwrapping, wrapping in a damp paper towel, and microwaving on high for 90 seconds to 2 minutes. Let rest 30 seconds before eating.
Nutrition
- Serving Size: 1 burrito
- Calories: 420
- Sugar: 2
- Sodium: 780
- Fat: 24
- Saturated Fat: 10
- Carbohydrates: 32
- Fiber: 3
- Protein: 22
Keywords: freezer breakfast burritos, make-ahead breakfast, breakfast burritos, meal prep breakfast, easy breakfast recipe


