Third batch in ten days and I finally stopped stirring long enough to ask myself why I kept making this stuff. The pot was still warm, the kitchen smelled like a winter market in some European city I’ve never actually been to, and my fingers were sticky with honey. I wasn’t sick. Nobody in my house was sick. But every time I walked past the simmering pot of homemade elderberry syrup with honey and cloves, I felt like I was doing something right. Something old. Something my body recognized before my brain caught up.
The first batch was a disaster—too thin, not enough clove, and I used way too much ginger because I thought more spice meant more medicine. It didn’t. The second batch was better, but the honey crystallized weirdly when I added it too early. The third batch? That’s the one I’m giving you here. The one where I finally stopped trying to force the recipe and just let the ingredients do what they already know how to do. Elderberries are bossy little things. They’ll tell you when they’re done.
I started making this because a friend mentioned her grandmother used to keep a jar in the fridge all winter, and the image stuck in my head like a song you can’t shake. I didn’t grow up with elderberry syrup. I grew up with neon cough medicine that tasted like regret. But now I have a jar of deep purple syrup in my refrigerator door, and honestly, it makes me feel like I’ve got a secret weapon against the cold months. This recipe isn’t complicated. It’s just patient.
Why You’ll Love This Recipe
I’ve tested this homemade elderberry syrup with honey and cloves more times than I care to admit, and I can tell you exactly why it works. First, it’s incredibly simple. You don’t need a dehydrator, a fancy strainer, or any equipment you don’t already own. Second, it tastes genuinely good—like spiced berry syrup you’d want on pancakes, not like something you have to choke down. The honey softens the tartness of the elderberries, and the cloves add a warmth that makes the whole thing feel like a hug in a mug.
- Simple Ingredients : You probably already have the honey and cloves in your pantry. Elderberries are easy to find online or at health food stores, and that’s really all you need.
- Quick to Make : Active time is about 10 minutes. The rest is just simmering and waiting, which is the kind of cooking I can handle on a Sunday afternoon.
- Natural Immune Support : Elderberries are packed with antioxidants and vitamins, and honey is a natural soother. This is the kind of thing you reach for when you feel something coming on.
- Customizable : You can adjust the sweetness, swap the spices, or add ginger or cinnamon depending on what you like. I’ll give you all the options later.
- Cost Effective : Store-bought elderberry syrup can be expensive. Making it yourself costs a fraction of the price and tastes fresher.
This isn’t a recipe that needs fancy techniques or special skills. It’s the kind of thing you can make while listening to a podcast, and then you have a jar of something good that lasts for weeks. I love that about it. It’s low effort with high payoff, and that’s my favorite kind of cooking.
What Ingredients You Will Need
The beauty of this homemade elderberry syrup with honey and cloves is how short the ingredient list is. You don’t need much, but each ingredient plays a specific role. Here’s what you’ll need and why it matters.
- Dried elderberries (1 cup): These are the star of the show. Dried elderberries are easier to find than fresh and they store well. Look for deep purple-black berries that are plump and fragrant. I buy mine from Mountain Rose Herbs or a local health food store. Don’t use fresh elderberries raw—they need to be cooked to be safe.
- Water (4 cups): Filtered water is best if you have it. Tap water works fine, but if your water has a strong chlorine taste, it can affect the final flavor.
- Raw honey (1 cup): Use good quality raw honey if you can. It has more beneficial properties than processed honey. The flavor of the honey matters here—a mild wildflower honey lets the elderberries shine, while a stronger buckwheat honey will add a darker, more complex taste. I’ve used both and they’re both good, just different.
- Whole cloves (1 tablespoon): Cloves add that warm, almost medicinal depth that makes this syrup feel like a remedy. Whole cloves are better than ground because they’re easier to strain out later. If you only have ground cloves, use about 1 teaspoon and be prepared for a slightly cloudier syrup.
- Cinnamon stick (1, optional): I add this about half the time. It adds a gentle sweetness and warmth that pairs beautifully with the cloves. If you don’t have a cinnamon stick, you can skip it or add 1/2 teaspoon of ground cinnamon at the end.
- Fresh ginger (1-inch piece, sliced, optional): Ginger adds a little heat and is great for digestion. I like it in this syrup, but it’s not essential. If you’re making this for kids who are sensitive to spice, you might want to leave it out.
That’s it. Six ingredients, and three of them are optional. The base recipe is just elderberries, water, honey, and cloves. Everything else is a bonus. I’ve made this syrup with just those four ingredients and it was still delicious. Don’t overthink it.
Equipment Needed
You don’t need much to make this homemade elderberry syrup with honey and cloves, which is one of the reasons I love it. Here’s what you’ll need:
- Medium saucepan (2-3 quart): A stainless steel or enameled pot works best. Avoid aluminum, which can react with the acidity of the berries.
- Fine mesh strainer or cheesecloth: You need something to strain out the berries and spices. A fine mesh strainer works great. If you don’t have one, you can use a regular colander lined with cheesecloth or even a clean kitchen towel.
- Glass jar or bottle for storage: A 16-ounce mason jar is perfect. Make sure it’s clean and dry before you pour in the syrup.
- Wooden spoon or silicone spatula: For stirring. Nothing fancy needed.
- Measuring cups and spoons: Standard kitchen stuff.
If you want to get fancy, a kitchen scale is helpful for measuring the elderberries, but it’s not necessary. I’ve made this recipe so many times now that I just eyeball the berries. A cup is about 3.5 ounces by weight if you want to be precise. Honestly, the most important piece of equipment is patience. The syrup needs to simmer for a while, and there’s no shortcut around that.
Preparation Method
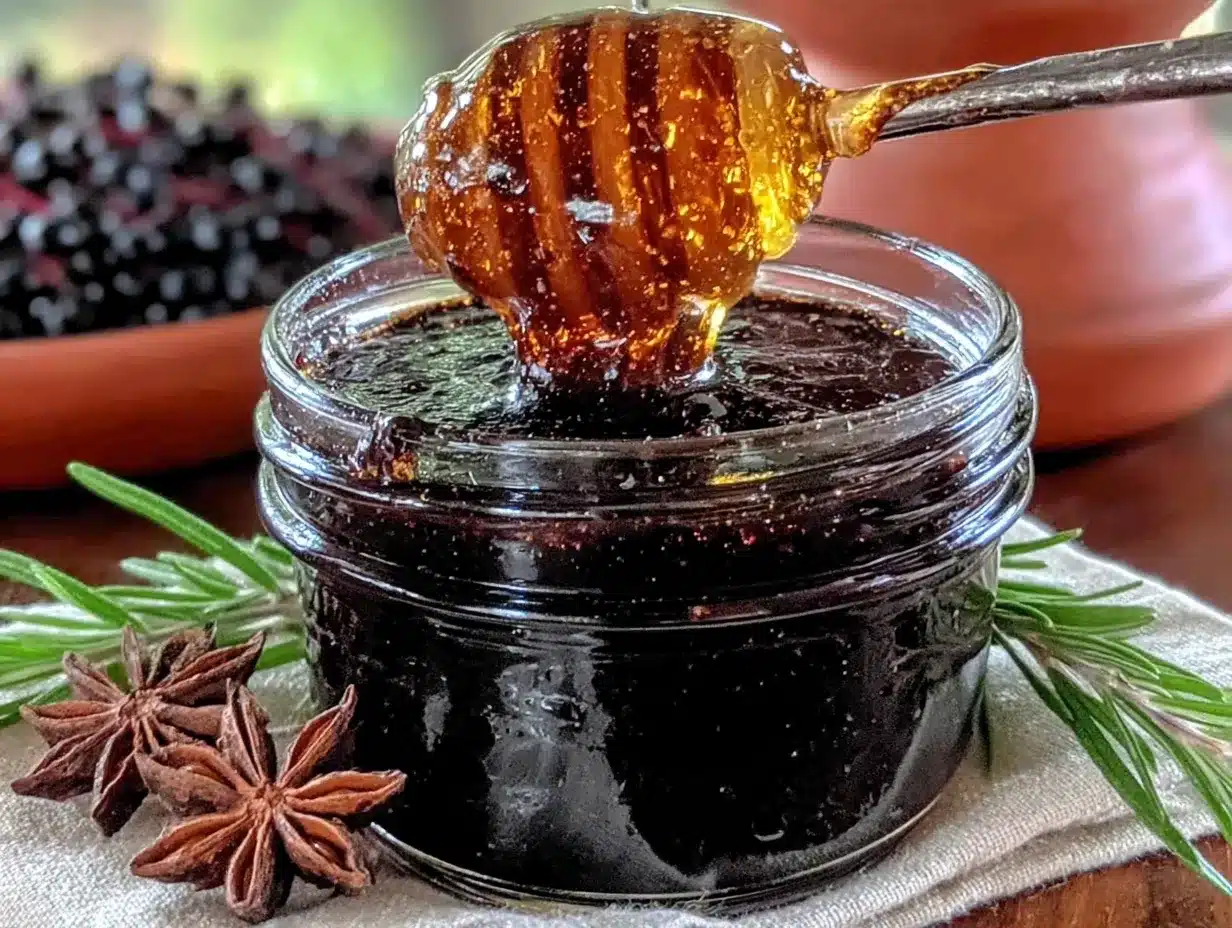
Making this homemade elderberry syrup with honey and cloves is straightforward, but there are a few tricks I’ve learned along the way. Follow these steps and you’ll end up with a beautiful, deep purple syrup that tastes like winter comfort.
- Combine the elderberries, water, cloves, and any optional spices in your saucepan. If you’re using fresh ginger, slice it into thin rounds so it releases its flavor easily. Add the cinnamon stick if you’re using it. Stir everything together so the berries are submerged.
- Bring the mixture to a boil over medium-high heat. Watch it carefully—once it starts boiling, reduce the heat to low immediately. You want a gentle simmer, not a rolling boil. Boiling too hard can make the syrup bitter and reduce it too quickly.
- Simmer for 30-40 minutes. The liquid will reduce by about half, and the berries will become plump and soft. The color will deepen to a rich purple-black. Stir occasionally and check the liquid level. If it looks like it’s reducing too fast, lower the heat or add a splash more water. You want about 2 cups of liquid at the end.
- Remove from heat and let it cool slightly for about 10 minutes. Don’t try to strain it while it’s piping hot—you’ll burn your fingers and it’s harder to handle. Let it cool enough that you can comfortably hold the pot.
- Strain the liquid through your fine mesh strainer or cheesecloth into a bowl or large measuring cup. Press gently on the berries with the back of a spoon to extract as much liquid as possible. Don’t press too hard or you’ll push through some of the berry solids, which can make the syrup cloudy. I like to let it drip naturally for a few minutes, then give it one gentle press.
- Let the strained liquid cool to warm—not hot, but not cold either. This is important. If you add honey to hot liquid, you’ll destroy some of its beneficial properties. If you add it to cold liquid, it won’t dissolve properly. Aim for about 110°F, which is warm to the touch but not uncomfortable.
- Whisk in the honey until it’s completely dissolved. The syrup will look thinner than you expect at this point, but it will thicken slightly as it cools. Taste it and adjust if needed—add more honey for sweetness or a pinch of salt to balance the flavors.
- Pour the syrup into your clean glass jar or bottle. Let it cool completely to room temperature before putting the lid on and refrigerating. This prevents condensation from forming inside the jar, which can lead to mold.
And that’s it. You’ve just made a batch of homemade elderberry syrup that’s way better than anything you can buy at the store. The whole process takes about an hour, but most of that is hands-off simmering time.
Cooking Tips & Techniques
I’ve made this homemade elderberry syrup with honey and cloves enough times to have a few hard-won lessons. Here are the tips that actually matter.
Don’t boil the honey. This is the biggest mistake I made in my first batch. Honey changes structure when it’s heated above 140°F, and you lose a lot of the good stuff. Always add the honey after the liquid has cooled. I know it’s tempting to stir it in while everything is hot so it dissolves faster, but trust me—wait.
Use whole spices if you can. Ground spices are fine in a pinch, but they make the syrup cloudy and can leave a gritty texture. Whole cloves are easy to strain out, and a cinnamon stick adds flavor without mess. If you only have ground spices, add them after straining and whisk well.
Don’t over-reduce the liquid. The syrup should be thin enough to pour easily but thick enough to coat a spoon. If you simmer it too long, you’ll end up with a thick, almost jelly-like consistency that’s hard to use. Aim for about 2 cups of liquid after simmering, and remember that the honey will add volume and thickness.
Let the berries steep. After you turn off the heat, let the berries sit in the hot water for an extra 10-15 minutes before straining. This extracts more flavor and color without needing to simmer longer. I stumbled onto this trick by accident when I got distracted by a phone call, and it made a noticeable difference.
Sterilize your jar. I know it’s an extra step, but it’s worth it. Wash your jar and lid in hot soapy water, then rinse well. You can also run them through the dishwasher. This helps prevent mold from forming in your syrup, especially since it’s going to sit in the fridge for weeks.
Taste as you go. The flavor changes as the syrup cools, so taste it at room temperature before you decide if it needs more honey or spice. I’ve had batches that tasted perfect hot and then bland once they cooled. A little adjustment goes a long way.
Variations & Adaptations
This homemade elderberry syrup with honey and cloves is a great base recipe, but I love how easy it is to change it up. Here are some variations I’ve tried and loved.
Spiced elderberry syrup. Add a star anise pod and a few cardamom pods along with the cloves and cinnamon. It gives the syrup a more complex, almost chai-like flavor. I made this version for a holiday gift exchange and it was a hit.
Ginger turmeric elderberry syrup. Add 2 inches of fresh turmeric (sliced) and an extra inch of ginger. Turmeric has anti-inflammatory properties and pairs well with the elderberries. Be warned—it will stain everything yellow, including your hands and your countertops. Use gloves if you care about that sort of thing.
Low-sugar version. If you want to reduce the sugar, you can use less honey or substitute with a sugar-free sweetener like monk fruit. Keep in mind that honey acts as a natural preservative, so the syrup won’t last as long without it. Use within 2-3 weeks if you cut the honey significantly.
Dried herb boost. Add a few sprigs of fresh thyme or a tablespoon of dried rosemary to the simmering liquid. Herbs add an earthy note that complements the berries. I tried this on a whim and now it’s one of my favorite variations for cold season.
Berry blend. Replace half the elderberries with dried hibiscus flowers or dried rose hips. Hibiscus adds a tangy, cranberry-like flavor, and rose hips are packed with vitamin C. The color will be brighter and the taste will be more tart.
If you enjoy experimenting with homemade preserves and syrups, you might also love this cozy spiced peach butter with brown sugar and cardamom—it has that same slow-simmered, deeply flavored vibe that makes a kitchen smell amazing.
Serving & Storage Suggestions
This homemade elderberry syrup with honey and cloves is versatile. Here’s how I use it and how to keep it fresh.
Daily maintenance dose: Take 1 tablespoon daily during cold and flu season. I take it straight from a spoon, but you can also mix it into warm water or tea. It’s especially good stirred into a cup of ginger tea with a squeeze of lemon.
At the first sign of a cold: Increase to 1 tablespoon every 3-4 hours. Some people take up to 4 tablespoons a day when they feel something coming on. I’ve done this and it honestly helps—I don’t know if it’s the elderberries or just the comfort ritual, but it works for me.
On food: This syrup is delicious drizzled over pancakes, waffles, yogurt, or oatmeal. It’s less sweet than maple syrup, so you might need a little more. I’ve also used it as a glaze for roasted chicken or pork—the tartness cuts through the richness beautifully.
Storage: Keep the syrup in a sealed glass jar in the refrigerator. It will last for 4-6 weeks if you used raw honey and kept everything clean. If you notice any mold, fizzing, or off smells, toss it and make a new batch. I’ve never had this happen, but it’s always good to be cautious.
Freezing: You can freeze the syrup in ice cube trays for longer storage. Pop out the cubes and store them in a freezer bag. They’ll keep for up to 6 months. Thaw a cube in the fridge overnight or drop it directly into a cup of hot tea.
For another cozy, honey-sweetened treat that’s perfect for breakfast or snack time, try these chewy sunbutter honey granola bars—they’re just as simple and satisfying to make.
Nutritional Information & Benefits
While I’m not a nutritionist, I can tell you what’s in this homemade elderberry syrup with honey and cloves and why people have been making it for generations.
A 1-tablespoon serving contains approximately:
- Calories: 35-45
- Carbohydrates: 10-12g
- Sugar: 9-11g (mostly from honey)
- Vitamin C: 2-4% of daily value
- Antioxidants: High (elderberries are one of the richest sources of anthocyanins)
Key benefits:
- Elderberries are packed with antioxidants that help fight oxidative stress and support immune function.
- Honey has natural antimicrobial properties and soothes sore throats.
- Cloves contain eugenol, a compound with anti-inflammatory effects.
- Ginger (if used) aids digestion and has its own anti-inflammatory benefits.
Dietary notes: This recipe is naturally gluten-free, dairy-free, and vegetarian. It’s not suitable for vegans because of the honey. If you need a vegan version, substitute with maple syrup or agave nectar, but the shelf life will be shorter. This recipe is also not recommended for infants under 1 year old due to the honey content.
Conclusion
This homemade elderberry syrup with honey and cloves has become a staple in my kitchen, and I think it deserves a spot in yours too. It’s simple, effective, and genuinely tasty—which is more than I can say for most things I take for my health. I love that I can make it myself, control the ingredients, and know exactly what’s going into my body. There’s something deeply satisfying about opening the fridge and seeing that dark purple jar, knowing I made it with my own hands.
I’d love to hear how your batch turns out. Did you add ginger? Skip the cloves? Drizzle it on something unexpected? Drop a comment below and let me know—I read every single one, and your variations might inspire my next batch. And if you’re looking for another cozy, honey-kissed recipe to try, don’t miss this honey peach cobbler with buttery biscuit topping—it’s everything good about comfort food in one dish.
Stay warm, stay well, and keep a jar of this syrup handy. You’ll thank yourself later.
Frequently Asked Questions
Can I use fresh elderberries instead of dried?
Yes, but you’ll need to adjust the amount. Use about 2 cups of fresh elderberries for every 1 cup of dried. Fresh berries have more water content, so the flavor will be slightly milder. Also, never eat fresh elderberries raw—they contain compounds that can cause stomach upset. Always cook them thoroughly.
How long does homemade elderberry syrup last?
In the refrigerator, it will last 4-6 weeks if you used raw honey and kept everything clean. If you used pasteurized honey or reduced the honey significantly, it may only last 2-3 weeks. Always check for signs of mold or fermentation before using. When in doubt, throw it out and make a fresh batch.
Can I give this syrup to children?
Yes, but with some caveats. Do not give honey to infants under 1 year old due to the risk of botulism. For older children, you can reduce the dose to 1 teaspoon daily for maintenance and 1 teaspoon every 3-4 hours during illness. Always check with your pediatrician before starting any new supplement, especially for young children.
Do I need to use raw honey or can I use regular honey?
You can use any honey you like, but raw honey has more beneficial enzymes and antimicrobial properties. Regular processed honey will still taste good and preserve the syrup, but you won’t get the same health benefits. I recommend raw honey if you can find it—it makes a noticeable difference in both flavor and function.
Can I make this syrup in a slow cooker?
Absolutely. Combine the elderberries, water, and spices in a slow cooker and cook on low for 4-6 hours. Strain, cool, and add the honey as directed. The slow cooker method is great if you want to set it and forget it. Just be aware that the flavor might be slightly milder because the liquid doesn’t reduce as much. You can leave the lid off for the last hour to help it concentrate.
Pin This Recipe!
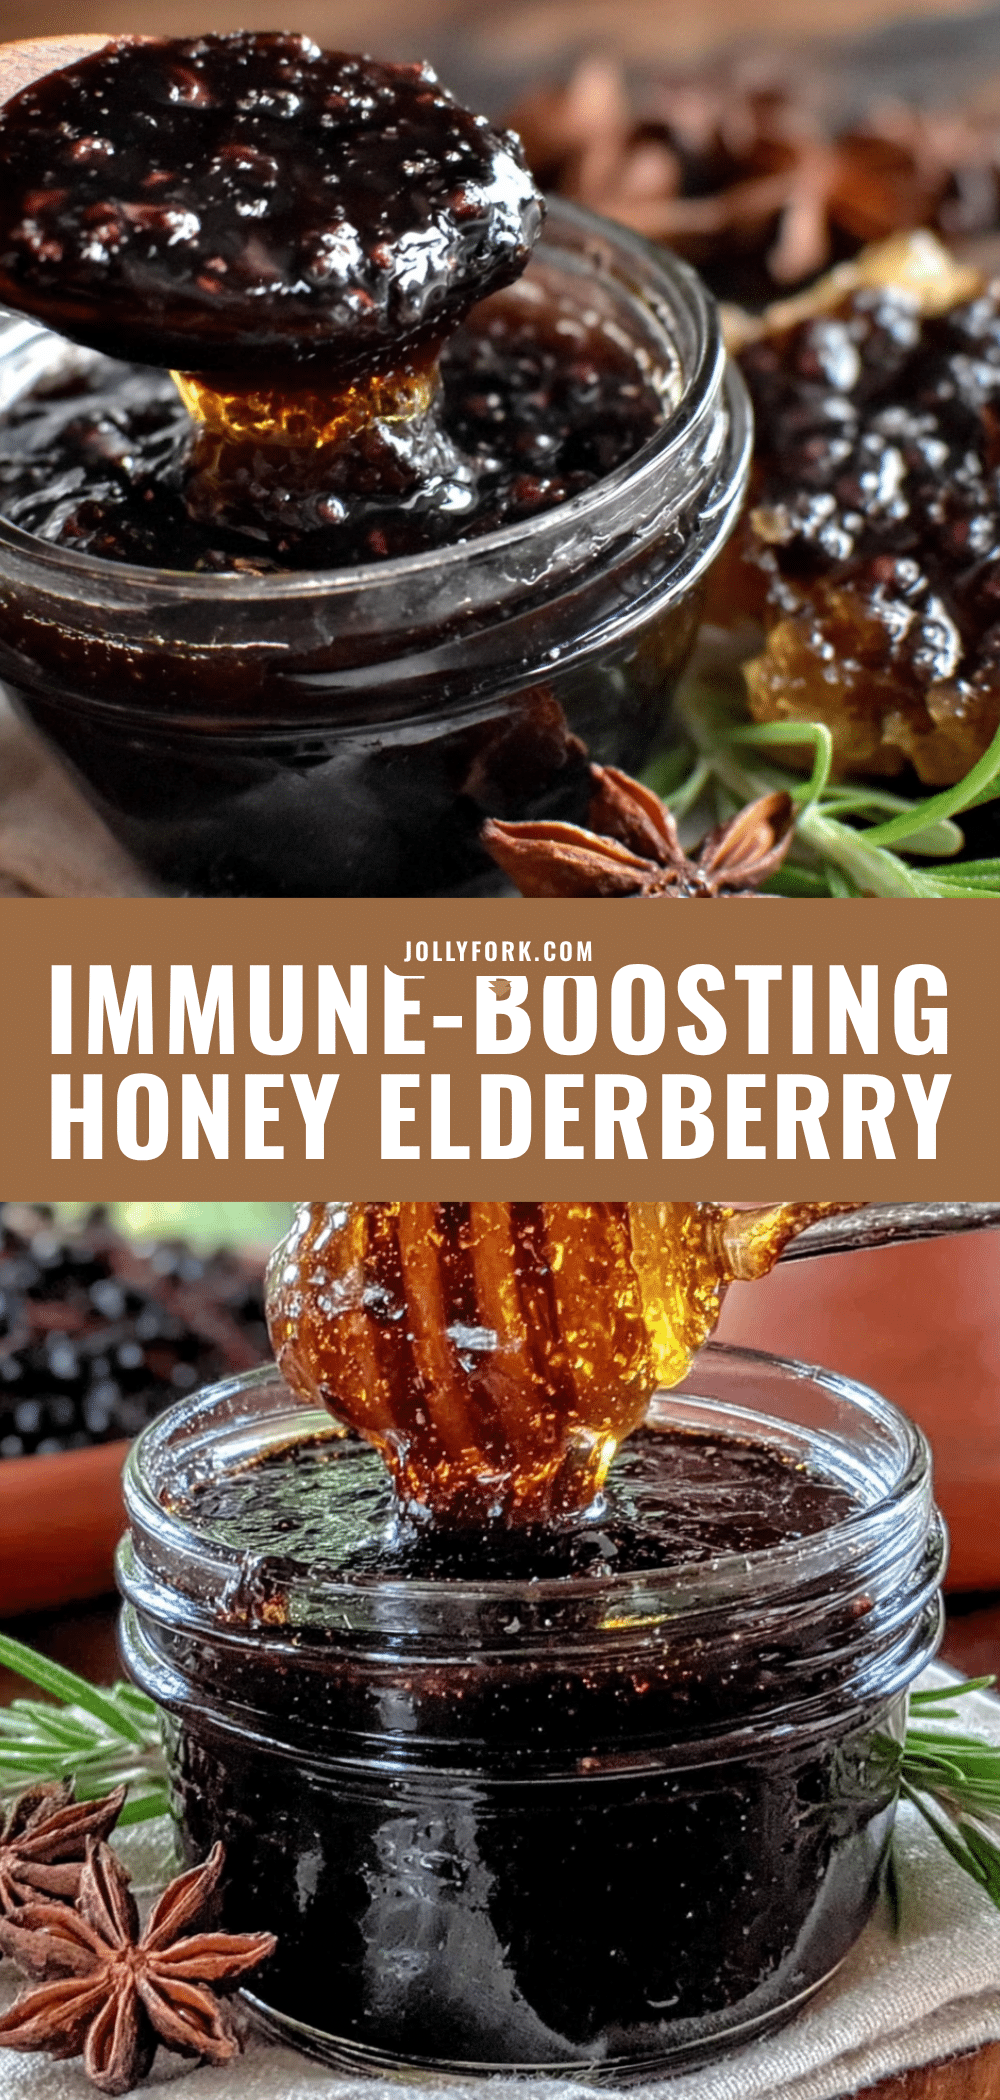
Easy Homemade Elderberry Syrup with Honey & Cloves
This homemade elderberry syrup with honey and cloves is a simple, natural immune support remedy that tastes like spiced berry syrup. Made with just a few ingredients, it’s perfect for daily use during cold and flu season.
- Prep Time: 10 minutes
- Cook Time: 40 minutes
- Total Time: 50 minutes
- Yield: 16 servings 1x
- Category: Condiment
- Cuisine: American
Ingredients
- 1 cup dried elderberries
- 4 cups water
- 1 cup raw honey
- 1 tablespoon whole cloves
- 1 cinnamon stick (optional)
- 1-inch piece fresh ginger, sliced (optional)
Instructions
- Combine the elderberries, water, cloves, and any optional spices in a medium saucepan. Stir to submerge the berries.
- Bring the mixture to a boil over medium-high heat, then reduce heat to low and simmer gently for 30-40 minutes, until the liquid reduces by about half and the berries are plump and soft.
- Remove from heat and let cool slightly for about 10 minutes.
- Strain the liquid through a fine mesh strainer or cheesecloth into a bowl or large measuring cup. Press gently on the berries to extract as much liquid as possible.
- Let the strained liquid cool to warm (about 110°F).
- Whisk in the honey until completely dissolved.
- Pour the syrup into a clean glass jar or bottle. Let cool completely to room temperature before sealing and refrigerating.
Notes
Do not add honey to hot liquid; let it cool to about 110°F first to preserve beneficial properties. Use whole spices for easier straining. The syrup will thicken slightly as it cools. Store in the refrigerator for 4-6 weeks. Not suitable for infants under 1 year old due to honey content.
Nutrition
- Serving Size: 1 tablespoon
- Calories: 40
- Sugar: 10
- Carbohydrates: 11
Keywords: elderberry syrup, homemade elderberry syrup, elderberry syrup with honey, elderberry syrup with cloves, immune support syrup, natural cold remedy


