I want crispy baked chicken wings for the tailgate this weekend and I have everything except the patience to deep-fry. That’s the thought that hit me last Thursday night while staring into my fridge, a half-empty bottle of hot sauce staring back like it knew something I didn’t. Honestly, I’ve been burned by baked wings before—soggy skin, sad little things that taste more like steamed chicken than the crispy, golden beauties you get at a sports bar. But I knew there had to be a way to get that crunch without the mess of a fryer, especially when you’re feeding a crowd and don’t want to be stuck hovering over a pot of oil the whole game.
So I started testing. And failing. And testing again. The first batch came out okay, but the skin was still a little flabby. The second batch? I accidentally cranked the heat too high and got smoke instead of wings (my smoke detector still holds a grudge). But the third batch—that was the one. That was the batch where the skin crackled when I bit into it, where the meat stayed juicy, and where my husband walked into the kitchen and said, “Wait, those are baked?” without any prompting from me.
This crispy baked chicken wing bar for tailgates is the result of all that trial and error. It’s the recipe I bring to every game day gathering, the one people hover around even before the kickoff. And the best part? You can set up a whole wing bar with different sauces and rubs, letting everyone build their perfect plate. It’s messy, it’s fun, and it’s exactly what a good tailgate should be.
Why You’ll Love This Recipe
I’ve tested this recipe more times than I care to admit, and I can tell you with confidence—these wings deliver. No sad, flabby skin here. Just real, honest crunch that makes you forget you didn’t fry them.
- Crispy Without Frying: A special technique using baking powder and a low-then-high oven temperature gives you that shatteringly crisp skin without a single drop of oil for deep-frying. Trust me, I was skeptical too until I tried it.
- Perfect for a Crowd: This recipe scales beautifully. You can easily double or triple it for a big tailgate party, and the wings hold up well in a warm oven while you’re setting up the rest of your spread.
- Build-Your-Own Wing Bar: This isn’t just a recipe—it’s an experience. Set out a few different sauces and dry rubs, and let your guests customize their wings. It’s interactive, fun, and means everyone gets exactly what they want.
- Simple Ingredients: You probably already have everything you need in your pantry. Chicken wings, baking powder, salt, pepper—that’s the base. The sauces are just a few pantry staples blended together.
- Game Day Hero: These wings are the star of any tailgate or party spread. They disappear fast, and people always ask for the recipe. It’s the kind of dish that makes you look like you spent hours in the kitchen when you really just used a smart technique.
What makes this different from every other baked wing recipe out there? It’s the two-step temperature method. You start low to render the fat and dry out the skin, then crank the heat high to get that crispy, golden finish. It’s a technique I learned from a chef friend who swore by it, and after a few burnt batches, I finally got it right. This isn’t just another version—it’s the version that finally worked for me, and I think it’ll work for you too.
What Ingredients You Will Need
This recipe uses straightforward, easy-to-find ingredients that work together to create that perfect crispy skin and juicy meat. No fancy specialty items here—just good, honest cooking.
For the Wings
- Chicken wings: 3 pounds (about 1.4 kg), separated into drumettes and flats. You can buy them pre-separated or do it yourself with a sharp knife. I usually buy a mix of both because everyone has a preference.
- Baking powder: 2 teaspoons (not baking soda!). This is the secret to crispy skin. It raises the pH of the skin, helping it brown and crisp up in the oven. Make sure it’s aluminum-free for the best flavor.
- Salt: 1½ teaspoons. I use kosher salt for its clean flavor and easy-to-pinch texture.
- Black pepper: 1 teaspoon, freshly ground.
- Garlic powder: 1 teaspoon (optional, but I never skip it).
For the Classic Buffalo Sauce
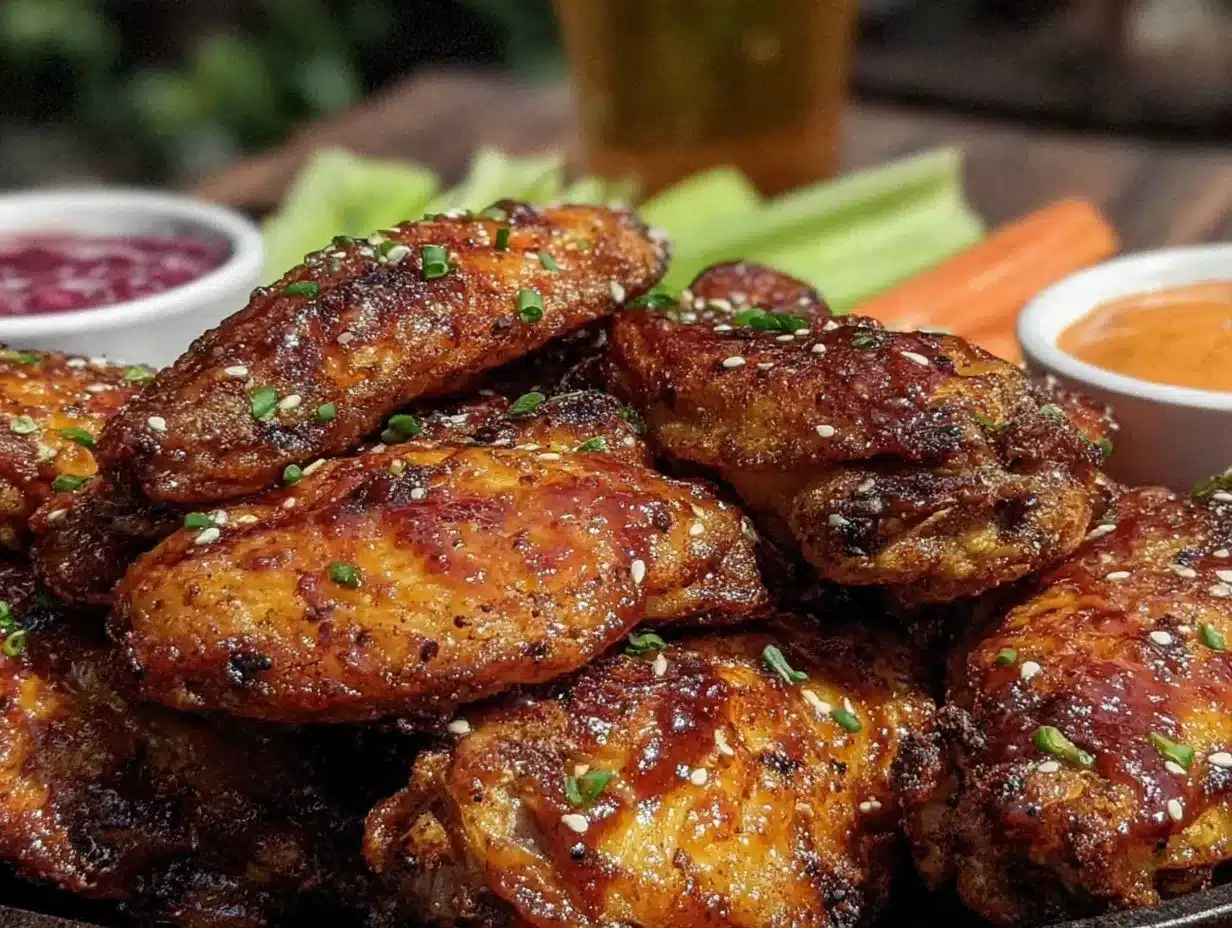
- Hot sauce: ½ cup. I prefer Frank’s RedHot for that classic wing flavor, but any vinegary hot sauce works.
- Unsalted butter: ¼ cup (4 tablespoons), melted. This mellows the heat and adds richness.
- Worcestershire sauce: 1 teaspoon (adds depth).
- Honey: 1 tablespoon (balances the heat with a touch of sweetness).
For the Honey Garlic Glaze
- Honey: ⅓ cup.
- Soy sauce: 2 tablespoons (use low-sodium if you prefer).
- Minced garlic: 3 cloves, finely chopped.
- Rice vinegar: 1 tablespoon.
- Sesame oil: 1 teaspoon (adds a lovely nutty flavor).
For the Dry Rub (BBQ Style)
- Brown sugar: 2 tablespoons, packed.
- Smoked paprika: 1 tablespoon.
- Chili powder: 1 teaspoon.
- Garlic powder: 1 teaspoon.
- Onion powder: 1 teaspoon.
- Cayenne pepper: ½ teaspoon (adjust for heat preference).
- Salt: 1 teaspoon.
For the best texture, I recommend using aluminum-free baking powder. I’ve tried a few brands, and Rumford works really well for this recipe. If you’re watching your sodium, you can use a little less salt, but don’t skip the baking powder—it’s non-negotiable for that crispy skin.
Equipment Needed
You don’t need a lot of fancy gear to make these wings, which is part of the beauty of this recipe. Here’s what you’ll need:
- Baking sheet: A large, rimmed baking sheet (half-sheet pan works great). The rim is important to catch any drips.
- Wire rack: This is key. A wire rack set inside the baking sheet allows air to circulate all around the wings, helping them crisp up evenly on all sides. If you don’t have one, you can use a cooling rack that’s oven-safe.
- Mixing bowls: A few medium bowls for tossing the wings with the baking powder mixture and for mixing sauces.
- Paper towels: For patting the wings dry—this step is crucial for crispy skin.
- Tongs: For flipping the wings halfway through baking.
- Small saucepan: For warming up sauces if you’re serving them on the side.
- Pastry brush: For glazing the wings with sauce if you’re not tossing them in a bowl.
If you don’t have a wire rack, you can try baking the wings directly on the sheet pan, but you’ll need to flip them more frequently and they won’t get quite as crispy. I’ve done it in a pinch, and it still works—just not as perfectly. A good wire rack is a worthwhile investment if you make wings often.
Preparation Method
Let’s get to the good part. Follow these steps carefully, and you’ll have the crispiest baked wings of your life.
- Prep the wings: Start by patting the chicken wings completely dry with paper towels. This is the most important step. Any moisture on the skin will steam the wings instead of crisping them. Take your time here—really dry them off. If you have time, let them sit uncovered in the fridge for an hour after drying to air-dry even more.
- Mix the dry ingredients: In a small bowl, combine the baking powder, salt, pepper, and garlic powder (if using). Whisk together until evenly mixed.
- Season the wings: Place the dried wings in a large mixing bowl. Sprinkle the baking powder mixture over the wings and toss well with your hands or tongs to coat every piece evenly. The wings should look lightly dusted, not clumpy. Make sure the mixture gets into all the nooks and crannies.
- Arrange on the rack: Place a wire rack inside your rimmed baking sheet. Arrange the wings in a single layer on the rack, making sure they aren’t touching. Crowding the pan will trap steam and prevent crisping. If you’re making a large batch, use two pans or work in batches.
- First bake (low temperature): Preheat your oven to 250°F (120°C). Bake the wings for 30 minutes. This low heat renders the fat under the skin and starts drying it out without browning it. You’ll see some fat dripping onto the pan—that’s good.
- Second bake (high temperature): After 30 minutes, remove the wings from the oven. Increase the oven temperature to 425°F (220°C). Once the oven is hot, return the wings to the oven and bake for another 40-50 minutes, flipping them halfway through with tongs. The wings are done when the skin is deep golden brown and crispy, and the internal temperature reaches 165°F (74°C) when checked with a meat thermometer.
- Check for doneness: The wings should look crackling and golden. If they need a few more minutes for extra crispiness, give them 5-10 more minutes, but watch them closely so they don’t burn.
- Toss with sauce or rub: While the wings are still hot, transfer them to a large bowl. Pour your chosen sauce over the wings and toss gently to coat. For dry rubs, sprinkle the rub over the hot wings and toss. Serve immediately.
One thing I learned the hard way—don’t skip the low-temperature step. I tried to speed things up once by going straight to high heat, and the skin was tough and chewy instead of crispy. That initial slow bake makes all the difference.
Cooking Tips & Techniques
After making these wings more times than I can count, I’ve picked up a few tricks that make the process smoother and the results more consistent.
Dry the wings thoroughly. I can’t stress this enough. Pat them dry with paper towels, then let them sit on a paper towel-lined plate for 10-15 minutes before seasoning. If you’re really organized, you can dry them and leave them uncovered in the fridge overnight. That extra drying time is magic for the skin.
Don’t skip the wire rack. I tried baking wings directly on a greased sheet pan once because I was lazy, and the bottoms were soggy. The wire rack lets hot air circulate all around the wings, giving you even crispiness on all sides. It’s worth the extra minute of setup.
Flip halfway through the high-heat bake. This ensures even browning. Use tongs and be gentle so you don’t tear the skin. Set a timer so you don’t forget—I’ve definitely gotten distracted and ended up with one side darker than the other.
Work in batches if needed. If you’re making a huge batch for a tailgate, don’t overcrowd the pan. Use two racks positioned in the upper and lower thirds of the oven, and swap their positions halfway through baking. Or just bake in batches and keep the finished wings warm in a 200°F oven while you finish the rest.
Let the sauce cling. Toss the wings in sauce while they’re still hot from the oven. The heat helps the sauce adhere better. If you’re using a thicker glaze like the honey garlic, you can brush it on with a pastry brush for more control.
Keep them warm for the tailgate. If you’re transporting these to a party, keep them in a warm oven (200°F) until you’re ready to go, then wrap them loosely in foil. They’ll stay crispy for about an hour this way.
Variations & Adaptations
One of the best things about this wing bar setup is how easy it is to customize. Here are some of my favorite variations.
Dietary Adaptations
Gluten-Free: This recipe is naturally gluten-free as written, but double-check your hot sauce and soy sauce labels. Use tamari or coconut aminos instead of soy sauce in the honey garlic glaze for a gluten-free option.
Low-Carb/Keto: Skip the honey in the buffalo sauce and use a sugar-free sweetener instead. For the dry rub, omit the brown sugar or use a brown sugar substitute. The wings themselves are naturally low-carb.
Dairy-Free: Use a dairy-free butter substitute or coconut oil in the buffalo sauce. The rest of the recipe is dairy-free.
Flavor Variations
Lemon Pepper: After baking, toss the wings with a mixture of 2 tablespoons melted butter, 1 tablespoon lemon zest, 1 teaspoon black pepper, and ½ teaspoon salt. It’s bright, zesty, and perfect for those who don’t like spicy food.
Garlic Parmesan: Toss the hot wings with ¼ cup melted butter, 3 minced garlic cloves, and ½ cup grated Parmesan cheese. The cheese gets all melty and coats the wings beautifully.
Asian Sesame: Use the honey garlic glaze above, then sprinkle with toasted sesame seeds and sliced green onions. It’s a fun twist that always gets compliments.
Other Cooking Methods
Air Fryer: You can make these wings in an air fryer for an even crispier result. Cook at 375°F for 20-25 minutes, shaking the basket halfway through. You may need to work in batches depending on the size of your air fryer.
Grill: For a smoky flavor, grill the wings over medium heat for about 20-25 minutes, turning frequently. The skin won’t get as crispy as the oven method, but the smoky char is delicious.
I once tried a crispy garlic dill pickle brine on the wings before baking, and it was surprisingly good. The brine added a tangy flavor and helped keep the meat juicy. Just pat them dry extra well before seasoning.
Serving & Storage Suggestions
These wings are best served hot and fresh, right after you toss them in sauce. But here’s how to handle them for a party or if you have leftovers.
Serving Temperature: Serve the wings hot, straight from the oven. If you’re setting up a wing bar, keep the wings warm in a 200°F oven until you’re ready to serve, then transfer them to a platter. Arrange them with plenty of napkins and wet wipes—things are about to get messy.
Presentation: For a wing bar, set out the wings on a large platter or in a few smaller bowls. Place small bowls of different sauces (buffalo, honey garlic, dry rub) around the wings so guests can add more if they want. Include some celery sticks, carrot sticks, and a bowl of blue cheese or ranch dressing on the side. For a full tailgate spread, I love serving these alongside easy mini corn dog muffins with sweet honey butter glaze—they’re perfect for parties and complement the wings beautifully.
Storage: Leftover wings can be stored in an airtight container in the refrigerator for up to 4 days. The sauce may soften the skin over time, but they’ll still taste great.
Reheating: To reheat and restore some crispiness, place the wings on a wire rack over a baking sheet and bake at 400°F for 10-15 minutes. Avoid the microwave—it will make the skin soggy. If you’re in a hurry, an air fryer at 375°F for 5-7 minutes works wonders.
Freezing: You can freeze baked wings (without sauce) for up to 3 months. Let them cool completely, then place them in a single layer on a baking sheet and freeze until solid. Transfer to a freezer-safe bag or container. To serve, reheat directly from frozen at 400°F for 20-25 minutes, then toss with sauce.
The flavors actually develop a bit overnight, so leftovers are still delicious the next day. I’ve been known to eat cold wings straight from the fridge for breakfast—no judgment here.
Nutritional Information & Benefits
Here’s a rough estimate for a serving of 5-6 wings (about 6 ounces) without sauce. Values will vary depending on the sauce you use.
| Nutrient | Amount Per Serving |
|---|---|
| Calories | 380-420 |
| Protein | 35g |
| Fat | 26g |
| Saturated Fat | 8g |
| Carbohydrates | 1g |
| Fiber | 0g |
| Sugar | 0g |
| Sodium | 600-800mg (varies with seasoning) |
Chicken wings are a good source of protein, which helps keep you full and supports muscle health. They also provide B vitamins, particularly niacin and B6, which are important for energy metabolism. The skin contains some healthy fats, though it’s higher in saturated fat, so enjoy in moderation as part of a balanced diet.
This recipe is naturally low in carbohydrates and can fit into keto, low-carb, and gluten-free diets. The baking powder technique also reduces the need for added oils, making it a lighter option than deep-fried wings. If you’re watching your sodium, use a low-sodium hot sauce and go easy on the salt in the dry rub.
Conclusion
This crispy baked chicken wing bar for tailgates has become my go-to for every game day gathering, and I think it’ll become yours too. It’s the recipe that proves you don’t need a deep fryer to get that perfect, shatteringly crisp skin—just a little patience, a wire rack, and a smart two-temperature baking method.
What I love most about this recipe is how adaptable it is. You can keep it simple with classic buffalo sauce, or get creative with different rubs and glazes. Set up a wing bar with a few options, and watch your guests go crazy customizing their plates. It’s messy, it’s fun, and it’s exactly what a good tailgate should be.
I’d love to hear how your wings turn out. Did you try a new sauce combination? Did your guests fight over the last drumette? Leave a comment below and let me know. And if you’re looking for more crowd-pleasing party food, don’t miss my crispy juicy smash burgers—they’re another tailgate favorite that disappears fast. Happy cooking, and see you at the next game!
Frequently Asked Questions
Can I use frozen chicken wings for this recipe?
Yes, but you need to thaw them completely first. Pat them very dry after thawing, as frozen wings release more moisture. I recommend thawing them in the refrigerator overnight for the best results.
Why is my skin not crispy?
The most common reasons are not drying the wings thoroughly enough, skipping the low-temperature step, or overcrowding the pan. Make sure your wings are bone-dry before seasoning, and give them space on the wire rack so air can circulate.
Can I make these wings ahead of time?
You can bake the wings without sauce up to a day ahead. Store them in the refrigerator, then reheat on a wire rack at 400°F for 10-15 minutes before tossing with sauce. They won’t be quite as crispy as fresh, but they’ll still be delicious.
What’s the best way to separate chicken wings?
Use a sharp chef’s knife or kitchen shears. Locate the joint between the drumette and the flat, and cut through the skin and joint. Then cut through the joint at the tip of the flat to remove the wing tip (or save them for stock). It takes a little practice, but it’s easy once you get the hang of it.
Can I use this method for other cuts of chicken?
Absolutely! This baking powder and two-temperature method works great for chicken thighs and drumsticks too. Adjust the cooking time based on the size of the pieces. Thighs may need an extra 10-15 minutes during the high-heat stage.
Pin This Recipe!
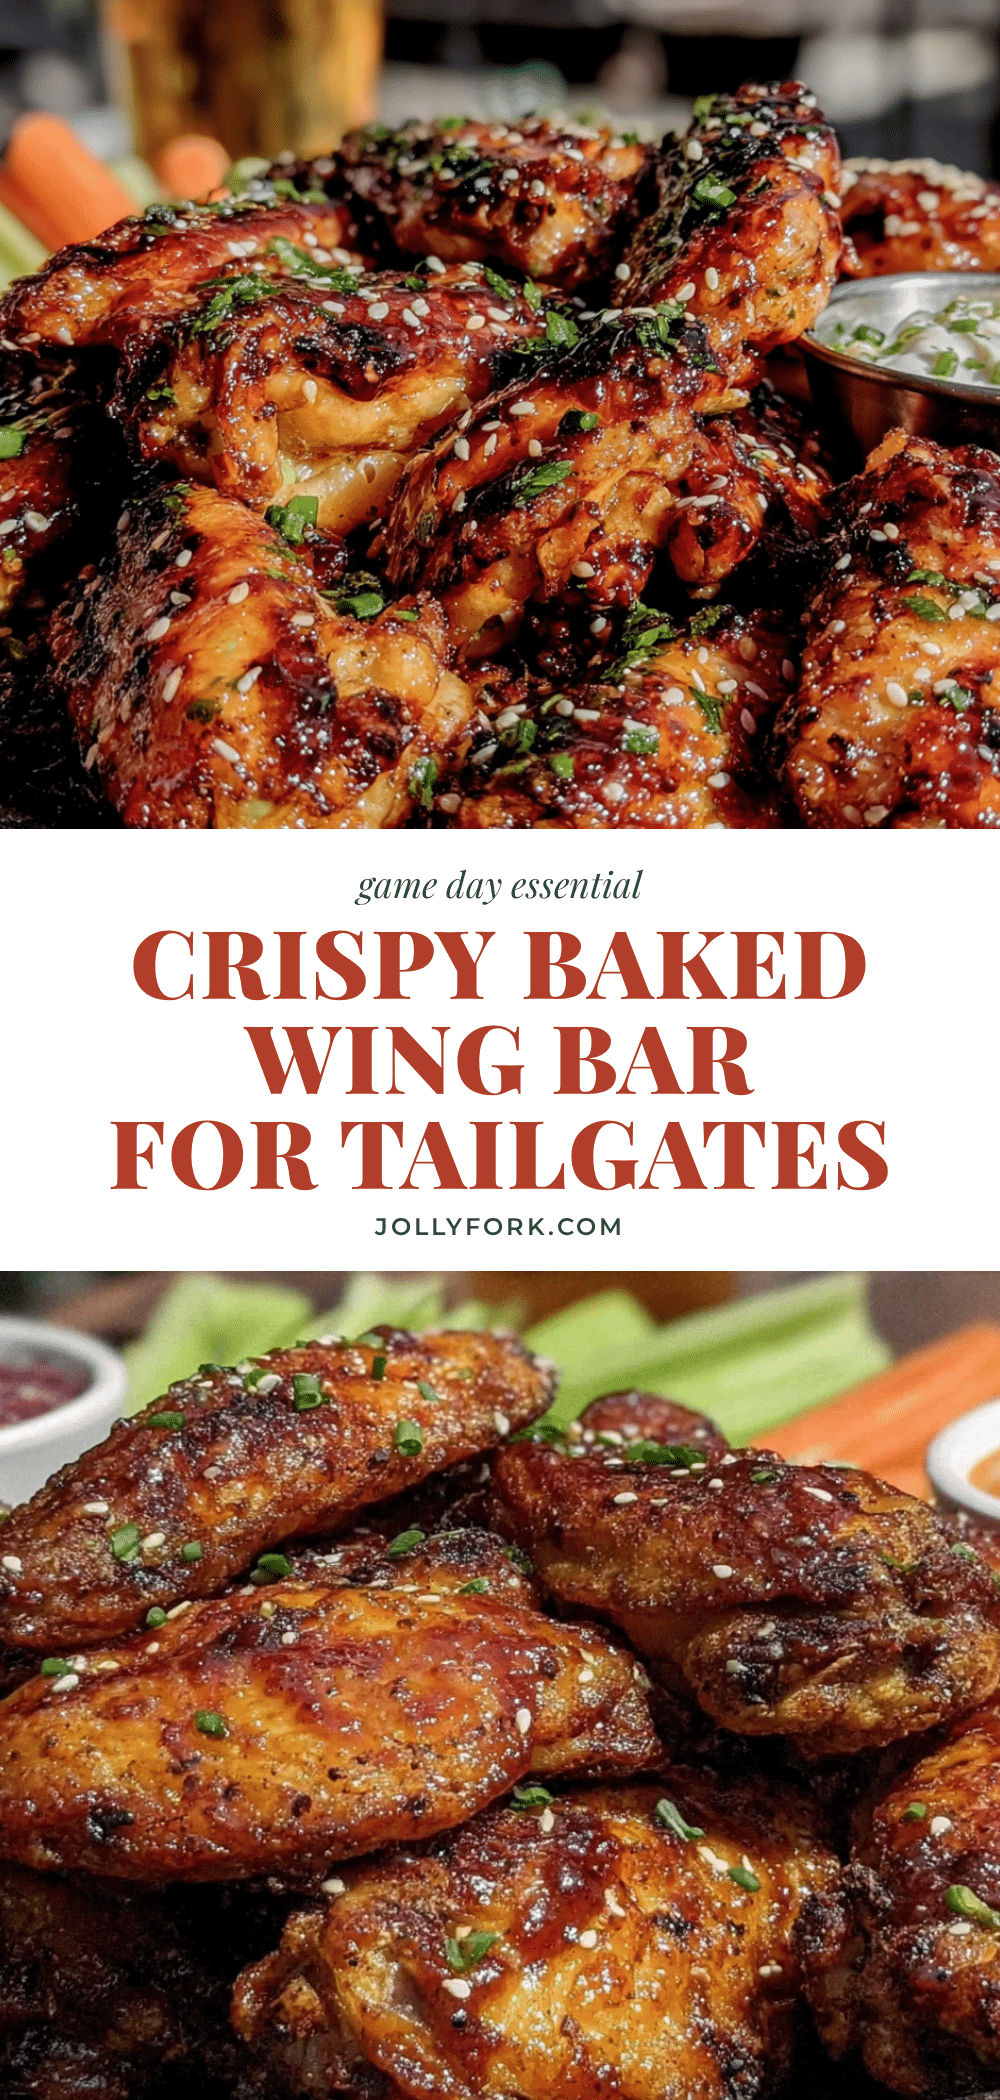
Crispy Baked Chicken Wing Bar: Best Easy Tailgate Recipe

Get perfectly crispy baked chicken wings without deep-frying using a smart two-temperature method. This build-your-own wing bar with classic buffalo, honey garlic, and dry rub options is perfect for tailgates and game day gatherings.
- Prep Time: 15 minutes
- Cook Time: 1 hour 10 minutes
- Total Time: 1 hour 25 minutes
- Yield: 4 servings 1x
- Category: Appetizer
- Cuisine: American
Ingredients
- 3 pounds chicken wings, separated into drumettes and flats
- 2 teaspoons baking powder (aluminum-free)
- 1½ teaspoons kosher salt
- 1 teaspoon black pepper, freshly ground
- 1 teaspoon garlic powder (optional)
- ½ cup hot sauce (e.g., Frank’s RedHot)
- ¼ cup unsalted butter, melted
- 1 teaspoon Worcestershire sauce
- 1 tablespoon honey
- ⅓ cup honey
- 2 tablespoons soy sauce (low-sodium if preferred)
- 3 cloves garlic, minced
- 1 tablespoon rice vinegar
- 1 teaspoon sesame oil
- 2 tablespoons brown sugar, packed
- 1 tablespoon smoked paprika
- 1 teaspoon chili powder
- 1 teaspoon garlic powder
- 1 teaspoon onion powder
- ½ teaspoon cayenne pepper
- 1 teaspoon salt
Instructions
- Pat the chicken wings completely dry with paper towels. For best results, let them sit uncovered in the fridge for an hour to air-dry.
- In a small bowl, combine baking powder, salt, pepper, and garlic powder (if using). Whisk until evenly mixed.
- Place dried wings in a large mixing bowl. Sprinkle the baking powder mixture over the wings and toss well to coat every piece evenly.
- Place a wire rack inside a rimmed baking sheet. Arrange wings in a single layer on the rack, making sure they aren’t touching.
- Preheat oven to 250°F (120°C). Bake wings for 30 minutes. This low heat renders fat and dries the skin.
- Remove wings from oven. Increase oven temperature to 425°F (220°C). Once hot, return wings and bake for 40-50 minutes, flipping halfway through with tongs, until skin is deep golden brown and crispy and internal temperature reaches 165°F (74°C).
- While wings are still hot, transfer to a large bowl. Pour chosen sauce over wings and toss gently to coat, or sprinkle with dry rub and toss. Serve immediately.
Notes
Don’t skip the low-temperature step—it renders fat and dries the skin for maximum crispiness. Pat wings thoroughly dry before seasoning. Use a wire rack for even air circulation. For a gluten-free option, use tamari or coconut aminos instead of soy sauce. Leftover wings can be stored in an airtight container in the refrigerator for up to 4 days. Reheat at 400°F for 10-15 minutes on a wire rack to restore crispiness.
Nutrition
- Serving Size: 5-6 wings (about 6 o
- Calories: 400
- Sodium: 700
- Fat: 26
- Saturated Fat: 8
- Carbohydrates: 1
- Protein: 35
Keywords: crispy baked chicken wings, tailgate recipe, buffalo wings, honey garlic wings, dry rub wings, game day food, party appetizer


