Third batch in as many days and I finally stopped writing down measurements. That first attempt came out flat and sad, like a pumpkin pancake that forgot it was supposed to be a cookie. The second batch? Too cakey, almost muffin-like, which isn’t what you want when you’re craving that classic snickerdoodle chew.
But the third time — that’s when something clicked. I had brown butter cooling on the counter, pumpkin puree staring at me from the fridge, and this nagging thought that maybe, just maybe, I was overcomplicating things. So I stopped trying to force the pumpkin into a regular snickerdoodle formula and let the two flavors actually talk to each other. The brown butter brings this nutty, almost toasty depth that keeps the pumpkin from tasting one-dimensional. And the pumpkin? It makes the cookie stay soft for days — if they last that long, which honestly, they won’t.
These Perfect Brown Butter Pumpkin Snickerdoodle Cookies aren’t trying to be anything other than what they are. A fall cookie that actually tastes like fall, not a candle. The edges get slightly crisp, the centers stay tender, and that cinnamon-sugar coating gives you the crunch you’re looking for. I’ve made them four more times since that third batch, just to make sure it wasn’t a fluke. It wasn’t.
Why You’ll Love This Recipe
Look, I’ve tested a lot of pumpkin cookie recipes over the years. Most of them fall into two camps — either they taste like spiced cake flour or they’re so wet they never actually bake through. These cookies solve both problems.
- Perfectly Balanced Texture : The brown butter absorbs into the flour differently than regular butter, giving you a cookie that’s crisp on the outside and almost fudgy in the center. No raw dough spots, no dry crumbly mess.
- Real Pumpkin Flavor : Not the kind that disappears after the first bite. The pumpkin puree keeps these cookies moist without making them gummy, and the brown butter amplifies every warm spice in the mix.
- No Stand Mixer Required : You can make these with a hand whisk and a bowl. Less cleanup, more cookies. That’s a win in my book.
- Stays Fresh for Days : Most pumpkin baked goods dry out by day two. These stay soft for almost a week, thanks to the moisture from the pumpkin and the way brown butter retains tenderness.
- That Classic Snickerdoodle Crunch : The cinnamon-sugar coating isn’t just for looks. It creates a slight crust that contrasts beautifully with the soft interior. Every bite has texture.
I brought a batch to my neighbor last week, and she texted me at 11 PM asking for the recipe. That’s the kind of cookie this is. It makes people stop what they’re doing and pay attention.
What Ingredients You Will Need
This recipe uses pretty standard baking ingredients, but there are a few key players that make everything work. Let me walk you through what you’ll need and why each one matters.
- Unsalted butter, 1 cup (2 sticks) — You’re going to brown this, so don’t skip that step. Unsalted lets you control the salt level. I use Kerrygold when I want a richer flavor, but any good-quality butter works.
- Pumpkin puree, ½ cup — Not pumpkin pie filling. Make sure you grab 100% pure pumpkin puree. Libby’s is my go-to because it’s consistently thick and not watery. If your puree looks loose, blot it with a paper towel before using.
- Granulated sugar, ¾ cup — For the cookie dough. Regular white sugar helps with spreading and gives the edges that slight crispness.
- Light brown sugar, ½ cup, packed — Adds moisture and a hint of molasses that plays nicely with the brown butter. Dark brown sugar works too, but the flavor will be more intense.
- All-purpose flour, 2 ¼ cups — Spoon and level this. Scooping directly from the bag packs in too much flour and makes dry cookies.
- Cornstarch, 1 tablespoon — The secret ingredient for soft centers. It inhibits gluten formation just enough to keep these cookies tender.
- Baking soda, 1 teaspoon — Helps the cookies spread slightly and gives them that classic snickerdoodle crackle on top.
- Baking powder, ½ teaspoon — Adds a little lift so the cookies aren’t flat.
- Salt, ½ teaspoon — Balances the sweetness and makes the brown butter flavor pop. I use fine sea salt.
- Pumpkin pie spice, 1 ½ teaspoons — Store-bought is fine, but I sometimes make my own with cinnamon, ginger, nutmeg, and a pinch of cloves. It’s fresher and you can adjust the ratios.
- Cinnamon, 1 teaspoon — Adds extra warmth beyond the pumpkin pie spice.
- Ground ginger, ¼ teaspoon — Optional, but I love the little kick it gives. Makes the cookies feel more complex.
- Vanilla extract, 1 teaspoon — Enhances the brown butter notes. Use pure vanilla if you have it.
- Egg, 1 large, room temperature — Helps bind everything together. Cold egg will seize the brown butter, so let it sit out for 20 minutes.
- For the coating: Granulated sugar, ¼ cup + cinnamon, 1 ½ teaspoons — Roll the dough balls generously. This is what gives you that signature snickerdoodle look and crunch.
That’s it. No weird ingredients, no special extracts. Everything is probably in your pantry right now, minus maybe the pumpkin puree if it’s not fall yet. But honestly, I make these year-round because they’re too good to limit to one season.
Equipment Needed
You don’t need a fancy kitchen setup for these cookies. Here’s what I use and what you can substitute if needed.
- Light-colored saucepan — Essential for browning butter. Dark pans make it hard to see when the butter turns amber, and you might burn it. I use a stainless steel saucepan.
- Large mixing bowl — Any bowl works, but a wider one makes mixing easier.
- Whisk — For the dry ingredients and for mixing the wet ingredients. A hand whisk is fine, no electric mixer required.
- Rubber spatula — For folding everything together without overmixing. A wooden spoon works too, but the spatula gets every bit of dough.
- Cookie scoop, about 1.5 tablespoons — Creates uniform cookies that bake evenly. If you don’t have one, use two spoons to portion the dough.
- Baking sheets, preferably light-colored — Dark sheets make cookies brown faster on the bottom. If that’s all you have, reduce the baking time by a minute.
- Parchment paper or silicone baking mat — Prevents sticking and makes cleanup easy. I prefer parchment because the cookies spread slightly more evenly.
- Cooling rack — Lets air circulate so the cookies don’t steam and get soggy on the bottom.
One tip I learned the hard way — let your baking sheets cool completely between batches. If you scoop dough onto a hot sheet, the butter starts melting before the cookies even hit the oven, and you’ll end up with flat pancakes. I keep two sheets and rotate them.
Preparation Method
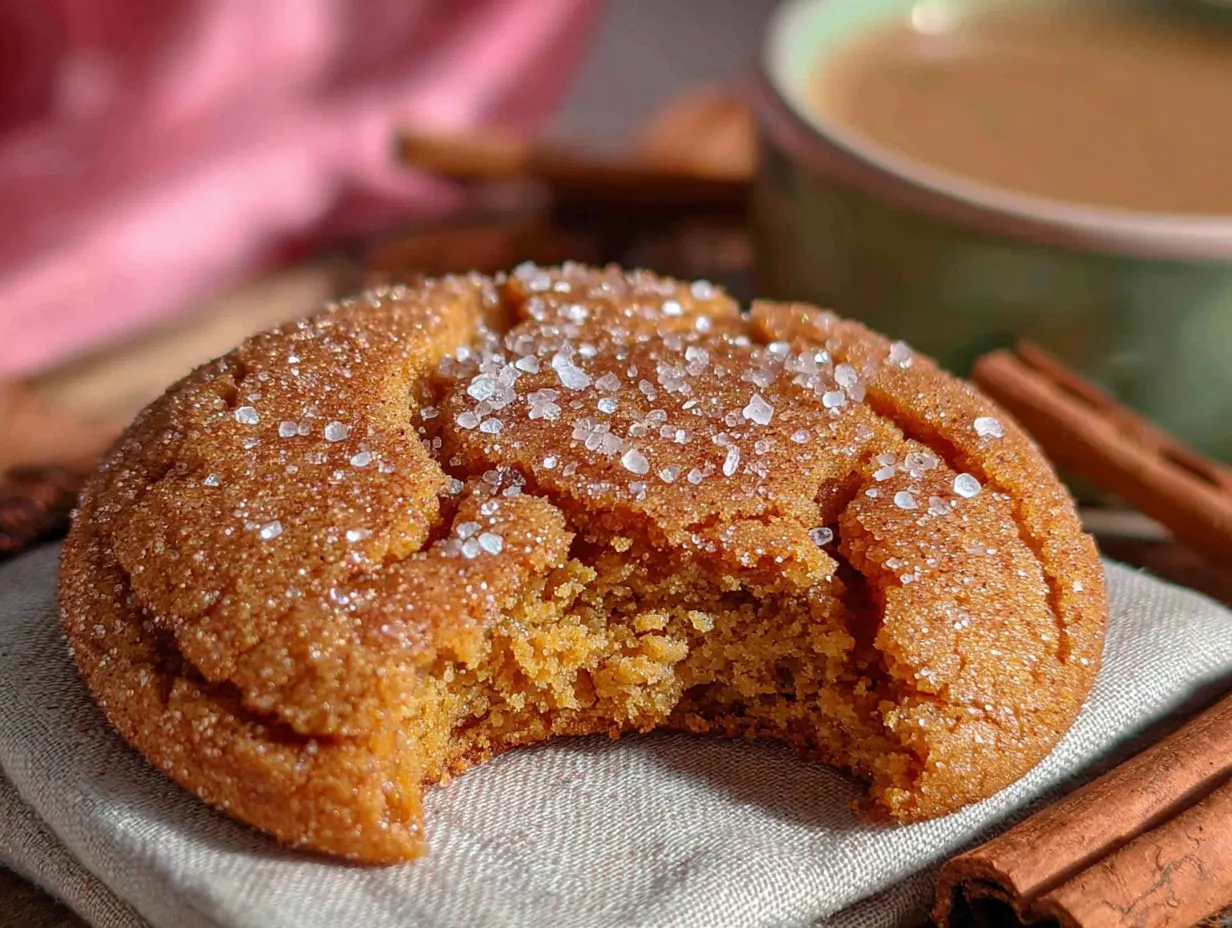
Alright, let’s make these Perfect Brown Butter Pumpkin Snickerdoodle Cookies. Take your time with the brown butter step — it’s the most important part and rushing it changes everything.
- Brown the butter. Cut the butter into pieces and add them to your light-colored saucepan over medium heat. Stir constantly with a rubber spatula or wooden spoon. The butter will melt, then foam, then start to crackle and pop. After a few minutes, the foam will subside and you’ll see brown specks forming at the bottom of the pan. Keep stirring. The moment the butter turns a deep amber color and smells nutty — like toasted hazelnuts — remove it from the heat immediately. Pour it into a heatproof bowl, including all those brown bits. Let it cool for 10-15 minutes. It should be warm but not hot when you add it to the sugar.
- Mix the wet ingredients. In a large bowl, combine the cooled brown butter, granulated sugar, and packed brown sugar. Whisk vigorously for about a minute until the mixture looks like wet sand and smells incredible. Add the pumpkin puree, egg, and vanilla extract. Whisk until smooth and fully combined. The mixture will look slightly separated at first, but keep whisking — it comes together.
- Combine the dry ingredients. In a separate bowl, whisk together the all-purpose flour, cornstarch, baking soda, baking powder, salt, pumpkin pie spice, cinnamon, and ground ginger. Make sure there are no lumps. The cornstarch tends to hide at the bottom, so really get in there.
- Fold the dry into the wet. Add the dry ingredients to the wet mixture in two additions, folding gently with a rubber spatula after each. Stop as soon as you no longer see streaks of flour. Overmixing at this stage develops gluten and makes tough cookies. The dough will be soft and slightly sticky — that’s normal.
- Chill the dough. Cover the bowl with plastic wrap and refrigerate for at least 30 minutes, or up to 24 hours. This step is non-negotiable. Chilling solidifies the brown butter and prevents the cookies from spreading too much in the oven. If you skip it, you’ll get thin, greasy cookies. Trust me, I learned this the hard way on my first batch.
- Preheat and prepare. About 10 minutes before you’re ready to bake, preheat your oven to 350°F (175°C). Line two baking sheets with parchment paper.
- Make the coating. In a small bowl, mix the ¼ cup granulated sugar with 1 ½ teaspoons cinnamon. Stir until evenly combined.
- Scoop and roll. Use your cookie scoop to portion the chilled dough into balls about 1.5 tablespoons each. Roll each ball between your palms until smooth, then roll generously in the cinnamon-sugar mixture. Place them on the prepared baking sheets, spacing them about 2 inches apart. They will spread, so don’t crowd them.
- Bake. Bake one sheet at a time for 10-12 minutes. The cookies should look puffed, slightly cracked on top, and the edges should be set but the centers will still look soft and slightly underdone. That’s exactly what you want. They continue baking on the hot sheet after you pull them out.
- Cool properly. Let the cookies rest on the baking sheet for 5 minutes. This allows them to set without breaking apart. Then transfer them to a cooling rack to cool completely. If you move them too soon, they’ll fall apart. If you wait too long, they’ll stick to the parchment.
I usually get about 24 cookies from this recipe, depending on how generous I’m feeling with the scoop. They shrink slightly as they cool, so don’t panic if they look a little puffy right out of the oven.
Cooking Tips & Techniques
I’ve made these Perfect Brown Butter Pumpkin Snickerdoodle Cookies more times than I care to count, and I’ve messed up plenty along the way. Here’s what I’ve learned so you don’t have to repeat my mistakes.
Watch the brown butter like a hawk. The line between perfectly browned and burnt is about 15 seconds. When the foam starts to subside and you see those brown specks, you’re almost there. Swirl the pan and smell it — if it smells like toasted nuts, you’re done. If it smells sharp or acrid, you’ve gone too far. Start over if that happens. Burnt butter ruins the whole cookie.
Don’t skip the chilling step. I know you’re hungry. I know you want cookies right now. But warm dough with brown butter will spread into flat, greasy discs that look more like lace cookies than snickerdoodles. Thirty minutes in the fridge makes a massive difference. Overnight is even better — the flavors deepen and the texture improves.
Use a light touch when rolling. The cinnamon-sugar coating should stick evenly, not clump in patches. Roll the dough ball gently between your palms first, then drop it into the sugar mixture and roll it around with your fingers. If you press too hard, the sugar embeds into the dough and you lose that crunchy exterior.
Bake one sheet at a time. I know it’s tempting to throw both sheets in at once, but the heat doesn’t circulate evenly and you’ll end up with unevenly baked cookies. The extra 10 minutes is worth it for consistent results.
Test for doneness with your eyes, not a timer. Ovens vary wildly. My oven runs hot, so 10 minutes is perfect. My friend’s oven takes a full 12 minutes. Look for the edges to be set and lightly golden, with the centers still soft and puffed. The cracks on top should look dry but the middle should still look slightly underdone.
One more thing — if your cookies come out flat, your butter was too warm when you mixed it, or you skipped the chill. If they come out dry and crumbly, you overmeasured the flour or overbaked them. Both are fixable on your next batch.
Variations & Adaptations
These cookies are pretty perfect as written, but I get it — sometimes you want to switch things up. Here are a few variations I’ve tried and loved.
Gluten-Free Version : Swap the all-purpose flour with a 1:1 gluten-free baking flour blend that contains xanthan gum. I’ve had good results with Bob’s Red Mill. The cookies will be slightly more delicate, so handle them gently when transferring to the cooling rack. Everything else stays the same.
Dairy-Free Adaptation : Use a high-quality vegan butter stick for the browning step. Not all vegan butters brown well, so look for one with a higher fat content — I like Miyoko’s. The browning process will take a bit longer, and the flavor won’t be as nutty, but it still works. Use a flax egg (1 tablespoon ground flaxseed + 3 tablespoons water) instead of the regular egg.
Spice It Up : If you like a warmer, bolder cookie, add ¼ teaspoon of cardamom and a pinch of white pepper to the dry ingredients. The cardamom pairs beautifully with the pumpkin, and the white pepper adds a subtle heat that most people can’t identify but notice. It’s my secret trick for making these cookies taste extra special.
Chocolate Drizzle : After the cookies cool completely, melt ½ cup of semi-sweet chocolate chips with 1 teaspoon of coconut oil and drizzle it over the tops. The chocolate and pumpkin combination is surprisingly good, and it makes the cookies look fancy enough for a holiday cookie exchange. I did this for Thanksgiving last year and they disappeared before the turkey was carved.
Add Mix-Ins : Fold in ½ cup of white chocolate chips or chopped pecans after the flour is incorporated. White chocolate complements the brown butter and pumpkin beautifully. Toasted pecans add crunch and make the cookies feel more substantial. Just don’t overmix once you add them.
Serving & Storage Suggestions
These cookies are best enjoyed slightly warm, about 10 minutes after they come off the cooling rack. The edges are still crisp, the center is soft, and the cinnamon-sugar coating is at its crunchiest. I like mine with a cold glass of milk or a hot cup of chai. The spices in the cookies and the chai complement each other in a way that feels intentional, even if it’s not.
If you’re serving these at a gathering, arrange them on a nice platter with a few honey peach cobbler bars on the side for variety. The combination of pumpkin and peach is unexpected but works beautifully for fall entertaining.
Room Temperature Storage : Keep the cookies in an airtight container at room temperature for up to 5 days. Place a slice of bread in the container to help maintain moisture — the bread absorbs excess air and the cookies stay soft. Replace the bread slice every other day. Don’t stack the cookies directly on top of each other unless they’re completely cooled, or they’ll stick together.
Freezer Instructions : These cookies freeze beautifully, both baked and unbaked. For baked cookies, let them cool completely, then layer them between sheets of parchment paper in a freezer-safe container. They’ll keep for up to 3 months. Thaw at room temperature for about 30 minutes, then warm them in a 300°F oven for 5 minutes to restore the texture.
For unbaked dough, scoop the dough balls, roll them in the cinnamon-sugar coating, and place them on a parchment-lined baking sheet. Freeze until solid, then transfer the frozen dough balls to a freezer bag. You can bake them directly from frozen — just add 2-3 minutes to the baking time. This is my favorite method for having fresh cookies on demand without making a mess every time.
The flavors actually improve after a day or two. The brown butter mellows out and the spices meld together. Honestly, I sometimes prefer day-old cookies because they taste more cohesive. They’re softer too, almost like a little pumpkin cake in cookie form.
Nutritional Information & Benefits
Let’s be real — these are cookies, not health food. But they do have some redeeming qualities worth mentioning.
Per cookie (based on 24 cookies per batch):
- Calories: 165
- Total Fat: 8g
- Saturated Fat: 5g
- Cholesterol: 25mg
- Sodium: 95mg
- Total Carbohydrates: 22g
- Dietary Fiber: 1g
- Sugars: 13g
- Protein: 2g
Pumpkin puree is actually a solid source of vitamin A and fiber, so you’re getting a tiny nutritional boost with every cookie. The brown butter, while indulgent, provides a small amount of vitamin A and butyrate, a fatty acid that supports gut health in small amounts. The cinnamon in the coating has antioxidant properties and may help regulate blood sugar — not that you’re eating these for medicinal reasons, but it’s nice to know.
If you’re watching your sugar intake, you can reduce the granulated sugar to ½ cup and the brown sugar to ⅓ cup. The cookies will be less sweet but still delicious. They won’t spread as much, so flatten them slightly before baking. I’ve made this version for friends who are cutting back on sugar, and no one complained.
These cookies are not gluten-free, dairy-free, or vegan in their standard form, but the variations section above covers those adaptations. They do contain eggs and dairy, so keep that in mind if you’re baking for someone with allergies.
Conclusion
These Perfect Brown Butter Pumpkin Snickerdoodle Cookies are the kind of recipe that becomes a staple. They’re not complicated, they don’t require special equipment, and they deliver a flavor that feels both familiar and fresh. The brown butter adds depth, the pumpkin keeps everything tender, and that cinnamon-sugar coating gives you the crunch you’re looking for in a snickerdoodle.
I’ve made these for casual weeknight baking sessions, holiday cookie exchanges, and everything in between. They always get the same reaction — people pause mid-bite, look at the cookie, then look at me like I’ve done something magical. But it’s not magic. It’s just good technique and ingredients that work well together.
If you make these, let me know how they turn out. Leave a comment below with your variations or tag me in your photos. I love seeing how people make recipes their own. And if you’re looking for another fall baking project, try this brown butter zucchini cookies with maple cream cheese frosting — it uses the same browning technique and the frosting is absolutely worth the extra effort.
Happy baking, friends. Go make some cookies.
Frequently Asked Questions
Can I use pumpkin pie filling instead of pumpkin puree?
No, please don’t. Pumpkin pie filling has added sugar and spices, which will throw off the balance of this recipe. The cookies will turn out overly sweet and the texture will be off because the filling contains stabilizers. Stick with 100% pure pumpkin puree. Libby’s is my go-to brand because it’s consistently thick.
Why did my cookies turn out flat?
Flat cookies usually mean one of three things — the dough wasn’t chilled long enough, the brown butter was too warm when you mixed it, or you used too much sugar. Make sure you chill the dough for at least 30 minutes, and let the brown butter cool until it’s warm but not hot. If your kitchen is warm, chill the dough for a full hour.
Can I make the dough ahead of time?
Absolutely. The dough keeps in the refrigerator for up to 3 days in an airtight container. In fact, the flavors get better as the brown butter and spices meld together. You can also freeze the dough balls for up to 3 months. Just scoop, roll in the cinnamon-sugar, freeze on a baking sheet, then transfer to a freezer bag. Bake directly from frozen, adding 2-3 minutes to the baking time.
How do I know when the cookies are done baking?
Look for the edges to be set and lightly golden while the centers still look soft and slightly underdone. The tops should have a few cracks and look dry, but the middle should still be puffed. They will continue baking on the hot sheet for about 5 minutes after you pull them out. If you wait until the centers look fully set, they’ll be overbaked and dry.
Can I double this recipe?
Yes, but don’t brown all the butter at once. Brown it in two batches to ensure even cooking. A crowded pan makes it harder to see the color change and increases the risk of burning. Also, make sure your mixing bowl is large enough to hold double the ingredients. Everything else scales up without issue, including the chilling time.
Pin This Recipe!
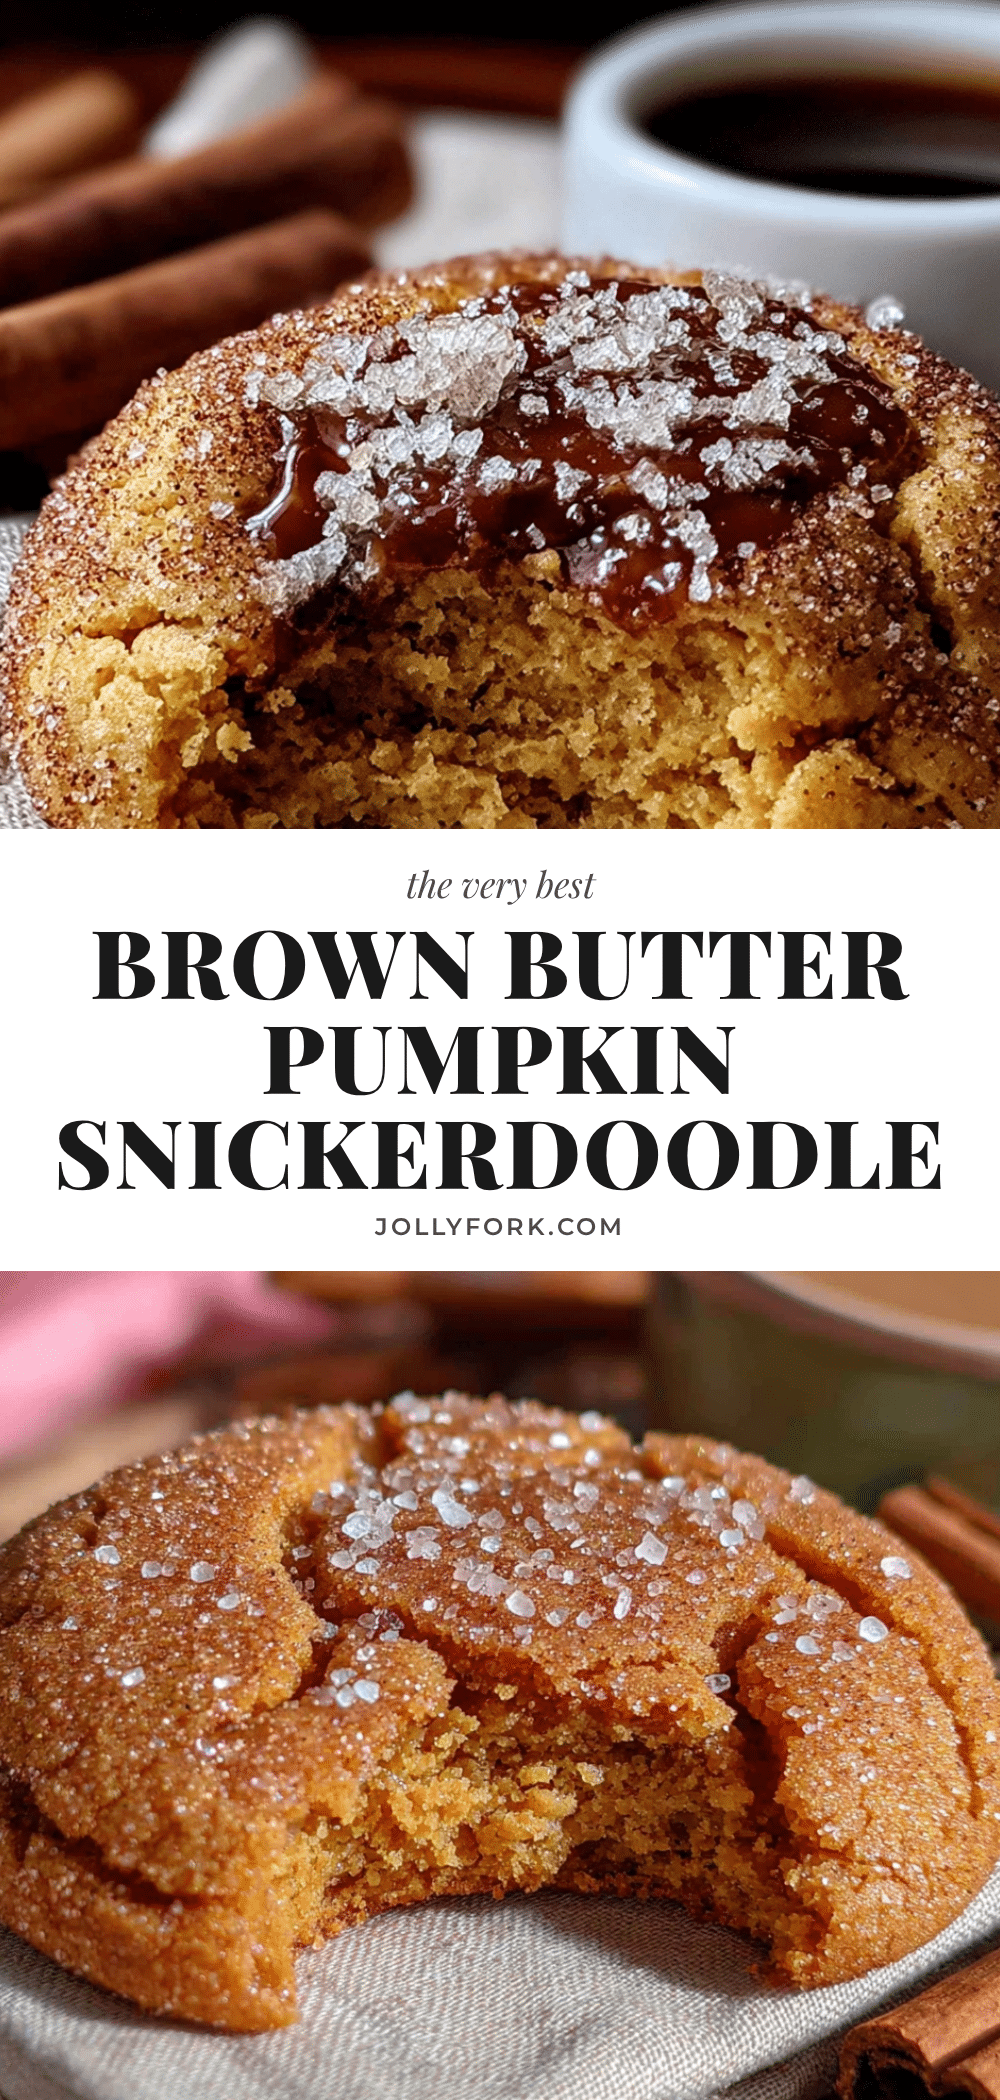
Perfect Brown Butter Pumpkin Snickerdoodle Cookies
These Perfect Brown Butter Pumpkin Snickerdoodle Cookies combine nutty brown butter with real pumpkin puree for a soft, tender cookie with crisp edges and a classic cinnamon-sugar crunch. They stay fresh for days and are perfect for fall baking.
- Prep Time: 20 minutes
- Cook Time: 12 minutes
- Total Time: 1 hour 2 minutes (including 30 minutes chilling)
- Yield: 24 cookies 1x
- Category: Dessert
- Cuisine: American
Ingredients
- 1 cup (2 sticks) unsalted butter
- ½ cup pumpkin puree (100% pure, not pie filling)
- ¾ cup granulated sugar
- ½ cup light brown sugar, packed
- 2 ¼ cups all-purpose flour
- 1 tablespoon cornstarch
- 1 teaspoon baking soda
- ½ teaspoon baking powder
- ½ teaspoon salt (fine sea salt)
- 1 ½ teaspoons pumpkin pie spice
- 1 teaspoon cinnamon
- ¼ teaspoon ground ginger (optional)
- 1 teaspoon vanilla extract
- 1 large egg, room temperature
- For the coating: ¼ cup granulated sugar + 1 ½ teaspoons cinnamon
Instructions
- Brown the butter: Cut the butter into pieces and add to a light-colored saucepan over medium heat. Stir constantly until the butter melts, foams, and then turns a deep amber color with brown specks and a nutty aroma. Remove from heat immediately and pour into a heatproof bowl, including all brown bits. Let cool for 10-15 minutes until warm but not hot.
- Mix the wet ingredients: In a large bowl, combine the cooled brown butter, ¾ cup granulated sugar, and packed brown sugar. Whisk vigorously for about 1 minute until the mixture looks like wet sand. Add the pumpkin puree, egg, and vanilla extract. Whisk until smooth and fully combined.
- Combine the dry ingredients: In a separate bowl, whisk together the all-purpose flour, cornstarch, baking soda, baking powder, salt, pumpkin pie spice, cinnamon, and ground ginger until no lumps remain.
- Fold the dry into the wet: Add the dry ingredients to the wet mixture in two additions, folding gently with a rubber spatula after each addition. Stop as soon as no streaks of flour remain. The dough will be soft and slightly sticky.
- Chill the dough: Cover the bowl with plastic wrap and refrigerate for at least 30 minutes, or up to 24 hours.
- Preheat and prepare: About 10 minutes before baking, preheat the oven to 350°F (175°C). Line two baking sheets with parchment paper.
- Make the coating: In a small bowl, mix ¼ cup granulated sugar with 1 ½ teaspoons cinnamon until evenly combined.
- Scoop and roll: Use a cookie scoop (about 1.5 tablespoons) to portion the chilled dough into balls. Roll each ball between your palms until smooth, then roll generously in the cinnamon-sugar mixture. Place on prepared baking sheets, spacing them about 2 inches apart.
- Bake: Bake one sheet at a time for 10-12 minutes. The cookies should look puffed, slightly cracked on top, with edges set but centers still soft and slightly underdone.
- Cool properly: Let the cookies rest on the baking sheet for 5 minutes, then transfer to a cooling rack to cool completely.
Notes
Watch the brown butter carefully; the line between browned and burnt is about 15 seconds. Do not skip chilling the dough—it prevents flat cookies. For best results, bake one sheet at a time. Cookies continue baking on the hot sheet after removal.
Nutrition
- Serving Size: 1 cookie
- Calories: 165
- Sugar: 13
- Sodium: 95
- Fat: 8
- Saturated Fat: 5
- Carbohydrates: 22
- Fiber: 1
- Protein: 2
Keywords: pumpkin snickerdoodle, brown butter cookies, fall cookies, pumpkin cookies, snickerdoodle recipe


