My starter, affectionately named Herman, had been producing more discard than I knew what to do with. I had tried pancakes, crackers, even dog treats. But focaccia? I did not trust it. The idea of using unfed, acidic starter to create something with an open, airy crumb seemed like a stretch. Honestly, I thought it would turn out dense and gummy—a brick dressed up with olive oil.
The first time I tried a random internet recipe, my fears were confirmed. The dough never bubbled. It sat there, a sad, slack puddle that refused to rise. I almost gave up on the whole concept. But then, during a particularly cold, rainy Saturday when I was stuck inside with a full jar of discard and a craving for something chewy and salty, I decided to try again. I tweaked the hydration, changed the fermentation time, and crossed my fingers.
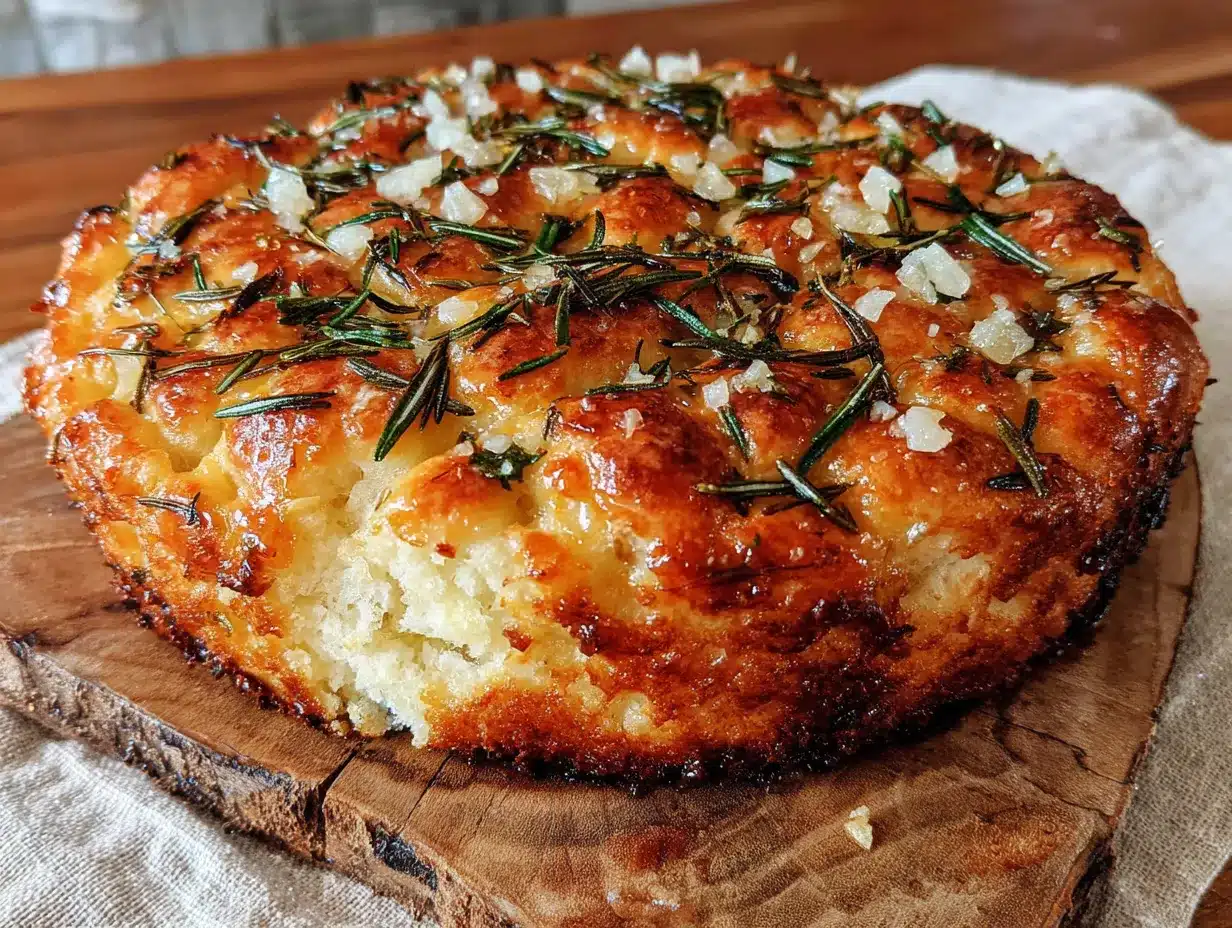
When I pulled that tray out of the oven, the crust was crackling. The underside was golden and crisp from the pool of olive oil. The top was studded with fragrant rosemary and glittering flakes of sea salt. I cut into it and saw a crumb full of uneven, beautiful holes. It was airy, not heavy. It was tangy, not sour. It was, without a doubt, the best focaccia I had ever made—better than any version I had attempted with active yeast. Now, I never throw away my discard. I save it for this.
Why You’ll Love This Recipe
This is not just another way to use up sourdough starter. This is the recipe that turns a kitchen byproduct into the star of the show. I have tested this method over a dozen times, adjusting the water temperature and the folding technique until I got that perfect, bubbly structure every single time.
- Zero Waste, Maximum Flavor: Instead of tossing your sourdough discard, you turn it into a bakery-quality loaf with a complex, tangy flavor that active yeast just cannot replicate.
- Incredibly Easy Dough: There is no kneading. The stretch and fold method does the work for you, building gluten strength without any elbow grease. It is almost impossible to overwork this dough.
- Perfectly Crispy & Airy: The high hydration and long, cold fermentation create a focaccia with a shatteringly crisp bottom, a golden top, and an interior that is light, chewy, and full of irregular air pockets.
- Simple, Pantry Ingredients: You likely have everything you need right now—flour, water, olive oil, salt, and your sourdough discard. The rosemary and sea salt are the finishing touches that make it feel special.
- Weekend Project, Weekday Reward: While the recipe requires some patience for the bulk fermentation, the active hands-on time is minimal. It is the perfect thing to mix up on a Friday night and bake on Saturday afternoon.
This focaccia has become my go-to for everything. I serve it alongside a bowl of creamy roasted cherry tomato basil bisque for dipping, or I slice it in half and use it for sandwiches. It is the kind of bread that makes you look like a hero with very little actual effort.
What Ingredients You Will Need
This recipe relies on a short list of quality ingredients. Because there are so few, each one plays a critical role in the final texture and flavor. Do not skimp on the olive oil—it is not just for greasing the pan, it is an ingredient that bakes into the crust.
- Bread Flour (500g / about 4 cups): I strongly prefer bread flour here for its higher protein content. It creates a stronger gluten network, which is essential for trapping the gas bubbles from the fermentation. All-purpose flour will work in a pinch, but the crumb will be slightly less open and the crust less chewy. I use King Arthur Bread Flour for consistent results.
- Water (400g / about 1 ¾ cups, lukewarm): The hydration on this dough is 80%, which is high. This is what gives focaccia its signature airy texture. Use lukewarm water (around 80°F) to help the fermentation get started, especially if your kitchen is cool. Do not use hot water, or you will kill the natural yeast in the discard.
- Sourdough Discard (200g / about 1 cup, unfed): This is the heart of the recipe. Use discard straight from the fridge. It does not need to be active or bubbly. In fact, older, more acidic discard will give the bread a deeper, more complex tang. I have used discard that was a week old with excellent results.
- Extra-Virgin Olive Oil (¼ cup + more for the pan and top): Use a good quality olive oil here. You will use a generous amount to coat the baking pan and to drizzle over the top before baking. This oil seeps into the dough as it bakes, creating that impossibly crispy, almost fried bottom crust. Do not use light or refined olive oil; you want the flavor.
- Fine Sea Salt (10g / about 1 ½ teaspoons): This is mixed into the dough to season it from the inside out. Do not skip it, as the salt also helps regulate the fermentation and strengthens the gluten structure.
- Fresh Rosemary (2-3 sprigs, leaves removed and roughly chopped): Fresh rosemary is non-negotiable here. Dried rosemary is too brittle and can be overpowering. The fresh leaves soften as they bake and release a fragrant, piney aroma that pairs beautifully with the tangy sourdough.
- Flaky Sea Salt (for finishing, like Maldon): This is different from the fine salt in the dough. The flaky salt is sprinkled on top just before baking. It provides little bursts of salinity that contrast with the rich olive oil and the herbal rosemary. It is the final touch that makes this bread addictive.
Equipment Needed
You do not need a stand mixer or a bread lame for this recipe. The equipment list is short and forgiving.
- Large Mixing Bowl: A standard 4-quart bowl is perfect for mixing the dough and for the bulk fermentation.
- Digital Kitchen Scale: I cannot recommend this enough. Baking with sourdough is a science, and measuring by weight (grams) is far more accurate than using cups. A scale ensures your hydration percentage is correct every time.
- 9×13-inch Baking Pan: This is the ideal size for a thick, fluffy focaccia. A metal pan is best because it conducts heat well and helps crisp the bottom. A glass or ceramic dish will work, but the bottom will be less crispy. Make sure it is at least 2 inches deep.
- Bench Scraper or Dough Scraper: This is incredibly helpful for the stretch and fold process and for scraping the sticky dough out of the bowl. A plastic bench scraper is cheap and one of my most-used tools.
- Plastic Wrap or a Shower Cap: You need something to cover the bowl during the long fermentation to prevent the dough from drying out and forming a skin. A reusable shower cap is actually perfect for this.
- Kitchen Towel: A clean, lint-free kitchen towel for the final proof in the pan.
Preparation Method
This recipe follows a timeline that works around your schedule. The bulk fermentation is long, but the active work is only about 10 minutes spread over a few hours. The payoff is huge.
- Mix the Dough (Day 1, Evening): In your large mixing bowl, combine the 500g bread flour and 10g fine sea salt. Whisk them together. Add the 400g lukewarm water and the 200g sourdough discard. Use a stiff silicone spatula or your hand to mix everything until no dry flour remains. The dough will be very shaggy and sticky. Do not knead it. Just mix it into a cohesive, rough mass. Cover the bowl with plastic wrap and let it rest for 30 minutes. This is the autolyse period, which allows the flour to fully absorb the water and starts the gluten development.
- Stretch and Folds (First 2 Hours): After the rest, you will perform a series of stretch and folds to build strength. Wet your hand slightly to prevent sticking. Grab one side of the dough, stretch it up as high as it will go without tearing, and fold it over the center of the dough. Rotate the bowl 90 degrees and repeat. Do this 4 times total (one full rotation). Cover the bowl again. Repeat this entire process every 30 minutes for the next 2 hours (a total of 4 sets of stretch and folds). You will notice the dough becoming smoother, stronger, and less sticky with each set. It is almost magical to watch.
- Bulk Fermentation (Overnight, 10-14 hours): After the final set of folds, cover the bowl tightly with plastic wrap and place it in the refrigerator. This is the cold bulk fermentation. The cold temperature slows down the yeast activity, allowing the dough to develop complex flavor over a long period without over-proofing. It will more than double in size. I usually mix the dough around 8 PM and take it out the next morning around 8 AM.
- Prepare the Pan & Turn Out the Dough (Day 2, Morning): The next morning, take the dough out of the fridge. Generously coat your 9×13-inch baking pan with 3-4 tablespoons of olive oil. Make sure the bottom and sides are completely slick. Gently scrape the cold dough out of the bowl and into the oiled pan. It will be very soft and jiggly. Do not deflate it too much. Let it sit for 15-20 minutes to warm up slightly.
- Stretch to the Edges: Using oiled fingertips, gently coax the dough towards the edges of the pan. It might resist at first. If it snaps back, let it rest for 10 minutes and try again. You want the dough to fill the pan evenly. This might take 2-3 rounds of gentle stretching and resting. Once it fills the pan, cover it with a clean kitchen towel and let it proof at room temperature for 2-3 hours, or until it is puffy, jiggly, and has risen almost to the top of the pan.
- Preheat & Dimple: About 30 minutes before you are ready to bake, preheat your oven to 425°F (220°C). Place a rack in the middle of the oven. Once the dough is proofed, drizzle another 1-2 tablespoons of olive oil over the top. Now for the fun part: using your fingertips, press deep dimples all over the surface of the dough. Press all the way down to the bottom of the pan. This is what gives focaccia its signature look and creates little pools for the oil and salt.
- Top & Bake: Sprinkle the chopped fresh rosemary evenly over the dimpled surface. Finish with a generous pinch of flaky sea salt. Bake for 25-30 minutes, rotating the pan halfway through, until the focaccia is a deep golden brown on top and the bottom is crispy and sounds hollow when tapped.
- Cool: Let the focaccia cool in the pan for 5 minutes, then carefully transfer it to a wire rack. If you leave it in the pan, the bottom will steam and lose its crispiness. Let it cool for at least 20 minutes before slicing. This allows the crumb to set.
Cooking Tips & Techniques
I have made this recipe more times than I can count, and I have made every mistake in the book. Here is what I have learned so you do not have to.
The Dough is Supposed to be Wet. Do not be tempted to add more flour. An 80% hydration dough feels almost like a batter at first. Trust the process. The stretch and folds and the long fermentation will build the necessary strength. If you add flour, you will end up with a dense, bready focaccia instead of a light, airy one.
Cold Fermentation is Your Friend. I tried making this with a same-day, room-temperature bulk fermentation, and the flavor was flat. The overnight stay in the fridge is what develops that signature sourdough tang. It also makes the dough much easier to handle when you turn it out into the pan. Do not rush this step.
Do Not Skimp on the Oil. The pool of olive oil in the pan is not just for greasing. It fries the bottom of the dough as it bakes, creating that ultra-crispy, almost cracker-like crust that is the hallmark of great focaccia. If you use a light coating, the bottom will be pale and soft. Be generous.
Dimple with Confidence. When it is time to dimple the proofed dough, do not be shy. Press your fingers all the way down to the bottom of the pan. If you only make shallow indentations, the oil will just sit on top and you will miss out on those delicious, oily, salty pockets throughout the bread.
Watch the Color, Not Just the Timer. Ovens vary wildly. Your focaccia might be perfectly golden at 22 minutes, or it might need 30. Look for a deep, dark brown color on the top and edges. The bottom should be a rich golden brown when you lift it. Do not be afraid of a little bit of dark color—that is flavor.
Variations & Adaptations
Once you master the base recipe, the possibilities are endless. This dough is a blank canvas for whatever you have in your pantry or garden.
- Everything Bagel Focaccia: After dimpling, brush the top with a little egg wash (or just water) and sprinkle generously with everything bagel seasoning (sesame seeds, poppy seeds, dried garlic, dried onion, and salt). It is incredible for breakfast sandwiches.
- Caramelized Onion & Gruyere: While the dough is doing its final proof, slowly caramelize 2 large sliced onions in butter and a splash of balsamic vinegar. After dimpling the dough, press the caramelized onions into the surface and dot with small cubes of Gruyere cheese. Bake as directed. This version is rich enough to be a meal on its own.
- Sun-Dried Tomato & Kalamata Olive: Roughly chop ½ cup of oil-packed sun-dried tomatoes and ½ cup of pitted Kalamata olives. After the final stretch and fold during the bulk fermentation, gently fold in the tomatoes and olives. Top with fresh oregano instead of rosemary. This version is salty, briny, and perfect for serving with a sheet pan caprese chicken.
- Gluten-Free Adaptation: I have tested this with a high-quality gluten-free bread flour blend (like Cup4Cup). The hydration needs to be reduced to about 75%. The dough will not be as stretchy, and the crumb will be slightly more tender and less open, but the flavor is still fantastic. Do not attempt a long cold fermentation; a 2-hour room temperature bulk is better for gluten-free dough.
Serving & Storage Suggestions
This focaccia is at its absolute best on the day it is baked, still slightly warm from the oven. The contrast between the crispy, oily bottom and the soft, airy interior is unmatched.
Serving Ideas: Serve it as a side to a bowl of hearty soup or a fresh green salad. It is the perfect vehicle for dipping into a savory queso fundido. Slice it horizontally and use it for the most incredible sandwiches—try it with prosciutto, fresh mozzarella, and a drizzle of balsamic glaze. It is also fantastic toasted the next day and rubbed with a cut clove of garlic for bruschetta.
Storage: Store leftover focaccia in an airtight container or wrapped tightly in foil at room temperature for up to 2 days. Do not refrigerate it, as the fridge will dry it out and make the crumb stale.
Reheating: The best way to revive leftover focaccia is to reheat it in a 350°F oven for 5-7 minutes. This will re-crisp the crust. You can also toast slices in a skillet with a little bit of olive oil. The microwave will make it soft and chewy, so avoid it if you want to preserve the texture.
Freezing: This focaccia freezes beautifully. Let it cool completely, then wrap it tightly in plastic wrap, followed by a layer of aluminum foil. Freeze for up to 3 months. To serve, thaw at room temperature and reheat in a 350°F oven for 10 minutes. The texture will be just as good as the day you baked it.
Nutritional Information & Benefits
While focaccia is a treat, using sourdough fermentation offers some benefits over conventional yeast breads. The long fermentation process helps break down phytic acid, a compound in grains that can inhibit mineral absorption. This means your body can more easily access the calcium, magnesium, and zinc in the flour.
Estimated Nutritional Values (per serving, based on 12 servings):
| Nutrient | Amount |
|---|---|
| Calories | 280 kcal |
| Carbohydrates | 42g |
| Protein | 8g |
| Fat | 10g |
| Fiber | 2g |
| Sodium | 480mg |
Dietary Considerations: This recipe contains gluten and is not suitable for a gluten-free diet without the specific adaptation mentioned above. It is dairy-free and vegan. The olive oil provides healthy monounsaturated fats, and the rosemary is a good source of antioxidants and anti-inflammatory compounds. It is a satisfying bread that, when enjoyed in moderation, fits well into a balanced diet.
Conclusion
This sourdough discard focaccia has completely changed the way I think about my starter. It is no longer a chore to feed Herman; it is an investment in the best bread I will make all week. The process is forgiving, the ingredients are humble, and the result is anything but. That crackling crust, the soft, tangy crumb, the pop of salt and the fragrance of rosemary—it is pure comfort.
I hope you give this recipe a try, even if you are skeptical like I was. Let your discard sit in the fridge for a few days to get nice and tangy. Be generous with the olive oil. Do not be afraid to really dimple that dough. And then, when you pull that golden tray out of the oven, take a moment to listen to it crackle. That sound is the sound of success.
I would love to hear how it turns out for you. Did you try a different topping? Did you serve it with something amazing? Drop a comment below and let me know—your feedback helps other home bakers feel confident enough to try it too. Happy baking!
Frequently Asked Questions
Can I use active sourdough starter instead of discard?
Yes, you can. If you use active, bubbly starter, the fermentation will happen much faster. You may need to reduce the bulk fermentation time significantly (to 4-6 hours at room temperature) to avoid over-proofing. The flavor will be slightly less tangy and more mild.
My dough is very sticky. Is that normal?
Absolutely. This is a high-hydration dough (80%), and it is supposed to be very sticky. Do not add more flour. The stickiness will decrease as you perform the stretch and folds and as the dough ferments. Using a wet hand or a damp bench scraper will help you manage the dough without it sticking to everything.
Why is my focaccia dense and not airy?
This usually happens for one of two reasons. First, your dough may have been under-proofed. If it did not double in size during the bulk fermentation or did not look puffy and jiggly after the final proof, it needs more time. Second, you might have deflated the dough too aggressively when turning it out into the pan. Be very gentle.
Can I make this recipe in a different sized pan?
Yes, but the baking time will change. If you use a smaller pan (like an 8×8), the focaccia will be thicker and will need a longer bake time (35-40 minutes). If you use a larger pan (like a half-sheet pan), it will be thinner and will bake faster (20-25 minutes). Keep an eye on the color.
My rosemary burned in the oven. What did I do wrong?
Fresh rosemary can burn if it is too dry or if it is placed on the bread too early. Make sure to add the rosemary right before the bread goes into the oven. Also, try pressing the rosemary leaves down into the dimples so they are slightly protected by the olive oil. If your oven runs hot, you can add the rosemary halfway through the bake.
Pin This Recipe!
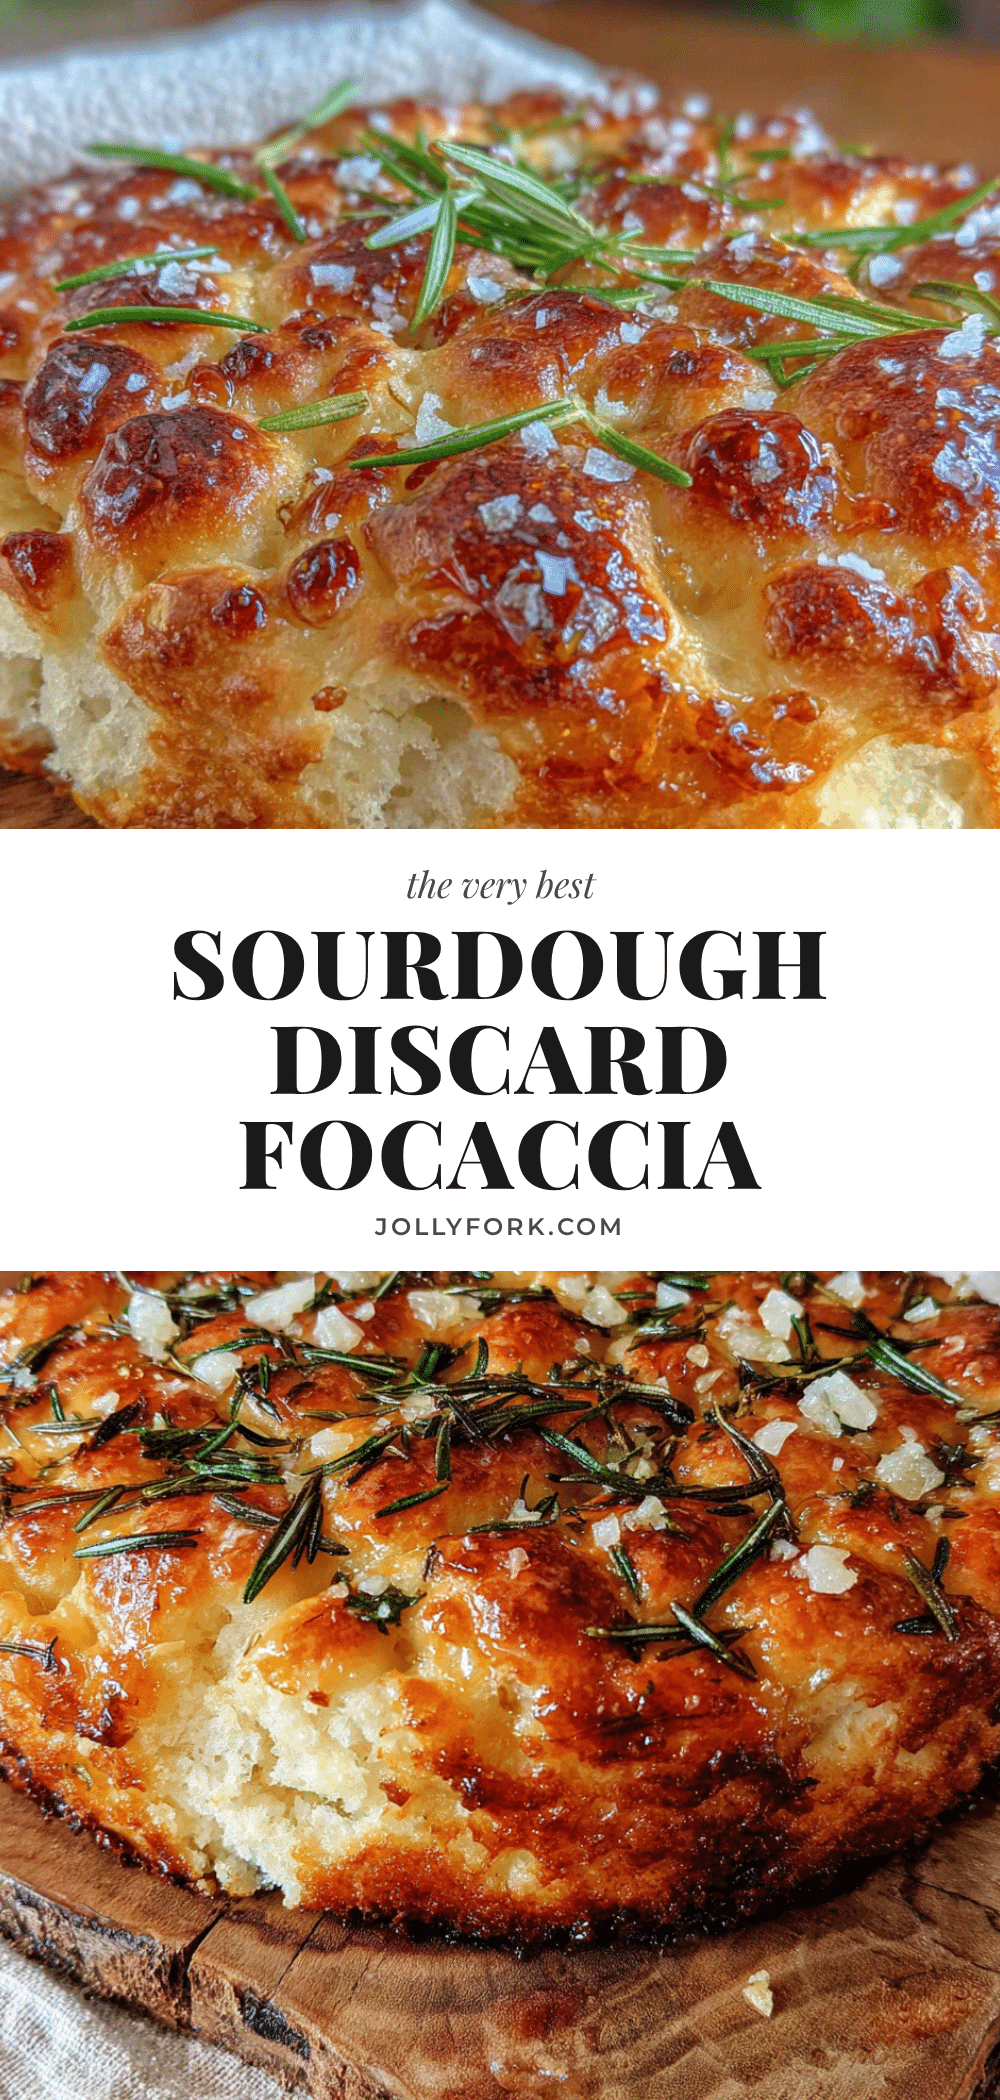
The Best Sourdough Discard Focaccia with Rosemary & Sea Salt

This sourdough discard focaccia turns a kitchen byproduct into a bakery-quality loaf with a complex, tangy flavor, a shatteringly crisp bottom, and an airy, chewy interior studded with fragrant rosemary and flaky sea salt.
- Prep Time: 20 minutes
- Cook Time: 25-30 minutes
- Total Time: 13-15 hours (includes overnight fermentation)
- Yield: 12 servings 1x
- Category: Bread
- Cuisine: Italian
Ingredients
- 500g bread flour (about 4 cups)
- 400g lukewarm water (about 1 ¾ cups)
- 200g sourdough discard (about 1 cup, unfed)
- ¼ cup extra-virgin olive oil, plus more for the pan and top
- 10g fine sea salt (about 1 ½ teaspoons)
- 2–3 sprigs fresh rosemary, leaves removed and roughly chopped
- Flaky sea salt (like Maldon) for finishing
Instructions
- Mix the Dough (Day 1, Evening): In a large mixing bowl, combine 500g bread flour and 10g fine sea salt. Whisk together. Add 400g lukewarm water and 200g sourdough discard. Mix with a spatula or your hand until no dry flour remains. The dough will be shaggy and sticky. Cover with plastic wrap and let rest for 30 minutes (autolyse).
- Stretch and Folds (First 2 Hours): After the rest, wet your hand slightly. Grab one side of the dough, stretch it up, and fold it over the center. Rotate the bowl 90 degrees and repeat. Do 4 total stretches (one full rotation). Cover and repeat every 30 minutes for 2 hours (4 sets total). The dough will become smoother and stronger.
- Bulk Fermentation (Overnight, 10-14 hours): After the final set of folds, cover the bowl tightly with plastic wrap and refrigerate overnight. The dough will more than double in size.
- Prepare the Pan & Turn Out the Dough (Day 2, Morning): Generously coat a 9×13-inch baking pan with 3-4 tablespoons of olive oil. Gently scrape the cold dough into the pan. Let it sit for 15-20 minutes to warm up slightly.
- Stretch to the Edges: Using oiled fingertips, gently coax the dough towards the edges of the pan. If it snaps back, let it rest for 10 minutes and try again. Once it fills the pan, cover with a clean kitchen towel and proof at room temperature for 2-3 hours, until puffy and jiggly.
- Preheat & Dimple: Preheat oven to 425°F (220°C). Drizzle 1-2 tablespoons of olive oil over the proofed dough. Using your fingertips, press deep dimples all over the surface, all the way to the bottom of the pan.
- Top & Bake: Sprinkle chopped fresh rosemary evenly over the dimpled surface. Finish with a generous pinch of flaky sea salt. Bake for 25-30 minutes, rotating halfway through, until deep golden brown on top and the bottom is crispy and sounds hollow when tapped.
- Cool: Let cool in the pan for 5 minutes, then transfer to a wire rack. Cool for at least 20 minutes before slicing.
Notes
The dough is supposed to be very wet (80% hydration). Do not add more flour. Cold fermentation overnight is essential for flavor and texture. Be generous with olive oil for a crispy bottom. Dimple with confidence, pressing all the way to the bottom of the pan. Watch the color, not just the timer, as ovens vary.
Nutrition
- Serving Size: 1 slice (1/12 of rec
- Calories: 280
- Sodium: 480
- Fat: 10
- Saturated Fat: 1.5
- Carbohydrates: 42
- Fiber: 2
- Protein: 8
Keywords: sourdough discard, focaccia, rosemary, sea salt, bread, easy, no-knead, overnight


