Third batch in five days, and this time I let the dough tell me what it needed instead of the other way around. That first attempt? A dense, almost rubbery disc that tasted more like a science experiment than bread. The second was better—softer, with a few shy bubbles—but still missing that ethereal, cloud-like crumb I was chasing. By batch three, I stopped hovering over the bowl and started paying attention to the way the dough felt when it finally relaxed under my fingers. That is when the perfect sourdough discard pumpkin focaccia finally happened. Not because I followed the recipe perfectly, but because I learned to read the dough’s language. The pumpkin puree turned it a soft sunset orange, and the discard gave it that tangy complexity you just can’t fake with commercial yeast. Honestly, I am already thinking about the next batch.
Why You Will Love This Recipe
This focaccia is not your average bread. It is a beautiful marriage of two beloved baking traditions—sourdough and pumpkin—that somehow makes both better. I have tested this recipe more times than I care to admit, tweaking hydration levels and fermentation times until everything clicked.
- Uses up that sourdough discard sitting in your fridge. No more guilt about feeding your starter and tossing the excess.
- Incredibly forgiving dough. Even if you are new to sourdough, this recipe works because the pumpkin adds structure and moisture.
- Perfect for fall gatherings. The color alone stops people mid-conversation. Serve it alongside a bowl of creamy tomato basil soup and watch it disappear.
- No special equipment needed. Just your hands, a bowl, and a bit of patience.
- Stays fresh for days. The pumpkin keeps the crumb tender longer than regular focaccia.
This is the kind of bread that makes you slow down. The kind where you find yourself tearing off pieces straight from the pan, dipping them in good olive oil, and realizing you have eaten half the loaf standing at the counter. It is comfort food that actually makes you feel good—fermented, nourishing, and deeply satisfying. I have brought this to potlucks and watched people go back for thirds, asking if I could share the recipe. Now I am sharing it with you.
What Ingredients You Will Need
This recipe relies on simple, pantry-friendly ingredients that come together to create something far greater than the sum of their parts. The pumpkin does double duty here—adding moisture, natural sweetness, and that gorgeous golden hue.
- Bread flour, 3 cups (360g) — Higher protein content gives better structure and those signature bubbles. All-purpose works in a pinch, but the crumb will be slightly denser.
- Sourdough discard, 1 cup (240g), unfed and straight from the fridge — This is where the magic lives. The tanginess balances the pumpkin sweetness beautifully.
- Pumpkin puree, ½ cup (120g) — Make sure it is 100% pure pumpkin, not pumpkin pie filling. I prefer Libby’s for consistent moisture content.
- Warm water, ¾ cup (180ml), around 85°F — Not too hot or you will kill the wild yeast. Think warm bath water.
- Olive oil, ¼ cup (60ml), plus extra for drizzling — Use a good quality extra virgin here. It is a major flavor player.
- Honey or maple syrup, 1 tablespoon — Just enough to complement the pumpkin and feed the fermentation.
- Salt, 1½ teaspoons — I use fine sea salt. If using kosher, bump it up to 2 teaspoons.
- Fresh rosemary, 2 tablespoons, finely chopped — The woodsy aroma pairs perfectly with pumpkin.
- Flaky sea salt, for finishing — Maldon is my go-to. That final crunch makes a difference.
- Pumpkin seeds, 2 tablespoons, optional — Adds texture and a little extra pumpkin love.
Ingredient Tip: If your discard has been sitting in the fridge for over two weeks, give it a quick refresh feeding the day before. Really old discard can be overly acidic and throw off the flavor balance. I learned this the hard way after making a batch that tasted like a pickle.
Equipment Needed
- Large mixing bowl — Glass or ceramic works best. Avoid metal if you can; it can react with the fermentation.
- 9×13-inch baking pan — A metal pan gives the crispiest bottom crust. Glass works but adjust baking time up by 5 minutes.
- Kitchen scale — Not strictly necessary, but bread baking is so much more consistent with weight measurements. I use my OXO scale for everything.
- Bench scraper — Helps with folding the dough and cleaning up the sticky mess.
- Plastic wrap or a clean kitchen towel — For covering the dough during bulk fermentation.
- Measuring cups and spoons — Have them ready before you start. Nothing worse than hunting for a tablespoon with dough on your hands.
Budget-friendly tip: No bench scraper? Use a stiff spatula or even a credit card you do not care about. I used a plastic dough scraper from the dollar store for years before upgrading.
Preparation Method
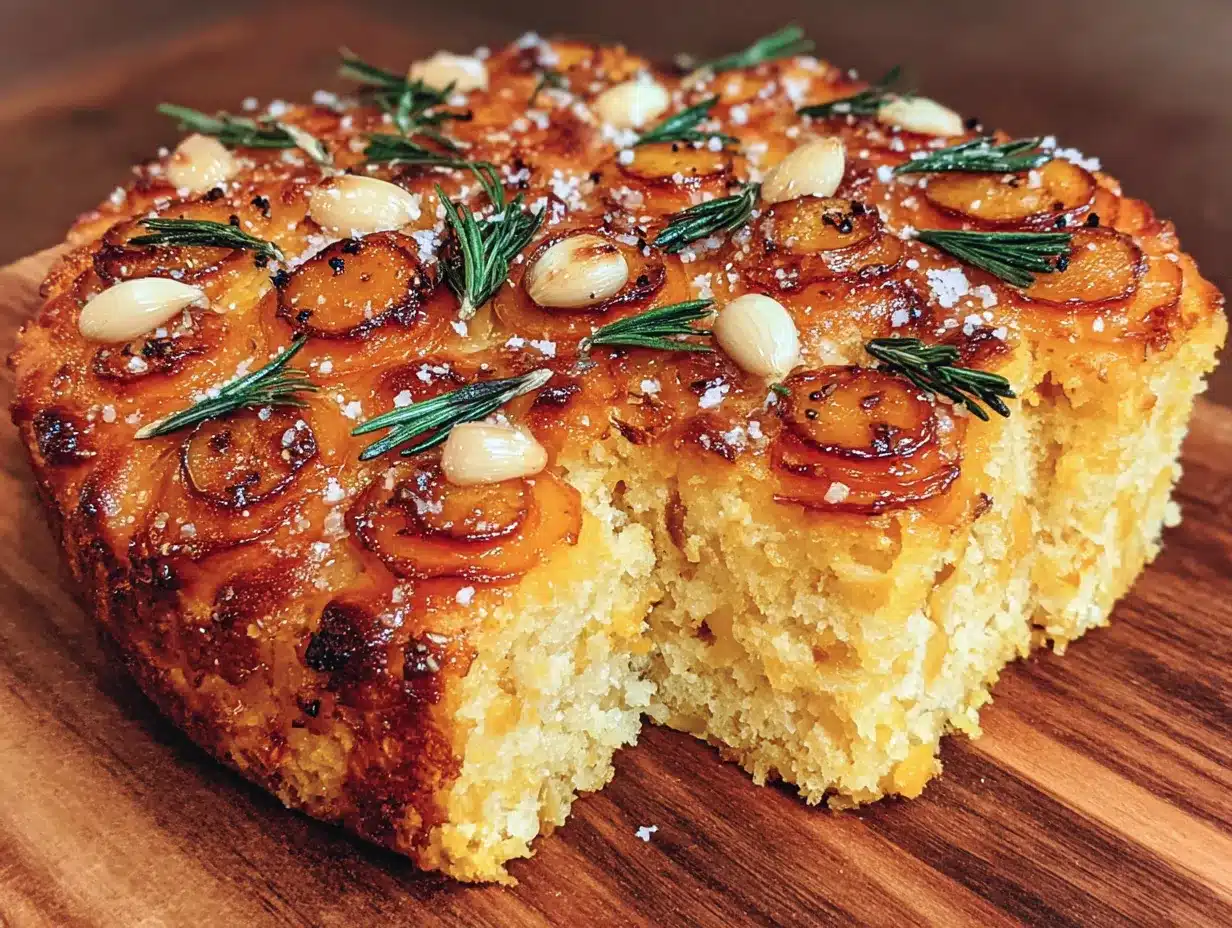
- Mix the dough. In your large bowl, combine the bread flour, sourdough discard, pumpkin puree, warm water, olive oil, honey, and salt. Stir with a wooden spoon or your hands until a shaggy mass forms. It will look rough and sticky—that is exactly right. Cover with plastic wrap and let rest for 30 minutes. This autolyse step lets the flour fully hydrate and starts developing gluten without any effort on your part.
- Perform stretch and folds. Wet your hands slightly to prevent sticking. Grab one side of the dough, stretch it up, and fold it over the center. Rotate the bowl a quarter turn and repeat. Do this four times total, completing one full rotation. Cover and rest 30 minutes. Repeat this stretch and fold process three more times, every 30 minutes. You will notice the dough becoming smoother and more elastic with each fold. By the fourth round, it should feel alive and bouncy.
- Bulk fermentation. After the last fold, cover the bowl tightly and let it ferment at room temperature for 6-8 hours. The dough should roughly double in size and look bubbly on the surface. If your kitchen is cold (below 68°F), it may take closer to 10 hours. If it is warm (above 78°F), check at 5 hours. I always set a timer but also trust my eyes—a domed, jiggly surface with visible bubbles is the goal.
- Prepare the pan. Drizzle 2 tablespoons of olive oil into your 9×13 pan. Use your fingers to spread it evenly over the bottom and up the sides. This generous oiling ensures a crispy, golden crust.
- Transfer and rest. Gently coax the dough out of the bowl into the oiled pan. It will be soft and sticky. Do not punch it down—handle it gently to preserve those precious air bubbles. Let it rest uncovered for 30 minutes.
- Dimple the dough. Drizzle another tablespoon of olive oil over the top. Using your fingertips, press straight down into the dough, creating deep dimples across the entire surface. Do not be shy here. Those dimples are where the oil pools and creates crispy, caramelized spots. Sprinkle the chopped rosemary, flaky sea salt, and pumpkin seeds evenly over the top.
- Final proof. Cover the pan with plastic wrap and let the dough rise for another 2-3 hours. It should puff up significantly and feel airy when you gently press it.
- Bake. Preheat your oven to 425°F (220°C) with a rack in the middle position. Bake the focaccia for 25-30 minutes, rotating the pan halfway through. The top should be deep golden brown and the bottom should sound hollow when tapped. If the top is browning too quickly, tent loosely with foil for the last 10 minutes.
- Cool and serve. Let the focaccia cool in the pan for 10 minutes, then transfer to a wire rack. The hardest part is waiting. I know. Try to let it cool for at least 20 minutes before slicing. The steam inside needs to redistribute, and cutting too early can make the crumb gummy.
Sensory cue: When you tap the bottom of the baked focaccia, it should sound like knocking on a hollow door. That is how you know it is fully baked through.
Cooking Tips and Techniques
I have made this focaccia more times than I care to count, and each batch taught me something. Here is what I wish I knew from the start.
Temperature matters more than you think. If your kitchen is drafty or cold, find a warm spot for the dough to rise. I set my bowl on top of the refrigerator or near the stove while I am cooking something else. A consistent 75°F environment makes fermentation predictable and reliable.
Do not skip the stretch and folds. I tried rushing this step once because I was short on time. The result was a flat, dense focaccia with none of those beautiful air pockets. Those folds build the gluten network that traps gas and creates the open crumb structure.
Wet hands are your best friend. Sourdough discard dough is sticky by nature. Keep a small bowl of water nearby and dip your fingers before handling the dough. It prevents sticking without adding extra flour, which can make the bread tough.
Watch for overproofing. If your dough starts to smell overly sour or develops a greyish tint, you have let it ferment too long. The focaccia will still be edible but will lack oven spring and have a denser texture. When in doubt, err on the side of slightly underproofed—it will still puff up beautifully in the oven.
Let it cool completely for the best texture. I know the aroma filling your kitchen is irresistible. But cutting into warm focaccia compresses the crumb and releases steam that should stay inside. Patience pays off here.
Variations and Adaptations
This recipe is wonderfully flexible. Here are a few ways I have adapted it depending on what I have on hand or who I am feeding.
- Herb swap. Not a rosemary fan? Try fresh thyme, sage, or a mix of dried Italian herbs. I once made a batch with dill and garlic that was incredible alongside a bowl of creamy crockpot white chicken chili.
- Sweet version. Omit the rosemary and salt, and add 2 tablespoons of brown sugar and 1 teaspoon of pumpkin pie spice to the dough. Top with a cinnamon-sugar sprinkle before baking. It is dangerously good toasted with butter.
- Gluten-free adaptation. Substitute the bread flour with a good gluten-free all-purpose blend that contains xanthan gum. Reduce the water by 2 tablespoons since gluten-free flours behave differently. The texture will be more cake-like but still delicious.
- Cheese lover’s focaccia. Press small cubes of feta or goat cheese into the dimples before the final proof. The cheese gets melty and golden in the oven. I have also used shredded parmesan on top for a crispy, salty crust.
- Whole wheat option. Replace half the bread flour with whole wheat flour. Add an extra 2 tablespoons of water since whole wheat absorbs more liquid. The flavor will be nuttier and more rustic.
Serving and Storage Suggestions
This focaccia shines in so many settings. For a casual dinner, serve it warm alongside a cozy roasted butternut squash and apple fall salad for a meal that feels like a warm hug. It is also fantastic sliced horizontally and used for sandwiches—try it with roasted turkey, cranberry sauce, and arugula.
For storage, keep the focaccia at room temperature wrapped loosely in foil or beeswax wrap for up to 3 days. Do not refrigerate it—that actually speeds up staling. If you need to keep it longer, slice and freeze it in a zip-top bag for up to 3 months. Toast frozen slices directly from the freezer at 350°F for 5-7 minutes.
Reheating tip: Pop leftover focaccia in a 350°F oven for 5 minutes. It revives the crispy crust and soft interior better than the microwave ever could. I have also had great luck reheating slices in a dry skillet over medium heat for 2 minutes per side.
The flavor actually deepens on day two. The sourdough tang mellows, and the pumpkin and herbs meld together beautifully. If you can resist eating the whole pan the first day, you are in for a treat tomorrow.
Nutritional Information and Benefits
Each serving (one piece, about 1/12 of the pan) contains approximately 180 calories, 6g fat, 28g carbohydrates, 2g fiber, 4g protein, and 3g sugar. These values are estimates and will vary based on exact ingredients used.
The pumpkin puree is a nutritional powerhouse—packed with vitamin A for eye health, fiber for digestion, and antioxidants that support your immune system. The sourdough fermentation process breaks down phytic acid in the flour, making the minerals more bioavailable and easier for your body to absorb. This is bread that actually nourishes you.
This recipe is naturally vegetarian and can be made vegan by using maple syrup instead of honey. For a lower-carb option, reduce the portion size or pair it with a protein-rich soup or salad to balance the meal.
Conclusion
This perfect sourdough discard pumpkin focaccia has become my fall baking obsession, and I think it will become yours too. It takes a humble ingredient—your neglected sourdough discard—and transforms it into something beautiful and deeply satisfying. The process is meditative, the result is stunning, and the flavor is absolutely unforgettable.
I would love to hear how your focaccia turns out. Did you try a variation? Did your family devour it as fast as mine does? Drop a comment below and let me know. And if you snap a photo, tag me—I love seeing your baking adventures. Until next time, happy baking, and remember: the best bread is the one made with patience and a little bit of love.
Frequently Asked Questions
Can I use active sourdough starter instead of discard?
Absolutely. If you use active starter, reduce the water by 2 tablespoons since the starter is already hydrated. The fermentation time may be slightly shorter since active starter is more vigorous.
My dough is not rising. What went wrong?
Several things could be at play. Your kitchen might be too cold—try finding a warmer spot. Your discard might be too old and lacking microbial activity. Or your flour could be low in protein. Check your flour label and switch to bread flour if needed.
Can I make this ahead of time?
Yes. After the bulk fermentation, you can refrigerate the dough overnight. The next day, let it come to room temperature for an hour before transferring to the pan and proceeding with the recipe. The cold fermentation actually develops more complex flavor.
Why is my focaccia dense and not airy?
This usually happens from under-fermentation or over-handling the dough. Make sure you are giving the dough enough time to develop those gas bubbles. Also, handle it gently during the transfer to the pan—rough handling deflates the air pockets.
Can I use canned pumpkin pie filling instead of pure pumpkin?
I would not recommend it. Pumpkin pie filling contains added sugar, spices, and stabilizers that will throw off the dough’s hydration and fermentation. Stick with 100% pure pumpkin puree for the best results.
Pin This Recipe!
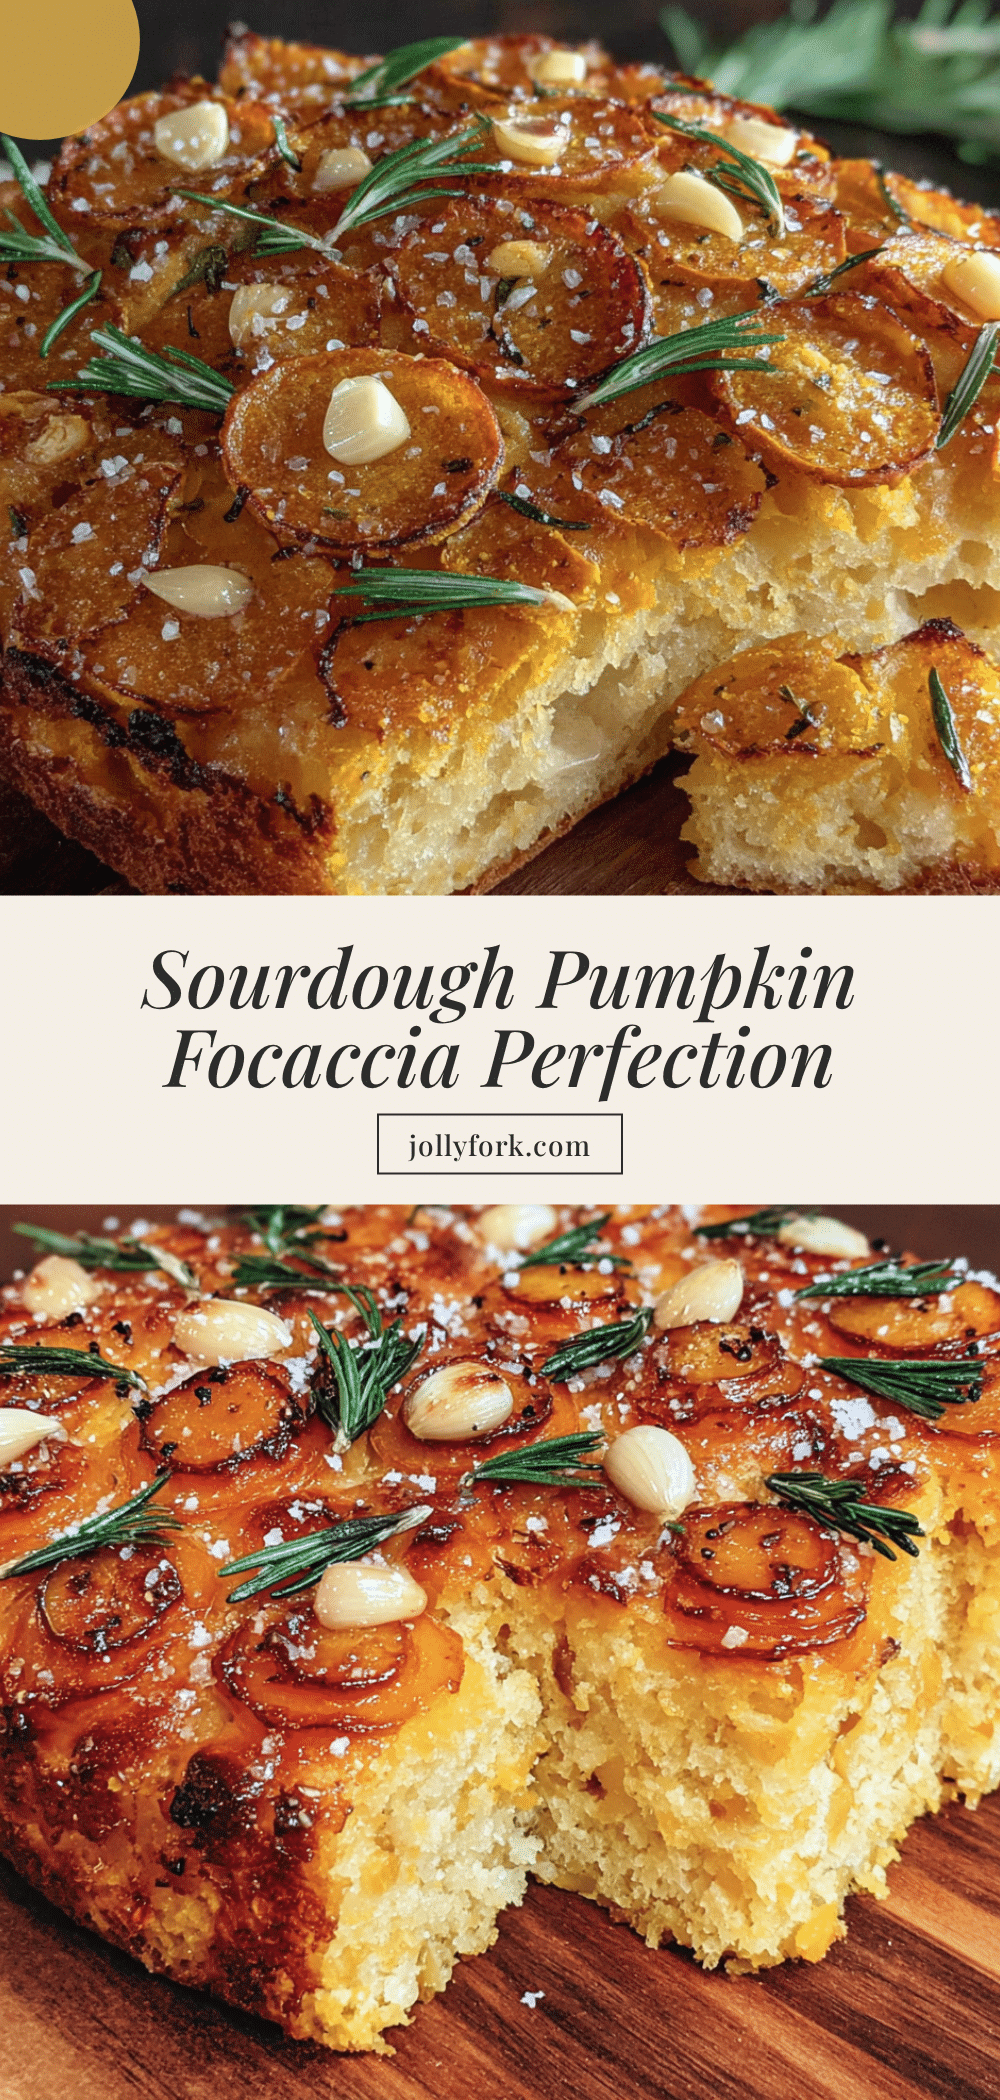
Perfect Sourdough Discard Pumpkin Focaccia
This focaccia is a beautiful marriage of sourdough and pumpkin, using up your discard to create a tangy, tender bread with a gorgeous sunset orange color. It’s forgiving for beginners and stays fresh for days.
- Prep Time: 30 minutes
- Cook Time: 30 minutes
- Total Time: 10 hours 30 minutes (includes fermentation and proofing)
- Yield: 12 servings 1x
- Category: Bread
- Cuisine: American
Ingredients
- 3 cups (360g) bread flour
- 1 cup (240g) sourdough discard, unfed
- ½ cup (120g) pumpkin puree (100% pure, not pie filling)
- ¾ cup (180ml) warm water (about 85°F)
- ¼ cup (60ml) olive oil, plus extra for drizzling
- 1 tablespoon honey or maple syrup
- 1½ teaspoons fine sea salt (or 2 teaspoons kosher salt)
- 2 tablespoons fresh rosemary, finely chopped
- Flaky sea salt (e.g., Maldon), for finishing
- 2 tablespoons pumpkin seeds (optional)
Instructions
- Mix the dough: In a large bowl, combine bread flour, sourdough discard, pumpkin puree, warm water, olive oil, honey, and salt. Stir until a shaggy mass forms. Cover with plastic wrap and let rest for 30 minutes.
- Perform stretch and folds: Wet your hands slightly. Grab one side of the dough, stretch it up, and fold it over the center. Rotate the bowl a quarter turn and repeat. Do this four times total. Cover and rest 30 minutes. Repeat this stretch and fold process three more times, every 30 minutes.
- Bulk fermentation: After the last fold, cover the bowl tightly and let it ferment at room temperature for 6-8 hours, until roughly doubled in size and bubbly on the surface.
- Prepare the pan: Drizzle 2 tablespoons of olive oil into a 9×13-inch baking pan. Spread evenly over the bottom and up the sides.
- Transfer and rest: Gently coax the dough into the oiled pan. Do not punch it down. Let it rest uncovered for 30 minutes.
- Dimple the dough: Drizzle another tablespoon of olive oil over the top. Using your fingertips, press straight down into the dough, creating deep dimples across the entire surface. Sprinkle chopped rosemary, flaky sea salt, and pumpkin seeds evenly over the top.
- Final proof: Cover the pan with plastic wrap and let the dough rise for another 2-3 hours, until puffed and airy.
- Bake: Preheat oven to 425°F (220°C). Bake for 25-30 minutes, rotating the pan halfway through, until deep golden brown and the bottom sounds hollow when tapped. If browning too quickly, tent with foil for the last 10 minutes.
- Cool and serve: Let cool in the pan for 10 minutes, then transfer to a wire rack. Cool for at least 20 minutes before slicing.
Notes
If your discard has been in the fridge for over two weeks, give it a quick refresh feeding the day before. For a vegan version, use maple syrup instead of honey. The flavor deepens on day two.
Nutrition
- Serving Size: 1 piece (1/12 of pan
- Calories: 180
- Sugar: 3
- Sodium: 300
- Fat: 6
- Saturated Fat: 1
- Carbohydrates: 28
- Fiber: 2
- Protein: 4
Keywords: sourdough discard, pumpkin focaccia, fall bread, sourdough bread, pumpkin recipe, focaccia recipe


