My friend Jenna had claimed to hate hot cocoa for about a decade. “It’s watery chocolate milk for kids,” she’d say, wrinkling her nose every time someone ordered a mug at the coffee shop. I never argued with her about it—honestly, I figured she just hadn’t tried the right one. Then last December, I was testing peppermint hot cocoa bombs for the blog, and I caught her standing in my kitchen at 10 p.m., spoon in hand, staring at the half-melted sphere in her mug like she’d been caught stealing cookies. “This is different,” she mumbled, not quite looking me in the eye. “It’s got that minty thing going on.”
That moment stuck with me. Not because I was right—okay, maybe a little—but because it reminded me how one perfect version of something can completely change your mind. These cozy peppermint hot cocoa bombs aren’t just cute holiday treats. They’re the kind of thing that makes you rethink what hot chocolate can be. The chocolate shell cracks open in warm milk, releasing a cloud of peppermint marshmallows and cocoa mix that smells like a Christmas market in a cup. Maybe you’ve had a hot cocoa bomb that fell flat before—too sweet, not enough chocolate, the peppermint tasted like toothpaste. I’ve been there too.
The trick is in the proportions. Too much candy cane makes it harsh, too little and you miss the point. I messed up three batches before I got it right—one batch where the chocolate seized because I rushed the tempering, another where the bombs looked like lopsided snowballs. But this version? It’s the one that made Jenna a believer. And honestly, if it can win over a decade-long hater, it might just become your new winter tradition too.
Why You’ll Love This Recipe
Let’s be real for a second—there are about a million hot cocoa bomb recipes floating around Pinterest. But this one earned its spot in my permanent recipe binder for a few specific reasons. I’ve tested it about seven times now, tweaking the chocolate-to-filling ratio and the peppermint intensity until it felt just right. Here’s what makes it stand out:
- Ready in 5 Minutes of Active Time: The actual hands-on work takes almost no time. You’re just melting chocolate, filling molds, and sealing them shut. The hardest part is waiting for them to set—which is totally passive time.
- Simple Ingredients, No Fancy Shopping: You need chocolate chips, cocoa mix, marshmallows, and candy canes. That’s it. No weird stabilizers, no specialty baking ingredients you’ll never use again.
- Perfect for Holiday Gifting: These make the most thoughtful homemade gifts for neighbors, teachers, or coworkers. Wrap them in a cellophane bag with a ribbon, and you look like you spent hours—even though it took you less than ten minutes.
- Crowd-Pleasing Magic: Kids absolutely lose their minds watching the shell dissolve in warm milk. Adults pretend to be sophisticated about it, but I’ve seen grown men light up like it’s Christmas morning.
- Completely Customizable: Once you know the basic technique, you can swap the peppermint for salted caramel, dark chocolate, or even spiced chai flavors. The method stays the same.
What makes this recipe different from the others I’ve tried? It’s the peppermint-to-chocolate balance. Most recipes either bury you under candy cane chunks or barely whisper mint. I spent an embarrassing amount of time figuring out the sweet spot—crushed candy cane mixed into the cocoa powder itself, not just sprinkled on top. That way, every sip has that cool, tingly finish without overwhelming the chocolate. It’s the kind of hot cocoa that makes you close your eyes after the first sip, you know? Comfort in a mug, but with a little holiday sparkle.
What Ingredients You Will Need
This recipe uses simple, pantry-friendly ingredients to create something that feels way more special than the sum of its parts. The magic is in how they come together—and a few small choices make a big difference in the final result.
For the Chocolate Shell
- 12 ounces (340g) semi-sweet chocolate chips – I prefer Ghirardelli or Guittard for the smoothest melt and best snap. Avoid chocolate with weird additives; you want real cocoa butter here.
- 1 teaspoon coconut oil or shortening (optional, but helps thin the chocolate for easier coating)
For the Filling
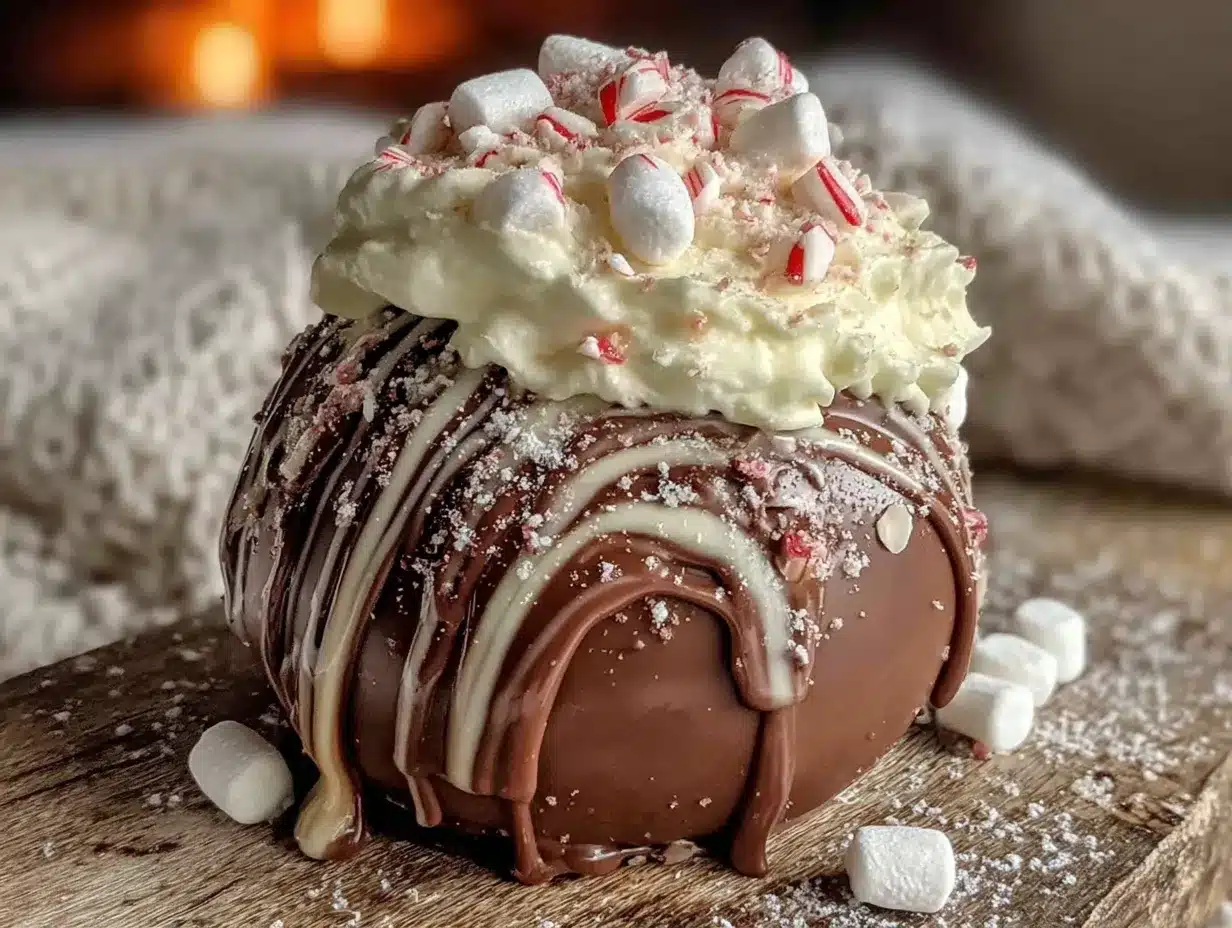
- 1/2 cup (60g) high-quality cocoa powder mix – Not the sugar-free stuff. You want a mix that already has powdered milk and sugar blended in. Swiss Miss works fine, but I love using a local brand from my farmer’s market.
- 1/4 cup (30g) mini marshmallows – The tiny ones fit better inside the bombs. Regular marshmallows cut into quarters work too.
- 2 tablespoons (20g) crushed candy canes – About 2-3 regular-sized candy canes, crushed into small pieces but not powder. A zip-top bag and a rolling pin work perfectly.
- Optional: 1/4 teaspoon peppermint extract – Only if you want an extra-strong mint kick. Mix it into the cocoa powder before filling.
For Assembly & Decoration
- 1-2 additional candy canes, crushed finer – For topping the finished bombs
- Drizzle chocolate or white chocolate – For decorative drizzling on top
- Optional: edible glitter or gold luster dust – Because why not make them sparkle?
One thing I learned the hard way—don’t use dark chocolate chips for the shell if you’re serving kids. It’s too bitter and overpowers the peppermint. Semi-sweet is the sweet spot (pun intended). For a dairy-free version, use dairy-free chocolate chips and check your cocoa mix for milk powder. Most hot cocoa mixes contain dairy, but there are good vegan options out there.
Equipment Needed
- 2-inch (5cm) silicone half-sphere molds – These are non-negotiable for round bombs. You can find them at craft stores or online for about $8. I’ve tried making bombs in muffin tins and it’s a mess—trust me, just get the molds.
- Microwave-safe bowl or double boiler – A glass bowl works fine for microwave melting. If you’re doing stovetop, a metal bowl over simmering water gives you more control.
- Pastry brush or small spoon – For spreading chocolate evenly inside the molds. A brush gives thinner shells; a spoon works if that’s all you have.
- Baking sheet – To hold the molds while they set in the fridge.
- Piping bag or zip-top bag – For drizzling decorative chocolate on finished bombs.
- Small offset spatula or butter knife – For scraping excess chocolate off the molds.
If you don’t have silicone molds, you can use a plastic Easter egg mold—just make sure it’s food-safe. I found a set at the dollar store once and they worked surprisingly well. The key is flexibility; you need to be able to pop the chocolate halves out without cracking them.
Preparation Method
Step 1: Melt the Chocolate (2 minutes)
Place the semi-sweet chocolate chips in a microwave-safe bowl. Microwave in 30-second bursts, stirring between each, until fully melted and smooth. If using coconut oil, stir it in after the chocolate is melted—it helps thin the chocolate so it coats the molds more evenly. Don’t overheat or the chocolate will seize and turn into a grainy mess. I’ve done this more times than I care to admit.
Step 2: Coat the Molds (3 minutes)
Spoon about 1 tablespoon of melted chocolate into each cavity of your silicone half-sphere mold. Use a pastry brush or the back of a small spoon to spread the chocolate up the sides, covering every surface evenly. Make sure the edges are coated too—this is where the two halves will seal later. Tap the mold gently on the counter to release any air bubbles. Place the mold on a baking sheet and refrigerate for 10-15 minutes, until the chocolate is firm but not rock hard. You want it set enough to hold its shape but still slightly pliable for sealing.
Step 3: Prepare the Filling (2 minutes)
While the chocolate sets, mix your filling. In a small bowl, combine the cocoa powder mix and crushed candy canes. If you want extra peppermint punch, stir in the peppermint extract. Set the mini marshmallows aside separately—you’ll add them right before sealing.
Step 4: Fill the Bombs (2 minutes)
Once the chocolate shells are set, carefully pop them out of the molds. You should have 6-8 half-spheres, depending on your mold size. Place half of them on a clean baking sheet—these will be the bottoms. Spoon about 1 tablespoon of the cocoa-candy cane mixture into each bottom half. Drop 4-5 mini marshmallows on top of the cocoa mix. Don’t overfill; you need room to seal the top half on.
Step 5: Seal the Bombs (2 minutes)
Take the remaining empty half-spheres—these are the tops. Warm a small plate or a nonstick skillet over low heat for about 30 seconds. Gently press the rim of each top half onto the warm surface for 2-3 seconds, just enough to melt the edge slightly. Immediately press the melted edge onto the filled bottom half, creating a sealed sphere. Hold it in place for a few seconds until the seam sets. If you see gaps, dab a little melted chocolate along the seam with your finger or a small brush.
Step 6: Decorate (3 minutes)
Place the sealed bombs back on the baking sheet. Drizzle melted white or dark chocolate over the tops using a piping bag or a zip-top bag with the corner snipped off. Sprinkle with finely crushed candy cane pieces while the drizzle is still wet. If using edible glitter, dust it on now. Refrigerate for another 10-15 minutes until everything is set.
Step 7: Serve or Gift
To serve, place one bomb in a mug and pour 8-10 ounces of hot milk over it. Watch the shell crack open and the marshmallows bloom—it’s genuinely satisfying every single time. Stir until the cocoa is fully dissolved and enjoy immediately.
Cooking Tips & Techniques
I’ve made probably fifty batches of these over the last two winters, and I’ve messed up enough to know what works. Here’s what I wish someone had told me:
Temperature is everything. If your chocolate is too hot when you coat the molds, it’ll run down the sides and pool at the bottom, giving you thick-bottomed, thin-walled bombs. Let it cool for a minute or two after melting. If it’s too thick to spread, reheat for 5 seconds—don’t add more oil.
Don’t skip the tap. After you spread chocolate in the molds, tap the baking sheet firmly on the counter a few times. This brings air bubbles to the surface and gives you a smoother, more professional-looking shell. I skipped this once and ended up with pitted bombs that looked like they had acne.
Sealing is the trickiest part. If you overheat the rim, the chocolate melts too much and the bomb collapses. If you underheat it, the halves won’t stick. The warm plate method is the most forgiving—it gives you a controlled melt without guesswork. Test one first; if it doesn’t seal, warm the plate a little longer.
Work in small batches. Only coat 4-6 molds at a time. If you do all 12 at once, the chocolate starts setting before you can fill them. I learned this the hard way when my first batch turned into a chocolate sculpture project.
Crush candy canes strategically. For the filling, you want small pieces—about the size of coarse sand. For the topping, crush them finer, almost like dust. The fine pieces stick better to the drizzle and look prettier.
Variations & Adaptations
Dark Chocolate Peppermint Bombs: Swap semi-sweet chips for 60% dark chocolate. The bitterness balances the sweetness of the marshmallows beautifully. Add a pinch of sea salt to the cocoa mix for a salted dark chocolate version.
White Chocolate Peppermint Bombs: Use white chocolate chips for the shell. The sweetness pairs perfectly with the mint—it tastes like a peppermint bark latte. Reduce the crushed candy cane slightly since white chocolate is sweeter.
Vegan Peppermint Hot Cocoa Bombs: Use dairy-free semi-sweet chocolate chips and a vegan hot cocoa mix (most organic brands work). Mini marshmallows are typically not vegan, but you can find vegan marshmallows at health food stores or skip them entirely—the bombs still work.
Spicy Mexican Hot Cocoa Bombs: Add 1/4 teaspoon cinnamon and a pinch of cayenne pepper to the cocoa mix. Skip the peppermint and use regular marshmallows. It’s a completely different flavor profile but uses the exact same technique.
Mini Bombs for Kids: Use 1-inch (2.5cm) half-sphere molds instead. Fill with extra marshmallows and less cocoa mix. These are perfect for small mugs and little hands.
I tried a salted caramel version last month—drizzled caramel sauce inside the shell before adding the cocoa mix. It was good, but the peppermint version is still my favorite. There’s something about that cool, fresh finish that just screams winter.
Serving & Storage Suggestions
Serve these bombs in clear glass mugs if you have them—the visual of the chocolate cracking open is half the fun. Heat your milk to about 150°F (65°C), just below boiling. Too hot and it’ll destroy the marshmallows; too cool and the chocolate won’t melt properly. Whole milk gives the creamiest result, but oat milk or almond milk work well too.
For a full cozy experience, serve with a peppermint stick stirrer and a dollop of whipped cream on top. These pair beautifully with gingerbread cookies, shortbread, or a slice of chocolate peppermint loaf cake. They’re perfect for holiday movie nights, Christmas morning, or as a warm-you-up treat after coming in from the cold.
Storage: Keep finished bombs in an airtight container at room temperature for up to 2 weeks. Do not refrigerate—the chocolate can develop condensation and bloom (white streaks). If you’re gifting them, wrap each bomb individually in cellophane or place them in a gift box with tissue paper. They’re sturdy enough to transport if packed carefully.
Freezing: You can freeze the unfilled chocolate shells for up to 3 months. Place them in a freezer-safe container with parchment paper between layers. Thaw at room temperature for 10 minutes before filling and sealing. I do this when I’m prepping for holiday baking marathons—it saves so much time.
The flavors actually meld together after a day or two. The peppermint infuses into the cocoa mix more evenly, so the bombs taste even better on day two. Just something to keep in mind if you’re making them ahead for a party.
Nutritional Information & Benefits
Each peppermint hot cocoa bomb (prepared with whole milk) contains approximately:
- Calories: 280-320
- Fat: 14g
- Carbohydrates: 38g
- Protein: 6g
- Sugar: 28g
These numbers vary based on your chocolate choice and milk type. Using dark chocolate and unsweetened almond milk can cut the sugar by about a third.
On the health front, dark chocolate contains flavonoids that support heart health and improve blood flow. Peppermint has natural digestive benefits—it can help soothe an upset stomach and reduce nausea. The warm milk provides calcium and vitamin D. Is this a health food? No. But it’s a treat that offers a few small nutritional perks alongside the indulgence.
For those watching their intake, one bomb makes a generous serving. I usually split one with my daughter—it’s plenty for both of us. The mini bomb version has about half the calories, which is a nice option for portion control.
Allergen note: Contains dairy (unless modified). Chocolate may contain traces of soy and nuts depending on the brand. Always check labels if serving someone with allergies.
Conclusion
These cozy peppermint hot cocoa bombs are more than just a pretty holiday project. They’re the kind of recipe that makes you slow down, even for just five minutes, and enjoy something warm and sweet. Whether you’re making them for yourself, surprising a friend, or trying to convert a hot cocoa skeptic like Jenna, they deliver every single time.
What I love most about this recipe is how forgiving it is. Your first bomb might not be perfect—mine wasn’t. The chocolate might be a little thick in one spot, the seam might show, the drizzle might look like abstract art. But it’ll still taste amazing, and that’s what counts. The more you make them, the better you get. And honestly, even the “ugly” ones are delicious.
I’d love to hear how yours turn out. Did you try a variation? Add something unexpected? Have a cocoa bomb disaster story? Drop a comment below—I read every single one. And if you make these for someone special, tag me in your photos. There’s nothing that makes my day like seeing these bombs bring a little warmth to someone else’s winter.
Now go make some magic in your kitchen. You’ve got this.
Frequently Asked Questions
Can I use milk chocolate instead of semi-sweet?
Absolutely, but expect a sweeter result. Milk chocolate is softer, so the shells will be a bit more delicate. You might need to refrigerate them a little longer before unmolding. If you’re using milk chocolate, reduce or skip the crushed candy cane topping—it can get cloyingly sweet.
Why did my chocolate shell crack when I tried to unmold it?
This usually happens when the chocolate is too thin or wasn’t chilled long enough. Make sure you’re spreading an even layer—about 1/8 inch thick. If the shell feels flexible when you try to pop it out, give it another 5 minutes in the fridge. Also, silicone molds need to be completely dry before you add chocolate; any moisture can cause cracking.
Can I make these without silicone molds?
Yes, but it’s trickier. You can use plastic Easter egg molds (the kind that split in half) or even form the chocolate around the back of a greased muffin tin. The key is having a smooth, curved surface. Without proper molds, you’ll have a harder time getting uniform spheres, but the taste will be the same.
How far in advance can I make these for gifts?
You can make them up to 2 weeks ahead. Store them in an airtight container at room temperature—not in the fridge. If you’re gifting them, I recommend making them no more than 5-7 days before giving them, just so they look their freshest. The chocolate stays shiny and the marshmallows stay soft for about a week.
My bombs won’t seal properly. What am I doing wrong?
The rim of the top half needs to be just barely melted—not dripping. If it’s too hot, the chocolate runs and you lose the seal. If it’s too cold, it won’t stick. Try the warm plate method: heat a plate in the microwave for 30 seconds, then press the rim onto it for 2-3 seconds. Also, make sure the rim of the bottom half is clean and free of cocoa powder—any powder will prevent the seal from forming.
Pin This Recipe!
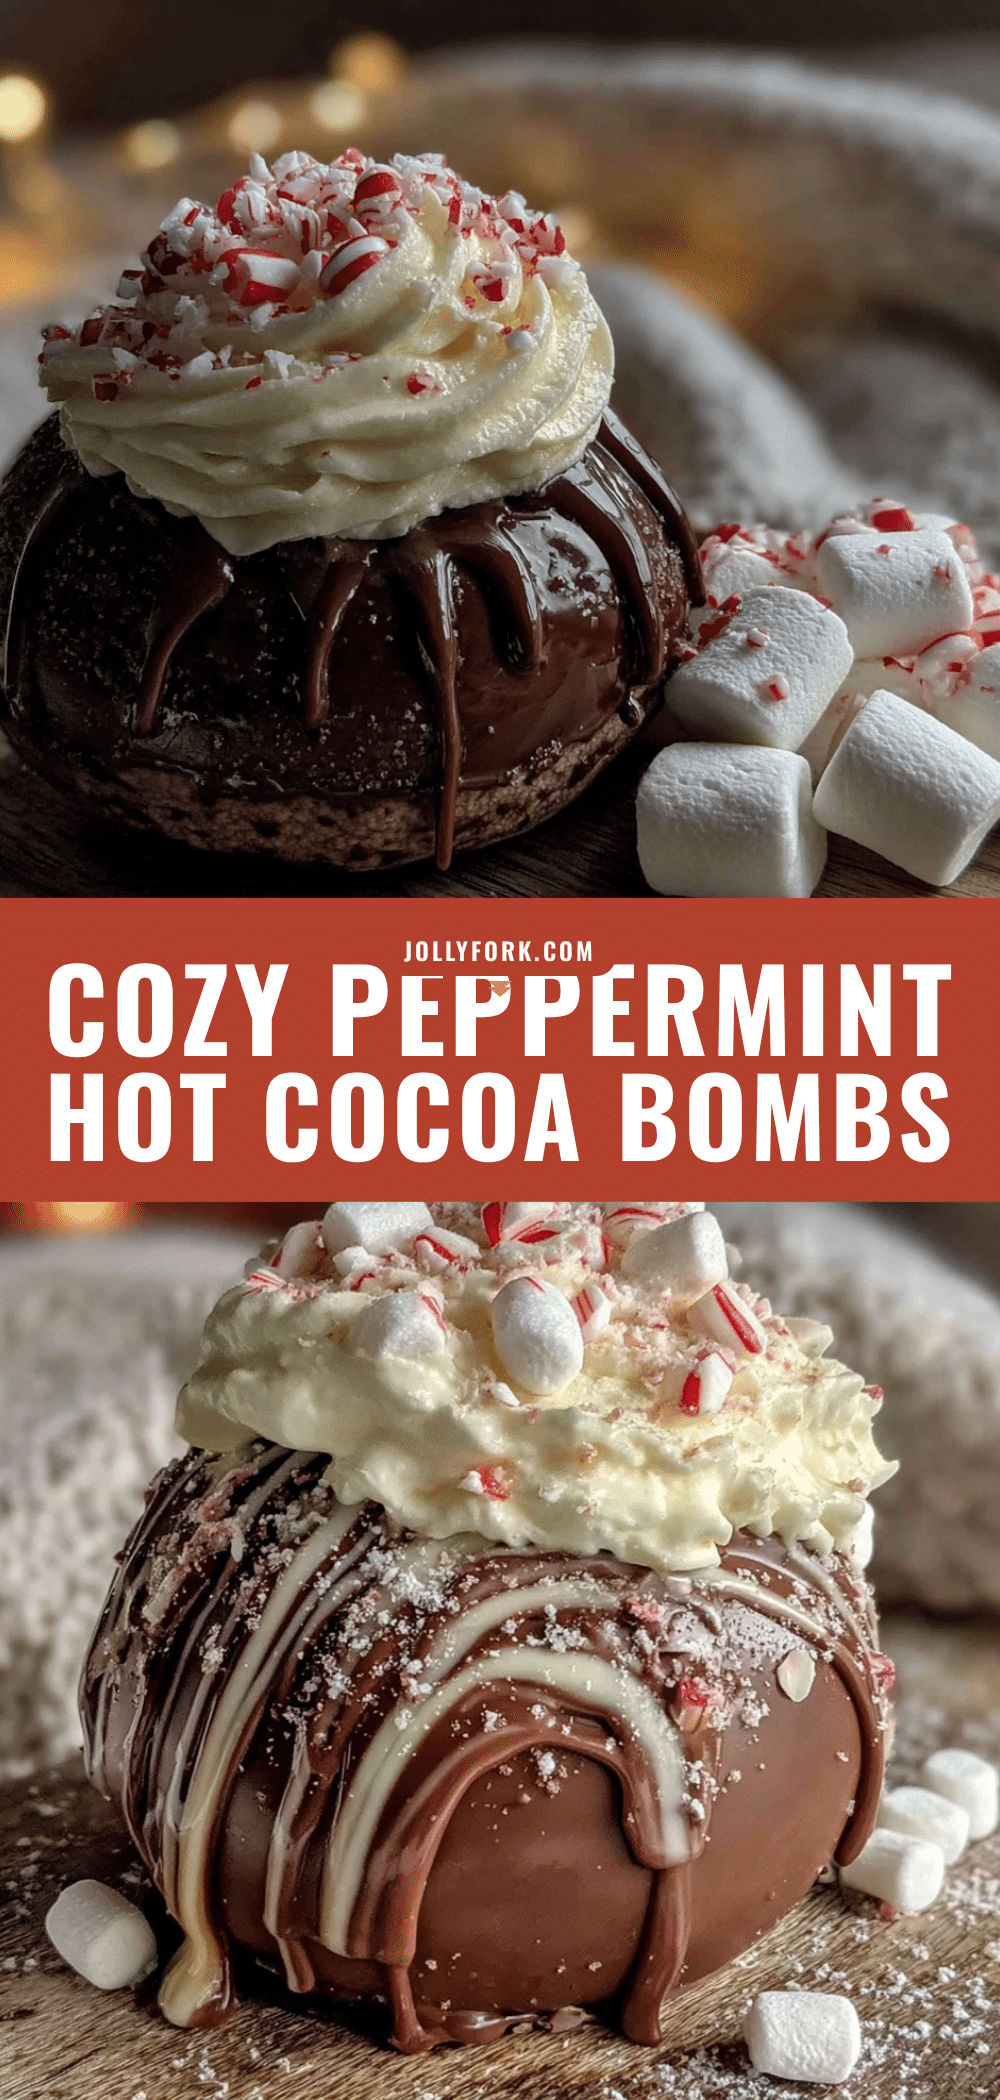
Cozy Peppermint Hot Cocoa Bombs – Easy 5-Minute Recipe

These cozy peppermint hot cocoa bombs are a quick and easy holiday treat. The chocolate shell cracks open in warm milk, releasing a cloud of peppermint marshmallows and cocoa mix for a festive, comforting drink.
- Prep Time: 5 minutes
- Cook Time: 0 minutes
- Total Time: 5 minutes
- Yield: 6-8 servings 1x
- Category: Dessert
- Cuisine: American
Ingredients
- 12 ounces (340g) semi-sweet chocolate chips
- 1 teaspoon coconut oil or shortening (optional)
- 1/2 cup (60g) high-quality cocoa powder mix
- 1/4 cup (30g) mini marshmallows
- 2 tablespoons (20g) crushed candy canes (about 2–3 regular-sized candy canes)
- 1/4 teaspoon peppermint extract (optional)
- 1–2 additional candy canes, crushed finer (for topping)
- Drizzle chocolate or white chocolate (for decoration)
- Edible glitter or gold luster dust (optional)
Instructions
- Melt the chocolate: Place semi-sweet chocolate chips in a microwave-safe bowl. Microwave in 30-second bursts, stirring between each, until fully melted and smooth. If using coconut oil, stir it in after melting.
- Coat the molds: Spoon about 1 tablespoon of melted chocolate into each cavity of a silicone half-sphere mold. Use a pastry brush or spoon to spread chocolate evenly up the sides. Tap the mold gently on the counter to release air bubbles. Refrigerate for 10-15 minutes until firm but pliable.
- Prepare the filling: In a small bowl, combine cocoa powder mix and crushed candy canes. Add peppermint extract if desired. Set mini marshmallows aside.
- Fill the bombs: Carefully pop the chocolate shells out of the molds. Place half of them on a baking sheet (bottoms). Spoon about 1 tablespoon of cocoa-candy cane mixture into each bottom half. Add 4-5 mini marshmallows on top.
- Seal the bombs: Warm a plate or nonstick skillet over low heat for 30 seconds. Gently press the rim of each empty top half onto the warm surface for 2-3 seconds to melt the edge slightly. Immediately press onto the filled bottom half to seal. Hold for a few seconds until set.
- Decorate: Place sealed bombs on a baking sheet. Drizzle melted white or dark chocolate over tops. Sprinkle with finely crushed candy cane pieces while drizzle is wet. Add edible glitter if desired. Refrigerate for 10-15 minutes until set.
- Serve or gift: To serve, place one bomb in a mug and pour 8-10 ounces of hot milk over it. Stir until cocoa is dissolved and enjoy immediately.
Notes
Temperature is key: let melted chocolate cool slightly before coating molds. Tap molds to remove air bubbles. For sealing, use a warm plate to melt the rim just enough. Work in small batches. Crush candy canes to coarse sand for filling and finer for topping. Store in airtight container at room temperature for up to 2 weeks. Do not refrigerate.
Nutrition
- Serving Size: 1 bomb with 8-10 oz
- Calories: 300
- Sugar: 28
- Sodium: 100
- Fat: 14
- Saturated Fat: 8
- Carbohydrates: 38
- Fiber: 2
- Protein: 6
Keywords: hot cocoa bombs, peppermint hot cocoa, Christmas treats, holiday drinks, easy hot cocoa bombs, homemade gifts


