I was standing in the middle of a grocery store parking lot last Tuesday when the smell hit me. Not the usual mix of hot asphalt and exhaust fumes, but something else entirely — warm banana, toasted walnut, a whisper of vanilla. Someone was walking by with a paper bag from the bakery, and just like that, I was seven years old again, standing on a step stool in Miss Ginny’s tiny kitchen.
Miss Ginny was my next-door neighbor growing up, a retired teacher with arthritic hands and the patience of a saint. She let me crack eggs even when I got shell in the bowl. She never flinched when I over-mixed the batter. And her banana bread? It was the kind that made you close your eyes after the first bite. I haven’t thought about her in years, honestly. But that parking lot moment? It hit me hard. I drove home, grabbed the ripest bananas from my counter, and decided I was going to figure out how to make that exact bread again — but with a few modern, wholesome twists.
This isn’t just another banana bread recipe, and I’m not going to pretend it came to me in a dream. It took three tries. The first loaf was too dry. The second one sank in the middle. But the third? That one had Miss Ginny’s soul in it, I swear. It’s made in one bowl, uses ingredients you probably already have, and swaps out refined sugar for something a little kinder to your body without sacrificing that rich, buttery flavor. If you’ve ever stood in your kitchen with a bunch of spotty bananas and wondered what to do, let me tell you — this is the answer.
Why You’ll Love This Recipe
Look, I’ve tested a lot of banana bread recipes. Some are too sweet. Some are so “healthy” they taste like cardboard. This one hits the sweet spot — literally and figuratively. Here’s why it’s become my go-to, and why I think it’ll become yours too.
- One Bowl, Zero Fuss: No need to cream butter and sugar separately. No sifting. No mixer. Just one bowl, a whisk, and about ten minutes of hands-on time. Perfect for those mornings when you’re still half-asleep but craving something homemade.
- Wholesome Ingredients: This recipe uses whole wheat flour, coconut sugar (or maple syrup), and Greek yogurt for moisture. You get fiber, protein, and healthy fats from the walnuts — all without feeling like you’re eating a health food bar.
- Perfect for Meal Prep: It stays moist for days, freezes beautifully, and actually tastes better on day two. Make it on Sunday, and you’ve got breakfast or snacks sorted for the week.
- Crowd-Pleaser Approved: I brought this to a brunch last month, and three people asked for the recipe. One of them was my brother-in-law, who swears he “doesn’t do healthy baked goods.” He ate two slices.
- Unbelievably Delicious: The texture is tender and moist, with crunchy walnut pieces in every bite. The flavor is deeply banana-forward, with warm notes of cinnamon and vanilla. It’s comfort food that makes you feel good — in every sense.
What makes this different from other recipes? It’s the balance. The whole wheat flour gives it a nutty depth, the yogurt keeps it incredibly moist, and the coconut sugar adds a subtle caramel-like sweetness. It’s not dry, it’s not dense, and it’s definitely not bland. It’s the banana bread you’ll actually want to make again and again.
What Ingredients You Will Need
This recipe uses simple, wholesome ingredients to deliver big flavor without the fuss. Most of these are pantry staples, and I’ve included notes on substitutions where I can. Let’s break it down.
For the Bread
- 3 ripe bananas, mashed (about 1 1/2 cups / 360 ml) — The riper, the better. Look for bananas with lots of brown spots. They’re sweeter and easier to mash. I’ve used frozen and thawed bananas here too — just drain off any excess liquid.
- 1/3 cup (80 ml) melted coconut oil (or unsalted butter) — Coconut oil adds a subtle flavor that pairs beautifully with banana. Butter works great too if you prefer a richer taste.
- 1/2 cup (100 g) coconut sugar (or brown sugar) — Coconut sugar is less processed and has a lower glycemic index. Brown sugar works perfectly if that’s what you have. I’ve also used 1/3 cup maple syrup with good results — just reduce the milk by 2 tablespoons.
- 1/4 cup (60 ml) milk (dairy or plant-based) — Any milk works here. I usually use oat milk or regular whole milk. Almond milk makes it slightly less rich but still delicious.
- 1 large egg (or flax egg for vegan) — The egg adds structure. For a flax egg, mix 1 tablespoon ground flaxseed with 3 tablespoons water and let it sit for 5 minutes.
- 1 teaspoon vanilla extract — Pure vanilla extract makes a difference. Skip the imitation stuff if you can.
- 1 1/2 cups (180 g) whole wheat pastry flour (or all-purpose) — Whole wheat pastry flour is lighter than regular whole wheat but still has that nutty flavor. Regular all-purpose flour works perfectly too. I don’t recommend using only regular whole wheat flour — it can make the bread too dense.
- 1 teaspoon baking soda — Make sure it’s fresh! Baking soda loses potency over time. Test it by dropping a little into vinegar — it should fizz vigorously.
- 1/2 teaspoon baking powder — This gives the bread a little extra lift.
- 1/2 teaspoon salt — Don’t skip this. Salt balances the sweetness and enhances all the flavors.
- 1 teaspoon ground cinnamon — I love cinnamon with banana. Feel free to add a pinch of nutmeg or allspice too.
- 1/2 cup (60 g) chopped walnuts (plus extra for topping) — Toast them first if you have time. It brings out their flavor so much. I buy raw walnuts and toast them in a dry pan for 3-4 minutes until fragrant.
Optional Add-Ins
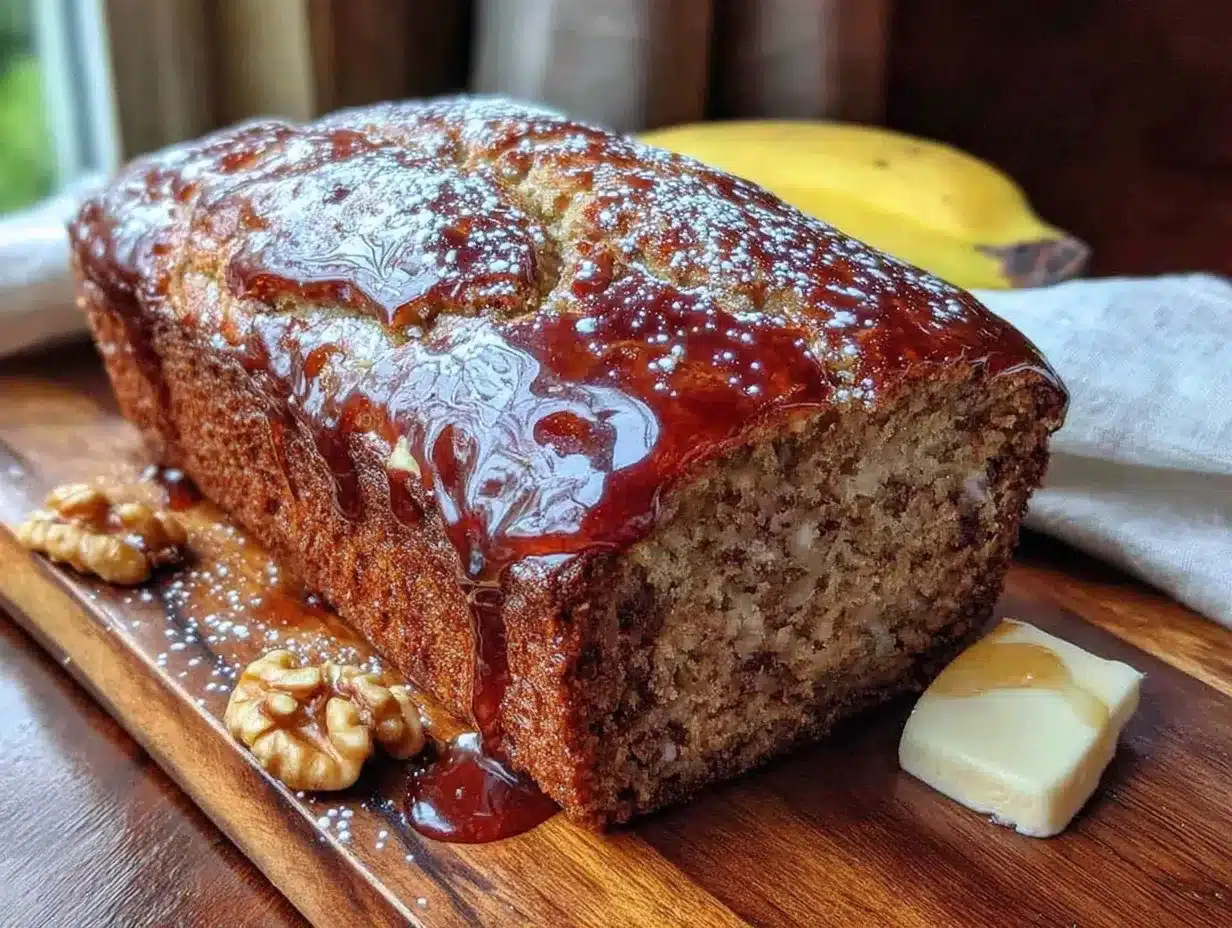
- 1/2 cup chocolate chips — Dark chocolate chips are my favorite here. They add a touch of indulgence without making it too sweet.
- 1/4 cup shredded coconut — For a tropical twist. Toast it lightly first for extra flavor.
- 1 tablespoon chia seeds or hemp hearts — For extra fiber and omega-3s. You won’t even notice them.
Equipment Needed
You don’t need a fancy kitchen to make this bread. Here’s what you’ll need:
- Large mixing bowl — Any bowl will do. I use a ceramic one because it feels sturdy and doesn’t slip around.
- Whisk or fork — A whisk is faster, but a fork works just fine for mashing and mixing.
- 9×5 inch (23×13 cm) loaf pan — This is the standard size. If you use an 8×4 inch pan, you’ll need to bake it a little longer. If you use a smaller pan, the bread might overflow.
- Parchment paper — Not strictly necessary, but it makes lifting the bread out of the pan so much easier. I always line my pans now after one too many stuck loaves.
- Cooling rack — Helps the bread cool evenly so the bottom doesn’t get soggy.
- Measuring cups and spoons — For accuracy. I’ve learned the hard way that eyeballing baking soda leads to disaster.
If you don’t have a loaf pan, you can bake this in an 8×8 inch square pan for about 25-30 minutes. It’ll be more like banana cake bars, which is honestly a win in my book.
Preparation Method
Alright, let’s get to it. This is where the magic happens. Follow these steps, and you’ll have a loaf that smells like heaven and tastes even better.
- Preheat your oven to 350°F (175°C). Line a 9×5 inch loaf pan with parchment paper, leaving some overhang on the long sides. This makes lifting the bread out a breeze. If you don’t have parchment, grease the pan well with butter or coconut oil.
- Mash the bananas in your large mixing bowl. I use a fork and go until there are no big chunks left. A few small lumps are fine — they add texture. You should have about 1 1/2 cups of mashed banana. If your bananas are extra large, that’s okay; just adjust slightly.
- Add the wet ingredients to the bowl: melted coconut oil (make sure it’s not too hot), coconut sugar, milk, egg, and vanilla extract. Whisk everything together until smooth and well combined. It should look like a thick, golden liquid. If your coconut oil solidifies on contact with cold ingredients, don’t panic — just keep whisking, and it’ll come together.
- Add the dry ingredients right on top: flour, baking soda, baking powder, salt, and cinnamon. Stir gently with a spatula or wooden spoon until just combined. Do not overmix! I know it’s tempting to keep stirring, but overmixing develops the gluten and makes the bread tough. A few streaks of flour are okay — they’ll disappear as you fold in the walnuts.
- Fold in the chopped walnuts (and any other add-ins you’re using). Use a gentle folding motion — scrape down the sides and bring the batter over itself. Stop as soon as everything is evenly distributed. The batter should be thick but scoopable.
- Pour the batter into your prepared loaf pan. Spread it evenly with the spatula. Sprinkle a few extra walnut halves on top for a pretty finish — they’ll toast nicely in the oven.
- Bake for 50-60 minutes, or until a toothpick inserted into the center comes out clean or with just a few moist crumbs. Start checking at 45 minutes if your oven runs hot. The top should be golden brown and cracked beautifully. If the top is browning too fast, tent the pan loosely with foil for the last 15 minutes.
- Let the bread cool in the pan for 10 minutes. Then use the parchment overhang to lift it out and transfer it to a cooling rack. Let it cool completely before slicing — I know, the wait is torture, but it’s worth it. The bread continues to set as it cools, and slicing too early can make it crumble.
- Slice and enjoy! I like to cut mine into 10-12 thick slices. Serve it warm with a pat of butter or a drizzle of honey. Or just eat it plain — it’s that good.
Cooking Tips & Techniques
I’ve made this recipe more times than I can count, and I’ve learned a few things along the way. Here are my best tips for banana bread success.
Don’t skip toasting the walnuts. I know it’s an extra step, but it makes a huge difference. Toasted walnuts are nuttier, crunchier, and more flavorful. Just spread them on a baking sheet and bake at 350°F for 5-7 minutes, or toast them in a dry skillet over medium heat for 3-4 minutes. Watch them closely — they burn fast.
Use room temperature ingredients. Cold eggs or cold milk can cause the coconut oil to seize up and create lumps. Take your egg and milk out of the fridge 30 minutes before you start. If you forget, place the egg in a bowl of warm water for 5 minutes.
Measure your flour correctly. Scooping flour directly from the bag compacts it, and you can end up with too much. Instead, fluff the flour with a spoon, then spoon it into your measuring cup and level it off with a knife. This ensures you get the right amount every time.
Let the bread cool completely before storing. If you wrap it while it’s still warm, the steam will make the top soggy. I learned this the hard way after a few sad, sticky loaves. Patience, my friend.
One more thing: If your bananas aren’t ripe enough, you can speed things up by placing them on a baking sheet and baking at 300°F for 15-20 minutes until the skins turn black. Let them cool, then mash. It works like a charm.
Variations & Adaptations
This recipe is super flexible. Here are some of my favorite ways to change it up.
- Gluten-Free Version: Swap the whole wheat flour with a 1:1 gluten-free baking flour blend. I’ve used Bob’s Red Mill with great results. Add 1/4 teaspoon xanthan gum if your blend doesn’t already include it.
- Vegan Version: Use a flax egg (1 tablespoon ground flaxseed + 3 tablespoons water) and plant-based milk. Coconut oil works perfectly here. The texture will be slightly denser but still delicious.
- Chocolate Banana Walnut Bread: Add 1/3 cup cocoa powder to the dry ingredients and increase the milk by 2 tablespoons. Fold in 1/2 cup chocolate chips along with the walnuts. This version is dangerously good.
- Lower Sugar Option: Reduce the coconut sugar to 1/3 cup. The bananas provide plenty of natural sweetness, especially if they’re very ripe. I’ve made it this way, and honestly, I didn’t miss the extra sugar.
- Nut-Free Version: Skip the walnuts and add 1/2 cup pumpkin seeds or sunflower seeds instead. Or just leave them out entirely — the bread will still be moist and flavorful.
- Spiced Version: Add 1/2 teaspoon ground ginger and 1/4 teaspoon ground cloves along with the cinnamon. It gives the bread a warm, almost chai-like flavor that’s perfect for fall.
I once made a batch with mashed sweet potato instead of banana (I was out of bananas, desperate times). It was… interesting. Not bad, but definitely not the same. Stick with the bananas for this one.
Serving & Storage Suggestions
This bread is incredibly versatile. Here’s how I like to serve and store it.
Serving: Slice it thick and serve it slightly warm. A pat of salted butter on top is classic for a reason — the salt cuts through the sweetness beautifully. For a more indulgent treat, spread a little cream cheese or Greek yogurt on top. It’s also amazing toasted. Pop a slice in the toaster for 2-3 minutes until the edges are crispy, then drizzle with honey. Breakfast of champions, honestly.
Storage: Store the bread in an airtight container at room temperature for up to 4 days. I wrap mine in parchment paper first, then place it in a zip-top bag. The parchment helps absorb excess moisture and keeps the crust from getting soggy. Do not refrigerate it — the cold air dries out baked goods and makes them stale faster.
Freezing: This bread freezes like a dream. Let it cool completely, then wrap it tightly in plastic wrap, followed by a layer of foil. Freeze for up to 3 months. To thaw, leave it on the counter overnight, or pop individual slices in the microwave for 20-30 seconds. I always freeze a loaf when bananas go on sale — it’s my little secret stash for busy mornings.
Flavor Development: Here’s something I’ve noticed: this bread actually tastes better on day two. The flavors meld together, and the texture becomes even more moist. So if you can resist eating it all on day one, you’re in for a treat.
Nutritional Information & Benefits
I’m not a nutritionist, but I do care about what goes into my body. Here’s a rough breakdown per slice (based on 10 slices):
- Calories: ~210
- Fat: 10g (mostly healthy fats from walnuts and coconut oil)
- Carbohydrates: 28g
- Fiber: 3g
- Sugar: 12g (naturally occurring + added)
- Protein: 4g
Health Benefits: Bananas are packed with potassium and vitamin B6, which support heart health and energy levels. Walnuts are rich in omega-3 fatty acids, which are great for brain health. Whole wheat flour adds fiber, keeping you fuller longer. And coconut sugar contains small amounts of zinc, iron, and antioxidants — a slight upgrade over refined white sugar.
Dietary Considerations: This recipe is vegetarian. It can easily be made vegan, gluten-free, or nut-free with the substitutions listed above. It’s also dairy-free if you use plant-based milk and coconut oil. Just note that it’s not low-carb or keto-friendly due to the bananas and flour.
Allergens: This recipe contains gluten (unless using GF flour), nuts (walnuts), and eggs. If you’re serving guests with allergies, always check with them first.
Frequently Asked Questions
Can I use frozen bananas?
Yes! Frozen bananas work great. Thaw them completely first, then drain off any excess liquid before mashing. The texture might be slightly softer, but the flavor is just as good.
Why did my banana bread sink in the middle?
This usually happens for one of three reasons: the batter was overmixed, the oven temperature was too low, or the bread was underbaked. Make sure your oven is fully preheated, and don’t open the door during the first 40 minutes of baking.
Can I make this into muffins instead?
Absolutely. Divide the batter into a lined muffin tin and bake at 350°F for 18-22 minutes. You’ll get about 12 muffins. They’re perfect for grab-and-go breakfasts.
How do I know when the bread is done?
Insert a toothpick or skewer into the center of the bread. If it comes out clean or with just a few moist crumbs, it’s done. If there’s wet batter on it, bake for another 5-10 minutes and test again.
Can I reduce the sugar even more?
You can reduce it to 1/3 cup without major issues, but the bread will be less sweet and the texture might be slightly drier. The bananas do provide natural sweetness, so it’s worth a try if you’re watching your sugar intake.
Conclusion
This Wholesome One Bowl Banana Walnut Bread is more than just a recipe — it’s a little piece of comfort that you can make any time. It’s the kind of bread that fills your kitchen with warmth and your belly with something good. I love how simple it is, how forgiving, and how it always turns out exactly right. Whether you’re making it for a lazy Sunday breakfast, a midweek snack, or a gift for a friend, it never disappoints.
I hope you give this recipe a try. Customize it, make it your own, and don’t stress about perfection. Baking should be fun, not stressful. And if your first loaf isn’t picture-perfect? That’s okay. Eat it anyway. I promise it’ll still taste amazing.
I’d love to hear how yours turns out! Drop a comment below and let me know if you tried any variations or substitutions. And if you loved it, share it with someone who needs a little homemade comfort today. Happy baking, friends!
Pin This Recipe!
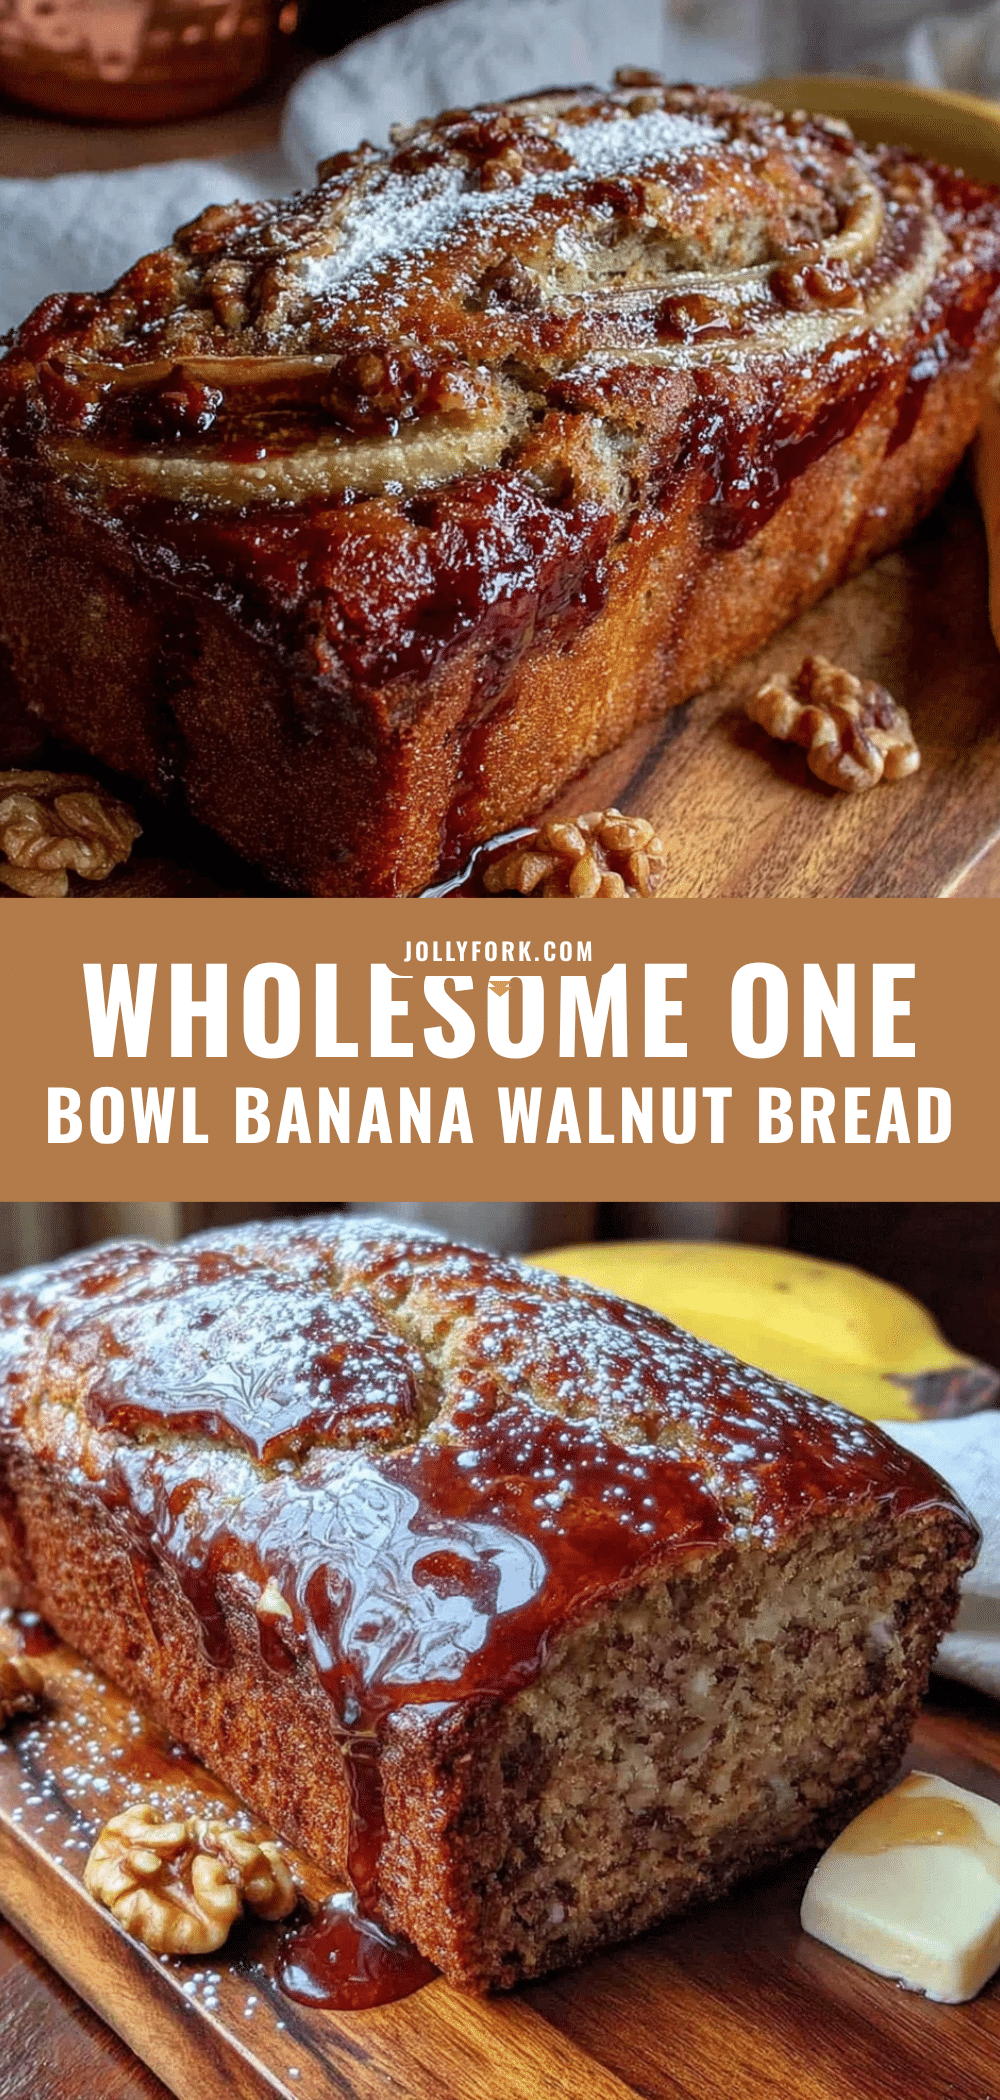
Wholesome One Bowl Banana Walnut Bread: Easy Homemade Recipe
This wholesome one-bowl banana walnut bread is moist, tender, and packed with banana flavor and crunchy walnuts. Made with whole wheat flour, coconut sugar, and Greek yogurt, it’s a healthier twist on a classic comfort food that’s perfect for breakfast, snacks, or meal prep.
- Prep Time: 10 minutes
- Cook Time: 50-60 minutes
- Total Time: 1 hour 10 minutes
- Yield: 10-12 servings 1x
- Category: Bread
- Cuisine: American
Ingredients
- 3 ripe bananas, mashed (about 1 1/2 cups / 360 ml)
- 1/3 cup (80 ml) melted coconut oil (or unsalted butter)
- 1/2 cup (100 g) coconut sugar (or brown sugar)
- 1/4 cup (60 ml) milk (dairy or plant-based)
- 1 large egg (or flax egg for vegan)
- 1 teaspoon vanilla extract
- 1 1/2 cups (180 g) whole wheat pastry flour (or all-purpose)
- 1 teaspoon baking soda
- 1/2 teaspoon baking powder
- 1/2 teaspoon salt
- 1 teaspoon ground cinnamon
- 1/2 cup (60 g) chopped walnuts (plus extra for topping)
- Optional: 1/2 cup chocolate chips, 1/4 cup shredded coconut, 1 tablespoon chia seeds or hemp hearts
Instructions
- Preheat your oven to 350°F (175°C). Line a 9×5 inch loaf pan with parchment paper, leaving some overhang on the long sides. If you don’t have parchment, grease the pan well with butter or coconut oil.
- Mash the bananas in your large mixing bowl using a fork until no big chunks remain. You should have about 1 1/2 cups of mashed banana.
- Add the wet ingredients to the bowl: melted coconut oil (make sure it’s not too hot), coconut sugar, milk, egg, and vanilla extract. Whisk everything together until smooth and well combined.
- Add the dry ingredients right on top: flour, baking soda, baking powder, salt, and cinnamon. Stir gently with a spatula or wooden spoon until just combined. Do not overmix.
- Fold in the chopped walnuts (and any other add-ins you’re using) using a gentle folding motion until evenly distributed.
- Pour the batter into your prepared loaf pan and spread it evenly. Sprinkle a few extra walnut halves on top.
- Bake for 50-60 minutes, or until a toothpick inserted into the center comes out clean or with just a few moist crumbs. Start checking at 45 minutes if your oven runs hot. If the top is browning too fast, tent the pan loosely with foil for the last 15 minutes.
- Let the bread cool in the pan for 10 minutes. Then use the parchment overhang to lift it out and transfer it to a cooling rack. Let it cool completely before slicing.
- Slice and enjoy! Cut into 10-12 thick slices. Serve warm with butter or honey, or eat plain.
Notes
Toast walnuts before adding for extra flavor. Use room temperature ingredients to prevent coconut oil from seizing. Measure flour correctly by fluffing, spooning, and leveling. Let bread cool completely before storing to avoid sogginess. Bread tastes even better on day two.
Nutrition
- Serving Size: 1 slice (based on 10
- Calories: 210
- Sugar: 12
- Sodium: 200
- Fat: 10
- Saturated Fat: 5
- Carbohydrates: 28
- Fiber: 3
- Protein: 4
Keywords: banana bread, walnut bread, one bowl banana bread, healthy banana bread, whole wheat banana bread, easy banana bread recipe


