My neighbor Maria asked why I couldn’t just skip the ice cream machine and mix everything in a bowl. I started to explain why that wouldn’t work—something about ice crystals and the science of churning. Then I stopped. She was holding a bag of sweetened condensed milk and a tub of heavy cream with this look that said, “Just trust me.” I didn’t trust her. But I also didn’t have a machine, and my kids were already chanting for ice cream. So I tried it. And honestly? I was completely wrong. The no-churn method is genius, and this salted caramel version has been on repeat ever since.
That first batch came out so creamy I couldn’t believe it. No machine, no fuss, just a whisk and some patience. I mean, I almost felt silly for all those years of thinking you needed fancy equipment to make real ice cream at home. Let me tell you, watching my family’s faces light up with that first scoop was worth every stubborn moment. This easy no-churn salted caramel ice cream is now our go-to for birthdays, lazy Sundays, and any day that needs a little extra sweetness.
Why You’ll Love This Recipe
This isn’t just another ice cream recipe—it’s the one that makes you wonder why you ever bought the store-bought stuff. I’ve tested this at least a dozen times, tweaking the caramel ratio and the salt level until it was just right. My kids approved every batch, and honestly, they’re the toughest critics I know.
- Quick & Easy: No machine needed. You can whip this up in about 15 minutes of active time. The hardest part is waiting for it to freeze.
- Simple Ingredients: You probably have most of these in your pantry right now. No fancy extracts or hard-to-find syrups.
- Perfect for Family Nights: This ice cream is a crowd-pleaser. It’s rich enough for the grown-ups but sweet enough for the little ones.
- Unbelievably Delicious: The combination of buttery caramel and flaky sea salt is next-level. It’s the kind of treat that makes you close your eyes after the first bite.
- Budget-Friendly: A bag of sugar and some cream go a long way. You can make a whole quart for less than the cost of one pint at the store.
What makes this recipe different is the caramel itself. I cook it until it’s a deep amber color—just this side of burnt—which gives it a complex, almost toasty flavor that cuts through the sweetness. Plus, the no-churn method keeps the texture incredibly smooth, like soft-serve but better. It’s comfort food reimagined: faster, simpler, but with the same soul-soothing satisfaction.
What Ingredients You Will Need
This recipe uses simple, everyday ingredients to deliver bold flavor and a silky texture without any fuss. Most of these are pantry staples, which makes it perfect for a last-minute dessert craving.
- For the Salted Caramel:
- 1 cup (200g) granulated sugar (regular white sugar works best; don’t use brown sugar here)
- 6 tablespoons (85g) unsalted butter, cut into pieces (I use Land O’Lakes for consistent results)
- 1/2 cup (120ml) heavy cream, at room temperature (this prevents the caramel from seizing)
- 1 1/2 teaspoons flaky sea salt (like Maldon; you can use kosher salt in a pinch)
- 1 teaspoon vanilla extract (optional, but it rounds out the flavor nicely)
- For the Ice Cream Base:
- 2 cups (480ml) cold heavy cream (look for a brand with at least 36% milk fat for the best texture)
- 1 can (14 ounces/397g) sweetened condensed milk (I prefer Eagle Brand, but any brand works)
- 1 teaspoon vanilla extract
- A pinch of extra sea salt for sprinkling on top (optional, but highly recommended)
A few notes on ingredients: The caramel is the star here, so don’t rush it. If you’re dairy-free, you can substitute coconut cream for the heavy cream in the base, but the caramel will need real butter for the right texture. Also, make sure your heavy cream is very cold—like straight from the fridge cold. It whips up so much better that way.
Equipment Needed
You don’t need much for this recipe, which is part of the magic. Here’s what you’ll need:
- A medium saucepan (preferably with a heavy bottom to prevent the caramel from burning)
- A whisk or silicone spatula
- A large mixing bowl (metal or glass works best)
- A hand mixer or stand mixer (or a whisk and some arm strength—I’ve done it both ways)
- A 9×5-inch loaf pan or any freezer-safe container with a lid
- Parchment paper (optional, but it makes lifting the ice cream out much easier)
If you don’t have a hand mixer, you can whip the cream by hand. It takes about 5-7 minutes of steady whisking, but it’s a good arm workout! Also, if you don’t have a loaf pan, a metal mixing bowl works fine—just cover it tightly with plastic wrap.
Preparation Method
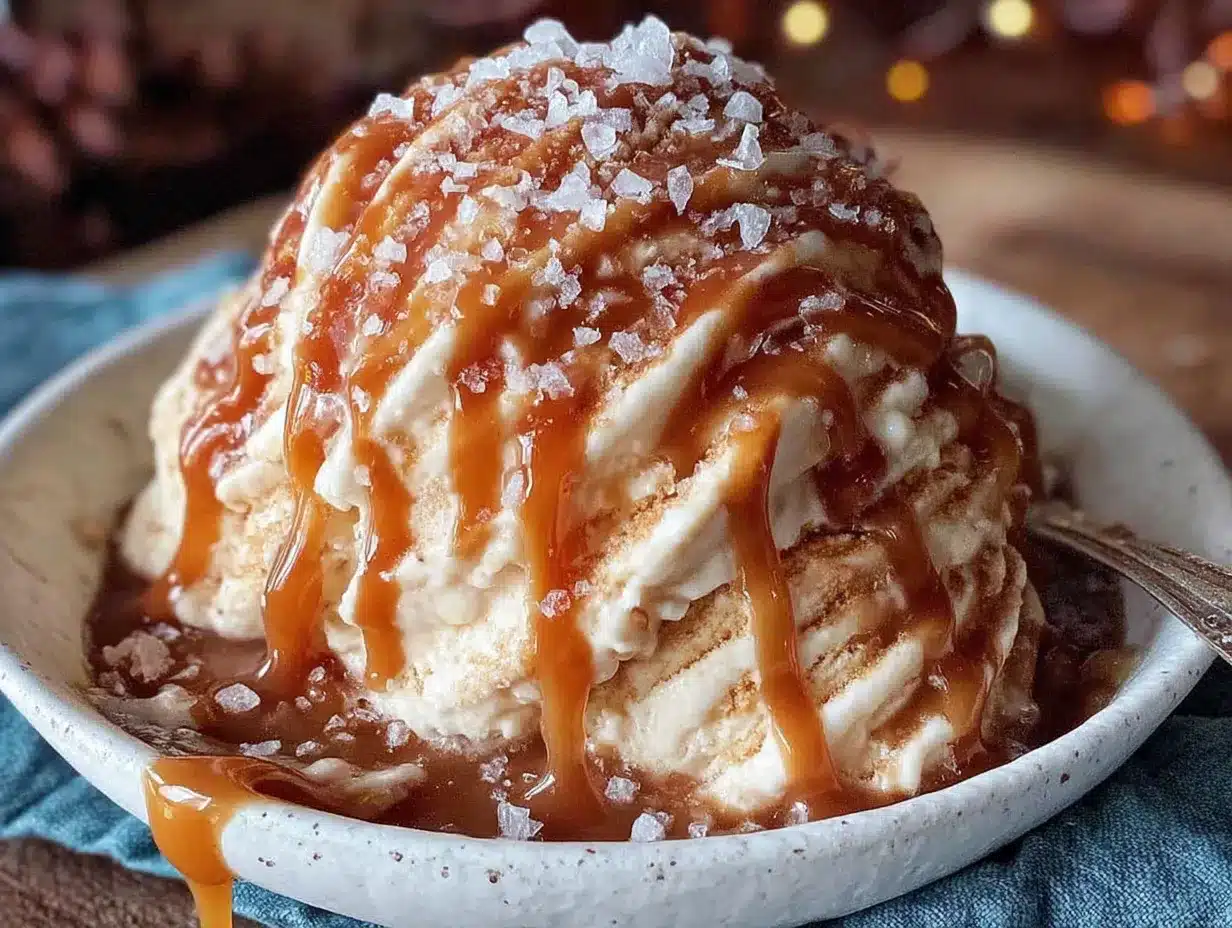
This recipe is straightforward, but there are a few key moments where you’ll want to pay attention. Follow these steps, and you’ll have perfect ice cream every time.
- Make the caramel: Place the sugar in a medium saucepan over medium heat. Stir it occasionally with a whisk until it starts to melt. It will clump at first—don’t panic. Keep stirring until it turns into a smooth, deep amber liquid. This takes about 6-8 minutes. Watch it closely; it can go from perfect to burnt in seconds.
- Add the butter: Once the sugar is fully melted and amber-colored, add the butter pieces. The mixture will bubble up vigorously—this is normal. Whisk until the butter is fully melted and incorporated. The caramel will look glossy and smooth.
- Add the cream and salt: Slowly pour in the heavy cream while whisking constantly. The mixture will bubble up again, so be careful. Whisk until smooth. Remove from heat and stir in the sea salt and vanilla extract. Let the caramel cool for about 10-15 minutes. It should be warm but not hot.
- Whip the cream: In a large mixing bowl, pour the cold heavy cream. Using a hand mixer, whip it on medium-high speed until stiff peaks form. This takes about 3-4 minutes. You’ll know it’s ready when you lift the beaters and the cream holds its shape without drooping.
- Combine the base: In a separate bowl, whisk together the sweetened condensed milk and vanilla extract. Gently fold this mixture into the whipped cream using a spatula. Be careful not to deflate the cream too much. You want it light and airy.
- Layer the caramel: Pour about one-third of the cream mixture into your loaf pan. Drizzle about one-third of the cooled caramel over the top. Use a knife to swirl it gently—don’t overmix; you want ribbons of caramel throughout. Repeat with the remaining cream and caramel, ending with a final drizzle on top. Sprinkle with a pinch of flaky sea salt if desired.
- Freeze: Cover the pan tightly with plastic wrap or a lid. Freeze for at least 6 hours, but overnight is better. The ice cream needs time to set properly. Before serving, let it sit at room temperature for 5-10 minutes to soften slightly for easier scooping.
Cooking Tips & Techniques
I’ve made my share of mistakes with this recipe, so let me save you the trouble. Here are the things I’ve learned the hard way.
Don’t rush the caramel. I once tried to speed things up by cranking the heat to high. The sugar burned before it even fully melted, and I had to start over. Keep it at medium heat and be patient. The color should be a rich amber—like a new penny—not dark brown.
Watch for the “grainy” stage. When you first add the butter, the caramel might look grainy or separated. This is normal. Just keep whisking, and it will come together into a smooth sauce. If it seizes up, add a tablespoon of warm water and whisk vigorously.
Room temperature cream is key. When you add the cream to the caramel, make sure it’s at room temperature. Cold cream can cause the caramel to seize into a hard, lumpy mess. I learned this the hard way when my caramel turned into a sticky rock. Just let the cream sit out for 20 minutes before you start.
Don’t overwhip the cream. Stiff peaks are perfect, but if you keep going, you’ll end up with butter. Stop as soon as the cream holds its shape. If you accidentally overwhip, you can try folding in a tablespoon of cold cream to loosen it up, but it’s better to just start fresh.
Multitask wisely. While the caramel is cooling, whip the cream. While the ice cream is freezing, make the caramel sauce for drizzling. This recipe moves fast, so having everything prepped and ready helps a lot.
Variations & Adaptations
This recipe is super flexible, so don’t be afraid to play around. Here are a few variations I’ve tried and loved.
- Chocolate-Salted Caramel: Add 1/4 cup (20g) unsweetened cocoa powder to the cream mixture before folding. It gives the ice cream a rich, fudgy base that pairs beautifully with the salty caramel.
- Vegan Version: Use full-fat coconut cream instead of heavy cream (chill the cans overnight and scoop out the solid part). For the caramel, use a vegan butter substitute and coconut cream. It’s a little different but still delicious.
- Nutty Caramel Crunch: Fold in 1/2 cup (60g) of toasted pecans or almonds after the last caramel layer. The crunch adds a nice texture contrast.
- Mocha Salted Caramel: Dissolve 1 tablespoon of instant espresso powder in the heavy cream before adding it to the caramel. The coffee flavor deepens the caramel and makes it feel extra fancy.
- Kid-Friendly Twist: Swap the sea salt for a pinch of cinnamon and add 1/2 cup (85g) of mini chocolate chips. My kids call it “caramel chocolate chip” and ask for it every week.
I once tried adding a swirl of peanut butter to the caramel layer. It was good, but the peanut butter made the texture a little dense. Next time, I’ll thin it out with a bit of warm cream first.
Serving & Storage Suggestions
This ice cream is best served slightly softened, so let it sit at room temperature for about 5-10 minutes before scooping. I like to serve it in chilled bowls with a drizzle of extra caramel sauce and a sprinkle of flaky sea salt. It’s also amazing on top of a warm brownie or a slice of apple pie.
For storage, keep the ice cream in a tightly sealed container in the freezer. It will stay good for up to 2 weeks, but honestly, it never lasts that long in my house. The texture is best within the first week. After that, it might get a little icy, but it’s still tasty.
To re-soften after freezing, you can microwave the container for 10-15 seconds, but be careful not to melt it. I prefer just letting it sit out. The flavors actually deepen after a day or two in the freezer—the caramel gets more intense, and the salt mellows out a bit.
Nutritional Information & Benefits
Let’s be real: this is a treat, not a health food. But knowing what’s in it can help you enjoy it mindfully. Per 1/2-cup serving (approximate):
- Calories: 380
- Fat: 24g
- Carbohydrates: 38g
- Protein: 4g
- Sugar: 35g
- Sodium: 280mg
The heavy cream provides some calcium and vitamin A, and the butter adds a touch of vitamin D. The sea salt is a good source of trace minerals, but honestly, the main benefit here is pure joy. If you’re watching your sugar intake, you can reduce the caramel by half or use a sugar substitute in the base, but it won’t be quite the same.
This recipe is gluten-free and can be made nut-free if you skip the optional add-ins. It’s also vegetarian-friendly. Just be aware of the dairy content if you have sensitivities.
Conclusion
This easy no-churn salted caramel ice cream is proof that you don’t need a machine or a culinary degree to make something incredible. It’s creamy, rich, and has that perfect balance of sweet and salty that keeps you coming back for just one more scoop. I love how forgiving it is—even my first attempt, with its slightly grainy caramel, was devoured in minutes.
I hope you give this recipe a try and make it your own. Maybe add a swirl of chocolate, or a handful of toasted nuts. The beauty of no-churn ice cream is that it’s a blank canvas for whatever you’re craving. When you make it, I’d love to hear how it turned out. Drop a comment below or tag me in your photos—it always makes my day to see your creations. Happy scooping!
Frequently Asked Questions
Can I use store-bought caramel sauce instead of making my own?
You can, but the flavor won’t be the same. Homemade caramel has a deeper, more complex taste that really makes this recipe shine. If you’re short on time, look for a high-quality jarred caramel, but avoid the thin, watery kind meant for drizzling on coffee.
Why is my ice cream icy instead of creamy?
This usually happens if the cream wasn’t whipped to stiff peaks, or if the ice cream was frozen for more than two weeks. Make sure your cream is very cold and whip it until it holds its shape firmly. Also, eat it within the first week for the best texture.
Can I use low-fat cream or milk instead of heavy cream?
I don’t recommend it. Heavy cream has a high fat content that gives the ice cream its creamy texture. Using milk or light cream will result in a watery, icy mess. Stick with heavy cream for the best results.
How long does this ice cream need to freeze?
At least 6 hours, but overnight is ideal. The ice cream needs time to set completely. If you’re in a hurry, you can pour the mixture into a shallow metal pan—it freezes faster because it’s spread out thinner.
Can I double this recipe?
Absolutely. Just make sure your mixing bowl is big enough to hold the whipped cream, and use a larger container for freezing. The caramel recipe doubles easily, too. Just be patient when cooking the sugar—it takes a bit longer with a larger batch.
Pin This Recipe!
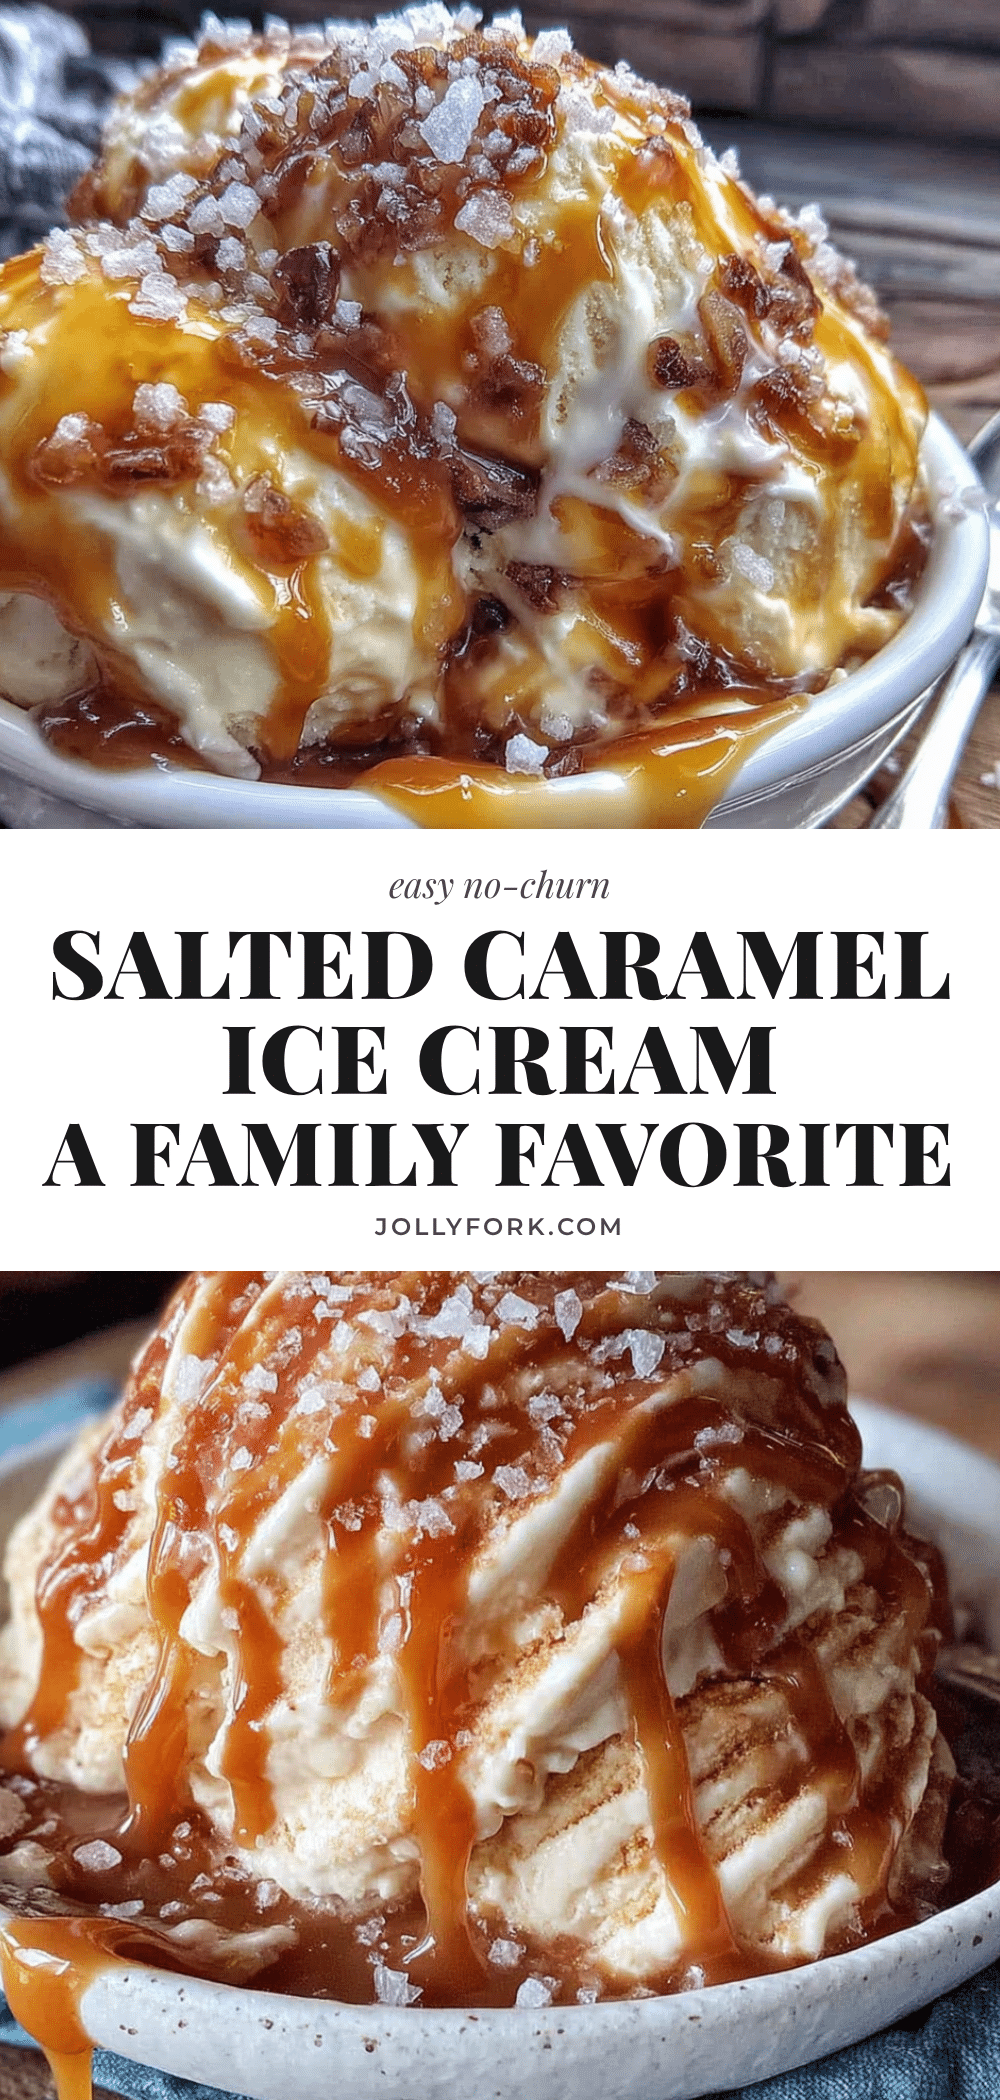
Easy No-Churn Salted Caramel Ice Cream: Best Family Recipe

This easy no-churn salted caramel ice cream is proof that you don’t need a machine or a culinary degree to make something incredible. It’s creamy, rich, and has that perfect balance of sweet and salty that keeps you coming back for just one more scoop.
- Prep Time: 15 minutes
- Cook Time: 10 minutes
- Total Time: 6 hours 25 minutes (including freezing time)
- Yield: 8 servings 1x
- Category: Dessert
- Cuisine: American
Ingredients
- 1 cup (200g) granulated sugar
- 6 tablespoons (85g) unsalted butter, cut into pieces
- 1/2 cup (120ml) heavy cream, at room temperature
- 1 1/2 teaspoons flaky sea salt
- 1 teaspoon vanilla extract
- 2 cups (480ml) cold heavy cream
- 1 can (14 ounces/397g) sweetened condensed milk
- 1 teaspoon vanilla extract
- A pinch of extra sea salt for sprinkling on top (optional)
Instructions
- Make the caramel: Place the sugar in a medium saucepan over medium heat. Stir it occasionally with a whisk until it starts to melt. It will clump at first—don’t panic. Keep stirring until it turns into a smooth, deep amber liquid. This takes about 6-8 minutes. Watch it closely; it can go from perfect to burnt in seconds.
- Add the butter: Once the sugar is fully melted and amber-colored, add the butter pieces. The mixture will bubble up vigorously—this is normal. Whisk until the butter is fully melted and incorporated. The caramel will look glossy and smooth.
- Add the cream and salt: Slowly pour in the heavy cream while whisking constantly. The mixture will bubble up again, so be careful. Whisk until smooth. Remove from heat and stir in the sea salt and vanilla extract. Let the caramel cool for about 10-15 minutes. It should be warm but not hot.
- Whip the cream: In a large mixing bowl, pour the cold heavy cream. Using a hand mixer, whip it on medium-high speed until stiff peaks form. This takes about 3-4 minutes. You’ll know it’s ready when you lift the beaters and the cream holds its shape without drooping.
- Combine the base: In a separate bowl, whisk together the sweetened condensed milk and vanilla extract. Gently fold this mixture into the whipped cream using a spatula. Be careful not to deflate the cream too much. You want it light and airy.
- Layer the caramel: Pour about one-third of the cream mixture into your loaf pan. Drizzle about one-third of the cooled caramel over the top. Use a knife to swirl it gently—don’t overmix; you want ribbons of caramel throughout. Repeat with the remaining cream and caramel, ending with a final drizzle on top. Sprinkle with a pinch of flaky sea salt if desired.
- Freeze: Cover the pan tightly with plastic wrap or a lid. Freeze for at least 6 hours, but overnight is better. The ice cream needs time to set properly. Before serving, let it sit at room temperature for 5-10 minutes to soften slightly for easier scooping.
Notes
Don’t rush the caramel; keep it at medium heat. Make sure the cream is at room temperature before adding to caramel to prevent seizing. Whip cream to stiff peaks but not beyond. For best texture, eat within the first week.
Nutrition
- Serving Size: 1/2 cup
- Calories: 380
- Sugar: 35
- Sodium: 280
- Fat: 24
- Saturated Fat: 15
- Carbohydrates: 38
- Protein: 4
Keywords: no-churn ice cream, salted caramel, easy ice cream, homemade ice cream, no machine ice cream


