I was standing in line at the DMV—the one on 4th Street, the one with the flickering fluorescent lights and that weird smell you can never quite identify—when the guy behind me started talking about Halloween. Not just any Halloween conversation, mind you. He was a retired baker, or so he claimed, and he was telling the woman ahead of him about the year his grandkids demanded “something gross” for their class party. He laughed, shook his head, and said, “I made them witch fingers out of pretzels. Easiest thing I ever did, and they talked about it for years.” I mean, I wasn’t planning to eavesdrop, but the DMV does that to a person. You just sort of absorb everything around you. I turned around and asked him to repeat himself, and that’s how I ended up learning about these Easy Witch Finger Pretzel Rods from a total stranger in the most boring place on earth. Honestly, it felt like the universe was handing me a gift. I scribbled his rough instructions on the back of an expired coupon I found in my wallet. That scrap of paper sat on my counter for two weeks before I finally tried it, and let me tell you—I’ve never looked back. Maybe you’ve been there, scrambling for a last-minute Halloween treat that doesn’t require a baking degree or a trip to three different stores. These witch finger pretzel rods are the answer. They’re quick, they’re creepy, and they’re so ridiculously fun that you’ll find yourself making them even when it’s not October.
Why You’ll Love This Recipe
I’ve tested this recipe about a dozen times now—once with my niece who has the attention span of a gnat, once at 11 PM on a Tuesday after I forgot about a school party, and once just because I wanted to see if I could make them look even grosser. Spoiler alert: I could. These Easy Witch Finger Pretzel Rods have earned their spot in my permanent recipe rotation, and here’s why they’ll earn a spot in yours too.
- Quick & Easy : You can have these done in under 20 minutes. I’m serious. If you can dip a pretzel rod in melted candy coating, you can make these. No oven required, no complicated techniques, no crying over melted chocolate.
- Simple Ingredients : Everything you need is either in your pantry already or available at the nearest grocery store for under ten bucks. Pretzel rods, green candy melts, almonds, and a little food coloring. That’s it.
- Perfect for Halloween Parties : Whether it’s a classroom celebration, a potluck, or just a night in with scary movies, these fit right in. They’re portable, they’re individual servings, and they look genuinely creepy.
- Crowd-Pleaser : Kids go absolutely wild for them. Adults too, honestly. There’s something about eating a witch’s finger that brings out the kid in everyone.
- Unbelievably Delicious : Salty pretzels + sweet candy coating + crunchy almond nail = a flavor combo that works way better than it has any right to. It’s addictive, I’m warning you now.
What makes these different from every other Halloween treat out there? It’s the almond nail. That simple trick—pressing a whole almond onto the tip of the pretzel—transforms a basic dipped pretzel into something that looks disturbingly real. I’ve seen versions that use frosting for the nail, but it never looks quite right. The almond gives it that authentic, slightly translucent, kind-of-gross fingernail look that makes people do a double-take. Plus, it adds this amazing crunch that contrasts with the smooth coating. It’s not just another version—it’s the best version, and I’ll die on that hill.
What Ingredients You Will Need
This recipe uses simple, straightforward ingredients to deliver maximum Halloween creepiness without any fuss. Most of these are pantry staples or easy to find at any grocery store during the fall season.
- Pretzel rods (1 package, about 12-16 rods) – Look for thick, sturdy pretzel rods that won’t snap easily when you’re dipping them. I prefer the Utz brand, but any standard brand works fine. Avoid the thin, brittle ones—they’ll break when you try to eat them.
- Green candy melts (1 bag, 12 ounces) – These are the foundation of your witch fingers. You want a nice, vibrant green. Wilton makes good ones, but any brand of green candy melts will do. If you can only find white candy melts, you can add green food coloring to achieve the same effect.
- Whole almonds (about 12-16, one per pretzel rod) – These become the fingernails. Look for raw or roasted whole almonds, preferably with the skin on for that slightly textured, realistic look. The skin gives them that natural nail-bed appearance that’s honestly a little unsettling.
- Green food coloring (optional, gel-based works best) – If your candy melts aren’t green enough or you want to intensify the color, a tiny dab of gel food coloring does the trick. I’ve learned the hard way that liquid food coloring can seize the candy melts, so stick with gel.
- Edible googly eyes (optional, for extra creepiness) – These aren’t strictly necessary, but I love adding a couple of googly eyes to the base of the finger for that extra “this thing is alive” vibe. You can find them at craft stores or online.
- Coconut oil or shortening (1 teaspoon, optional) – If your candy melts are too thick for smooth dipping, a tiny bit of coconut oil or shortening thins them out beautifully. Use this sparingly—you don’t want to change the flavor.
Ingredient Selection Tips: When choosing pretzel rods, give them a gentle squeeze in the package. You want ones that feel solid, not ones that crumble at the slightest pressure. For the almonds, I’ve tried using sliced almonds for a more delicate nail look, but whole almonds are sturdier and look more like actual fingernails. The skin-on almonds really do make a difference in the visual effect—they have that slightly mottled, natural look that skinless almonds just can’t replicate.
Substitution Guidance: If you need to avoid almonds due to allergies, you can use a whole cashew or even a large peanut for the nail. The shape won’t be quite as realistic, but it still works. For a nut-free version, use a small piece of dried apricot or a candy corn pressed flat. For a dairy-free option, most candy melts are dairy-free, but double-check the label—some brands contain milk solids.
Equipment Needed
You don’t need much for this recipe, which is part of the beauty of it. Here’s what you’ll want to have on hand:
- Microwave-safe bowl (or a double boiler if you’re fancy) – For melting the candy coating. I use a glass measuring cup because the spout makes pouring easier, but any microwave-safe bowl works.
- Parchment paper or wax paper – For setting the finished pretzel rods on. The candy coating won’t stick to it, which means no peeling and no mess.
- Baking sheet or tray – To hold the parchment paper and give your witch fingers a stable place to set. A cookie sheet works perfectly.
- Small spatula or spoon – For stirring the candy melts and for helping to coat the pretzels if needed.
- Toothpick or small skewer – For adding details like knuckle lines or wrinkles on the fingers. This is optional but adds a lot of character.
- Tweezers (optional but helpful) – For placing the almond nails precisely. Your fingers work fine, but tweezers give you more control and keep your hands clean.
Budget-Friendly Options: Skip the fancy candy melts and use white chocolate chips with green food coloring instead. It’s cheaper and works just as well. You can also use a regular dinner plate instead of a baking sheet if you’re only making a small batch. I’ve done this recipe with nothing but a coffee mug for melting and a paper plate for setting—it’s that forgiving.
Preparation Method
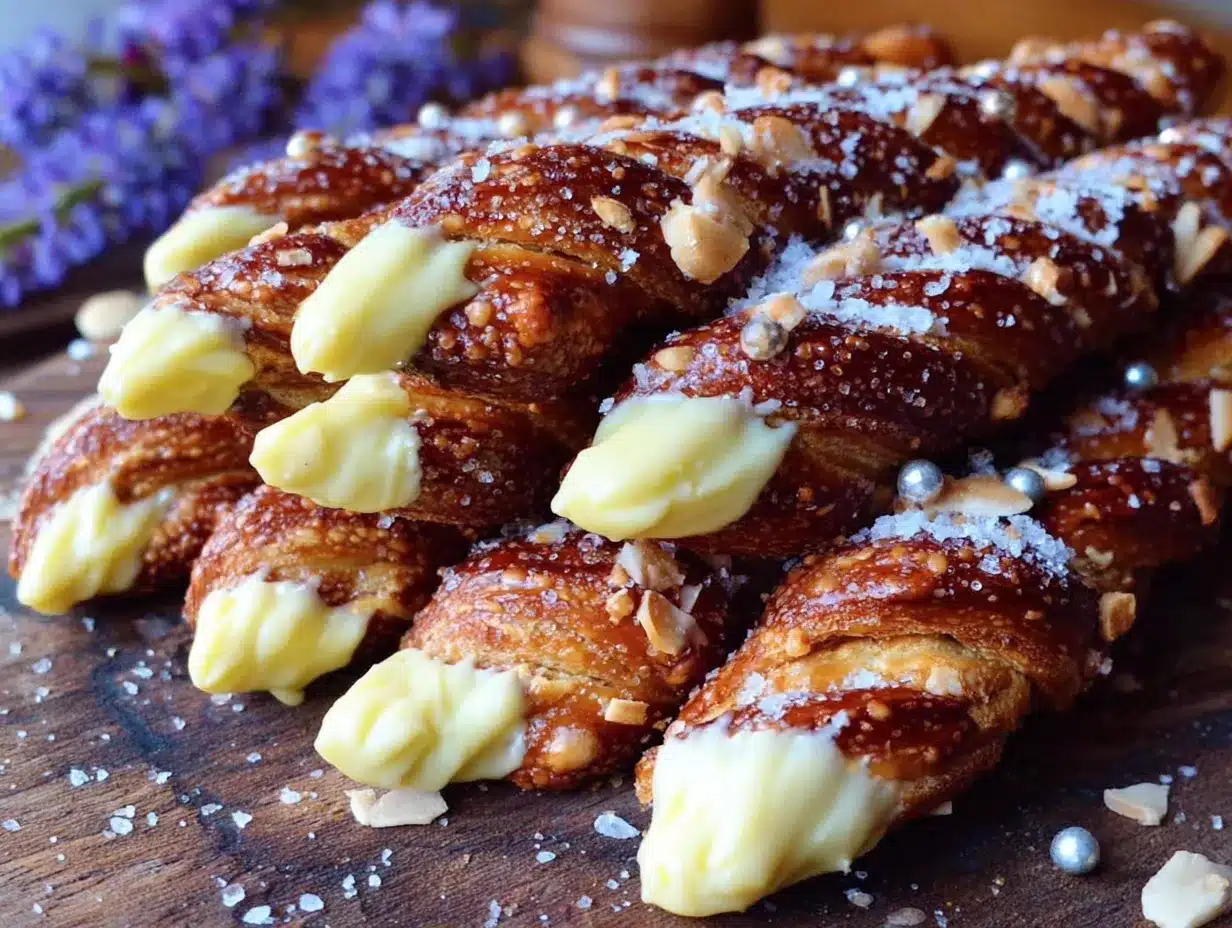
Let’s get into the nitty-gritty. This is where the magic happens. I’ve broken this down into clear steps so you can follow along without any confusion. Take your time with the first few—once you get the hang of it, you’ll be flying through these.
- Prepare your workspace. Line a baking sheet with parchment paper or wax paper and set it aside. Make sure you have enough space to work—these pretzel rods are long, and you’ll want room to maneuver. I usually clear off my entire counter because I’m clumsy and knock things over.
- Melt the green candy melts. Place the candy melts in a microwave-safe bowl. Microwave in 30-second intervals, stirring thoroughly after each interval, until completely smooth. This usually takes about 1.5 to 2 minutes total. Be careful not to overheat—candy melts can seize up if they get too hot, and then you’re stuck with a grainy mess. If the mixture seems too thick, stir in 1 teaspoon of coconut oil or shortening to thin it out. The consistency should be like thick honey—coating but not dripping too fast.
- Add food coloring if needed. If your candy melts aren’t as green as you’d like, add a tiny dab of gel food coloring and stir until fully incorporated. Start with less than you think you need—you can always add more, but you can’t take it away. I once added too much and ended up with neon green fingers that looked radioactive. Still delicious, but not exactly what I was going for.
- Dip the pretzel rods. Hold a pretzel rod by one end and dip it into the melted candy coating, leaving about an inch undipped at the top (this will be the “base” of the finger where it would connect to the hand). Rotate the pretzel to coat it evenly. Lift it out and let the excess drip off for a few seconds. You want a nice, even coating—not too thick, not too thin.
- Place the almond nail. Immediately after dipping, press a whole almond firmly onto the tip of the pretzel rod, pointed end facing outward. The almond should be slightly embedded in the candy coating. Hold it in place for about 10 seconds to make sure it sticks. This is where the tweezers come in handy if you have them—they give you better precision than your fingers.
- Create the knuckle details. Before the coating sets, use a toothpick or small skewer to gently press horizontal lines into the coating at regular intervals along the pretzel. These will look like knuckles and wrinkles on a real finger. Don’t press too hard—you don’t want to break through to the pretzel. I usually do three or four lines per finger, spaced about an inch apart.
- Add googly eyes (optional). If you’re using edible googly eyes, press them onto the base of the finger while the coating is still wet. Place two eyes close together for maximum creepiness. I like to put them at different angles to make each finger look slightly unhinged.
- Let them set. Place the finished witch finger on the prepared baking sheet. Repeat with the remaining pretzel rods. Let them set at room temperature for about 15-20 minutes, or until the candy coating is completely firm. If you’re in a hurry, you can pop them in the refrigerator for 5-10 minutes, but don’t leave them too long or condensation can form.
- Add final touches. Once the coating is set, you can add extra details if you want. A tiny dab of red gel food coloring at the base of the almond nail looks disturbingly like a cuticle. A thin line of black icing around the almond creates the illusion of a dirty fingernail. These are optional but take the creep factor to the next level.
Sensory Cues: When you dip the pretzel rod, you’ll feel the slight resistance of the coating as it wraps around the pretzel. The candy melts should be smooth and glossy—if they look streaky or dull, you might need to stir more or add a touch of coconut oil. When you press the almond in, you should feel it sink slightly into the warm coating. The toothpick lines should leave clean, distinct marks without dragging the coating.
Troubleshooting Tip: If your candy coating starts to thicken while you’re working, pop it back in the microwave for 10-15 seconds and stir well. If the almond won’t stick, the coating might have cooled too much—dip the almond in the coating briefly before pressing it onto the pretzel.
Cooking Tips & Techniques
I’ve made these Easy Witch Finger Pretzel Rods enough times to have a few tricks up my sleeve. Let me save you some of the headaches I’ve experienced.
Work in small batches. Don’t try to dip all the pretzels at once. Melt only half the candy melts at a time, or work with a smaller number of pretzels so the coating doesn’t cool and thicken before you’re done. I learned this the hard way when I tried to do all 16 at once and ended up with lumpy, uneven fingers.
Keep your hands clean. The green candy coating gets everywhere if you’re not careful. I keep a damp paper towel nearby to wipe my fingers between pretzels. Trust me, green-stained hands are not a good look, especially if you have to answer the door for trick-or-treaters.
Use the right almond placement. The almond should cover the very tip of the pretzel rod, with the pointed end extending slightly beyond the pretzel. If you push it too far down, it looks like a weird growth rather than a fingernail. If it’s too far forward, it falls off. Aim for about a quarter-inch of the almond extending past the pretzel tip.
Don’t skip the knuckle lines. I know it seems like a small detail, but those horizontal lines are what sell the illusion. Without them, it’s just a green pretzel with an almond on it. With them, it’s a witch’s finger. The difference is night and day, and it takes about five seconds per pretzel.
Timing is everything. The window between “coating is wet enough to work with” and “coating has set” is surprisingly short. Have all your almonds ready and your toothpick in hand before you start dipping. I once had to pause mid-dip to search for my tweezers, and by the time I found them, the coating had hardened and the almond wouldn’t stick.
My biggest failure: The first time I made these, I used red candy melts instead of green because I thought it would look more Halloween-y. They looked like bloody fingers, which sounds cool in theory, but in practice, they were too realistic. My niece refused to eat them. Stick with green—it’s creepy without being disturbing.
Variations & Adaptations
One of the best things about this recipe is how easy it is to customize. Here are some variations I’ve tried and loved:
1. The Zombie Hand Version: Use gray candy melts instead of green for a more undead look. Add a few drops of black food coloring to white melts to achieve a grayish tone. Press a slivered almond on each finger for a more ragged, decayed nail appearance. I made these for a zombie-themed party and they were the hit of the night.
2. The Mummy Finger Twist: After dipping the pretzels in white candy melts, use a piping bag filled with melted white chocolate to drizzle thin lines back and forth across the finger, mimicking mummy wrappings. Leave the almond nail exposed. Add two tiny black eyes near the base for the full mummy effect. These take a bit more time but look incredible.
3. The Gluten-Free Adaptation: Use gluten-free pretzel rods instead of regular ones. Most major brands now offer gluten-free options, and they work exactly the same way. The candy melts and almonds are naturally gluten-free, so this adaptation is simple and straightforward.
4. The Spicy Sugar Witch Finger: Before the candy coating sets, sprinkle a mixture of cinnamon and sugar over the wet coating. The warm spice adds a surprising kick that complements the sweet coating and salty pretzel. My husband, who claims he doesn’t like sweet treats, ate six of these in one sitting.
5. The Color-Changing Version: Use purple candy melts as a base, then while the coating is still wet, sprinkle a tiny bit of green shimmer dust over the top. The purple and green combination looks magical and slightly poisonous in the best way possible. Perfect for a wizard or potion-themed party.
Serving & Storage Suggestions
These Easy Witch Finger Pretzel Rods are best enjoyed at room temperature. The candy coating is firm but not hard, and the pretzel retains its satisfying crunch. I recommend arranging them on a platter with the “fingers” pointing outward, as if a witch is reaching out of the dish. It’s a simple presentation trick that makes people smile (or shudder).
Serving Suggestions: These pair beautifully with other Halloween treats like pumpkin dip, caramel apples, or a bowl of candy corn. For a drink pairing, try a warm mug of apple cider or a creamy pumpkin spice latte. The salty-sweet combo of the pretzels balances the sweetness of the cider perfectly.
Storage Instructions: Store these in an airtight container at room temperature for up to one week. Do NOT refrigerate them—the candy coating can develop condensation, which makes the pretzels soggy and the coating sticky. If you live in a humid climate, add a silica gel packet to the container to absorb excess moisture.
Freezer Instructions: You can freeze these for up to three months. Place them in a single layer on a baking sheet and freeze until solid, then transfer to a freezer-safe bag or container. To thaw, remove from the freezer and let them sit at room temperature for about 30 minutes. Do not microwave to thaw—the coating will melt and slide off.
Flavor Development: These are actually better the next day. The flavors meld together, and the candy coating firms up to the perfect texture. If you can resist eating them all immediately, they’ll be even more delicious tomorrow.
Nutritional Information & Benefits
Let’s be real—these are a treat, not a health food. But here’s what you’re looking at per serving (one witch finger):
- Calories: Approximately 180-200 calories per pretzel rod
- Total Fat: 8-10 grams (mostly from the candy coating and almonds)
- Carbohydrates: 24-28 grams
- Protein: 3-4 grams
- Sugar: 14-16 grams
- Sodium: 200-250 mg
Health Benefits: On the bright side, almonds are packed with vitamin E, magnesium, and healthy monounsaturated fats. They’re great for heart health and brain function. The pretzel provides a small amount of iron and B vitamins from the enriched flour. The candy coating? Well, it makes you happy, and that counts for something.
Dietary Considerations: This recipe is naturally egg-free and can be made dairy-free by choosing the right candy melts. For a vegan version, use vegan candy melts and ensure your pretzels are vegan-friendly (most are). The almonds add a nice protein boost, making this slightly more filling than a standard candy treat.
Allergen Warning: This recipe contains wheat (pretzels), tree nuts (almonds), and potentially dairy (candy melts). If you’re serving these at a party, make sure to label them clearly so guests with allergies can make informed choices.
Conclusion
These Easy Witch Finger Pretzel Rods have become my go-to Halloween treat for a reason. They’re quick, they’re fun, and they never fail to get a reaction. Every time I bring them to a party or a school event, people stop and stare. Then they laugh. Then they grab one and take a bite, and that’s when the real magic happens—they realize it’s not just a gimmick, it’s actually delicious.
I love that this recipe came from a random conversation at the DMV. It reminds me that good ideas can come from anywhere, even the most boring places. So go ahead—make a batch for your next Halloween gathering. Customize them however you like. Add extra googly eyes. Make them zombie green or mummy white. The beauty of this recipe is that it’s a canvas for your creativity.
I’d love to hear how yours turn out! Drop a comment below and tell me about your Halloween party, or share a photo of your witch fingers. Did you add any creative twists? Did your kids help make them? I read every comment, and your stories are what keep me coming back to this blog day after day. Happy Halloween, and happy snacking!
Frequently Asked Questions
Can I make these witch finger pretzels ahead of time?
Absolutely! These are actually better when made a day ahead. The candy coating firms up perfectly overnight, and the flavors meld together beautifully. Store them in an airtight container at room temperature, and they’ll stay fresh for up to a week.
Can I use white chocolate instead of candy melts?
Yes, but with a caveat. White chocolate needs to be tempered properly to set firmly at room temperature. If you don’t temper it, it will be soft and sticky. Candy melts are formulated to set without tempering, which is why I recommend them for this recipe. If you want to use white chocolate, look for “white melting wafers” which are similar to candy melts.
How do I get the green color to be more vibrant?
Use gel food coloring instead of liquid. Gel is more concentrated and won’t affect the consistency of your candy melts. Start with a tiny amount—about the size of a grain of rice—and stir thoroughly before adding more. You can also buy pre-colored green candy melts, which give you the most consistent results.
Can kids help make these?
Absolutely! This is one of my favorite recipes to make with kids. They can help press the almonds onto the pretzels, draw the knuckle lines with toothpicks, and arrange the googly eyes. Just handle the melting of the candy coating yourself, as it gets hot. My niece has been making these with me since she was five, and she’s now an expert at placing the almond nails.
What if my candy melts seize up and become grainy?
Don’t panic—this happens to everyone at least once. If your candy melts seize (become thick and grainy), add a teaspoon of coconut oil or shortening and stir vigorously. This usually smooths them out. If that doesn’t work, you can try adding a few drops of warm water, but be careful—too much water will make it worse. When in doubt, start over with fresh candy melts and be more careful about overheating them.
Pin This Recipe!

Easy Witch Finger Pretzel Rods: Best Quick Halloween Treat

These Easy Witch Finger Pretzel Rods are a quick, no-bake Halloween treat that looks disturbingly realistic. Made with pretzel rods, green candy melts, and almond nails, they’re the perfect creepy snack for parties and school events.
- Prep Time: 10 minutes
- Cook Time: 5 minutes
- Total Time: 15 minutes
- Yield: 12-16 servings 1x
- Category: Dessert
- Cuisine: American
Ingredients
- 1 package pretzel rods (about 12–16 rods)
- 1 bag (12 ounces) green candy melts
- 12–16 whole almonds (skin-on preferred)
- Green gel food coloring (optional, to intensify color)
- Edible googly eyes (optional, for extra creepiness)
- 1 teaspoon coconut oil or shortening (optional, to thin candy melts)
Instructions
- Prepare your workspace: Line a baking sheet with parchment paper or wax paper and set aside.
- Melt the green candy melts in a microwave-safe bowl in 30-second intervals, stirring thoroughly after each interval, until completely smooth (about 1.5 to 2 minutes total). If too thick, stir in 1 teaspoon of coconut oil or shortening.
- If desired, add a tiny dab of green gel food coloring to intensify the color and stir until fully incorporated.
- Hold a pretzel rod by one end and dip it into the melted candy coating, leaving about an inch undipped at the top (the base of the finger). Rotate to coat evenly, then let excess drip off.
- Immediately press a whole almond firmly onto the tip of the pretzel rod, pointed end facing outward, so it’s slightly embedded in the coating. Hold in place for about 10 seconds.
- Before the coating sets, use a toothpick or small skewer to gently press horizontal lines into the coating at regular intervals (about 1 inch apart) to create knuckle details.
- If using edible googly eyes, press them onto the base of the finger while the coating is still wet.
- Place the finished witch finger on the prepared baking sheet. Repeat with remaining pretzel rods.
- Let them set at room temperature for 15-20 minutes, or until the candy coating is completely firm. For faster setting, refrigerate for 5-10 minutes.
- Optional: Add final touches like a tiny dab of red gel food coloring at the base of the almond nail for a cuticle effect, or a thin line of black icing around the almond for a dirty fingernail look.
Notes
Work in small batches to prevent candy coating from cooling and thickening. Have all almonds and tools ready before dipping. For best results, make a day ahead—flavors meld and coating firms up perfectly. Store in an airtight container at room temperature for up to one week. Do not refrigerate as condensation can make pretzels soggy.
Nutrition
- Serving Size: 1 witch finger pretz
- Calories: 190
- Sugar: 15
- Sodium: 225
- Fat: 9
- Saturated Fat: 4
- Carbohydrates: 26
- Fiber: 1
- Protein: 3.5
Keywords: Halloween treats, witch fingers, pretzel rods, easy Halloween recipe, no-bake dessert, creepy snacks, kids Halloween party


