My neighbor Jen wasn’t trying to impress anyone. I’d stopped by to borrow an egg—classic, right?—and this smell hit me before I even got past her screen door. It was deep, almost savory-sweet, with something dark and mysterious wafting through the air. She was standing at her kitchen counter, pulling these jet-black cupcakes out of a single mixing bowl, and she just shrugged when I asked what she was making. “Oh, just some Halloween cupcakes for the kids’ school thing,” she said, like she was boiling pasta. But let me tell you, those cupcakes were anything but ordinary.
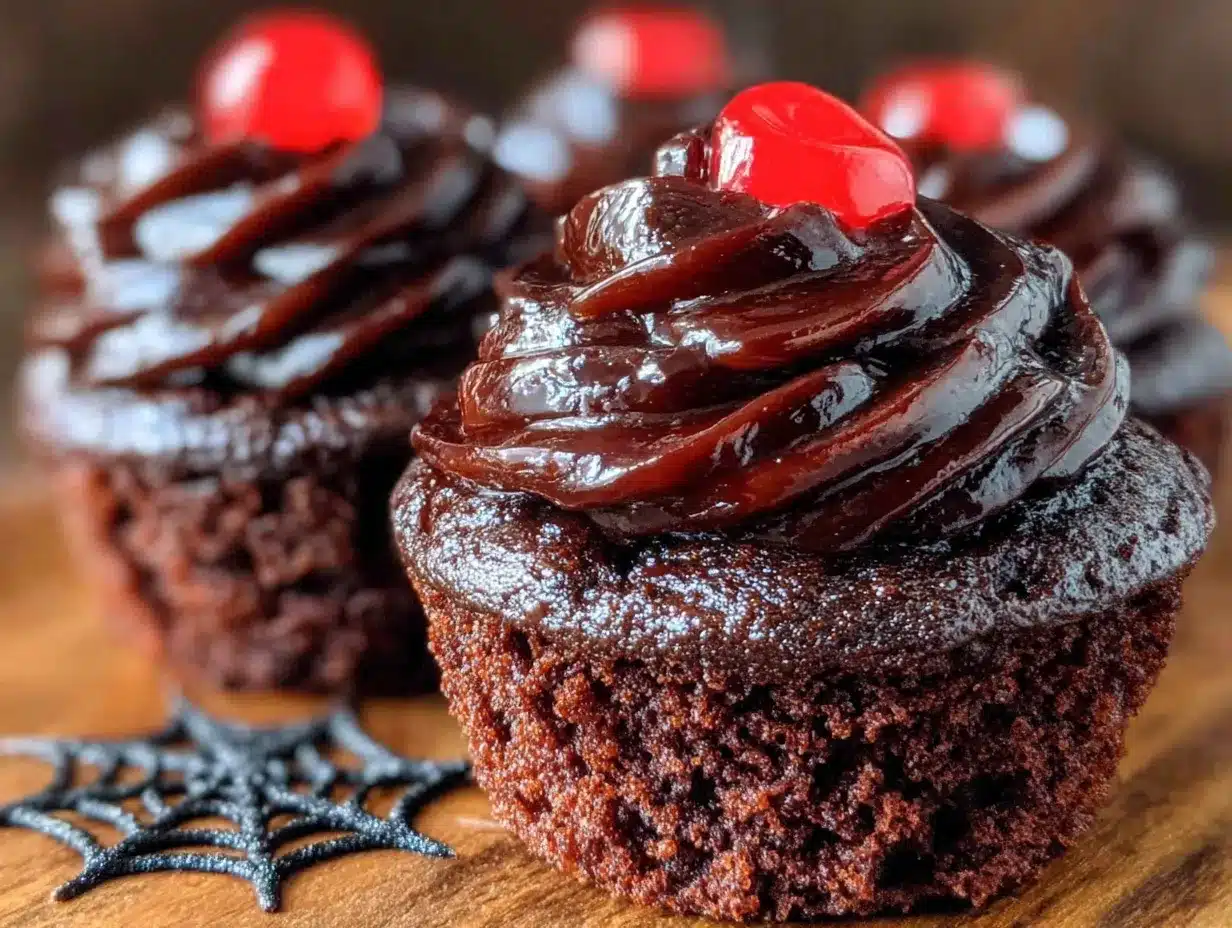
I stood there, honestly kind of stunned, watching her frost them with this silky dark chocolate buttercream. The contrast between the black crumb and the rich frosting was mesmerizing. She caught me staring and laughed, handing me one that was still slightly warm. That first bite—I mean, the texture was so tender and moist, and the flavor had this subtle dark cocoa thing going on that made me close my eyes without meaning to. “It’s just red velvet without the red,” she said, wiping her hands on her jeans. “Black velvet. One bowl, no fuss.”
Maybe you’ve been there—standing in someone else’s kitchen, watching them do something that seems simple but feels kind of magical. That moment stayed with me because it wasn’t about showing off. It was about making something fun and delicious without making a big production out of it. And honestly, isn’t that what we all need on a busy weeknight? Something that looks like you spent hours on it but actually comes together in one bowl and under an hour? These black velvet cupcakes became my go-to for Halloween parties, last-minute school events, and those nights when you just want to bake something cool without cleaning up a mountain of dishes. Jen never did give me that egg, by the way. But she gave me something better.
Why You’ll Love This Recipe
Let me tell you why these cupcakes have earned a permanent spot in my weeknight baking rotation. I’ve tested this recipe at least a dozen times—tweaking the cocoa ratio, adjusting the vinegar for the perfect rise, even accidentally overmixing once (don’t do that, but we’ll get to it). What I landed on is the version that works every single time, even when you’re tired and just want something that cooperates.
- Quick & Easy: From start to finish, you’re looking at about 35 minutes. That’s mixing, baking, and cooling enough to frost. Perfect for those “I need cupcakes for tomorrow” panics.
- One Bowl, Minimal Cleanup: No stand mixer, no separate bowls for wet and dry ingredients. You mix everything in one bowl with a whisk. The sink will thank you.
- Simple Ingredients: You probably have most of this stuff already—flour, sugar, cocoa powder, oil, vinegar, baking soda. The only “special” thing is black food coloring, and you can find it at any grocery store or online.
- Perfect for Halloween: These are dramatic and spooky without being complicated. Kids love them, adults are impressed, and they look amazing on any dessert table.
- Unbelievably Moist: The combination of oil and buttermilk (or the vinegar-milk hack) gives these cupcakes a texture that’s almost velvety—hence the name. They stay soft for days.
What makes this different from other black velvet recipes you might see? It’s the balance. Some recipes end up dry or tasting artificial. This one uses just enough cocoa to give depth without overpowering, and the vinegar reacts with the baking soda to create that light, tender crumb that red velvet is famous for—just in black. It’s not another version. It’s the version that works when you’re short on time, patience, and counter space. And honestly, the first time you pull these out of the oven and see that deep black color against the golden muffin liner, you’ll feel like a baking wizard.
What Ingredients You Will Need
This recipe uses simple, everyday ingredients that come together to create something surprisingly dramatic. You don’t need anything fancy—just a few pantry staples and some black food coloring. Here’s what you’ll need and why each ingredient matters.
For the Cupcakes
- All-purpose flour, 1 ½ cups (190g) – The base of the cupcake. I use Gold Medal or King Arthur for consistent results. Don’t use self-rising flour here; the leavening is already balanced.
- Granulated sugar, 1 cup (200g) – Adds sweetness and helps with that tender crumb. You can reduce it to ¾ cup if you prefer less sweet cupcakes, but don’t go lower or the texture suffers.
- Unsweetened cocoa powder, ¼ cup (22g) – Use natural cocoa powder, not Dutch-processed. Natural cocoa is more acidic, which helps activate the baking soda. I prefer Hershey’s Special Dark for a deeper color, but regular works fine.
- Baking soda, 1 teaspoon – This reacts with the vinegar and buttermilk to create lift. Make sure it’s fresh—test it by dropping a little in vinegar; it should fizz vigorously.
- Salt, ½ teaspoon – Balances the sweetness and enhances the chocolate flavor. Fine sea salt is my go-to.
- Vegetable oil, ½ cup (120ml) – Keeps the cupcakes moist without making them greasy. Canola or any neutral oil works. Don’t substitute butter here; oil gives a softer crumb that stays tender longer.
- Buttermilk, ¾ cup (180ml) – Adds tanginess and reacts with the baking soda for a tender texture. If you don’t have buttermilk, add 1 tablespoon of white vinegar or lemon juice to regular milk and let it sit for 5 minutes. It works perfectly.
- Large egg, 1 – Room temperature is best. If you forgot to take it out, place it in a bowl of warm water for 5 minutes.
- White vinegar, 1 teaspoon – Sounds weird, I know, but it reacts with the baking soda to help the cupcakes rise. You can’t taste it, I promise.
- Vanilla extract, 1 teaspoon – Adds warmth and rounds out the flavor. Pure vanilla is best, but imitation works in a pinch.
- Black gel food coloring, 1 to 2 tablespoons – This is the key to the “black velvet” look. Liquid food coloring won’t give you a true black; you need gel or paste. I use Americolor Super Black or Wilton Color Right. Start with 1 tablespoon and add more if you want it darker.
For the Dark Chocolate Buttercream (Optional but Highly Recommended)
- Unsalted butter, 1 cup (226g) – Softened to room temperature. Let it sit out for about an hour. Don’t microwave it—you want it soft, not melted.
- Powdered sugar, 3 to 4 cups (360-480g) – Sifted if you want extra smooth frosting. I usually skip sifting and it’s fine, but sifting prevents tiny lumps.
- Unsweetened cocoa powder, ½ cup (45g) – Again, natural cocoa. Sift this if you can; it clumps easily.
- Heavy cream or milk, 3 to 4 tablespoons – Adds creaminess. Start with 3 and add more if needed for spreading consistency.
- Vanilla extract, 1 teaspoon – Because everything is better with vanilla.
- Salt, a pinch – Balances the sweetness. Trust me on this one.
Equipment Needed
The beauty of this recipe is that you don’t need a lot of fancy equipment. Here’s what you’ll need to pull these off without a hassle.
- One large mixing bowl – Any bowl works, but a medium to large size gives you room to whisk without splashing. I use a glass mixing bowl I picked up at Target for like eight bucks.
- Whisk – For mixing the batter. A wooden spoon or rubber spatula also works, but a whisk gets the lumps out faster.
- Standard 12-cup muffin tin – You’ll get about 12 to 14 cupcakes from this recipe. If you only have one tin, just bake in batches.
- Paper cupcake liners – Use black or Halloween-themed liners for extra fun. I’ve used plain white ones too and they look great with the contrast.
- Measuring cups and spoons – For accuracy. Baking is a science, even if we’re being casual about it.
- Cooling rack – Letting cupcakes cool completely before frosting is crucial. If you don’t have a rack, you can use a clean dish towel on the counter, but a rack is better for air circulation.
- Hand mixer or stand mixer – For the buttercream. You can make it by hand with a wooden spoon and some elbow grease, but it’ll take longer and won’t be as fluffy.
- Offset spatula or piping bag – For frosting. I use a piping bag with a star tip for that classic bakery look, but an offset spatula works great for a rustic swirl.
I’ve made these cupcakes with just a whisk and a bowl before—no mixer, no fancy tools—and they turned out fantastic. Don’t let equipment hold you back. If you have a bowl and an oven, you’re good to go.
Preparation Method
Alright, let’s get baking. This is the straightforward part—no complicated steps, just simple mixing and baking. Follow these steps and you’ll have black velvet cupcakes that look like they came from a bakery.
- Preheat your oven to 350°F (175°C). Line your muffin tin with paper liners. I like to do this first so everything’s ready to go. If you’re using a dark non-stick pan, reduce the temperature to 325°F (165°C) to prevent over-browning.
- In your large mixing bowl, whisk together the dry ingredients. Add the flour, sugar, cocoa powder, baking soda, and salt. Whisk until everything is evenly combined—about 30 seconds. Make sure there are no lumps of cocoa or baking soda. I once skipped this step and ended up with a pocket of baking soda in one cupcake. Not my finest moment.
- Add the wet ingredients directly to the bowl. Pour in the vegetable oil, buttermilk, egg, vinegar, and vanilla extract. Whisk everything together until the batter is smooth and well combined. Don’t overmix—stop as soon as you don’t see any streaks of flour. Overmixing can make the cupcakes tough. About 20 to 30 seconds of whisking should do it.
- Add the black gel food coloring. Start with 1 tablespoon and mix it in thoroughly. The batter will look dark gray at this point. If you want a deeper black, add another tablespoon and mix again. I usually use about 1½ tablespoons for a true black. Remember, the color will darken slightly as the cupcakes bake. Don’t worry if it’s not completely black at this stage—it’ll get there.
- Fill the cupcake liners about ⅔ full. You can use a cookie scoop or just a spoon. I use a ¼-cup measure for consistency. Don’t overfill, or the cupcakes will mushroom over the edges. If you have extra batter, fill any empty cups in the tin halfway with water to prevent the pan from warping.
- Bake for 15 to 18 minutes. Start checking at 15 minutes by inserting a toothpick into the center of a cupcake. If it comes out clean or with a few moist crumbs, they’re done. If the toothpick has wet batter, give them another 2 minutes and check again. The tops should spring back when lightly touched. Don’t overbake—dry cupcakes are sad cupcakes.
- Let the cupcakes cool in the pan for 5 minutes. This allows them to set so they don’t fall apart when you move them. After 5 minutes, transfer them to a cooling rack to cool completely. Don’t rush this step—frosting on warm cupcakes will melt into a puddle. I’ve learned this the hard way, twice.
- While the cupcakes cool, make the buttercream. In a separate bowl (or the bowl of a stand mixer), beat the softened butter on medium speed until creamy and smooth—about 2 minutes. Add the cocoa powder and beat until combined. Gradually add the powdered sugar, 1 cup at a time, beating on low speed after each addition. Add the heavy cream, vanilla, and salt, then beat on medium-high speed for 2 to 3 minutes until light and fluffy. If the frosting is too thick, add more cream a tablespoon at a time. If it’s too thin, add more powdered sugar.
- Frost the cooled cupcakes. You can pipe the frosting using a piping bag fitted with a star tip, or simply spread it on with an offset spatula. I like to do a generous swirl that looks dramatic against the black cupcake. If you want to get fancy, top with some orange or purple sprinkles, or a few candy eyeballs for a spooky touch.
And that’s it. You’ve just made black velvet cupcakes that look like they took hours but actually came together in one bowl and under 40 minutes. Pretty great, right?
Cooking Tips & Techniques
Over the years, I’ve made these cupcakes more times than I can count, and I’ve picked up a few tricks along the way. Some came from success, others from spectacular failure. Here’s what I’ve learned so you don’t have to make the same mistakes.
Don’t overmix the batter. I know I said this already, but it’s worth repeating. When you overmix, you develop the gluten in the flour, which makes the cupcakes dense and tough. Mix until the batter just comes together—a few small lumps are totally fine. They’ll disappear during baking. I once got distracted by a phone call and kept whisking, and those cupcakes came out like hockey pucks. Learn from my distraction.
Use gel food coloring, not liquid. Liquid food coloring will make the batter too thin and won’t give you a true black. Gel or paste coloring is concentrated, so you use less and get a deeper color. If you can only find liquid, you’ll need a lot more, and it might affect the texture. I’ve tried both, and gel is the way to go. You can find it at craft stores, baking supply shops, or online.
Room temperature ingredients matter. Cold eggs and cold buttermilk can make the batter lumpy and affect how it rises. Take them out of the fridge about 30 minutes before you start. If you’re in a hurry, warm the buttermilk in the microwave for 10 to 15 seconds and place the egg in a bowl of warm water for 5 minutes. It makes a real difference in the texture.
Check your baking soda freshness. Baking soda loses its potency over time, and if it’s old, your cupcakes won’t rise properly. To test it, drop a little into some vinegar—if it fizzes vigorously, it’s good. If it barely bubbles, get a new box. I keep a box in my pantry and replace it every six months just to be safe.
Let cupcakes cool completely before frosting. I cannot stress this enough. If you frost warm cupcakes, the buttercream will slide right off and turn into a greasy mess. Trust me, I’ve tried to rush this step and ended up with sad, melted cupcakes that looked like they’d been through a rainstorm. Give them at least 30 minutes on a cooling rack, or pop them in the fridge for 15 minutes if you’re really in a hurry.
For a darker crumb, add a teaspoon of instant espresso powder. This doesn’t make the cupcakes taste like coffee—it just deepens the chocolate flavor and makes the black color more intense. I started doing this after a friend suggested it, and honestly, it’s a game-changer. You can find instant espresso powder in the coffee aisle or baking section.
Variations & Adaptations
One of the best things about this recipe is how adaptable it is. I’ve tried several variations over the years, and here are some of my favorites. Feel free to experiment based on what you have or what you’re craving.
Gluten-Free Version: Substitute the all-purpose flour with a 1:1 gluten-free baking flour blend. I’ve used Bob’s Red Mill and King Arthur’s measure-for-measure blend with great results. Don’t use almond flour or coconut flour—they’ll change the texture completely. Add an extra tablespoon of buttermilk to compensate for the drier gluten-free flour.
Vegan Adaptation: Replace the egg with a flax egg (1 tablespoon ground flaxseed mixed with 3 tablespoons water, let sit for 5 minutes). Use a plant-based milk mixed with 1 tablespoon vinegar instead of buttermilk. For the buttercream, use vegan butter and plant-based milk. The texture will be slightly denser but still delicious. I made these for a vegan friend’s Halloween party and they were a hit.
Spooky Spiderweb Design: After frosting the cupcakes, pipe a spiral of white or orange buttercream on top, then drag a toothpick from the center outward to create a web pattern. It’s easier than it sounds and looks incredibly impressive. I did this for a Halloween potluck and people thought I bought them from a bakery.
Mini Cupcakes: Use a mini muffin tin and bake for 10 to 12 minutes instead of 15 to 18. You’ll get about 24 to 30 mini cupcakes. Perfect for parties or kids’ lunches. I’ve made these for classroom parties and they disappear fast.
Chocolate Ganache Filling: For an extra decadent version, core the center of each cooled cupcake using a small knife or an apple corer, and fill with chocolate ganache before frosting. To make ganache, heat ½ cup heavy cream and pour over 4 ounces of dark chocolate chips. Let sit for 2 minutes, then stir until smooth. Let it cool slightly before filling. This takes the cupcakes from great to absolutely ridiculous in the best way.
Spice It Up: Add ½ teaspoon of cinnamon and a pinch of cayenne pepper to the dry ingredients for a Mexican hot chocolate vibe. The warmth of the spices complements the dark cocoa beautifully. I tried this on a whim one fall afternoon and it’s become my secret weapon for adult gatherings.
Serving & Storage Suggestions
These cupcakes are versatile enough for any occasion, but here’s how to serve and store them for the best results.
Serving Temperature: Serve at room temperature for the best flavor and texture. If you’ve refrigerated them, let them sit out for about 20 minutes before serving. Cold cupcakes can taste denser and the frosting gets firm. Room temperature brings out the velvety crumb and makes the frosting soft and creamy.
Presentation Ideas: Arrange the cupcakes on a black or orange platter for maximum Halloween impact. Add some fake spiderwebs, plastic spiders, or candy eyeballs around the platter for a spooky tablescape. For a more elegant look, dust the frosted cupcakes with a little edible gold or silver glitter—it contrasts beautifully with the black.
Complementary Dishes: These cupcakes pair wonderfully with a glass of cold milk, a hot cup of coffee, or a warm mug of spiced apple cider. For a dessert spread, serve them alongside pumpkin bars, caramel apples, or a bowl of candy corn. They’re also great with a scoop of vanilla ice cream for an extra indulgent treat.
Storage Instructions: Store unfrosted cupcakes in an airtight container at room temperature for up to 3 days. If frosted, they can stay at room temperature for 2 days, but I prefer to refrigerate them if keeping longer. In the fridge, they’ll last up to 5 days. Just bring them to room temperature before serving.
Freezing Tips: You can freeze unfrosted cupcakes for up to 3 months. Wrap each one individually in plastic wrap, then place them in a freezer-safe bag. When you’re ready to use them, thaw at room temperature for about an hour, then frost as usual. I often make a double batch and freeze half for last-minute Halloween parties. Frosted cupcakes can also be frozen, but the frosting might lose some of its texture. If you do freeze frosted cupcakes, place them in a single layer in a freezer-safe container and thaw in the refrigerator overnight.
Flavor Development: These cupcakes actually taste better the next day. The flavors have time to meld and the crumb becomes even more tender. If you can, make them a day ahead and store them unfrosted. Frost them just before serving for the freshest taste and best presentation.
Nutritional Information & Benefits
Let’s be real—these are cupcakes, not health food. But that doesn’t mean they can’t fit into a balanced lifestyle. Here’s a rough breakdown of what you’re getting in each cupcake (based on 12 servings, frosted).
| Nutrient | Amount Per Cupcake |
|---|---|
| Calories | 380 |
| Total Fat | 20g |
| Saturated Fat | 10g |
| Cholesterol | 55mg |
| Sodium | 280mg |
| Total Carbohydrates | 48g |
| Dietary Fiber | 2g |
| Sugars | 35g |
| Protein | 3g |
Health Benefits of Key Ingredients: Cocoa powder is rich in antioxidants called flavonoids, which can support heart health and reduce inflammation. It also contains magnesium, which is good for muscle function and relaxation. The buttermilk provides calcium and probiotics (if using cultured buttermilk), which support bone health and digestion. And while the sugar content isn’t negligible, these cupcakes are meant to be an occasional treat, not an everyday staple.
Dietary Considerations: This recipe contains gluten, dairy, and eggs. For a gluten-free version, see the variations section above. For a dairy-free option, use plant-based milk and vegan butter. For an egg-free version, use a flax egg. These adaptations work well, though the texture will be slightly different.
Potential Allergens: This recipe contains wheat (gluten), dairy, and eggs. If you’re serving these at a party or event, it’s always a good idea to label them with allergen information. I usually put a small card next to the platter listing the main allergens, just to be safe.
Personal Wellness Perspective: I believe in balance—enjoying treats like these cupcakes without guilt, but also being mindful of portions. One cupcake is plenty for a satisfying dessert. Pair it with a piece of fruit or a glass of water to round things out. Life’s too short to skip the cupcakes, but it’s also too short to eat them every single day. Moderation, my friends.
Conclusion
So there you have it—black velvet cupcakes that come together in one bowl, look incredibly dramatic, and taste like they took way more effort than they actually did. That’s the kind of recipe I love sharing, because it proves you don’t need to be a professional baker or spend hours in the kitchen to make something truly special.
Whether you’re making these for a Halloween party, a school bake sale, or just because you want to bake something fun on a Tuesday night, they deliver every single time. The deep black color, the tender crumb, the rich chocolate buttercream—it’s a combination that’s hard to beat. And the best part? You can customize them however you want. Add sprinkles, fill them with ganache, or turn them into spiderwebs. Make them your own.
I’d love to hear how yours turn out. Did you try any variations? Did your kids go crazy for them? Did you impress your neighbors? Drop a comment below and let me know. And if you’re looking for more quick and easy recipes that look way harder than they are, check out my pumpkin bars with cream cheese frosting or these spiderweb dip for your next Halloween gathering. Happy baking, and remember—sometimes the best recipes come from borrowing an egg from your neighbor.
Frequently Asked Questions
Can I make these cupcakes without black food coloring?
Technically yes, but they won’t be black—they’ll be a very dark brown. The cocoa powder gives them a deep color, but for true black velvet, you need the food coloring. If you want to skip it, you’ll end up with dark chocolate cupcakes, which are still delicious but won’t have that dramatic Halloween look.
Why did my cupcakes turn out dry?
Dry cupcakes usually come from overbaking or overmixing. Check your oven temperature with an oven thermometer—many ovens run hot. Also, make sure you’re measuring your flour correctly. Spoon it into the measuring cup and level it off with a knife; don’t scoop directly from the bag, which packs the flour and adds too much.
Can I use Dutch-processed cocoa powder instead of natural?
You can, but the cupcakes won’t rise as much. Natural cocoa is acidic and reacts with the baking soda. Dutch-processed cocoa is neutralized, so you’d need to add baking powder instead of baking soda. If that’s all you have, use 2 teaspoons of baking powder and skip the vinegar. The texture will be slightly different, but they’ll still taste good.
How do I get my cupcakes to dome nicely?
For nice domed tops, make sure your oven is fully preheated before baking. Fill the liners about ⅔ full and don’t open the oven door for the first 12 minutes of baking. The initial burst of heat helps the cupcakes rise quickly and create that dome. Also, using room temperature ingredients helps them rise evenly.
Can I make the batter ahead of time?
I don’t recommend it. The baking soda starts reacting as soon as it hits the acidic ingredients, so the batter loses its lift over time. If you need to prep ahead, make the dry mix and wet mix separately, then combine them just before baking. The dry mix can sit at room temperature for a few days, and the wet mix (without the vinegar) can be refrigerated overnight.
Pin This Recipe!
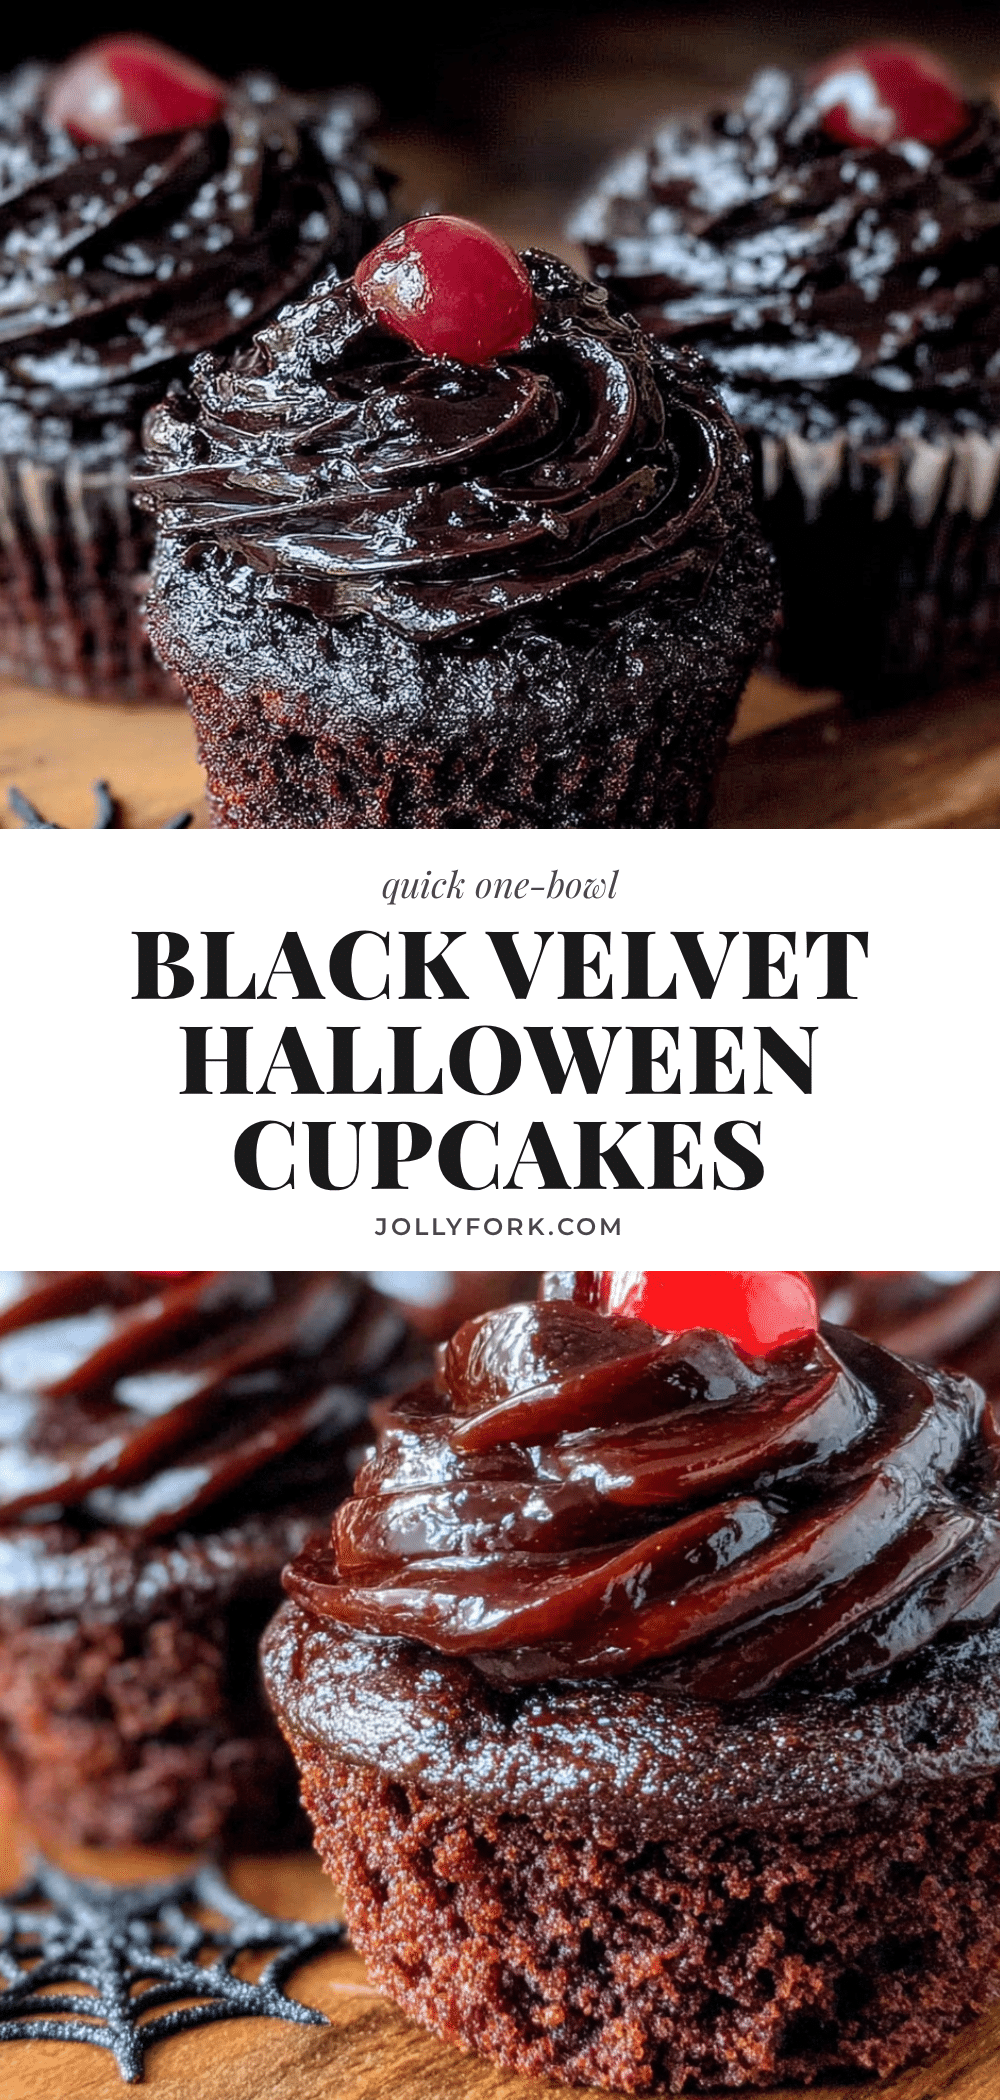
Best Easy Black Velvet Halloween Cupcakes in One Bowl
These one-bowl black velvet cupcakes are incredibly moist and tender, with a dramatic black crumb and rich dark chocolate buttercream. Perfect for Halloween parties, school events, or any time you want a spooky treat that comes together in under an hour with minimal cleanup.
- Prep Time: 15 minutes
- Cook Time: 18 minutes
- Total Time: 35 minutes
- Yield: 12 cupcakes 1x
- Category: Dessert
- Cuisine: American
Ingredients
- 1 ½ cups (190g) all-purpose flour
- 1 cup (200g) granulated sugar
- ¼ cup (22g) unsweetened natural cocoa powder
- 1 teaspoon baking soda
- ½ teaspoon fine sea salt
- ½ cup (120ml) vegetable oil
- ¾ cup (180ml) buttermilk
- 1 large egg, room temperature
- 1 teaspoon white vinegar
- 1 teaspoon vanilla extract
- 1 to 2 tablespoons black gel food coloring
- 1 cup (226g) unsalted butter, softened
- 3 to 4 cups (360-480g) powdered sugar, sifted if desired
- ½ cup (45g) unsweetened natural cocoa powder
- 3 to 4 tablespoons heavy cream or milk
- 1 teaspoon vanilla extract
- Pinch of salt
Instructions
- Preheat oven to 350°F (175°C). Line a 12-cup muffin tin with paper liners. If using a dark non-stick pan, reduce temperature to 325°F (165°C).
- In a large mixing bowl, whisk together flour, sugar, cocoa powder, baking soda, and salt until evenly combined, about 30 seconds.
- Add vegetable oil, buttermilk, egg, vinegar, and vanilla extract. Whisk until smooth and well combined, about 20-30 seconds. Do not overmix.
- Add black gel food coloring, starting with 1 tablespoon, and mix thoroughly. Add more if desired for a deeper black (I use about 1½ tablespoons).
- Fill cupcake liners about ⅔ full. If you have extra batter, fill empty cups halfway with water to prevent pan warping.
- Bake for 15-18 minutes, until a toothpick inserted into the center comes out clean or with a few moist crumbs. Tops should spring back when lightly touched.
- Let cupcakes cool in the pan for 5 minutes, then transfer to a cooling rack to cool completely.
- While cupcakes cool, make the buttercream: In a separate bowl, beat softened butter on medium speed until creamy, about 2 minutes. Add cocoa powder and beat until combined. Gradually add powdered sugar, 1 cup at a time, beating on low after each addition. Add heavy cream, vanilla, and salt, then beat on medium-high for 2-3 minutes until light and fluffy. Adjust consistency with more cream or powdered sugar as needed.
- Frost cooled cupcakes using a piping bag with a star tip or an offset spatula. Decorate as desired.
Notes
Use gel food coloring for true black color. Room temperature ingredients ensure best texture. Do not overmix batter. Let cupcakes cool completely before frosting. For a darker crumb, add 1 teaspoon instant espresso powder to dry ingredients. Cupcakes taste even better the next day.
Nutrition
- Serving Size: 1 cupcake
- Calories: 380
- Sugar: 35
- Sodium: 280
- Fat: 20
- Saturated Fat: 10
- Carbohydrates: 48
- Fiber: 2
- Protein: 3
Keywords: black velvet cupcakes, Halloween cupcakes, one bowl cupcakes, chocolate cupcakes, easy cupcakes, black food coloring, dark chocolate buttercream


