I was standing in the frozen food aisle of a Tuesday-night-empty grocery store last November when the cold air from the open freezer door hit my face—and suddenly I was seven years old in my Aunt Lena’s cramped kitchen, the steam from a massive pot fogging up her glasses. She was stirring something orange into a pot of macaroni, and I remember thinking she was ruining it. “Trust me, kiddo,” she said without looking up. “This one’s got a secret.” She passed away three years ago, and I’d spent the last two autumns trying to recreate that exact feeling—that warm, slightly nutty, impossibly creamy bite of mac and cheese that somehow felt both indulgent and wholesome. I’d failed twice. Burnt the roux once. Used a squash that was too watery another time. But last Tuesday, standing in that freezer aisle with the door beeping at me, I grabbed a bag of frozen butternut squash cubes and decided I was done guessing. I called my cousin Marie for the missing piece—Aunt Lena always added a pinch of smoked paprika and a splash of the pasta water at the end. And let me tell you, when I finally pulled that baking dish out of the oven, golden and bubbling, I closed my eyes and there she was. Maybe you’ve been chasing a taste like that too. This is the recipe that finally brought it home.
Why You’ll Love This Recipe
This isn’t just another mac and cheese recipe that tries to be healthy and ends up tasting like cardboard. I tested this version seven times—yes, seven—before I got the balance right. The first batch was too grainy. The second was too sweet. But by the fourth try, I knew I had something special. Here’s why this one works for your next gathering:
- Quick & Easy: Comes together in about 45 minutes, and most of that is hands-off oven time. You can prep the squash sauce a day ahead if you’re smart like that.
- Simple Ingredients: No chasing down fancy cheese at a specialty shop. Sharp cheddar, a bit of Gruyère if you’re feeling fancy, and frozen butternut squash cubes do the heavy lifting.
- Perfect for Hosting: This dish sits beautifully on a buffet table and stays creamy longer than traditional mac and cheese. Your guests will go back for seconds—I’ve seen it happen at three separate dinner parties now.
- Crowd-Pleaser: I served this to a group that included two picky kids, a vegan-curious friend, and my uncle who “doesn’t do vegetables.” Every single plate came back clean.
- Unbelievably Delicious: The butternut squash doesn’t hide—it adds this subtle sweetness and velvety texture that makes you wonder why you ever made mac and cheese any other way.
What sets this apart from every other butternut squash mac and cheese recipe out there? It’s the technique of roasting the squash with garlic and a touch of maple syrup before blending it into the cheese sauce. That extra step—just 20 minutes in the oven—caramelizes the natural sugars and deepens the flavor in a way boiling never could. Plus, using a combination of sharp cheddar and fontina gives you that perfect stretchy, melty cheese pull without the sauce breaking.
This is the kind of dish that makes people close their eyes after the first bite. It’s comfort food that feels a little bit fancy, a little bit wholesome, and totally worth every minute you spend in the kitchen. And when you’re hosting a crowd, that’s exactly what you need.
What Ingredients You Will Need
This recipe uses simple, wholesome ingredients to deliver that rich, velvety texture and deep flavor without any complicated steps. Most of these are pantry staples or easy to find at any grocery store.
- For the Butternut Squash Puree:
- 3 cups cubed butternut squash (fresh or frozen—I use frozen for convenience, but fresh works beautifully too)
- 3 cloves garlic, peeled
- 1 tablespoon olive oil
- 1 tablespoon maple syrup (this is the secret to bringing out the squash’s natural sweetness)
- Salt and black pepper to taste
- For the Pasta:
- 1 pound elbow macaroni (or any short pasta like cavatappi or shells—they hold the sauce better)
- Salt for the pasta water
- For the Cheese Sauce:
- 4 tablespoons unsalted butter
- ¼ cup all-purpose flour
- 2 cups whole milk (warm—this prevents lumps)
- 1 cup heavy cream
- 2 cups sharp cheddar cheese, freshly grated (please don’t use pre-shredded—it has anti-caking agents that ruin the texture)
- 1 cup fontina cheese, freshly grated (or Gruyère for a nuttier flavor)
- ½ cup Parmesan cheese, freshly grated
- 1 teaspoon Dijon mustard (cuts through the richness and adds depth)
- ½ teaspoon smoked paprika
- ¼ teaspoon ground nutmeg (sounds weird, trust me on this)
- Salt and black pepper to taste
- For the Topping (optional but highly recommended):
- 1 cup panko breadcrumbs
- 2 tablespoons melted butter
- ¼ cup grated Parmesan cheese
- 2 tablespoons fresh thyme leaves (or parsley if that’s what you have)
I personally prefer using frozen butternut squash from Trader Joe’s—it’s already cubed and consistently good quality. If you’re using fresh squash, look for one that feels heavy for its size with firm, unblemished skin. And about the cheese: splurge a little here. Good quality cheddar and fontina make a noticeable difference. I’ve tried this with budget brands and the sauce just doesn’t get that silky, luxurious texture.
For substitutions, you can use gluten-free pasta and a 1:1 gluten-free flour blend for the roux. If you’re dairy-free, swap the butter for vegan butter, use unsweetened oat milk and vegan cream cheese, and go with a good melting vegan cheddar. The texture won’t be exactly the same, but it’ll still be delicious.
Equipment Needed
You don’t need a professional kitchen to pull this off. Here’s what you’ll actually use:
- Baking sheet (for roasting the squash)
- Large pot (for boiling pasta—at least 5 quarts)
- Medium saucepan (for the cheese sauce)
- Blender or food processor (an immersion blender works too, but you’ll need a tall container)
- 9×13-inch baking dish (or any 3-quart casserole dish)
- Box grater (please grate your own cheese—I learned this lesson the hard way when my sauce turned into a gritty mess)
- Wooden spoon or silicone spatula
- Whisk (for the roux)
- Mixing bowl (for the topping)
If you don’t have a blender, you can mash the roasted squash with a potato masher until smooth—it just takes a bit more elbow grease and the texture won’t be quite as silky. I’ve done it both ways and honestly, the mashed version has a rustic charm that some people prefer. Also, if you’re serving this at a party, a nice oven-to-table baking dish saves you from having to transfer everything. My favorite is a white enameled cast iron dish—it keeps the mac and cheese warm for ages.
Preparation Method
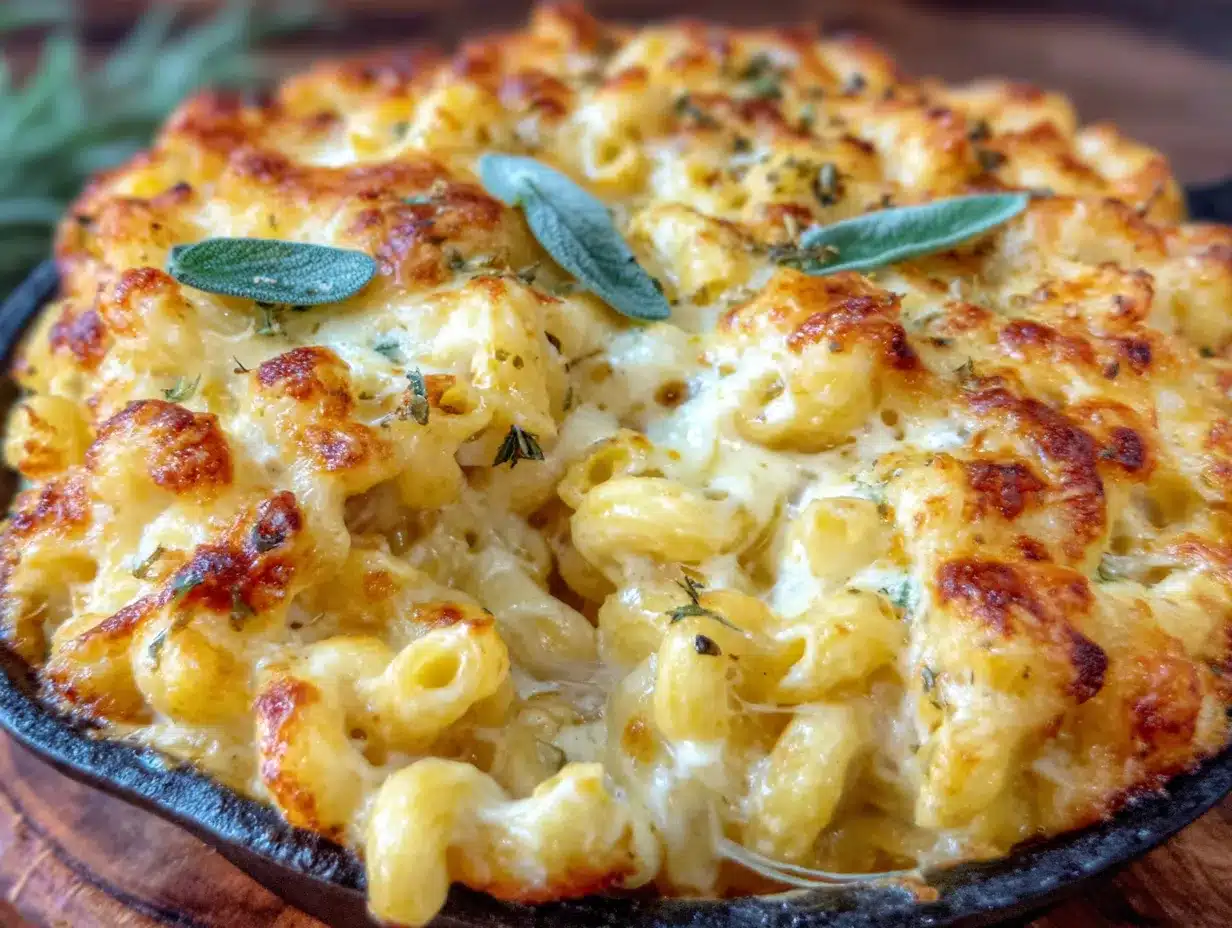
Let’s get cooking. This might look like a lot of steps, but I promise it flows naturally once you get going.
- Preheat and Prep: Preheat your oven to 400°F (200°C). Line a baking sheet with parchment paper. Toss the cubed butternut squash, garlic cloves, olive oil, maple syrup, and a pinch of salt and pepper together on the sheet. Spread it in a single layer—crowding the pan will steam the squash instead of roasting it. Roast for 20-25 minutes, flipping halfway, until the squash is tender and the edges are starting to caramelize. The garlic should be soft and fragrant. Let it cool slightly.
- Make the Squash Puree: Transfer the roasted squash and garlic to a blender. Add ¼ cup of water or milk and blend until completely smooth. You’re looking for a consistency similar to pumpkin puree—thick but pourable. Scrape down the sides as needed. Set this aside. (Pro tip: you can do this step up to 3 days ahead and keep it in the fridge.)
- Cook the Pasta: Bring a large pot of generously salted water to a boil—I mean salty like the sea, that’s your only chance to season the pasta from the inside. Add the elbow macaroni and cook until just al dente, about 1-2 minutes less than the package directions. The pasta will continue cooking in the oven, so you want it firm. Reserve 1 cup of pasta water before draining. Drain the pasta and set aside.
- Start the Cheese Sauce: In a medium saucepan over medium heat, melt the butter. Once it’s bubbling, whisk in the flour and cook for 1-2 minutes, stirring constantly. This is your roux, and it should smell slightly nutty and look like wet sand. Don’t let it brown—you’re not making a dark roux here.
- Add the Milk and Cream: Slowly pour in the warm milk and heavy cream while whisking continuously. Keep whisking until the mixture thickens enough to coat the back of a spoon, about 3-4 minutes. If you get lumps, don’t panic—just whisk harder and they’ll usually smooth out. If they don’t, you can strain the sauce later.
- Add the Cheese: Reduce the heat to low. Add the shredded cheddar, fontina, and Parmesan a handful at a time, stirring until each addition is fully melted before adding the next. This gradual approach prevents the sauce from breaking or becoming grainy. Stir in the Dijon mustard, smoked paprika, nutmeg, and a generous pinch of black pepper. Taste it—this is where you adjust salt. Remember the cheese is salty, so go easy.
- Combine with Squash: Stir the butternut squash puree into the cheese sauce until fully incorporated. The sauce will turn a beautiful golden-orange color. If it seems too thick, add a splash of the reserved pasta water to loosen it up. You want it slightly thinner than you think—the pasta will absorb some as it bakes.
- Assemble the Dish: Preheat your oven to 375°F (190°C). In a large bowl, combine the cooked pasta and the butternut cheese sauce. Stir gently until every piece of pasta is coated. Pour the mixture into your greased 9×13-inch baking dish and spread it evenly.
- Make the Topping: In a small bowl, mix the panko breadcrumbs, melted butter, grated Parmesan, and fresh thyme. Sprinkle this evenly over the top of the mac and cheese. Don’t press it down—you want those crispy bits to form.
- Bake: Bake for 20-25 minutes, until the sauce is bubbly around the edges and the topping is golden brown and crispy. If you want extra color on top, switch the oven to broil for the last 1-2 minutes—but watch it like a hawk, breadcrumbs burn fast.
- Rest and Serve: Let the dish rest for 5-10 minutes before serving. This is crucial—it allows the sauce to set slightly so you get those clean, beautiful servings instead of a soupy mess. Garnish with extra fresh thyme or parsley if you’re feeling fancy.
Cooking Tips & Techniques
I’ve made this recipe enough times to know where things can go sideways. Here’s what I’ve learned the hard way so you don’t have to.
Don’t skip roasting the squash. I know it’s tempting to just boil it and blend it—I tried that once and the sauce was watery and bland. Roasting concentrates the flavor and removes excess moisture. Your sauce will thank you.
Grate your own cheese. I cannot stress this enough. Pre-shredded cheese is coated with cellulose and other anti-caking agents that prevent it from melting smoothly. You’ll end up with a gritty, clumpy sauce. Take the extra 5 minutes to grate it yourself—your arm might get tired but your taste buds won’t regret it.
Low and slow for the sauce. When you’re melting the cheese, keep the heat on low. High heat can cause the proteins in the cheese to seize up, leaving you with a stringy, greasy mess. Patience is your friend here.
Reserve that pasta water. This is something I learned from Italian cooking, and it applies here too. The starchy water helps thin the sauce without making it watery, and it adds a silky texture that’s hard to replicate. I always save a full cup even if I don’t use it all—better safe than sorry.
Make ahead strategy for hosting. If you’re having people over, assemble the mac and cheese completely (without the topping) up to 24 hours in advance. Keep it covered in the fridge. Before baking, let it sit at room temperature for 30 minutes, then add the topping and bake as directed. You might need to add 5-10 minutes to the baking time since it’s starting cold.
Variations & Adaptations
This recipe is flexible, and I love playing around with different versions depending on the season or who’s coming over.
Add Some Protein: Stir in 2 cups of shredded rotisserie chicken, cooked bacon bits, or crispy pancetta before baking. I did this for a football party and it was gone in 20 minutes. The smoky saltiness pairs beautifully with the sweet squash.
Make It Vegetarian-Friendly: It already is, but you can bulk it up with roasted mushrooms or caramelized onions. I add a layer of sautéed cremini mushrooms in the middle of the dish—it adds an earthy depth that complements the squash perfectly.
Spice It Up: Add ½ teaspoon of cayenne pepper or a diced jalapeño to the cheese sauce for a spicy kick. I made a version with chipotle peppers in adobo sauce (just 1 tablespoon, blended into the squash puree) and it was incredible—smoky, spicy, and totally addictive.
Gluten-Free Version: Use gluten-free pasta and a 1:1 gluten-free flour blend for the roux. I’ve tested this with Cup4Cup flour and it works perfectly. Just be careful not to overcook the gluten-free pasta—it gets mushy fast.
Vegan Adaptation: Swap the butter for vegan butter, use unsweetened oat milk and full-fat coconut cream, and use a high-quality vegan cheddar that melts well. I’ve tried this with Violife and Miyoko’s and both worked, though the texture is slightly different—still creamy, just not as stretchy.
Serving & Storage Suggestions
This mac and cheese is best served hot, straight from the oven, with that crispy topping still crackling. Let it rest for those 5-10 minutes I mentioned—it makes a real difference in how it holds up on the plate.
What to Serve Alongside: This dish is rich enough to be a main course, but it also pairs beautifully with a simple green salad dressed with lemon vinaigrette (the acidity cuts through the creaminess). For a heartier meal, serve it alongside roasted Brussels sprouts or a simple roasted chicken. If you’re hosting a Thanksgiving-style dinner, this is a fantastic alternative to traditional mac and cheese that fits right in with turkey and cranberry sauce.
Storage: Leftovers keep well in an airtight container in the refrigerator for up to 4 days. The topping will lose its crunch, but the flavor actually gets better as it sits—the squash and cheese flavors meld together beautifully overnight.
Reheating: The best way to reheat is in the oven at 350°F (175°C) for 15-20 minutes, covered with foil to prevent drying out. If you’re in a hurry, the microwave works too—just add a splash of milk and stir halfway through to redistribute the moisture. I’ve also reheated individual portions in a small skillet with a lid, which gives you back some of that crispy edge.
Freezing: This mac and cheese freezes surprisingly well. Assemble the dish without the topping, wrap it tightly in plastic wrap and then foil, and freeze for up to 3 months. Thaw overnight in the fridge, add the topping, and bake as directed. I’ve done this for holiday prep and it’s a lifesaver.
Nutritional Information & Benefits
Let’s be real—this is still mac and cheese, so it’s not exactly health food. But the butternut squash does bring some serious nutritional benefits to the table. One serving (about 1 cup) contains approximately:
- Calories: 480
- Protein: 18g
- Fat: 24g
- Carbohydrates: 48g
- Fiber: 4g
- Sugar: 8g
- Vitamin A: 180% of the daily value (thanks to the squash)
- Calcium: 35% of the daily value
The butternut squash is loaded with vitamin A, which supports eye health and immune function. It’s also a good source of vitamin C, potassium, and fiber. By using squash as a base for the sauce, you’re getting more nutrients than traditional mac and cheese while still enjoying that creamy, indulgent texture. Plus, the fiber from the squash helps slow down the absorption of carbohydrates, which means you’ll feel satisfied longer without that heavy, weighed-down feeling.
This recipe is naturally vegetarian and can be made gluten-free or vegan with the substitutions I mentioned. It contains dairy and gluten in its standard form, so keep that in mind if you’re serving guests with allergies.
Conclusion
This butternut squash mac and cheese has become my go-to dish for every gathering I host. It’s the one that gets requested for Friendsgiving, the one I bring to potlucks when I want to impress without stress, and honestly, the one I make for myself on a quiet Tuesday when I need a little comfort. It’s got that perfect balance of creamy and crispy, sweet and savory, indulgent and wholesome.
I’d love for you to try it and make it your own—swap the cheese, add some bacon, throw in extra veggies. Cooking is about making recipes fit your life, not the other way around. When you make it, drop a comment below and tell me how it turned out. Did your family love it? Did you add your own twist? I read every single comment and I genuinely love hearing about your kitchen victories.
Here’s to good food, good company, and the recipes that bring us together. Now go preheat that oven—you’ve got a crowd to feed.
Frequently Asked Questions
Can I use fresh butternut squash instead of frozen?
Absolutely. If using fresh, peel, seed, and cube a medium butternut squash (about 2½ pounds) and roast as directed. You might need to add 5-10 minutes to the roasting time depending on the size of your cubes. Fresh squash tends to have a slightly sweeter, more concentrated flavor, but frozen is perfectly fine and saves you prep time.
Why did my cheese sauce turn out grainy?
This usually happens for one of three reasons: you used pre-shredded cheese with anti-caking agents, you overheated the sauce, or you added the cheese too quickly. Always grate your own cheese, keep the heat on low, and add the cheese gradually while stirring constantly. If your sauce still turns grainy, you can try blending it with an immersion blender to smooth it out—it won’t be perfect but it’ll be better.
Can I make this recipe ahead of time for a party?
Yes! Assemble the mac and cheese completely (without the breadcrumb topping) up to 24 hours in advance. Cover and refrigerate. When you’re ready to bake, let it sit at room temperature for 30 minutes, add the topping, and bake as directed. You may need to add 5-10 extra minutes to the baking time since it’s starting cold.
What’s the best pasta shape for this recipe?
Elbow macaroni is classic and works perfectly, but I also love cavatappi (those spiral tubes) and shells because they catch the sauce in their curves. Rotini and fusilli are great options too. Avoid long pasta like spaghetti—the sauce doesn’t cling as well and it’s harder to eat with a fork.
Can I freeze the leftovers?
Yes, this freezes well. Let the mac and cheese cool completely, then transfer to a freezer-safe container. It will keep for up to 3 months. Thaw overnight in the refrigerator, then reheat in the oven at 350°F (175°C) covered with foil until hot throughout. The topping won’t be as crispy after freezing, so you might want to add fresh breadcrumbs before reheating.
Pin This Recipe!
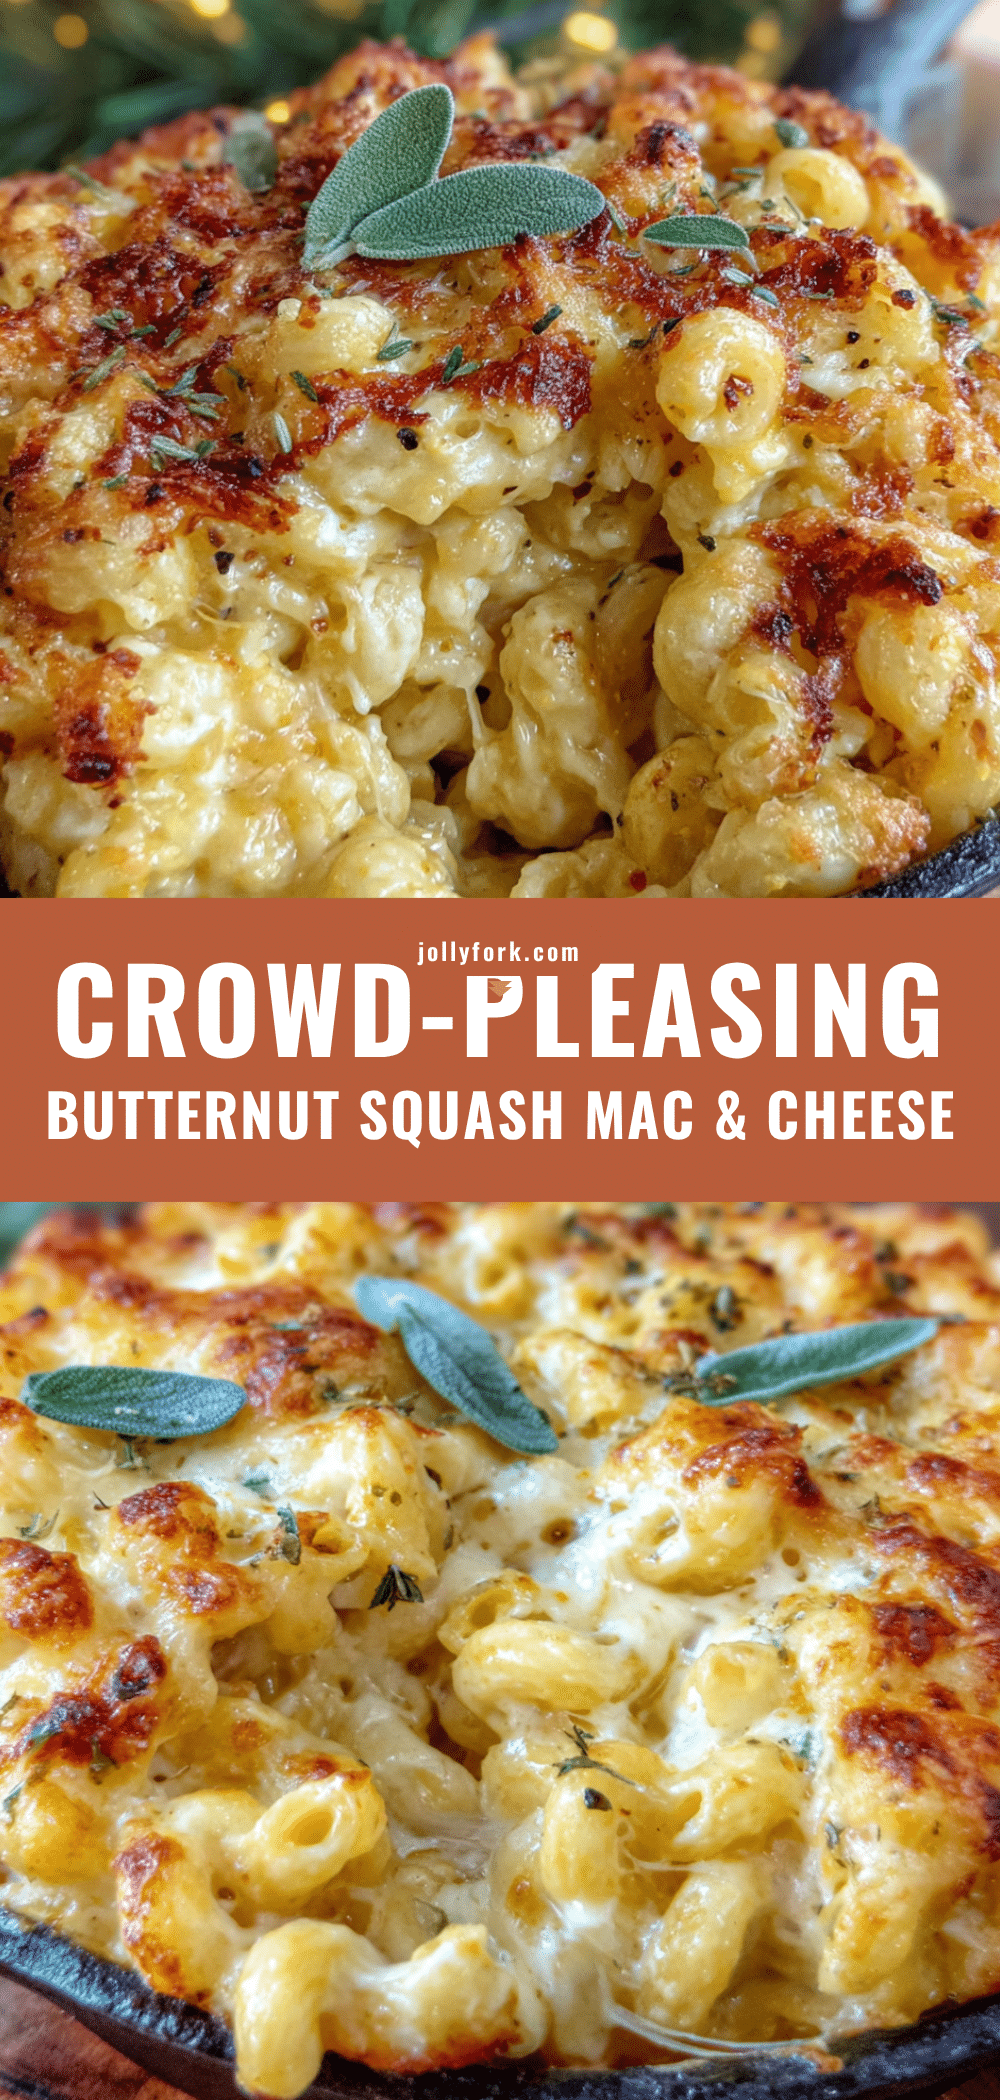
Best Easy Butternut Squash Mac and Cheese Recipe

This creamy, indulgent mac and cheese gets a velvety boost from roasted butternut squash, creating a perfect balance of sweet and savory. It’s comfort food that feels a little fancy and totally worth every minute in the kitchen.
- Prep Time: 15 minutes
- Cook Time: 45 minutes
- Total Time: 1 hour
- Yield: 8 servings 1x
- Category: Main Course
- Cuisine: American
Ingredients
- 3 cups cubed butternut squash (fresh or frozen)
- 3 cloves garlic, peeled
- 1 tablespoon olive oil
- 1 tablespoon maple syrup
- Salt and black pepper to taste
- 1 pound elbow macaroni (or short pasta like cavatappi or shells)
- Salt for pasta water
- 4 tablespoons unsalted butter
- 1/4 cup all-purpose flour
- 2 cups whole milk, warm
- 1 cup heavy cream
- 2 cups sharp cheddar cheese, freshly grated
- 1 cup fontina cheese, freshly grated (or Gruyère)
- 1/2 cup Parmesan cheese, freshly grated
- 1 teaspoon Dijon mustard
- 1/2 teaspoon smoked paprika
- 1/4 teaspoon ground nutmeg
- 1 cup panko breadcrumbs
- 2 tablespoons melted butter
- 1/4 cup grated Parmesan cheese
- 2 tablespoons fresh thyme leaves (or parsley)
Instructions
- Preheat oven to 400°F (200°C). Line a baking sheet with parchment paper. Toss cubed butternut squash, garlic cloves, olive oil, maple syrup, salt, and pepper on the sheet. Spread in a single layer and roast for 20-25 minutes, flipping halfway, until tender and edges caramelize. Let cool slightly.
- Transfer roasted squash and garlic to a blender. Add 1/4 cup water or milk and blend until completely smooth, like pumpkin puree. Set aside. (Can be made up to 3 days ahead.)
- Bring a large pot of generously salted water to a boil. Cook elbow macaroni until just al dente, about 1-2 minutes less than package directions. Reserve 1 cup pasta water before draining. Drain and set aside.
- In a medium saucepan over medium heat, melt butter. Whisk in flour and cook for 1-2 minutes, stirring constantly, until roux is slightly nutty and looks like wet sand. Do not let it brown.
- Slowly pour in warm milk and heavy cream while whisking continuously. Whisk until mixture thickens enough to coat the back of a spoon, about 3-4 minutes.
- Reduce heat to low. Add shredded cheddar, fontina, and Parmesan a handful at a time, stirring until each addition is fully melted before adding the next. Stir in Dijon mustard, smoked paprika, nutmeg, and black pepper. Adjust salt to taste.
- Stir butternut squash puree into cheese sauce until fully incorporated. If too thick, add a splash of reserved pasta water to loosen.
- Preheat oven to 375°F (190°C). In a large bowl, combine cooked pasta and butternut cheese sauce. Stir gently until every piece is coated. Pour into a greased 9×13-inch baking dish and spread evenly.
- In a small bowl, mix panko breadcrumbs, melted butter, grated Parmesan, and fresh thyme. Sprinkle evenly over the top. Do not press down.
- Bake for 20-25 minutes, until sauce is bubbly around edges and topping is golden brown and crispy. For extra color, broil for 1-2 minutes, watching carefully.
- Let dish rest for 5-10 minutes before serving. Garnish with extra fresh thyme or parsley if desired.
Notes
Don’t skip roasting the squash—it concentrates flavor and removes excess moisture. Always grate your own cheese to avoid a gritty sauce. Keep heat low when melting cheese to prevent stringiness. Reserve pasta water to adjust sauce consistency. For make-ahead, assemble without topping up to 24 hours in advance, refrigerate, then add topping and bake (add 5-10 minutes if starting cold).
Nutrition
- Serving Size: 1 cup
- Calories: 480
- Sugar: 8
- Sodium: 650
- Fat: 24
- Saturated Fat: 14
- Carbohydrates: 48
- Fiber: 4
- Protein: 18
Keywords: butternut squash mac and cheese, easy mac and cheese, creamy mac and cheese, fall comfort food, vegetarian mac and cheese