My cousin asked me why I couldn’t just stuff the muffin tin instead of the turkey. I stared at her for a solid five seconds, spatula in hand, flour on my apron. “Because that’s not how stuffing works,” I started to explain — then stopped. Honestly, I had no real reason. I just assumed it wouldn’t work as well. She was eighteen, home for Thanksgiving break, and watching me wrestle with a giant casserole dish that never seemed to cook evenly. The edges were always crispy while the middle stayed soggy. Every single year. And every single year I complained about it, but I never changed a thing.
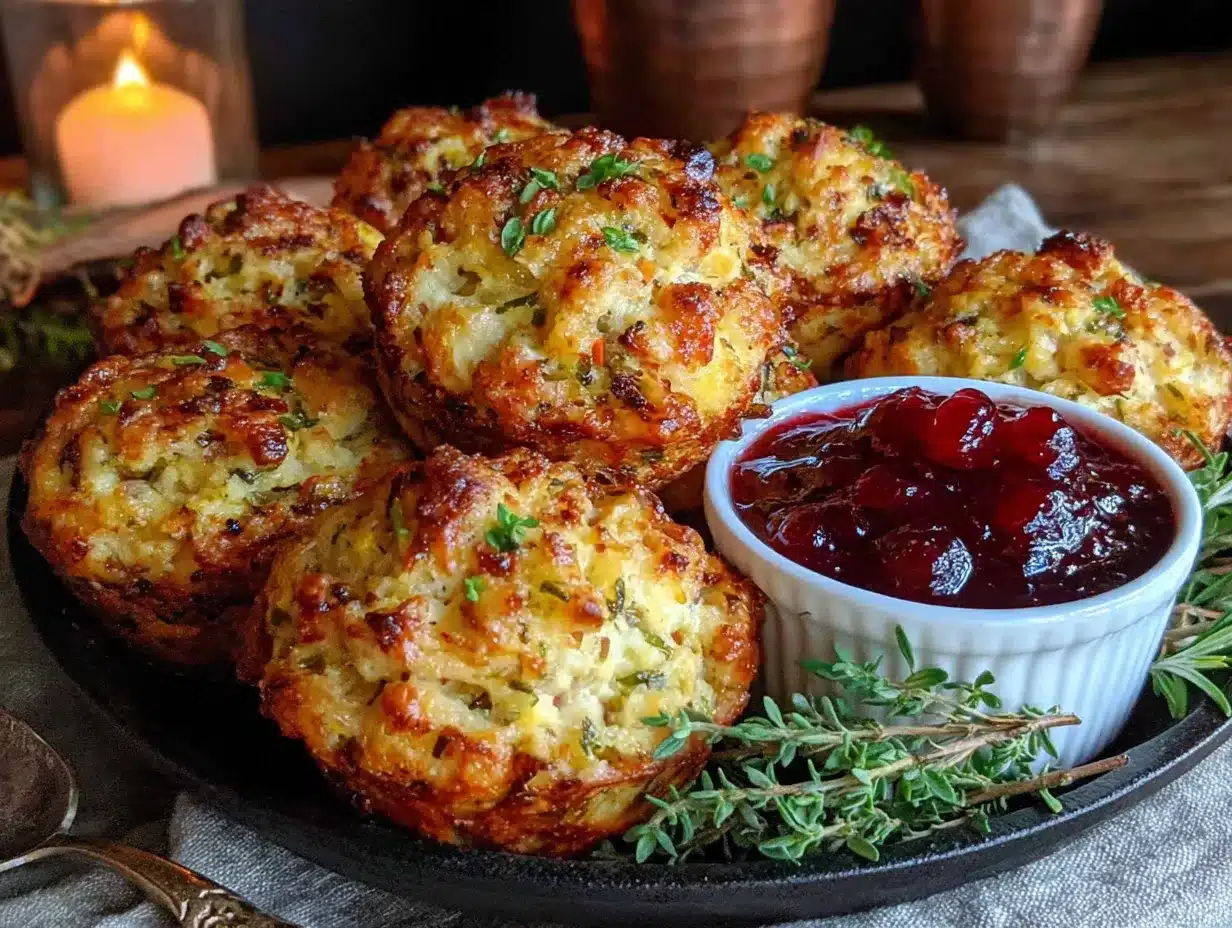
So I tried her idea. I grabbed my muffin tin, greased it up, and packed that seasoned bread mixture into each cup like I was making some kind of savory cupcake. I figured at worst, I’d have a funny story about burnt stuffing crumbs. At best? Well, let me tell you — the best happened. Those little individual stuffing muffins came out golden all the way around. Every single one had those crispy edges we fight over at the dinner table. The middle was tender and perfectly cooked. No sogginess. No cold spots. No fighting over who gets the corner piece because now everyone gets their own corner piece.
I remember standing there in my kitchen, pulling that muffin tin out of the oven, and just laughing at myself. All those years of wrestling with a casserole dish, and the answer was sitting in my cabinet the whole time. It was one of those moments where you realize you’ve been making something harder than it needs to be — and maybe you’ve been there too. That first Thanksgiving after my cousin’s suggestion, I made a double batch. They disappeared before the turkey even hit the table. Now I don’t make stuffing any other way.
Why You’ll Love This Recipe
These Perfect Individual Stuffing Muffins for a Crowd solve every single problem traditional stuffing has. I mean, let’s be real — who actually enjoys scooping out that wet, uneven mess from a casserole dish? These little guys are a game changer, and here’s why you’ll fall in love with them:
- Perfectly Portioned : Each muffin is its own serving. No scooping, no fighting over the crispy edges, no weird soggy middle section. Everyone gets the same perfect piece.
- Crispy on All Sides : Because each muffin is exposed to heat from every angle, you get that golden, slightly crunchy exterior all the way around. It’s the best part of stuffing, multiplied by twelve.
- Make-Ahead Friendly : You can prep these a day ahead and reheat them right before serving. They actually get better after sitting overnight — the flavors meld together beautifully.
- Great for Large Gatherings : This recipe scales up effortlessly. Need to feed twenty people? Double the batch and use two muffin tins. Easy as pie — easier, actually.
- Foolproof Results : No more guessing if the center is done. When the tops are golden and the edges are crispy, they’re ready. Every single time.
I’ve tested this recipe with my family for three Thanksgivings now, and it’s officially replaced the traditional casserole. My aunt, who swore she’d never give up her grandmother’s stuffing recipe, quietly asked me for the muffin tin version last year. That’s when I knew it was something special. It’s comfort food reimagined — same familiar flavors, but with better texture and way less stress. Plus, it looks gorgeous on a serving platter. Trust me, you’ll want to make these for every holiday gathering from now on.
What Ingredients You Will Need
This recipe uses simple, hearty ingredients to deliver bold flavor and that perfect stuffing texture without any fuss. Most of these are pantry staples during the holiday season, which makes this recipe incredibly convenient when you’re already juggling a dozen other dishes.
- 1 loaf day-old French bread or sourdough, cut into ½-inch cubes (about 10 cups) — Stale bread absorbs the broth better without turning mushy. I prefer sourdough for its tangy flavor, but French bread works beautifully too.
- 4 tablespoons unsalted butter, plus more for greasing the muffin tin — Adds richness and helps those edges get perfectly golden. I use Kerrygold when I’m feeling fancy, but any good unsalted butter works.
- 1 large yellow onion, finely diced — Provides that savory backbone every good stuffing needs. Sweet onions work too if that’s what you have.
- 3 celery stalks, finely diced — Adds that classic crunch and aromatic flavor. Don’t skip this — it’s non-negotiable for proper stuffing.
- 3 cloves garlic, minced — Because garlic makes everything better. Adjust based on your crowd’s preference.
- 1 ½ cups low-sodium chicken or vegetable broth — The liquid that brings everything together. Low-sodium is important here so you can control the salt level. I’ve used turkey broth too when I had it on hand.
- 1 large egg, lightly beaten — Helps bind the muffins so they hold their shape. This is the secret to getting them to pop out of the tin cleanly.
- 1 teaspoon dried sage — The quintessential stuffing herb. It just tastes like Thanksgiving to me.
- 1 teaspoon dried thyme — Earthy and slightly floral, thyme balances the sage perfectly.
- ½ teaspoon dried rosemary, crushed — Adds a piney, aromatic note. Crush it between your fingers before adding to release the oils.
- ½ teaspoon dried marjoram — Optional but wonderful. It has a milder, sweeter oregano flavor that rounds things out.
- Salt and freshly ground black pepper to taste — Season generously. Bread needs a fair amount of salt to taste seasoned.
- ½ cup fresh parsley, chopped — For freshness and color. Stir it in at the end so it stays bright.
- Optional add-ins : ½ cup dried cranberries, ½ cup chopped pecans, or ½ cup cooked crumbled sausage — These are fantastic for customizing. I add dried cranberries when I want a touch of sweetness.
For the best texture, look for bread that’s at least a day old. Fresh bread will absorb too much liquid and turn gummy. If all you have is fresh bread, cube it and spread it on a baking sheet in a 300°F oven for about 10 minutes to dry it out slightly. That trick has saved me more than once when I forgot to buy bread ahead of time.
Equipment Needed
You don’t need much for this recipe, which is part of its beauty. Here’s what you’ll need:
- 12-cup standard muffin tin — The star of the show. I use a non-stick one and it works great, but any standard muffin tin will do. Avoid mini muffin tins for this recipe — they cook too quickly and don’t get that nice crispy exterior.
- Large mixing bowl — For combining the bread cubes with the broth mixture. You need enough room to toss everything without spilling.
- Large skillet — For sautéing the vegetables. A 12-inch skillet gives you plenty of room.
- Chef’s knife and cutting board — For dicing the onion and celery. A sharp knife makes this go much faster.
- Measuring cups and spoons — For accuracy. I know experienced cooks eyeball things, but for stuffing, the liquid ratio matters.
- Wooden spoon or rubber spatula — For mixing. A rubber spatula is great for getting every last bit into the muffin cups.
- Cooling rack — For letting the muffins cool slightly before serving. This helps them set and hold their shape.
If you don’t have a cooling rack, a clean dish towel works fine. And if you’re making a double batch, I recommend having two muffin tins so you can bake them all at once. Otherwise, you’ll be waiting for the first batch to cool before you can reuse the tin. I learned that one the hard way during a particularly chaotic Thanksgiving prep.
Preparation Method
Let me walk you through this step by step. I promise it’s simpler than it sounds, and the results are absolutely worth it.
- Preheat your oven to 375°F (190°C) . Grease a 12-cup standard muffin tin generously with butter or non-stick spray. Don’t skimp here — you want those muffins to slide right out.
- Prepare your bread cubes if you haven’t already. Cut the day-old bread into ½-inch cubes. You should have about 10 cups. Spread them on a baking sheet and let them dry out while you prepare the other ingredients. If your bread is already stale, you can skip this step.
- Melt the butter in a large skillet over medium heat. Add the diced onion and celery. Cook for 6 to 8 minutes, stirring occasionally, until the vegetables are soft and translucent. The onions should look like they’re starting to sweat — that’s how you know they’re releasing their flavor. Add the minced garlic and cook for one more minute until fragrant. Remove from heat.
- In a large mixing bowl, combine the dried bread cubes with the sautéed vegetables. Toss gently to distribute the vegetables evenly throughout the bread. Don’t stir too aggressively or you’ll crush the bread cubes.
- In a separate small bowl or measuring cup, whisk together the chicken broth, beaten egg, dried sage, dried thyme, crushed rosemary, dried marjoram, and a generous pinch of salt and pepper. Whisk until the egg is fully incorporated into the broth — you don’t want streaks of raw egg in your stuffing.
- Pour the broth mixture over the bread cube mixture. Gently fold everything together with a rubber spatula until all the bread cubes are evenly moistened. The mixture should look uniformly damp but not soupy. If it seems dry, add a splash more broth. If it seems too wet, let it sit for five minutes — the bread will absorb the excess liquid.
- Stir in the fresh parsley and any optional add-ins you’re using, like dried cranberries or chopped pecans. Fold gently to distribute.
- Spoon the mixture into the prepared muffin cups. Pack each cup firmly but not compressed — you want the mixture to hold together without being dense. Mound the tops slightly; they’ll settle as they bake. Each cup should be filled to the brim.
- Bake for 25 to 30 minutes, or until the tops are golden brown and the edges are crispy. The muffins should feel firm to the touch. Halfway through baking, rotate the pan for even browning. I forgot to do this once and ended up with half the muffins darker than the other half.
- Let the muffins cool in the pan for 5 minutes. Then run a butter knife around the edges of each muffin to loosen them. Gently lift them out and transfer to a cooling rack or serving platter. If any stick, let them cool a few more minutes — they’ll release more easily as they set.
- Serve warm or at room temperature. These are delicious as soon as they come out of the oven, but they also hold beautifully for hours.
A few things I’ve learned through trial and error: Don’t overmix once you add the liquid. You want the bread cubes to stay intact so you get those nice pockets of texture. Also, if you’re making these ahead of time, underbake them by about 5 minutes, let them cool completely, then reheat at 350°F for 10 to 12 minutes before serving. They’ll finish cooking during the reheat and come out perfectly crispy.
Cooking Tips & Techniques
After making these stuffing muffins more times than I can count, I’ve picked up a few tricks that make a real difference. Let me share what I’ve learned — including the mistakes.
Dry bread is non-negotiable. I cannot stress this enough. If your bread is too fresh, your stuffing will be gummy. I learned this the hard way when I was short on time and used fresh bread. The muffins came out dense and heavy instead of light and crispy. If you’re in a pinch, cube the bread and toast it in a 300°F oven for 10 to 15 minutes. It’s not quite the same as day-old bread, but it’s close enough.
Season generously. Bread absorbs a lot of salt, so don’t be shy with the seasoning. Taste the mixture before you add the egg — obviously don’t eat raw egg, but you can taste a little bit of the bread and vegetable mixture to check the salt level. It should taste well-seasoned on its own.
Pack the muffin cups firmly but not tightly. You want the mixture to hold together, but if you compress it too much, the muffins will be dense and heavy. Think of it like packing a snowball — firm enough to hold its shape, but not so tight that it becomes a rock.
Let them rest after baking. Those five minutes in the pan are crucial. The muffins need time to set so they hold their shape when you remove them. I once tried to rush this step and ended up with a crumbled mess. Patience pays off here.
Watch your oven temperature. Every oven runs differently. If your muffins are browning too quickly on top but aren’t done in the center, tent them loosely with foil for the last 10 minutes of baking. If they’re not browning enough, increase the temperature to 400°F for the last 5 minutes. Adjust based on what you see, not what the recipe says.
Make extra. These disappear fast. I always make a double batch now, even for smaller gatherings. They’re great as leftovers — if there are any.
Variations & Adaptations
One of the best things about this recipe is how adaptable it is. Here are some variations I’ve tried and loved:
Sausage and Sage Stuffing Muffins : Brown ½ pound of breakfast sausage or Italian sausage in the skillet before sautéing the vegetables. Remove the sausage, leaving the rendered fat, then cook the vegetables in that fat instead of butter. Crumble the cooked sausage back into the mixture before adding the broth. This adds incredible depth and makes the muffins hearty enough to be a main dish.
Vegetarian Mushroom Stuffing Muffins : Sauté 8 ounces of cremini mushrooms, finely chopped, along with the onions and celery. Use vegetable broth instead of chicken broth. The mushrooms add an earthy, umami flavor that even meat-eaters will love. I made this version for a vegetarian friend and ended up preferring it to the original.
Gluten-Free Stuffing Muffins : Substitute the bread with a good quality gluten-free bread. Look for one that’s sturdy and not too sweet. Gluten-free bread tends to be drier, so you may need to add an extra ¼ cup of broth. Let the mixture sit for 10 minutes before spooning into the muffin tin to allow the bread to fully absorb the liquid.
Apple and Cranberry Stuffing Muffins : Add 1 finely diced apple (I prefer Granny Smith for tartness) and ½ cup dried cranberries to the mixture. The sweetness balances the savory herbs beautifully. This is my go-to variation for fall gatherings when apples are at their peak.
Herb-Forward Version : Double the fresh herbs — use 2 teaspoons each of fresh sage, thyme, and rosemary instead of dried. Fresh herbs give a brighter, more vibrant flavor. Just chop them finely and stir them in with the parsley.
Feel free to mix and match these variations based on what you have on hand or what your crowd prefers. That’s the beauty of this recipe — it’s forgiving and flexible.
Serving & Storage Suggestions
These stuffing muffins are incredibly versatile when it comes to serving. Here’s how I like to present them and keep them fresh:
Serving Temperature : Serve them warm, straight from the oven, for the best texture. They’re also delicious at room temperature, which makes them perfect for buffets or potlucks where timing is tricky. If you’re serving them as part of a holiday meal, arrange them on a platter and let guests grab their own. They look beautiful nestled together with fresh sage leaves or rosemary sprigs as garnish.
What to Serve With Them : These muffins pair beautifully with roasted turkey, chicken, or pork. They also work well alongside a hearty vegetable soup or salad for a lighter meal. For Thanksgiving, I serve them with mashed potatoes, gravy, and green bean casserole. They’re also fantastic with a dollop of cranberry sauce on top.
Storage Instructions : Store leftover stuffing muffins in an airtight container in the refrigerator for up to 4 days. They actually improve after a day or two as the flavors meld together. To freeze, wrap each muffin individually in plastic wrap, then place them in a freezer-safe bag. They’ll keep for up to 3 months.
Reheating Methods : The best way to reheat these is in the oven at 350°F for 10 to 12 minutes. This restores the crispy exterior. You can also reheat them in an air fryer at 350°F for 5 to 7 minutes — they come out perfectly crispy. The microwave works in a pinch, but the texture will be softer. If you’re reheating from frozen, let them thaw in the refrigerator overnight before reheating.
Flavor Development : I actually prefer these the day after baking. The flavors have had time to meld together, and the texture is somehow even better. If you’re planning ahead, make them a day in advance, underbake by 5 minutes, then reheat before serving. Your future self will thank you.
Nutritional Information & Benefits
Here’s a rough estimate of the nutritional content per muffin (based on the basic recipe without add-ins):
| Nutrient | Amount Per Muffin |
|---|---|
| Calories | 185 |
| Total Fat | 7g |
| Saturated Fat | 4g |
| Cholesterol | 35mg |
| Sodium | 410mg |
| Total Carbohydrates | 26g |
| Dietary Fiber | 2g |
| Sugars | 3g |
| Protein | 5g |
These values are estimates and will vary based on the specific ingredients you use. The bread provides carbohydrates for energy, while the butter and egg add a small amount of protein and healthy fats. The vegetables contribute fiber, vitamins, and antioxidants — the onions and celery are particularly good sources of vitamin K and immune-supporting nutrients.
If you’re watching your sodium intake, use low-sodium broth and go easy on the added salt. For a lower-calorie version, you can reduce the butter to 2 tablespoons and use cooking spray for the muffin tin. The texture will be slightly less rich, but still delicious.
This recipe is vegetarian as written (if you use vegetable broth) and can be made gluten-free with the appropriate bread substitution. It’s also nut-free and egg-free if you use an egg substitute like flax egg (1 tablespoon ground flaxseed mixed with 3 tablespoons water).
Conclusion
These Perfect Individual Stuffing Muffins for a Crowd have completely changed how I approach holiday cooking. What started as a skeptical experiment in my kitchen turned into a family tradition that everyone looks forward to. They’re easier to make than traditional stuffing, they look gorgeous on a platter, and they solve the age-old problem of unevenly cooked casserole stuffing. Every single muffin comes out perfectly crispy on the outside and tender on the inside.
I love that this recipe gives everyone their own individual portion — no more fighting over the crispy edges or dealing with that sad, soggy middle section. It’s one of those small changes that makes a big difference in how a meal feels. Plus, they’re incredibly forgiving. You can customize them with different herbs, add-ins, or dietary adaptations, and they’ll still turn out beautifully.
I’d love to hear how these turn out for you. Did you try any of the variations? Did your family fight over them like mine does? Drop a comment below and let me know — and don’t forget to share this recipe with someone who’s dreading their holiday cooking. Trust me, they’ll thank you later.
Happy cooking, and here’s to crispy edges for everyone!
Frequently Asked Questions
Can I make these stuffing muffins ahead of time?
Absolutely. You can assemble the muffins completely, then refrigerate them unbaked for up to 24 hours. When you’re ready to bake, add about 5 minutes to the baking time since you’re starting from cold. You can also bake them fully, let them cool, and reheat them at 350°F for 10 to 12 minutes before serving.
What’s the best bread to use for stuffing muffins?
Day-old French bread or sourdough works best. The sturdier texture holds up well to the liquid and gives you those nice crispy edges. Avoid soft sandwich bread — it tends to turn mushy. If you only have fresh bread, cube it and toast it in the oven at 300°F for 10 minutes to dry it out.
Can I freeze stuffing muffins?
Yes, they freeze beautifully. Wrap each cooled muffin individually in plastic wrap, then place them in a freezer-safe bag. They’ll keep for up to 3 months. To reheat, thaw in the refrigerator overnight and warm them in the oven at 350°F for 10 to 12 minutes. They’ll taste almost as good as fresh.
How do I prevent my stuffing muffins from sticking to the pan?
Grease the muffin tin generously with butter or non-stick spray. Let the muffins cool in the pan for 5 minutes after baking — this allows them to set and release more easily. Run a butter knife around the edges of each muffin before lifting them out. If they still stick, let them cool a few more minutes and try again.
Can I make these stuffing muffins gluten-free?
Yes, just substitute the bread with a good quality gluten-free bread. Look for one that’s sturdy and not too sweet. Gluten-free bread tends to be drier, so you may need to add an extra ¼ cup of broth. Let the mixture sit for 10 minutes before baking to allow the bread to fully absorb the liquid. The texture will be slightly different but still delicious.
Pin This Recipe!
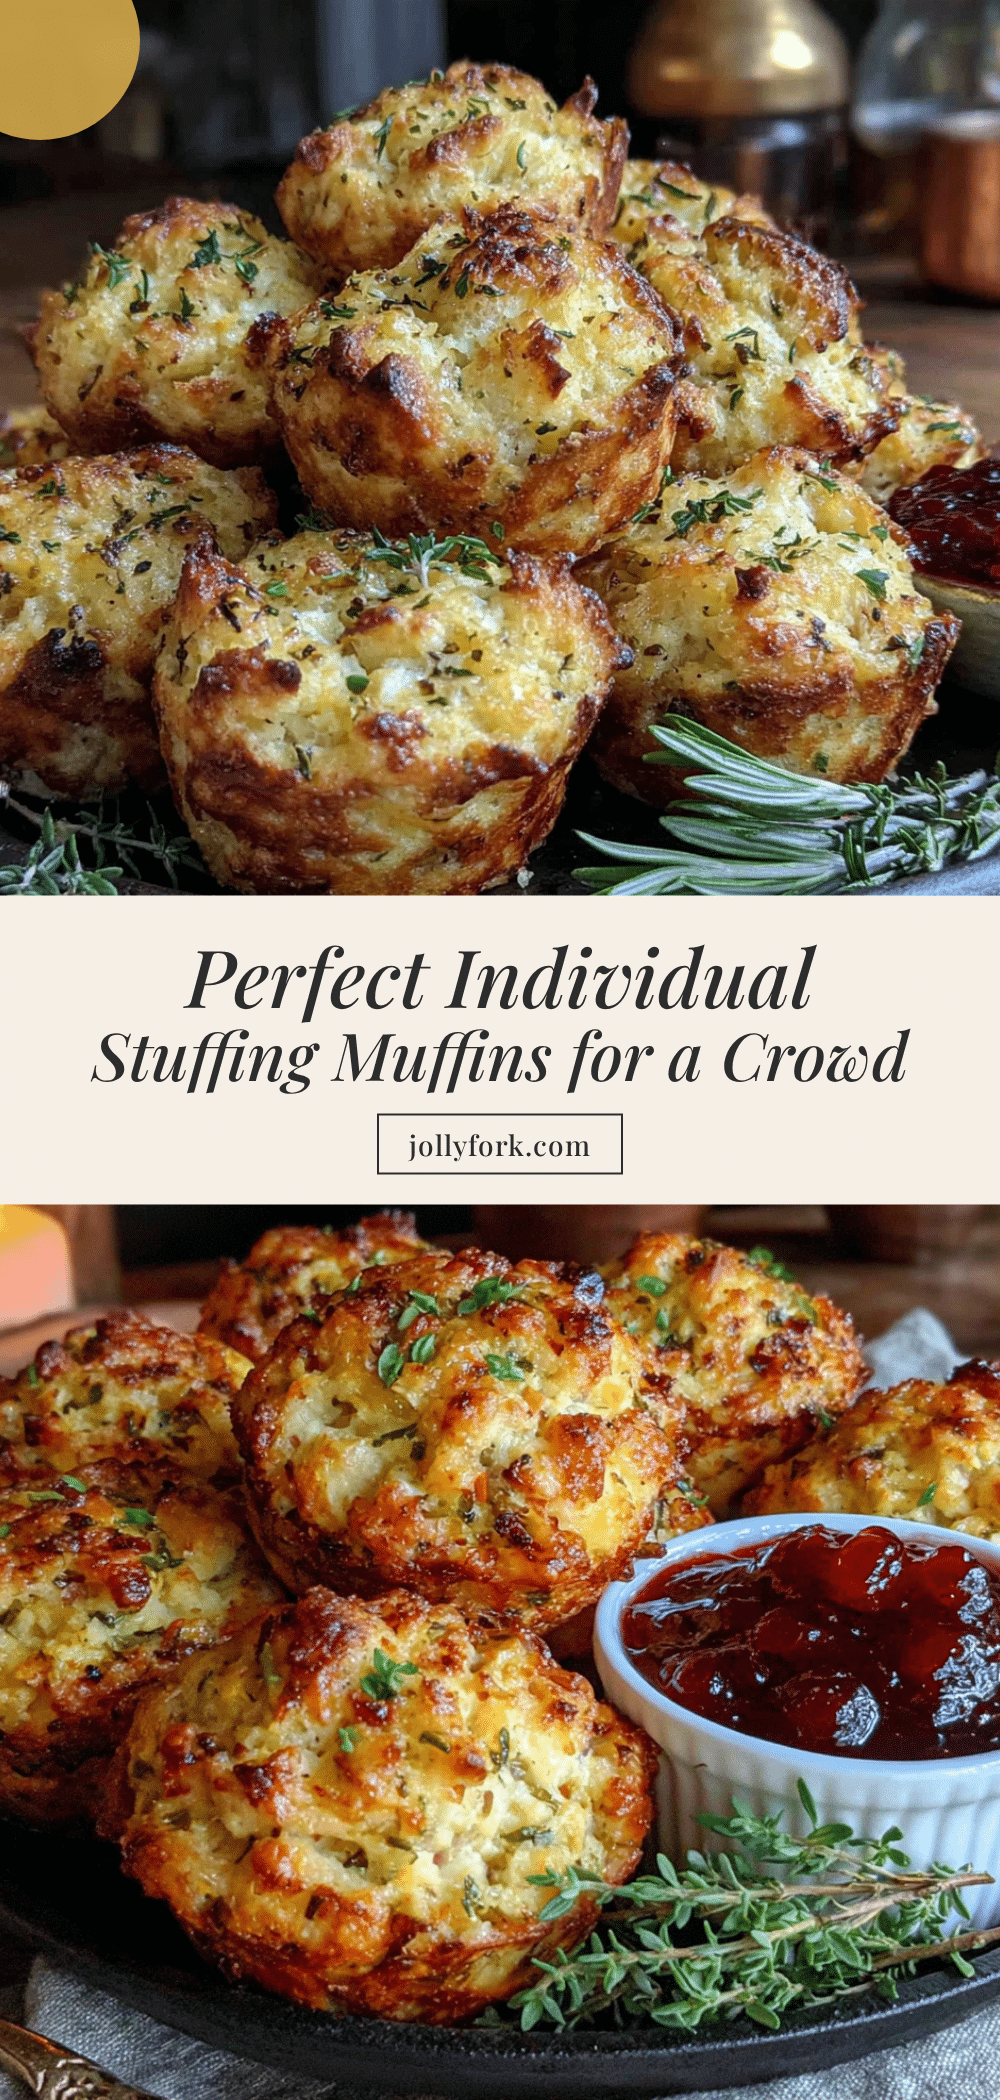
Perfect Individual Stuffing Muffins for a Crowd

These individual stuffing muffins solve every problem traditional stuffing has—perfectly crispy on all sides, tender in the middle, and no fighting over the corner pieces. They’re make-ahead friendly, foolproof, and ideal for large gatherings.
- Prep Time: 20 minutes
- Cook Time: 30 minutes
- Total Time: 50 minutes
- Yield: 12 servings 1x
- Category: Side Dish
- Cuisine: American
Ingredients
- 1 loaf day-old French bread or sourdough, cut into ½-inch cubes (about 10 cups)
- 4 tablespoons unsalted butter, plus more for greasing the muffin tin
- 1 large yellow onion, finely diced
- 3 celery stalks, finely diced
- 3 cloves garlic, minced
- 1 ½ cups low-sodium chicken or vegetable broth
- 1 large egg, lightly beaten
- 1 teaspoon dried sage
- 1 teaspoon dried thyme
- ½ teaspoon dried rosemary, crushed
- ½ teaspoon dried marjoram (optional)
- Salt and freshly ground black pepper to taste
- ½ cup fresh parsley, chopped
- Optional add-ins: ½ cup dried cranberries, ½ cup chopped pecans, or ½ cup cooked crumbled sausage
Instructions
- Preheat your oven to 375°F (190°C). Grease a 12-cup standard muffin tin generously with butter or non-stick spray.
- Prepare your bread cubes if you haven’t already. Cut the day-old bread into ½-inch cubes. You should have about 10 cups. Spread them on a baking sheet and let them dry out while you prepare the other ingredients. If your bread is already stale, you can skip this step.
- Melt the butter in a large skillet over medium heat. Add the diced onion and celery. Cook for 6 to 8 minutes, stirring occasionally, until the vegetables are soft and translucent. Add the minced garlic and cook for one more minute until fragrant. Remove from heat.
- In a large mixing bowl, combine the dried bread cubes with the sautéed vegetables. Toss gently to distribute the vegetables evenly throughout the bread.
- In a separate small bowl or measuring cup, whisk together the chicken broth, beaten egg, dried sage, dried thyme, crushed rosemary, dried marjoram, and a generous pinch of salt and pepper. Whisk until the egg is fully incorporated into the broth.
- Pour the broth mixture over the bread cube mixture. Gently fold everything together with a rubber spatula until all the bread cubes are evenly moistened. The mixture should look uniformly damp but not soupy. If it seems dry, add a splash more broth. If it seems too wet, let it sit for five minutes—the bread will absorb the excess liquid.
- Stir in the fresh parsley and any optional add-ins you’re using, like dried cranberries or chopped pecans. Fold gently to distribute.
- Spoon the mixture into the prepared muffin cups. Pack each cup firmly but not compressed—you want the mixture to hold together without being dense. Mound the tops slightly; they’ll settle as they bake. Each cup should be filled to the brim.
- Bake for 25 to 30 minutes, or until the tops are golden brown and the edges are crispy. The muffins should feel firm to the touch. Halfway through baking, rotate the pan for even browning.
- Let the muffins cool in the pan for 5 minutes. Then run a butter knife around the edges of each muffin to loosen them. Gently lift them out and transfer to a cooling rack or serving platter. If any stick, let them cool a few more minutes—they’ll release more easily as they set.
- Serve warm or at room temperature.
Notes
For the best texture, use day-old bread. If using fresh bread, cube and toast at 300°F for 10 minutes to dry it out. Don’t overmix once liquid is added. For make-ahead, underbake by 5 minutes, cool completely, then reheat at 350°F for 10-12 minutes. These freeze well for up to 3 months.
Nutrition
- Serving Size: 1 muffin
- Calories: 185
- Sugar: 3
- Sodium: 410
- Fat: 7
- Saturated Fat: 4
- Carbohydrates: 26
- Fiber: 2
- Protein: 5
Keywords: stuffing muffins, individual stuffing, Thanksgiving stuffing, holiday side dish, crispy stuffing, make-ahead stuffing, stuffing for a crowd