Late summer evenings, and the only thing I want is something crisp and tangy to nibble on while the sun dips low and quiet settles in the kitchen. The faint scent of dill and vinegar mingles with the sound of jars clicking shut, a small ritual that slows time just enough. I first stumbled on this quick pickled dilly green beans recipe during one of those slow Sunday afternoons when fresh green beans from the farmer’s market begged for a second life beyond steaming or roasting. There’s a certain calm in the methodical slicing and packing of beans, knowing that in just a day or two, the sharp, bright tang will surprise my taste buds with a satisfying snap.
Honestly, these pickled green beans have become my go-to when I want a snack that feels homemade without hours of fuss. The dill adds just the right herbal note, and the quick brine is less intimidating than traditional canning yet yields that classic pickle punch. I keep a jar tucked in the fridge for those moments when sweet or salty cravings hit, or when I want to add a crunchy twist to a sandwich or salad. It’s a humble recipe, but there’s a quiet joy in how the simple ingredients transform into something lively and addictive.
What’s stuck with me the most is how this recipe invites slow, deliberate moments in a busy day—a small act of care with a reward that’s all about flavor and texture. If you’re looking for a snack or a fresh side, this recipe offers a little zing without any drama. Just green beans, dill, and a quick pickling bath that feels just right.
Why You’ll Love This Recipe
Making these easy quick pickled dilly green beans isn’t just a cooking task; it’s a quick, satisfying ritual with tasty results that speak for themselves. Here’s why this recipe has earned a regular spot on my snack table:
- Quick & Easy: Comes together in under 20 minutes, with most of the magic happening as the beans soak up the brine—perfect for busy days or when you want something tangy fast.
- Simple Ingredients: No trips to specialty stores; just fresh green beans, dill, vinegar, and pantry staples like garlic and pickling salt.
- Perfect for Snacking & Entertaining: Whether it’s a casual movie night or a backyard gathering, these crunchy green beans bring brightness and a little bite to the table.
- Crowd-Pleaser: Kids and adults alike love the snap and tang, and it’s a fun, unexpected alternative to chips or other pickled veggies.
- Unbelievably Delicious: The dill and garlic combine with the vinegar to create that classic pickle flavor, but with a fresh, crisp twist that feels homemade.
This isn’t just another pickle recipe—it’s the quick kind you make when you want that fresh pickle flavor without the fuss of long fermentation or heat processing. The beans stay crunchy, and the brine hits the perfect balance between tart and savory. Plus, the recipe’s flexibility lets you tweak the herb and spice mix to suit your mood or pantry. It’s tangy snacking made simple, with a little soul.
What Ingredients You Will Need
This recipe uses simple, wholesome ingredients to deliver bright, tangy flavor and that satisfying crunch without fuss. Most of these are pantry basics, with fresh green beans and dill stealing the show.
- Fresh green beans: about 1 pound (450g), trimmed and washed. Look for tender, crisp beans—not too woody; smaller beans tend to pickle better.
- Fresh dill: 2-3 sprigs, including some of the feathery fronds for that signature dill flavor. If fresh isn’t available, dried dill can work, but fresh is best.
- Garlic cloves: 2-3, peeled and lightly smashed to release their aroma.
- White vinegar: 1 cup (240ml). This is the backbone of your brine. I prefer distilled white vinegar for its clean acidity, but apple cider vinegar can add a gentler tang.
- Water: 1 cup (240ml) to balance the vinegar’s sharpness.
- Pickling salt or kosher salt: 1 tablespoon. Avoid iodized table salt as it can cloud the brine and affect flavor.
- Whole black peppercorns: 1 teaspoon for a subtle peppery note.
- Red pepper flakes: Optional, ¼ teaspoon if you like a hint of heat.
For this recipe, I usually stick to the basics, but you can get creative with spices like mustard seeds or coriander seeds to add your own twist. If you want to try a low-sodium version, reduce the salt slightly or swap in a salt substitute, though that will change the brine’s flavor balance. For a vegan snack with protein, pairing these pickled beans with a hearty dish like the healthy high protein quinoa and black bean salad can make for a well-rounded meal.
Equipment Needed
- Glass jars with lids: I use pint-sized mason jars (16 oz/500 ml) because they fit just the right amount and seal well. If you don’t have mason jars, any clean glass jar with a tight lid works.
- Small saucepan: For heating the brine, any standard saucepan will do.
- Measuring cups and spoons: Accuracy helps here, especially with salt and vinegar ratios.
- Tongs or a fork: Handy for packing the beans tightly into jars without bruising.
- Cutting board and sharp knife: To trim the beans and prep the garlic and dill.
If you’re new to pickling, mason jars are a worthwhile investment—not just for this recipe but many others like the Mediterranean chickpea hummus bowls that also involve fresh, homemade touches. I find that jars with wide mouths make packing easier, and I always hand-wash them carefully to avoid any residue that could affect flavor. If you want to keep costs low, repurposed jam or salsa jars work fine, provided they seal properly.
Preparation Method
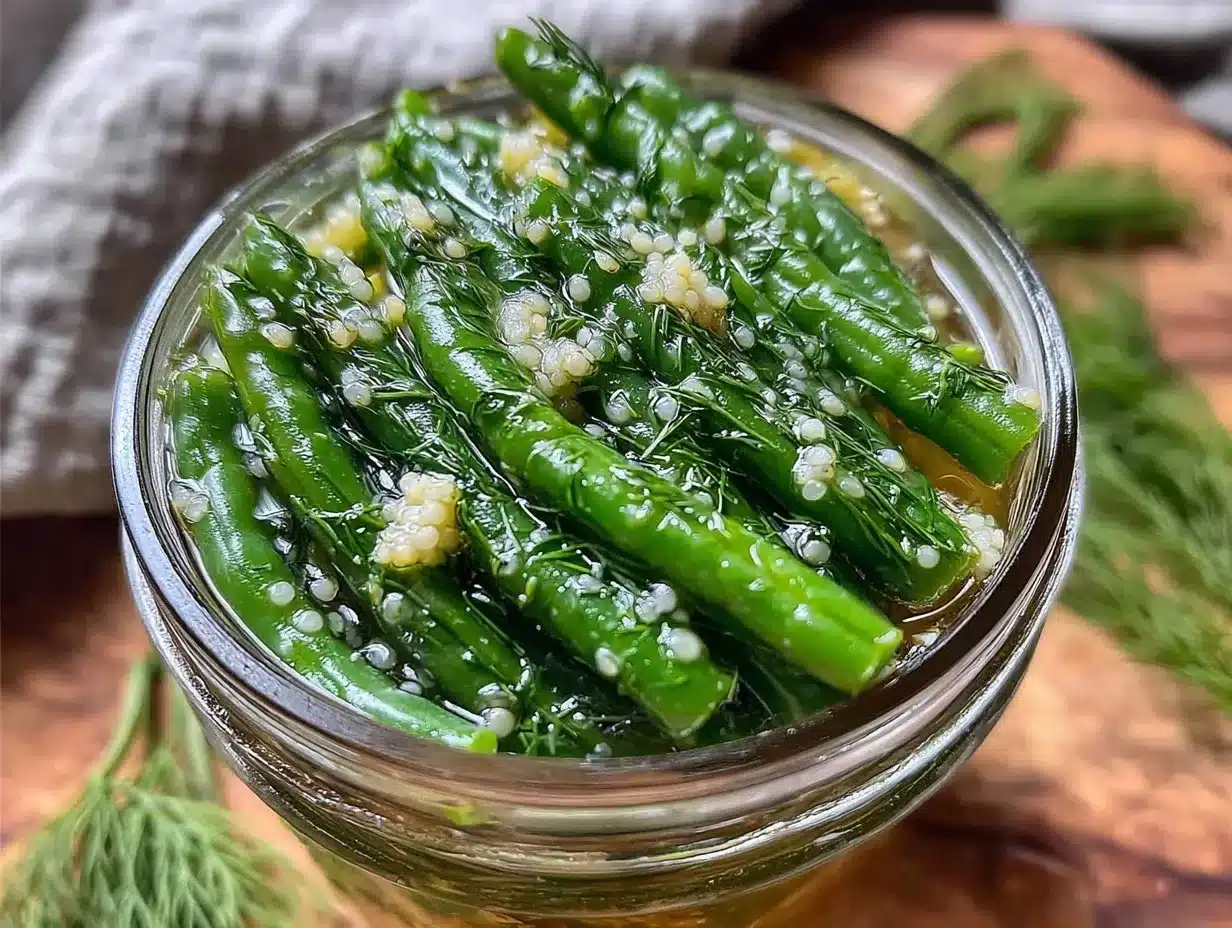
- Trim and wash the green beans: Rinse about 1 pound (450g) of fresh green beans and cut off the stem ends. You can leave the beans whole or cut them into 2-3 inch (5-7.5 cm) pieces, depending on your preference. This step takes about 5 minutes.
- Prepare jars: Wash your glass jars and lids in hot soapy water and rinse well. I like to dry them on a clean towel while prepping the rest. Having everything dry helps prevent dilution of the brine.
- Pack the jars: Place 2-3 sprigs of fresh dill, 2-3 peeled and lightly smashed garlic cloves, and 1 teaspoon whole black peppercorns into each jar. If you want a bit of heat, add ¼ teaspoon red pepper flakes now. Then pack the green beans vertically, pressing them gently but firmly so they fit snugly. Leave about ½ inch (1.3 cm) headspace at the top.
- Make the brine: In a small saucepan, combine 1 cup (240ml) white vinegar, 1 cup (240ml) water, and 1 tablespoon pickling salt. Heat over medium until the salt dissolves and the mixture just begins to simmer—about 3-4 minutes. Don’t boil for long; you want the flavors fresh and bright.
- Pour brine over beans: Carefully ladle the hot brine into each jar, covering the beans completely but leaving a bit of headspace. Tap the jars gently on the counter to release air bubbles, then add more brine if needed.
- Cool and refrigerate: Let the jars sit uncovered at room temperature until they cool to room temperature, about 30-45 minutes. Then seal with lids and refrigerate. The beans will be ready to snack on after 24 hours but taste best after 2-3 days.
When packing the beans, don’t rush—pressing them evenly helps keep the beans crisp. Avoid over-packing, which can bruise the beans and make them soggy. If you notice the brine looks cloudy after a day, it’s usually fine; just give the jar a gentle swirl before opening. These beans keep well in the fridge for up to 2 weeks, but honestly, they rarely last that long in my house.
Cooking Tips & Techniques
For best crispness, use the freshest green beans you can find. Older beans tend to soften quickly and lose that satisfying snap. I learned the hard way that blanching the beans before pickling—though common in some recipes—actually softens them more than I like. This quick pickling method thrives on raw beans soaking in the brine, so skip blanching unless you want a softer texture.
Don’t skimp on the salt or vinegar. These two ingredients balance flavor and act as natural preservatives. Using pickling or kosher salt avoids the cloudiness and off-flavors that iodized salt can introduce. If you want to experiment with vinegar types, try apple cider for a milder tang or white wine vinegar for a subtle fruitiness.
Timing is key. The beans need at least 24 hours in the fridge to soak up the flavors, but waiting 2-3 days rewards you with a deeper, more complex taste. I usually make these midweek so they’re ready for weekend snacking. Also, shaking the jar gently every day helps distribute flavors evenly.
Lastly, don’t forget the garlic and dill—these give the pickled beans their unique personality. I’ve tried adding mustard seeds and coriander seeds for a more complex spice profile, but the traditional dill-garlic combo remains my favorite.
Variations & Adaptations
This recipe is wonderfully flexible, and you can adjust it to suit your taste or dietary needs.
- Spicy Kick: Add more red pepper flakes or a fresh sliced jalapeño to the jar for a fiery twist on tangy snacking.
- Herb Swap: Replace dill with fresh tarragon or thyme for a different herbaceous note that still pairs beautifully with vinegar.
- Low-Sodium Version: Reduce the salt by half and add a splash of lemon juice for brightness without overdoing sodium.
- Fermented Style: Skip the vinegar and use a saltwater brine to ferment the beans for a probiotic-rich snack, but this takes several days and requires a bit more patience.
- Pickle Mix: Add other veggies like baby carrots, sliced radishes, or cherry tomatoes to your jars for colorful, crunchy variety.
I once tried adding a splash of the brine from a homemade batch of sticky teriyaki tofu marinade to the brine for a subtly sweet-sour fusion that surprised my taste buds. It’s fun to experiment, but I always come back to the classic dilly version for that pure tangy satisfaction.
Serving & Storage Suggestions
These pickled dilly green beans are best served cold or at room temperature. I like to pull a jar from the fridge as a crunchy snack alongside afternoon tea or as an unexpected accompaniment to sandwiches and charcuterie boards. They add a bright, acidic contrast that livens up richer dishes.
For a simple appetizer, arrange the beans on a platter with some cheese cubes and olives. They also make a great garnish for Bloody Mary cocktails, adding a savory twist that beats the usual celery stick.
Store the pickled beans in the refrigerator, sealed tightly, for up to two weeks. Over time, the flavors deepen and the beans soften slightly, so if you prefer a crisper bite, enjoy them within the first few days. To re-crisp beans that have softened a bit, soak them briefly in ice water before serving.
Nutritional Information & Benefits
One serving (about ½ cup or 85g) of these pickled dilly green beans contains roughly 20 calories, with negligible fat, about 4 grams of carbohydrates, and 2 grams of fiber. They’re naturally low in calories and sugar, making them a guilt-free tangy snack.
Green beans are a good source of vitamins A, C, and K, along with minerals like manganese and folate. The vinegar and garlic contribute antimicrobial properties and aid digestion. For those watching sodium intake, the pickling salt can be adjusted, but do keep some salt for flavor and preservation.
This snack fits well into gluten-free, vegan, and low-carb diets, making it a versatile option when you want something light but flavorful. I often pair them with the fresh cucumber mint detox water recipe for a refreshing combo that feels nourishing and hydrating.
Conclusion
Easy quick pickled dilly green beans are a small joy worth adding to your kitchen repertoire. They bring that perfect tangy snap to snack time without complicated steps or long waits. I love how the fresh dill and garlic shine through, turning humble green beans into a lively, crunchy treat that feels like a quiet celebration of simple ingredients.
Feel free to tweak the spice levels or herbs to make this recipe your own. Whether you’re new to pickling or a seasoned snack enthusiast, this recipe fits right in with everyday life—no fuss, just flavor. If you give it a try, I’d love to hear how you seasoned your batch or what dishes you paired them with. Happy pickling!
Frequently Asked Questions
How long do these pickled green beans last in the fridge?
They keep well for up to two weeks in the refrigerator. The flavor develops over time, but the beans are crispiest within the first few days.
Can I use frozen green beans for this recipe?
Fresh green beans are best for pickling because they retain their crunch. Frozen beans tend to be too soft once thawed and won’t hold up well in the brine.
Is it necessary to boil the brine?
Yes, warming the brine dissolves the salt and helps meld the flavors. Just bring it to a simmer, then pour it hot over the beans.
Can I make this recipe without fresh dill?
Fresh dill gives the best flavor, but if you don’t have it, dried dill can work in a pinch. Use about one-third the amount since dried herbs are more concentrated.
How crunchy will the green beans be after pickling?
They stay quite crunchy with this quick pickling method since the beans are raw when packed. If you prefer softer beans, you can blanch them briefly before pickling, but the classic snap is part of the appeal.
Pin This Recipe!
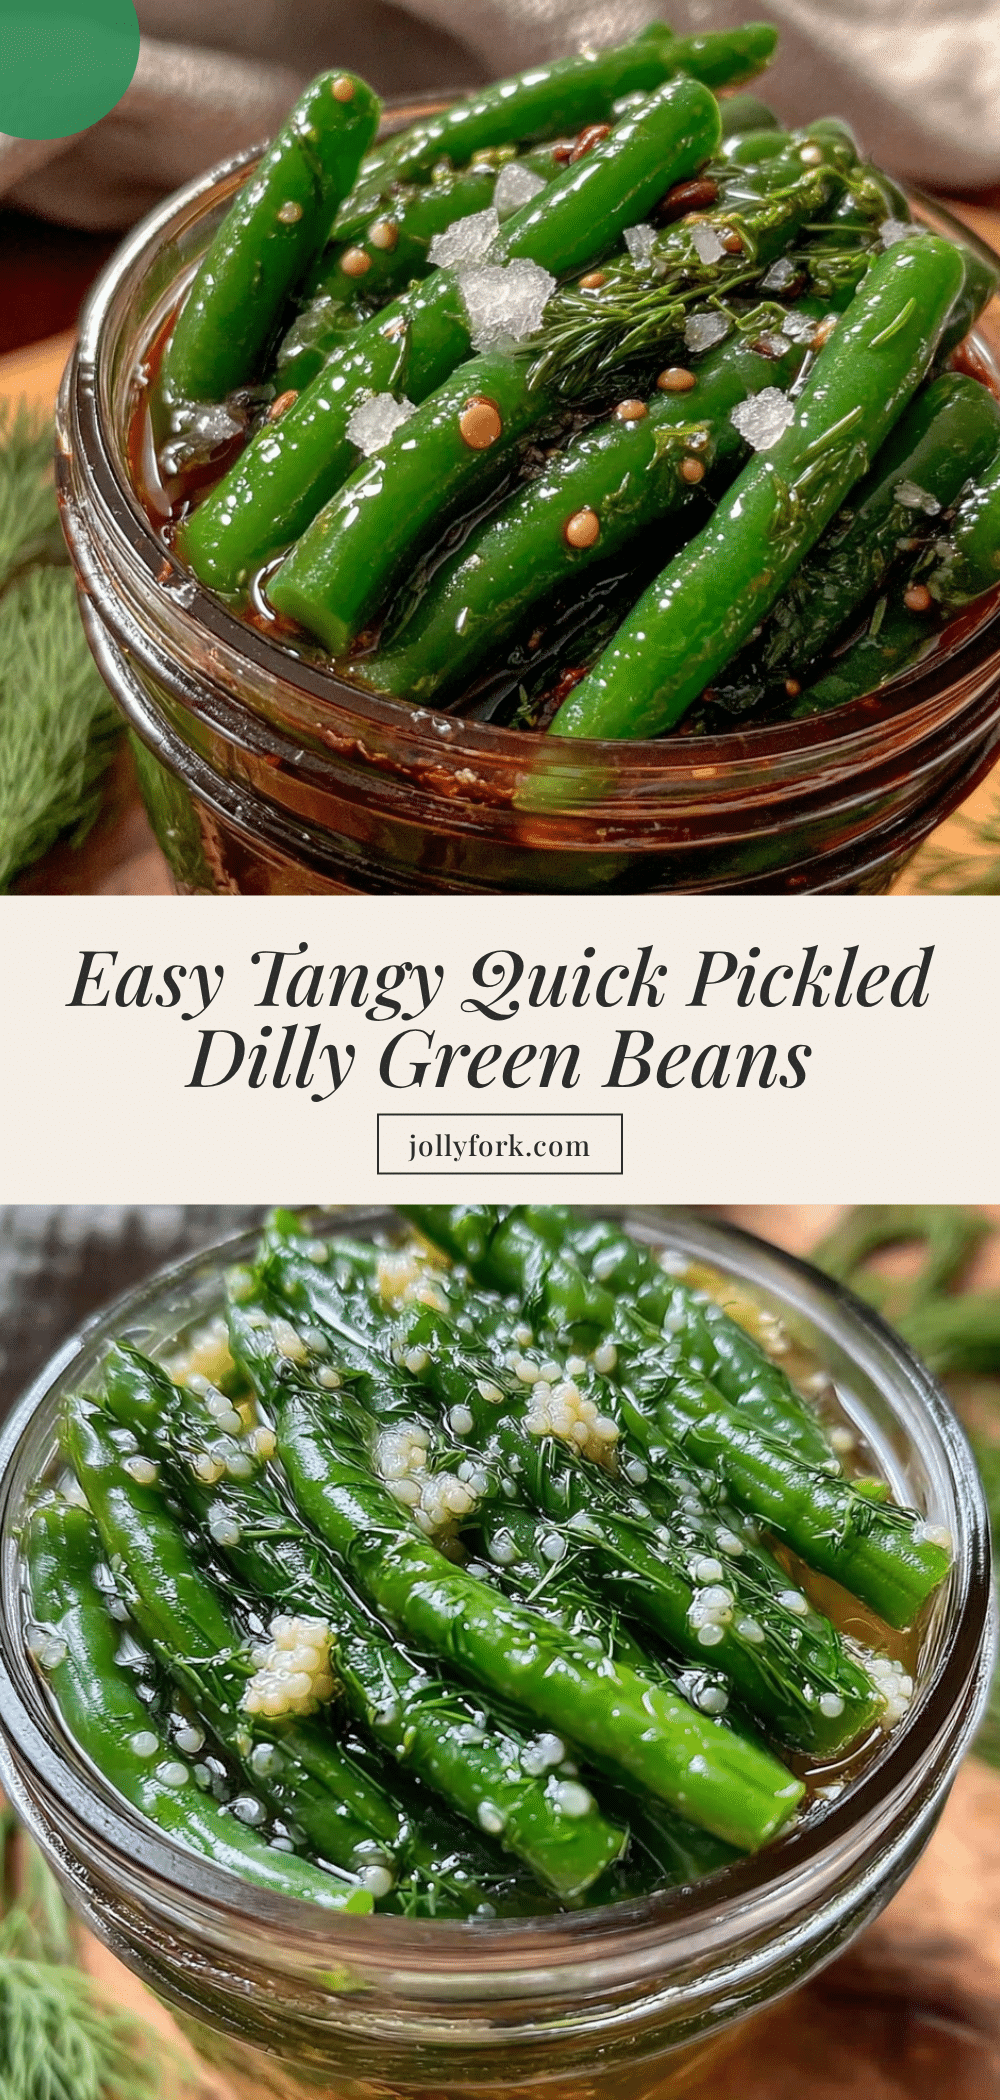
Easy Quick Pickled Dilly Green Beans Recipe for Tangy Snacking
A quick and easy recipe for tangy, crunchy pickled green beans flavored with fresh dill and garlic. Perfect for snacking or adding a bright twist to sandwiches and salads.
- Prep Time: 10 minutes
- Cook Time: 5 minutes
- Total Time: 1 hour
- Yield: 4 servings 1x
- Category: Snack
- Cuisine: American
Ingredients
- 1 pound fresh green beans, trimmed and washed
- 2–3 sprigs fresh dill, including feathery fronds
- 2–3 garlic cloves, peeled and lightly smashed
- 1 cup white vinegar (240 ml)
- 1 cup water (240 ml)
- 1 tablespoon pickling salt or kosher salt
- 1 teaspoon whole black peppercorns
- ¼ teaspoon red pepper flakes (optional)
Instructions
- Trim and wash the green beans, cutting off the stem ends. Leave whole or cut into 2-3 inch pieces as preferred.
- Wash glass jars and lids in hot soapy water, rinse well, and dry completely.
- Place 2-3 sprigs of fresh dill, 2-3 smashed garlic cloves, and 1 teaspoon black peppercorns into each jar. Add red pepper flakes if using.
- Pack the green beans vertically into the jars, pressing gently but firmly to fit snugly, leaving about ½ inch headspace.
- In a small saucepan, combine vinegar, water, and pickling salt. Heat over medium until salt dissolves and mixture begins to simmer (3-4 minutes).
- Pour the hot brine over the beans in each jar, covering completely but leaving headspace. Tap jars gently to release air bubbles and add more brine if needed.
- Let jars cool uncovered at room temperature for 30-45 minutes, then seal with lids and refrigerate.
- Beans are ready to eat after 24 hours but taste best after 2-3 days.
Notes
Use the freshest green beans for best crispness. Avoid blanching to keep beans crunchy. Use pickling or kosher salt to prevent cloudiness. The beans keep well refrigerated for up to two weeks but are crispiest within the first few days. Shake jars gently daily to distribute flavors evenly. To re-crisp softened beans, soak briefly in ice water before serving.
Nutrition
- Serving Size: ½ cup (85g)
- Calories: 20
- Sodium: 400
- Carbohydrates: 4
- Fiber: 2
- Protein: 1
Keywords: pickled green beans, quick pickles, dilly beans, tangy snack, easy pickling, homemade pickles, dill, garlic, crunchy snack


