My phone buzzed with a text: “I’m two blocks away, and I’m starving.” The fridge was looking pretty bare except for a sad bunch of cucumbers and a lonely head of garlic. No time for a grocery run, no time to plan a fancy meal. Honestly, I almost offered chips and salsa. But then, I remembered the jars of spices and vinegar tucked in the back corner. It hit me — why not whip up some crispy garlic dill refrigerator pickles ready in 24 hours? They’re fast, crunchy, and honestly, a little addictive. I sliced those cucumbers thin, tossed them with garlic and dill, and by the next day, I had these tangy, crunchy pickles that saved the day. It’s weird how the best recipes emerge from the chaos of life’s last-minute moments.
There’s something satisfying about biting into a perfectly crisp pickle, with that punch of garlic and fresh dill that just wakes up your taste buds. This recipe isn’t just about saving a snack emergency — it’s about having a quick, reliable way to make pickles that taste homemade without the usual wait. And honestly? It sticks with you. Whenever I’m craving something crunchy and flavorful, I reach for these pickles instead of chips or other snacks. They’re a little burst of freshness in hectic days, and they pair beautifully with everything from sandwiches to grilled dishes.
So yeah, this recipe isn’t some fancy, carefully planned project — it’s the result of improvisation, a half-empty fridge, and the satisfaction of pulling off something unexpectedly delicious. And that’s probably why it’s become a favorite in my kitchen. You’ll see what I mean once you try it.
Why You’ll Love This Recipe
These crispy garlic dill refrigerator pickles have become my go-to for a few solid reasons, and I’m guessing you’ll find them just as handy:
- Quick & Easy: Ready in just 24 hours, which is perfect for when you want a fresh pickle fix without waiting weeks.
- Simple Ingredients: Nothing fancy needed — just cucumbers, garlic, dill, vinegar, and a few pantry staples you probably already have.
- Perfect for Snacks or Side Dishes: Whether it’s a late-night craving or a picnic addition, these pickles bring a bright, crunchy pop.
- Crowd-Pleaser: My friends and family always ask for the recipe — they love the balance of tang, garlic, and that unmistakable dill aroma.
- Unbelievably Delicious: The texture is crisp, not soggy, with a sharpness that wakes up sandwiches, burgers, or even a simple cheese plate.
What sets this recipe apart? It’s the method — no boiling, no canning, just fresh cucumbers soaking in a perfectly seasoned brine that locks in crunch and flavor fast. I’ve tried other quick pickle recipes, but blending the garlic with fresh dill and a touch of sugar in this brine really makes the difference. It’s like a shortcut to that classic deli-style pickle crunch and zing, without the fuss.
Honestly, this recipe isn’t just about making pickles; it’s about having that little jar of goodness ready to brighten meals or fend off hunger pangs. It’s like comfort food in a jar, but with a fresh, lively twist. Plus, if you’re into simple, no-stress cooking, you’ll appreciate how this fits right into busy days or unexpected guests, much like my easy crockpot chicken tortilla soup that’s a lifesaver for quick dinners.
What Ingredients You Will Need
This recipe uses simple, wholesome ingredients to deliver bold flavor and satisfying crunch without any fuss. Most of these are pantry staples, and the cucumbers are the star fresh ingredient. Feel free to swap or tweak as needed — I’ll share some tips below.
- Fresh cucumbers – about 4-5 medium Kirby or Persian cucumbers, washed and sliced (these varieties stay crunchy best)
- Garlic cloves – 3-4, peeled and smashed (the more, the merrier for that punchy flavor)
- Fresh dill – 1/4 cup chopped, or substitute with 2 tablespoons dried dill (fresh gives the best aroma)
- White vinegar – 1 cup (5% acidity recommended for the best pickling)
- Water – 1 cup (tap water works fine, but filtered if your tap is heavily chlorinated)
- Kosher salt – 1 tablespoon (don’t use table salt; kosher salt dissolves better and won’t make pickles too salty)
- Granulated sugar – 1 teaspoon (balances the acidity, but you can skip if you prefer)
- Black peppercorns – 1 teaspoon (adds subtle heat and depth)
- Red pepper flakes – optional, 1/4 teaspoon for a little kick
Tip: I like to use Mt. Olive or Heinz white vinegar for consistent acidity and flavor. For the cucumbers, if you can find Kirby or Persian varieties, grab those — they hold their crunch best compared to slicing cucumbers. But if you’re stuck, regular cucumbers work fine; just pat them dry to avoid sogginess.
Seasoning-wise, you can tweak to your liking — want more garlic? Go for it. Prefer less dill? Adjust accordingly. This recipe is forgiving and flexible, which is why it’s perfect for quick pickles.
Equipment Needed
- Sharp knife and cutting board: For slicing cucumbers thin and evenly. A good knife really makes a difference here.
- Mixing bowl: To toss cucumbers with salt and help draw out moisture before pickling.
- Measuring cups and spoons: For precise vinegar, water, salt, and spices measurements.
- Glass jars or airtight containers: Quart-sized mason jars or any clean glass container with a tight lid work great for refrigerating pickles.
- Small saucepan (optional): For warming the brine if you prefer, but you can also mix it cold — I usually just stir it cold to save time.
If you don’t have a mason jar on hand, a regular food-safe container with a snap-on lid will do just fine. Just make sure it seals well to keep the pickles fresh and crunchy. I’ve even used old glass pasta sauce jars cleaned thoroughly in a pinch.
Preparation Method
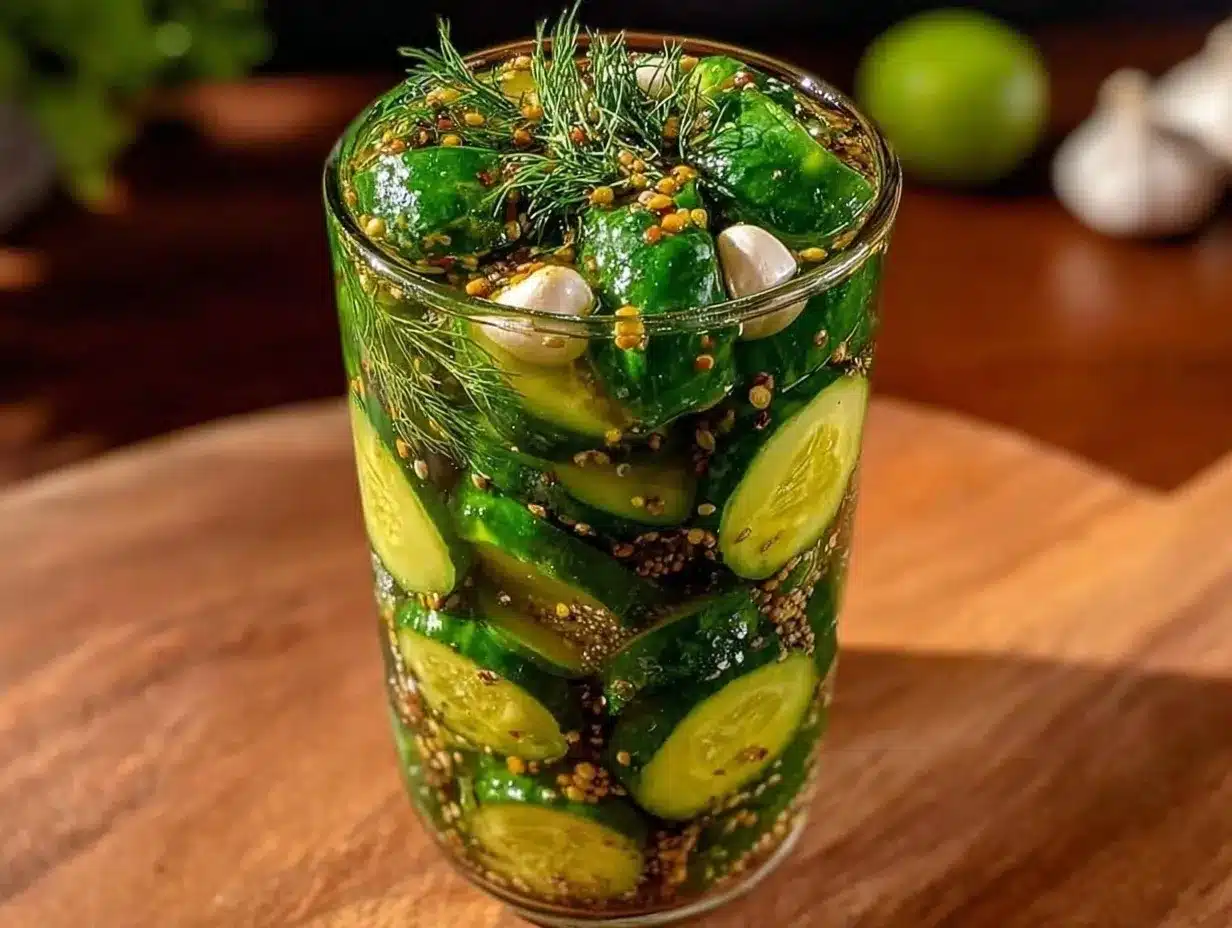
- Slice the cucumbers: Using a sharp knife, slice 4-5 medium Kirby cucumbers into 1/8-inch thick rounds or spears, depending on your preference. Thin slices soak up the brine faster, but spears offer a satisfying crunch.
- Salt the cucumbers: Place the sliced cucumbers in a large mixing bowl and sprinkle with 1 tablespoon kosher salt. Toss well to coat evenly. Let them sit for about 30 minutes to draw out excess water. You’ll notice some liquid pooling — that’s exactly what you want. This step helps keep your pickles crispy.
- Prepare the brine: In a separate bowl or small saucepan, combine 1 cup white vinegar, 1 cup water, 1 teaspoon granulated sugar, 1 teaspoon black peppercorns, and optional 1/4 teaspoon red pepper flakes. Stir until sugar and salt dissolve completely. If you prefer, warm the mixture slightly to help dissolve sugar faster, then cool before using.
- Drain and rinse cucumbers: After 30 minutes, drain the cucumbers in a colander and give them a quick rinse under cold water to remove excess salt. Pat dry gently with paper towels to avoid sogginess.
- Pack jars: Place the smashed garlic cloves and fresh dill evenly at the bottom of clean glass jars. Then, tightly pack the cucumber slices or spears into the jars, leaving about 1/2 inch of headspace at the top.
- Pour the brine: Carefully pour the prepared brine over the cucumbers, covering them completely. Add any leftover dill or garlic on top, if you like extra flavor.
- Seal and refrigerate: Seal the jars tightly and place them in the refrigerator. Let them sit for at least 24 hours before tasting. The flavor deepens the longer they chill, but the magic starts after just one day.
- Enjoy: After 24 hours, your crispy garlic dill refrigerator pickles are ready to crunch into. Store them refrigerated and consume within 2 weeks for best texture and flavor.
Pro tip: If you find your pickles aren’t as crisp as you want, try adding a few grape leaves or a pinch of calcium chloride (pickle crisp) next time — both help maintain crunchiness. Also, always use a clean utensil when removing pickles to avoid contamination.
Cooking Tips & Techniques
One of the keys to these pickles’ success is the salting step. It’s tempting to skip, but honestly, it makes all the difference. Salting pulls moisture out, so the cucumbers stay crisp and don’t turn soggy in the brine. I learned this the hard way after my first batch turned out floppy — lesson learned!
Another tip is slicing consistently. Uneven slices pickle unevenly, leading to some soggy, some crunchy. A mandoline slicer works wonders here if you have one, but a sharp knife and steady hand do just fine.
Don’t rush the brine mixing. Dissolving the salt and sugar fully ensures even flavor distribution. If you mix cold, give it a good stir, or warm the brine slightly (not boiling) to help dissolve faster — just cool it before pouring over cucumbers.
When packing jars, don’t overstuff. Leave some headspace for the brine to circulate and for the flavors to mingle properly. Plus, it makes sealing easier.
Lastly, patience is key. These aren’t instant pickles, but 24 hours later, you’ll be rewarded with bright, garlicky, dill-packed crunch. For busy nights, they’re a perfect quick fix — like my one-pan summer squash and sausage skillet, these pickles fit right into hectic schedules without fuss.
Variations & Adaptations
Want to change things up or adapt for dietary needs? Here are a few tasty ways to customize your refrigerator pickles:
- Spicy Pickles: Add more red pepper flakes or a sliced jalapeño to the brine for an extra kick.
- Sweet & Tangy: Increase sugar to 1 tablespoon and add a cinnamon stick for a sweeter, aromatic flavor.
- Low-Sodium Option: Reduce kosher salt to 1/2 tablespoon and extend soaking time to 1 hour to still achieve crispness with less salt.
- Herb Twists: Swap dill for fresh tarragon, basil, or cilantro for a different herbal note.
- Gluten-Free: This recipe is naturally gluten-free, but double-check your vinegar and spices for any additives if highly sensitive.
Personally, I once tried a batch with fresh mint and lemon zest — it was unexpectedly refreshing and made a great accompaniment to grilled fish. Feel free to experiment and find your favorite twist!
Serving & Storage Suggestions
These pickles are best served chilled, straight from the fridge. They add a perfect crunch and tang to sandwiches, burgers, or alongside a creamy dip. I like pairing them with a hearty sandwich or even as a tangy side to dishes like creamy cheesy zucchini lasagna roll-ups for a fresh contrast.
Store your pickles in airtight glass jars in the refrigerator. They keep well up to two weeks but are best enjoyed within the first week for optimal crunch and flavor. If you notice any cloudiness in the brine, it’s usually harmless but discard if off smells develop.
To re-crisp slightly if pickles soften, drain brine and soak cucumbers briefly in ice water before draining again and returning to fresh brine. This little trick saved a batch for me more than once!
Nutritional Information & Benefits
One serving (about 3-4 slices) of these crispy garlic dill refrigerator pickles has approximately:
| Nutrient | Amount |
|---|---|
| Calories | 10-15 |
| Carbohydrates | 2g |
| Fiber | 0.5g |
| Sodium | 350mg (varies by salt used) |
| Vitamin K | 5-7% Daily Value |
These pickles are low in calories and carbs, making them a smart snack choice. The garlic has potential antimicrobial benefits, while dill adds antioxidants and a fresh aroma. Plus, the vinegar supports digestion and may help regulate blood sugar.
Because they’re made with whole ingredients and no preservatives, these pickles are a wholesome alternative to many store-bought options. Just watch the sodium if you’re monitoring salt intake.
Conclusion
These crispy garlic dill refrigerator pickles ready in 24 hours have become a staple for me whenever I want something quick, flavorful, and satisfying without fussing over long fermentations or complicated canning. The balance of garlic, dill, and that sharp vinegar brine hits all the right notes, while the quick prep means they’re perfect for last-minute snacks or side dishes.
Give them a try, tweak the seasonings to your taste, and you might find yourself keeping a jar or two in the fridge at all times (just like I do). There’s something comforting about knowing you can pull together a fresh, crunchy treat with just a handful of ingredients and a little time. It’s simple, rewarding, and honestly, a little bit addicting.
If you try this recipe, I’d love to hear how you customized it or what dishes you paired it with — sharing those little kitchen adventures always makes cooking more fun. Here’s to crunchy, garlicky pickles that brighten any meal!
FAQs About Crispy Garlic Dill Refrigerator Pickles
How long do refrigerator pickles last?
Stored properly in the fridge, these pickles typically last up to two weeks with the best flavor and crunch in the first week.
Can I use regular cucumbers instead of Kirby or Persian?
Yes, but regular slicing cucumbers have more seeds and water, which might make the pickles less crunchy. Patting them dry helps.
Do I need to boil the brine for refrigerator pickles?
Nope! For this recipe, the brine can be mixed cold or slightly warmed to dissolve sugar and salt, but boiling isn’t necessary.
Can I make these pickles spicy?
Absolutely! Adding red pepper flakes or sliced jalapeños to the brine gives a nice spicy kick.
Why are my pickles not crunchy?
It’s usually due to skipping the salting step or using cucumbers that aren’t firm. Also, avoid over-soaking or using table salt, which can affect texture.
Pin This Recipe!
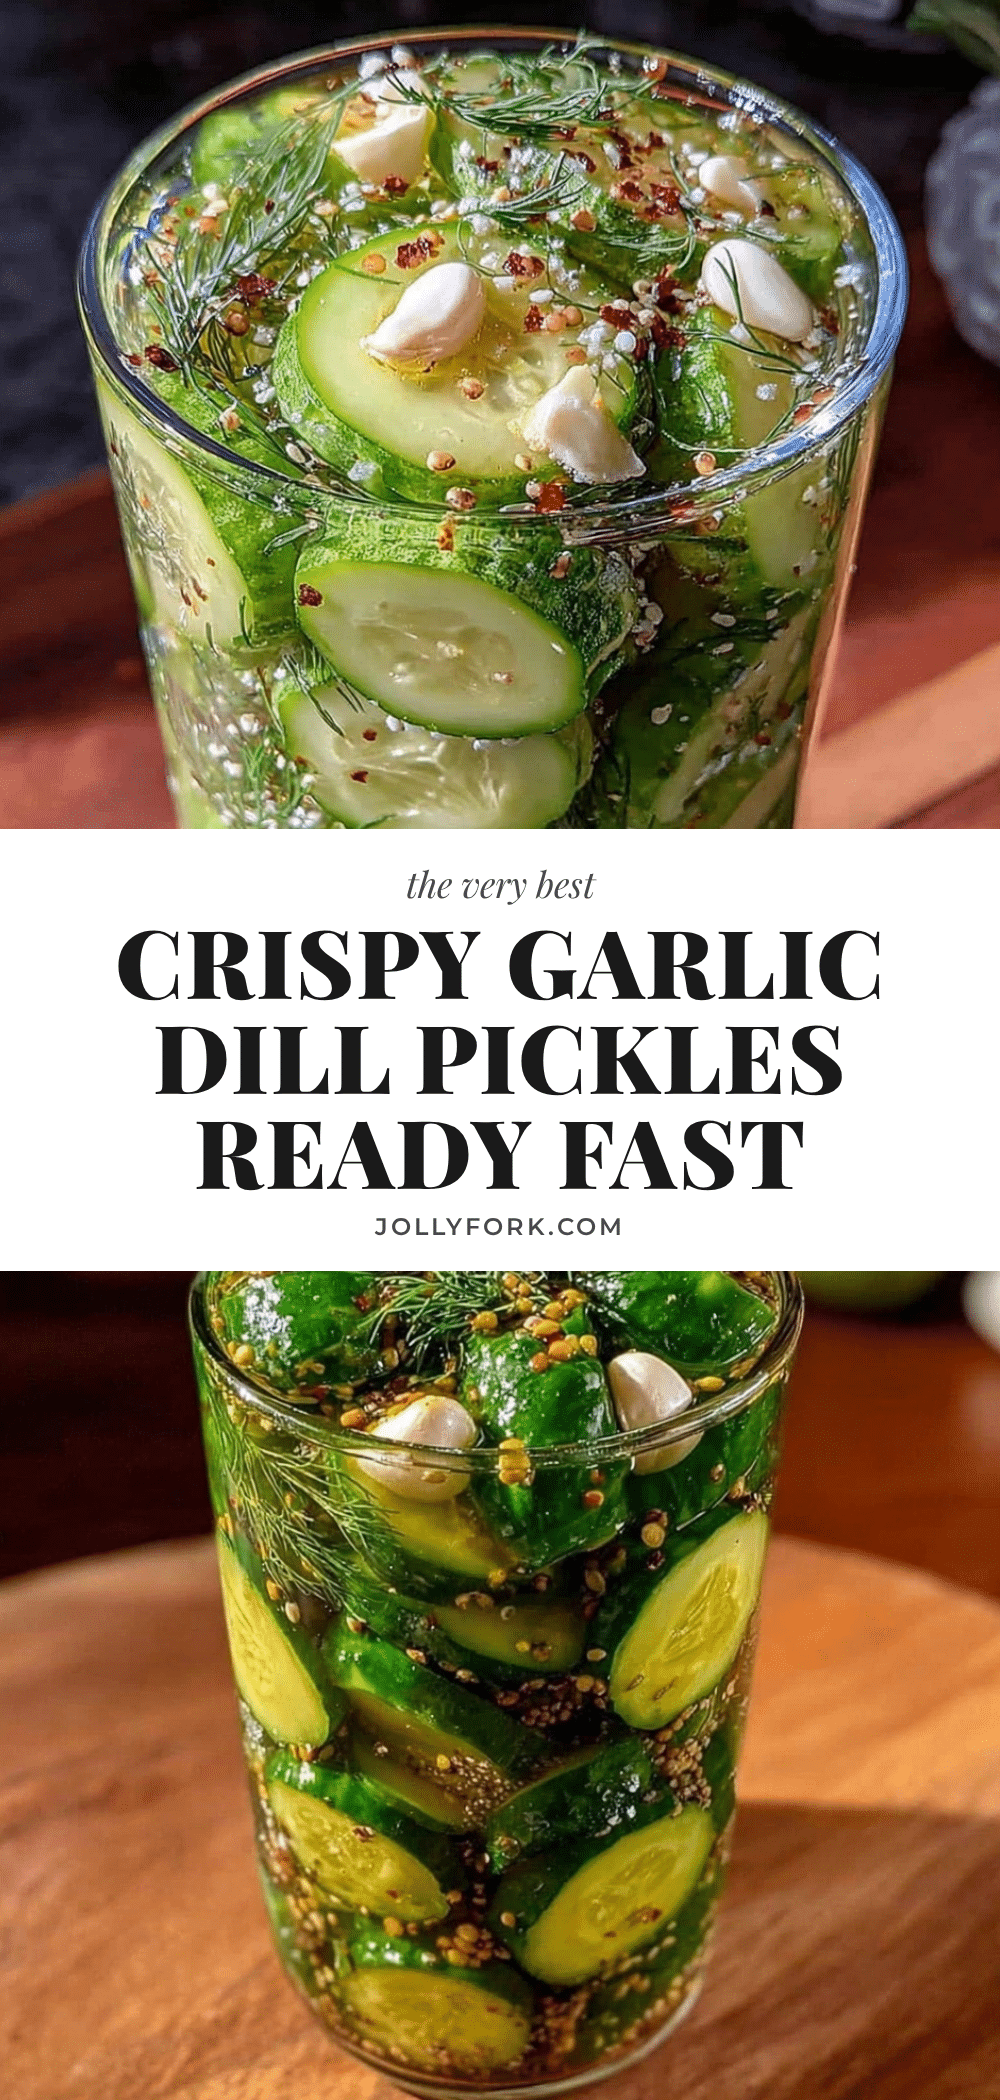
Crispy Garlic Dill Refrigerator Pickles

Quick and easy refrigerator pickles ready in 24 hours with a crunchy texture and bold garlic dill flavor. Perfect for snacks or as a tangy side dish.
- Prep Time: 10 minutes
- Cook Time: 0 minutes
- Total Time: 24 hours 10 minutes
- Yield: 4 servings 1x
- Category: Snack / Side Dish
- Cuisine: American
Ingredients
- 4–5 medium Kirby or Persian cucumbers, washed and sliced
- 3–4 garlic cloves, peeled and smashed
- 1/4 cup fresh dill, chopped (or 2 tablespoons dried dill)
- 1 cup white vinegar (5% acidity recommended)
- 1 cup water
- 1 tablespoon kosher salt
- 1 teaspoon granulated sugar
- 1 teaspoon black peppercorns
- 1/4 teaspoon red pepper flakes (optional)
Instructions
- Slice the cucumbers into 1/8-inch thick rounds or spears using a sharp knife.
- Place the sliced cucumbers in a large mixing bowl and sprinkle with 1 tablespoon kosher salt. Toss well to coat evenly and let sit for 30 minutes to draw out excess water.
- In a separate bowl or small saucepan, combine 1 cup white vinegar, 1 cup water, 1 teaspoon granulated sugar, 1 teaspoon black peppercorns, and optional 1/4 teaspoon red pepper flakes. Stir until sugar and salt dissolve completely. Warm slightly if desired, then cool before using.
- Drain the cucumbers in a colander and rinse under cold water to remove excess salt. Pat dry gently with paper towels.
- Place smashed garlic cloves and fresh dill evenly at the bottom of clean glass jars.
- Pack the cucumber slices or spears tightly into the jars, leaving about 1/2 inch of headspace.
- Pour the prepared brine over the cucumbers, covering them completely. Add any leftover dill or garlic on top if desired.
- Seal the jars tightly and refrigerate for at least 24 hours before tasting.
- Store refrigerated and consume within 2 weeks for best texture and flavor.
Notes
Use Kirby or Persian cucumbers for best crunch. Salting cucumbers before pickling is key to keeping them crisp. If pickles soften, soak briefly in ice water and return to fresh brine. Avoid table salt; use kosher salt for better texture. Optional warming of brine helps dissolve sugar and salt faster but is not required.
Nutrition
- Serving Size: About 3-4 pickle sli
- Calories: 1015
- Sugar: 1
- Sodium: 350
- Carbohydrates: 2
- Fiber: 0.5
Keywords: refrigerator pickles, garlic dill pickles, quick pickles, crunchy pickles, easy pickles, no canning pickles


