That first sticky, peanut-buttery smell hitting your nostrils before you’ve even fully opened the jar—it still takes me straight to my college dorm room, where survival mode meant anything edible that didn’t require a stove or a trip to the dining hall. I was a broke sophomore with a mini-fridge, a microwave I barely used, and a desperate need for something that tasted like actual food between classes. My roommate swore by those pre-packaged protein bars, but honestly? They tasted like cardboard dressed up in chocolate. So I started messing around in that cramped little kitchenette, mixing peanut butter with oats and honey until my fingers were sticky and my brain was quiet. These easy no-bake peanut butter protein balls were born from that chaos—no recipe, no plan, just a girl who needed fuel that didn’t feel like punishment.
I remember the first batch I made. I used way too much honey, and they were so sweet they practically hummed. But I ate three in a row anyway, standing over the sink, because they tasted like victory. Over the years, I’ve tweaked the ratios, added protein powder, swapped in flaxseed, and learned that the perfect texture comes from not overthinking it. They’re forgiving, you know? If they’re too sticky, add more oats. Too dry? A splash of milk or an extra drizzle of honey fixes everything. These little guys have been my road trip snack, my post-workout reward, my 3 PM slump buster, and the thing I make when I want to feel like I’ve got my life together even when I absolutely don’t.
And that’s the thing about a good no-bake recipe—it doesn’t ask for much. Just a bowl, a spoon, and ten minutes of your time. No oven preheating, no complicated steps, no fancy equipment. Just pure, simple, satisfying fuel. These easy no-bake peanut butter protein balls are proof that you don’t need a kitchen full of gadgets to eat well. You just need a little creativity, a little patience, and a whole lot of peanut butter.
Why You’ll Love This Recipe
Let me tell you why these little protein balls have earned a permanent spot in my fridge. I’ve tested this recipe more times than I can count—sometimes on purpose, sometimes because I forgot to write down what I did last time. But every batch comes out delicious, and that consistency is what makes them a winner in my book.
- Quick & Easy : These come together in under 5 minutes. No kidding. If you can stir, you can make these. Perfect for those days when you need a snack right now and don’t have the energy to turn on the oven.
- Simple Ingredients : You probably have everything in your pantry already. Peanut butter, oats, honey, and maybe some chocolate chips or protein powder if you’re feeling fancy. No weird ingredients, no trips to specialty stores.
- Perfect for Busy Mornings : Grab one on your way out the door, toss it in your bag, or eat it while you’re waiting for your coffee to brew. They’re the ultimate breakfast-for-people-who-don’t-have-time-for-breakfast snack.
- Crowd-Pleaser : I’ve brought these to potlucks, hiking trips, and family gatherings, and they always disappear first. Kids love them, adults love them, and nobody guesses they’re actually kind of good for you.
- Unbelievably Delicious : The texture is soft and chewy, the peanut butter flavor is rich without being overwhelming, and the hint of honey ties it all together. It’s comfort food that fuels your body without weighing you down.
What makes my version different from all the other protein ball recipes out there? It’s the balance. I’ve spent years tweaking the peanut butter-to-oats ratio until it hit that sweet spot—not too dry, not too sticky, not too sweet. The secret is letting the mixture sit for a minute before rolling so the oats absorb the moisture. That little pause makes all the difference. And I always use creamy peanut butter for the smoothest texture, though crunchy works if you like a little crunch in your bite.
These easy no-bake peanut butter protein balls aren’t just a recipe—they’re a lifeline for anyone who’s ever been hangry, tired, or too busy to cook. They’re the kind of snack that makes you feel like you’ve got your act together, even when you’re just winging it. And honestly? That’s the best kind of recipe to have in your back pocket.
What Ingredients You Will Need
This recipe uses simple, wholesome ingredients that come together to create a snack that’s both satisfying and nourishing. Most of these are pantry staples, which means you can whip up a batch whenever the craving strikes—no fancy shopping list required.
For the Protein Balls
- 1 cup creamy peanut butter (I prefer natural peanut butter with just peanuts and salt—it gives the best flavor and texture. Avoid the stuff with added sugar or oil if you can.)
- 1/2 cup honey (or maple syrup for a vegan option—both work beautifully, but honey gives a slightly thicker consistency)
- 1 1/2 cups old-fashioned rolled oats (not quick oats—they’re too fine and make the balls mushy. Rolled oats give that perfect chewy texture.)
- 1/2 cup protein powder (vanilla or unflavored—I like using a plant-based protein powder for a cleaner taste, but whey works great too. If you skip it, add an extra 1/4 cup of oats to keep the texture right.)
- 1/3 cup mini chocolate chips (optional but highly recommended—they add little pockets of sweetness that make every bite exciting)
- 1 tablespoon chia seeds or flaxseed meal (for extra fiber and omega-3s—totally optional, but I love the little nutritional boost)
- 1/2 teaspoon vanilla extract (pure extract, not imitation—trust me, it makes a difference)
- Pinch of sea salt (if your peanut butter isn’t salted—salt brings out the sweetness and balances the flavors)
That’s it. Seven ingredients, most of which you probably already have in your kitchen. The beauty of this recipe is how forgiving it is—you can swap things around based on what you’ve got. Out of honey? Use maple syrup. Don’t have protein powder? Add more oats. Want a different flavor? Try almond butter instead of peanut butter. It’s a choose-your-own-adventure kind of snack.
One thing I’ve learned over the years: the quality of your peanut butter really matters. I’ve tried this recipe with the cheap stuff, and while it works, the flavor is just… flat. Splurge on a good natural peanut butter—it’s worth it. And if you’re using a protein powder that’s super sweet, you might want to cut back on the honey a little. Taste the mixture before you roll—you can always add more sweetener, but you can’t take it out.
If you’re looking for another no-bake snack idea that’s just as easy, you should check out these easy chewy sunbutter honey granola bars. They’re perfect for lunchboxes or hiking trips.
Equipment Needed
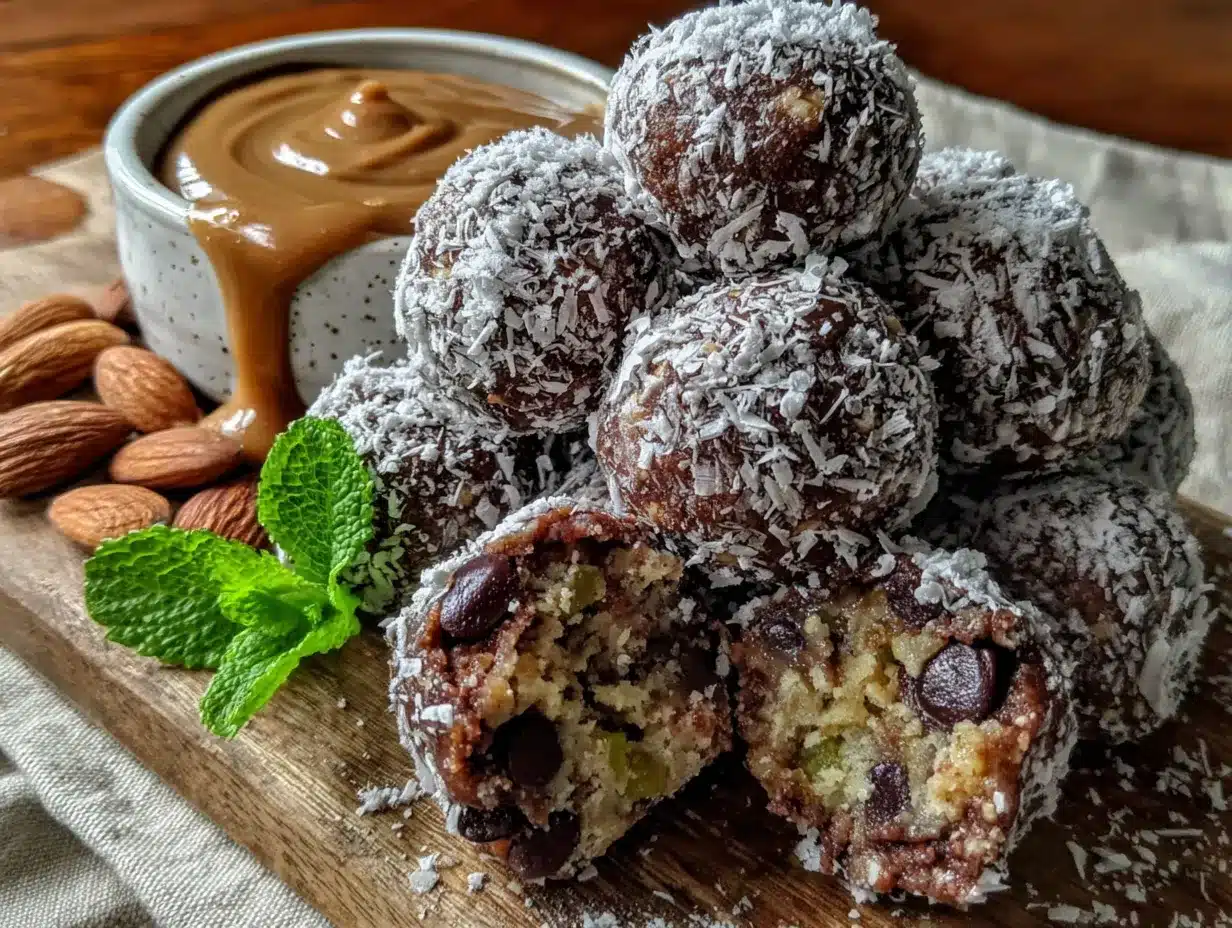
You don’t need much to make these protein balls—that’s the whole point. Here’s what you’ll need:
- Large mixing bowl (any bowl will do, but a wide one makes stirring easier)
- Wooden spoon or rubber spatula (for mixing—a spatula is great for scraping the sides)
- Measuring cups and spoons (for accuracy—though I’ll admit, I eyeball the oats half the time)
- Baking sheet or plate (to hold the rolled balls while you finish shaping them)
- Parchment paper or wax paper (optional, but it makes cleanup a breeze and prevents sticking)
- Airtight container (for storing the finished balls in the fridge—I use a glass container with a tight lid)
If you don’t have a rubber spatula, a regular spoon works just fine. And if you’re using a baking sheet, you don’t need to line it—I just like the parchment paper because it makes transferring the balls to a container easier. Honestly, you could even mix everything in a bowl with your hands (washed, of course) if you’re in a rush. I’ve done it. No judgment here.
One tip: if your hands get too sticky while rolling, lightly dampen them with water. It helps the mixture slide off your fingers without sticking. And don’t worry if the balls aren’t perfectly round—they’re handmade snacks, not museum pieces. Imperfect is beautiful.
Preparation Method
Here’s how to make these easy no-bake peanut butter protein balls. I’ve broken it down step by step so you can follow along without any guesswork. Trust me, after the first batch, you’ll be making them from memory.
- Combine the wet ingredients. In your large mixing bowl, add the 1 cup of peanut butter and the 1/2 cup of honey. Stir them together until they’re well combined. The mixture will look thick and glossy—that’s exactly what you want. If your peanut butter is cold from the fridge, let it sit out for 10 minutes first so it’s easier to stir.
- Add the vanilla and salt. Stir in the 1/2 teaspoon of vanilla extract and a pinch of sea salt (if using). This step is small but important—vanilla adds warmth to the flavor, and salt balances the sweetness. Don’t skip it.
- Mix in the dry ingredients. Add the 1 1/2 cups of rolled oats, the 1/2 cup of protein powder, and the 1 tablespoon of chia seeds or flaxseed meal (if using). Stir everything together until the oats are evenly coated and the mixture looks cohesive. It should be thick and a little sticky—like a soft cookie dough.
- Fold in the chocolate chips. If you’re using them, add the 1/3 cup of mini chocolate chips now. Fold them in gently so they’re evenly distributed throughout the mixture. This is my favorite part because it feels like a little treasure hunt in every bite.
- Let the mixture rest. Here’s the trick most recipes don’t tell you: let the mixture sit for 5 minutes before rolling. This gives the oats time to absorb some of the moisture from the peanut butter and honey, which makes the balls easier to shape and gives them a better texture. I usually set a timer and wash my dishes while I wait.
- Roll into balls. Using your hands, scoop out about 1 tablespoon of the mixture and roll it into a ball. Place each ball on your parchment-lined baking sheet or plate. If the mixture is too sticky to handle, dampen your hands with a little water. You should get about 18-20 balls, depending on how big you make them.
- Chill before serving. Pop the baking sheet into the refrigerator for at least 30 minutes. This firms them up so they hold their shape. If you’re impatient (like me sometimes), you can eat one right away—it’ll just be a little softer. But for the best texture, give them that chill time.
- Store properly. Transfer the chilled balls to an airtight container and keep them in the fridge. They’ll stay fresh for up to two weeks—if they last that long. I’ve never had a batch survive more than a week in my house.
One thing I’ve learned the hard way: don’t overmix. Once the oats are incorporated, stop. Overmixing can make the texture gummy, and nobody wants a gummy protein ball. Also, if your mixture feels too dry and crumbly, add a teaspoon of water or milk at a time until it comes together. If it’s too sticky, add a tablespoon of oats. It’s that simple.
For a similar no-bake treat, try these easy no-bake peanut butter chocolate energy balls. They’re perfect for lunchboxes and have that same satisfying chew.
Cooking Tips & Techniques
After making these protein balls more times than I can count, I’ve picked up a few tricks that make the process smoother and the results better. Here are my best tips:
Use room temperature peanut butter. Cold peanut butter is a nightmare to stir. If yours has been sitting in the fridge, scoop it out and let it sit on the counter for 15 minutes before you start. It’ll mix much more easily and give you a smoother dough.
Don’t skip the resting step. I know it’s tempting to just roll and go, but that 5-minute rest is a game-changer. The oats need time to hydrate, and without it, your balls will be too sticky and prone to falling apart. Trust the process.
Wet hands for easier rolling. If the mixture sticks to your fingers, just wet your hands with a little water. It creates a barrier that prevents sticking without adding extra moisture to the dough. I learned this trick from making truffles, and it works like a charm.
Use a cookie scoop for uniform balls. If you want your protein balls to look professional and evenly sized, use a small cookie scoop. It’s faster than eyeballing, and it ensures each ball has the same texture. Plus, it keeps your hands cleaner.
Don’t overdo the protein powder. Protein powder can be tricky—too much, and your balls will be dry and chalky. Stick to the 1/2 cup measurement, and if you’re using a flavored powder (like chocolate or vanilla), you might want to cut back on the honey a little to balance the sweetness.
One mistake I’ve made more than once: adding too many add-ins. I once tried to cram in chocolate chips, dried cranberries, coconut flakes, and sunflower seeds all at once. The mixture fell apart because there wasn’t enough binder. Stick to one or two add-ins max, and keep the total volume around 1/3 cup. Your balls will thank you.
If you’re looking for another quick energy-boosting snack, you might enjoy these creamy overnight peanut butter protein oats. They’re perfect for meal prep and taste like dessert for breakfast.
Variations & Adaptations
One of the best things about this recipe is how customizable it is. I’ve tried dozens of variations over the years, and here are some of my favorites:
Dietary Adaptations
- Vegan: Swap the honey for maple syrup or agave nectar. Use a plant-based protein powder instead of whey. That’s it—everything else is already vegan-friendly.
- Gluten-Free: Use certified gluten-free rolled oats. Most oats are naturally gluten-free, but some are processed in facilities that handle wheat, so check the label if you’re sensitive.
- Nut-Free: Replace the peanut butter with sunflower seed butter or tahini. The flavor will be different, but it’s still delicious. Just note that sunflower seed butter can turn green when mixed with baking soda—not an issue here since there’s no baking soda, so you’re safe.
Flavor Variations
- Chocolate Peanut Butter: Use chocolate protein powder instead of vanilla, and add an extra tablespoon of cocoa powder. It’s like eating a healthy Reese’s cup.
- Cookie Dough Inspired: Add 2 tablespoons of brown sugar and an extra 1/4 cup of mini chocolate chips. The brown sugar gives it that classic cookie dough flavor without the raw eggs.
- Spiced Chai: Add 1 teaspoon of chai spice blend (cinnamon, cardamom, ginger, cloves) and a tablespoon of chopped pecans. It’s cozy and warming—perfect for fall.
Texture Tweaks
- Crunchier: Use crunchy peanut butter and add 1/4 cup of chopped peanuts or almonds. The extra crunch makes them feel more substantial.
- Softer: Add an extra tablespoon of honey or a splash of milk. This makes the balls more tender and less dense.
- More Fiber: Replace 1/4 cup of the oats with oat bran or wheat germ. It adds fiber without changing the flavor much.
I once made a batch with coconut flour instead of oats (don’t ask—I was out of oats and desperate). It was a disaster. Coconut flour absorbs way too much liquid, and the balls turned into dry little rocks. Stick with oats for the best texture, or if you’re experimenting, start with small adjustments.
For another variation that’s perfect for summer, try these fresh strawberry Greek yogurt parfait cups. They’re light, refreshing, and come together in minutes.
Serving & Storage Suggestions
These protein balls are incredibly versatile when it comes to serving. Here’s how I like to enjoy them:
Serving Temperature: I prefer them straight from the fridge—they’re firmer and have a better texture that way. But if you’re in a hurry, they’re perfectly fine at room temperature. Just don’t leave them out for more than a few hours, especially if it’s warm, because the peanut butter can get oily.
Presentation Ideas: Arrange them on a plate with a sprinkle of sea salt on top for a fancy look. Or pack them in a mason jar for a cute, portable snack. I’ve also been known to roll them in shredded coconut or cocoa powder for a decorative touch—it looks impressive with zero extra effort.
What to Serve With: These balls pair beautifully with a glass of cold milk, a cup of coffee, or a smoothie. For a more substantial snack, serve them alongside some apple slices or a handful of almonds. They’re also great crumbled over yogurt or oatmeal for a little texture boost.
Storage Instructions: Keep your protein balls in an airtight container in the refrigerator. They’ll stay fresh for up to two weeks. You can also freeze them for up to three months—just place them in a freezer-safe bag or container, and thaw them in the fridge overnight when you’re ready to eat. I always keep a stash in my freezer for emergencies.
How Flavors Develop: These balls actually taste better after a day or two in the fridge. The flavors meld together, and the texture evens out. So if you can resist eating them all on day one, you’ll be rewarded with an even better snack later.
Nutritional Information & Benefits
Here’s a rough estimate of the nutritional content per ball (based on 20 balls, using natural peanut butter, honey, rolled oats, vanilla protein powder, and mini chocolate chips):
- Calories: 150-170
- Protein: 7-9 grams
- Carbohydrates: 18-20 grams
- Fat: 8-10 grams
- Fiber: 2-3 grams
- Sugar: 10-12 grams (mostly from honey and chocolate chips)
These numbers will vary depending on your specific ingredients, but overall, these are a balanced snack that provides protein, healthy fats, and complex carbs. The peanut butter offers monounsaturated fats that support heart health, while the oats provide fiber that keeps you full and satisfied. The protein powder adds an extra boost, making these a great post-workout snack or midday pick-me-up.
Dietary Considerations: This recipe is naturally vegetarian and can be made vegan, gluten-free, or nut-free with simple substitutions (see the Variations section above). It contains peanuts, oats, and potentially dairy (if using whey protein) and gluten (if using non-certified gluten-free oats), so be mindful of allergies.
My Wellness Perspective: I love these balls because they feel like a treat but actually fuel your body. They’re not a health food in the strict sense—they have sugar and fat—but they’re made with whole ingredients that provide real nutrition. For me, that’s the sweet spot. Food should taste good and make you feel good, and these protein balls do both.
Conclusion
These easy no-bake peanut butter protein balls are more than just a snack—they’re a little act of self-care. They take five minutes to make, use ingredients you probably already have, and deliver a burst of energy and flavor that’s hard to beat. Whether you’re a busy parent, a college student surviving on coffee and determination, or just someone who loves a good no-bake treat, this recipe is for you.
I love that this recipe is forgiving enough for beginners and flexible enough for experienced cooks. You can make it your own—swap the add-ins, adjust the sweetness, experiment with different nut butters. There’s no right or wrong way to do it. And that’s the beauty of a simple recipe: it leaves room for your creativity.
So go ahead—mix up a batch, roll them into little spheres of joy, and stash them in your fridge for when you need a quick, satisfying snack. And when you do, I’d love to hear about it. Leave a comment below with your favorite variation, share a photo on social media, or tag me in your creations. Your feedback and ideas keep this community thriving, and I can’t wait to see what you come up with.
Happy rolling, friends. You’ve got this.
Frequently Asked Questions
Can I use quick oats instead of rolled oats?
You can, but the texture will be different. Quick oats are finer and more processed, so they absorb moisture faster and can make the balls mushy. Rolled oats give a chewier, more satisfying texture. If you only have quick oats, use them, but expect a softer, less structured ball.
How long do these protein balls last at room temperature?
They’re best stored in the fridge, but they can sit at room temperature for a few hours without issue. If you’re taking them on a picnic or to work, pack them in a cool bag or eat them within a few hours. In warm weather, the peanut butter can get oily, so refrigeration is safer.
Can I make these without protein powder?
Absolutely! Just replace the 1/2 cup of protein powder with an extra 1/4 cup of rolled oats and 1/4 cup of your favorite add-in (like chopped nuts, dried fruit, or coconut flakes). The texture will be slightly different, but they’ll still be delicious and satisfying.
Why are my protein balls too dry?
This usually happens if you add too much protein powder or oats, or if your peanut butter is too thick. Try adding a tablespoon of honey or a splash of milk to bring the mixture together. If it’s still dry, add a little more peanut butter. The mixture should feel like soft cookie dough—not crumbly.
Can I freeze these protein balls?
Yes! Place them in a single layer on a baking sheet and freeze until solid, then transfer them to a freezer-safe bag or container. They’ll keep for up to three months. Thaw them in the fridge overnight or at room temperature for about 30 minutes before eating. They’re also delicious straight from the freezer—like a frozen peanut butter treat.
Pin This Recipe!
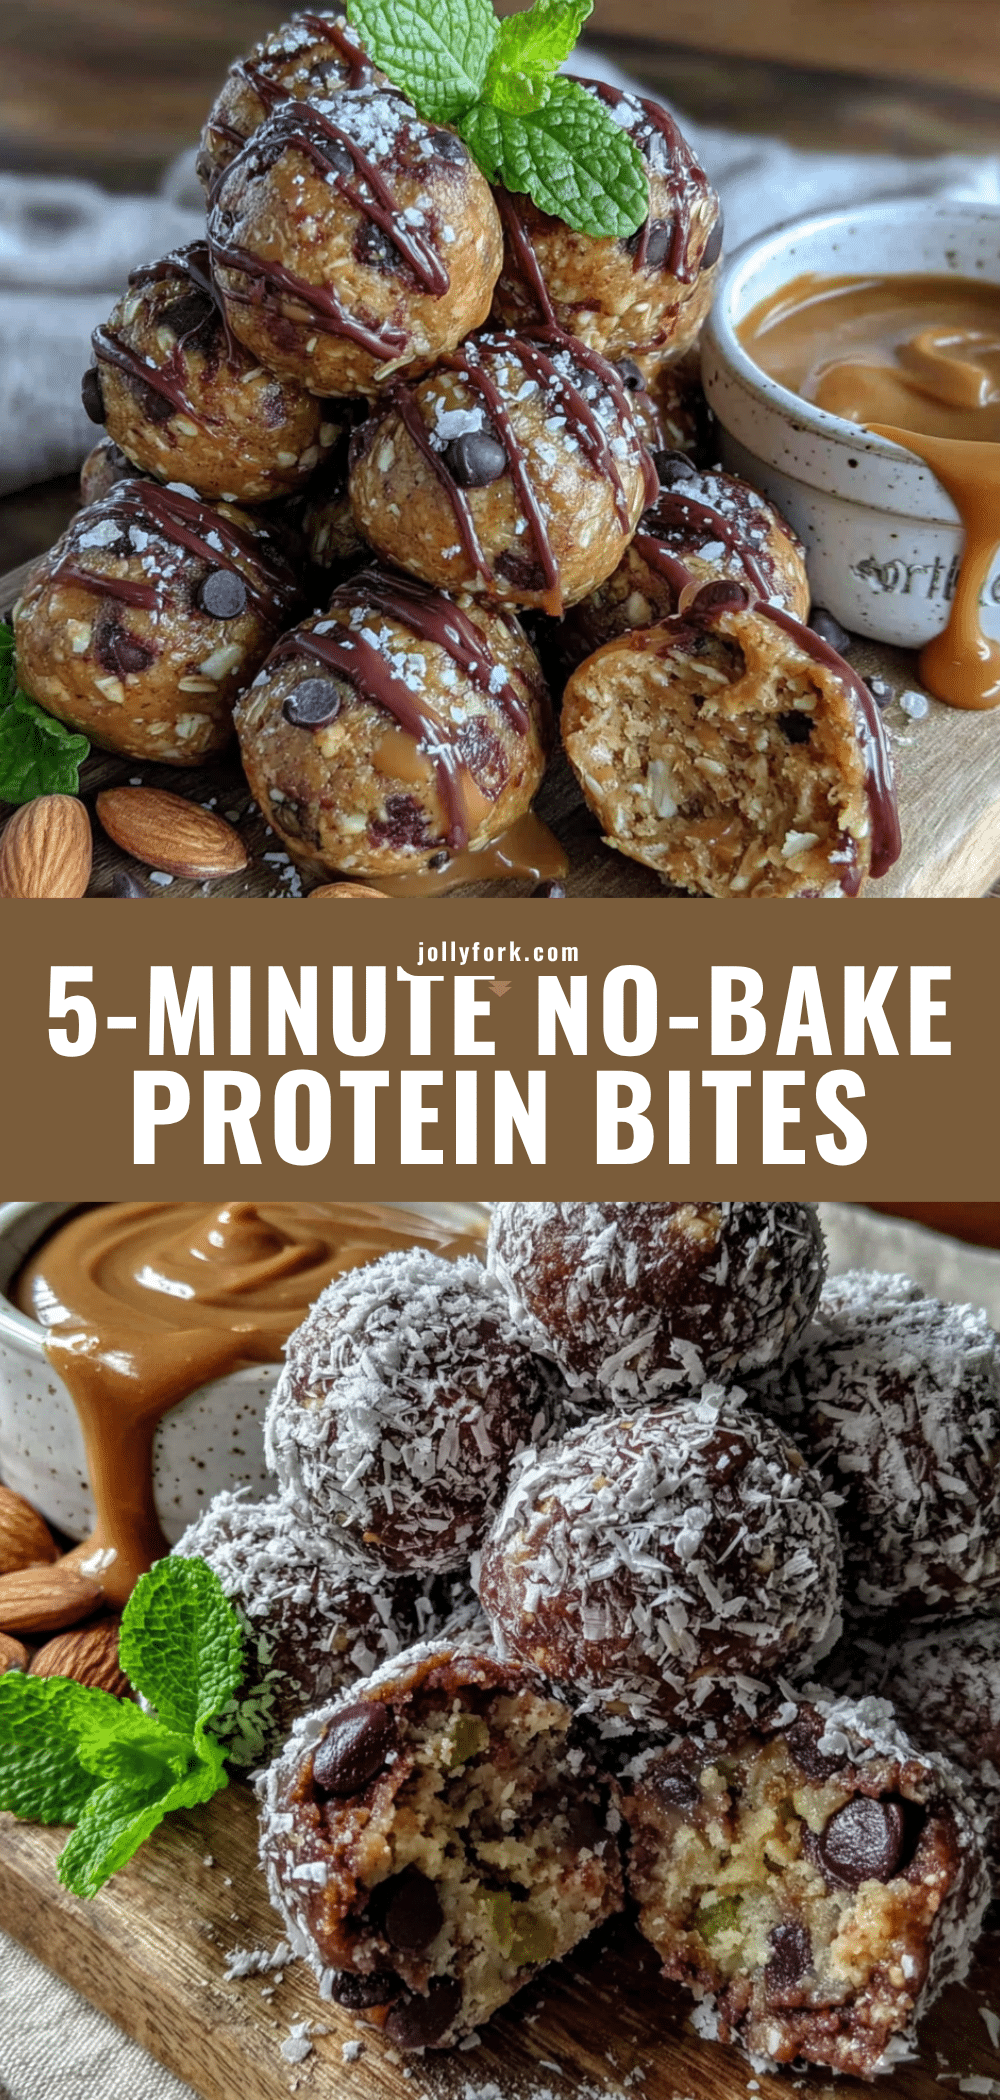
Easy No-Bake Peanut Butter Protein Balls: Best 5-Minute Snack
These easy no-bake peanut butter protein balls are a quick, 5-minute snack made with simple pantry ingredients. Perfect for busy mornings, post-workout fuel, or a healthy treat that tastes like comfort food.
- Prep Time: 5 minutes
- Cook Time: 0 minutes
- Total Time: 35 minutes (includes 30 minutes chilling)
- Yield: 18-20 balls 1x
- Category: Snack
- Cuisine: American
Ingredients
- 1 cup creamy peanut butter
- 1/2 cup honey
- 1 1/2 cups old-fashioned rolled oats
- 1/2 cup protein powder (vanilla or unflavored)
- 1/3 cup mini chocolate chips (optional)
- 1 tablespoon chia seeds or flaxseed meal (optional)
- 1/2 teaspoon vanilla extract
- Pinch of sea salt (if peanut butter is unsalted)
Instructions
- In a large mixing bowl, combine 1 cup peanut butter and 1/2 cup honey. Stir until well combined and glossy.
- Stir in 1/2 teaspoon vanilla extract and a pinch of sea salt (if using).
- Add 1 1/2 cups rolled oats, 1/2 cup protein powder, and 1 tablespoon chia seeds or flaxseed meal (if using). Mix until oats are evenly coated and mixture is thick and sticky like soft cookie dough.
- Fold in 1/3 cup mini chocolate chips (if using) until evenly distributed.
- Let the mixture rest for 5 minutes to allow oats to absorb moisture.
- Using your hands, scoop about 1 tablespoon of mixture and roll into a ball. Place on a parchment-lined baking sheet or plate. Repeat with remaining mixture (makes about 18-20 balls).
- Refrigerate for at least 30 minutes to firm up before serving.
- Transfer chilled balls to an airtight container and store in the refrigerator for up to 2 weeks, or freeze for up to 3 months.
Notes
Let the mixture rest for 5 minutes before rolling to allow oats to absorb moisture. If mixture is too sticky, dampen hands with water while rolling. If too dry, add a teaspoon of water or milk. For best texture, chill for at least 30 minutes. Balls taste even better after a day in the fridge.
Nutrition
- Serving Size: 1 ball
- Calories: 150170
- Sugar: 1012
- Sodium: 50100
- Fat: 810
- Saturated Fat: 23
- Carbohydrates: 1820
- Fiber: 23
- Protein: 79
Keywords: no-bake protein balls, peanut butter protein balls, healthy snack, easy snack, 5-minute snack, energy balls, gluten-free option, vegan option


