Sunday afternoon, and my sourdough starter had just been fed. That meant one thing—a full bowl of discard sitting on the counter, waiting for a purpose. I stared at it for a minute, then at the clock. I didn’t have the energy for a long rise or a complicated fold. I wanted bread, but I wanted it without the fuss. That’s when this easy no-knead sourdough discard focaccia was born. Honestly, it came together in the time it took me to finish my coffee.
The first time I made it, I wasn’t expecting much. Discard recipes can be tricky, you know? Some turn out dense, others are just okay. But this one? It puffed up in the pan like it had something to prove. The top was golden, the bottom was crispy, and the inside was full of those little airy pockets that make focaccia so good. I pulled it out of the oven and stood there eating a piece straight from the pan—no plate, no butter, nothing. It was that good.
This recipe has become my go-to for those in-between days. The days when you want homemade bread but don’t want to knead, wait forever, or clean a million dishes. It uses up that sourdough discard that’s been sitting in your fridge, and it turns into something you’d happily serve at a dinner party. There’s something quietly satisfying about that—turning what feels like kitchen waste into the best thing you’ll eat all week. Trust me on this one.
Why You’ll Love This Recipe
I’ve tested this focaccia more times than I can count, and it always delivers. Here’s why it deserves a spot in your regular rotation:
- No Kneading Required—This is the kind of bread you can make while doing other things. Stir it, let it sit, and bake. That’s it.
- Uses Sourdough Discard—Perfect for those of us who maintain a starter but hate throwing away the excess. This recipe puts it to good use.
- 30 Minutes of Active Time—Most of the work is done by time and the oven. You’ll spend about half an hour actually doing stuff.
- Crispy, Golden, and Airy—The texture is exactly what you want from focaccia. A crunchy exterior with a soft, chewy inside full of olive oil flavor.
- Endlessly Customizable—Top it with rosemary and sea salt, throw on some cherry tomatoes, or go wild with caramelized onions. It takes direction well.
This isn’t just another bread recipe—it’s the one that’ll make you wonder why you ever bought focaccia from the store. The sourdough discard adds a subtle tang that balances the rich olive oil beautifully. It’s comfort food that feels a little bit fancy without any of the stress.
What Ingredients You Will Need
This recipe relies on simple, everyday ingredients. Nothing fancy here—just pantry staples that come together to create something surprisingly special. The sourdough discard does the heavy lifting, adding flavor and helping with the texture.
- All-Purpose Flour (3 cups / 360g) — Regular all-purpose flour works perfectly here. No need for bread flour. I usually use King Arthur or Bob’s Red Mill, but any brand will do. Spoon and level your flour for the most accurate measurement.
- Sourdough Discard (1 cup / 240g) — Straight from the fridge works great. It doesn’t need to be active or bubbly. In fact, unfed discard is perfect here because it adds that signature tang without making the dough too acidic.
- Warm Water (1 cup / 240ml) — Aim for water that’s about 100°F (38°C). Too hot and it’ll kill any wild yeast activity; too cold and it won’t help the dough relax. It should feel like a warm bath on your wrist.
- Olive Oil (¼ cup / 60ml, plus more for the pan) — Use a good-quality extra virgin olive oil here. It’s a key flavor in focaccia, so don’t skimp. I like California Olive Ranch for a reliable everyday option.
- Active Dry Yeast (1 teaspoon / 3g) — Yes, even though we’re using discard. The yeast gives the dough a reliable rise, while the discard adds flavor. Instant yeast works too—just mix it directly with the flour.
- Salt (1½ teaspoons / 9g) — Fine sea salt or table salt works best. It dissolves evenly into the dough. Save the flaky sea salt for sprinkling on top before baking.
- Honey or Sugar (1 teaspoon / 5g) — Just a tiny bit to feed the yeast and help with browning. It doesn’t make the bread sweet—it just helps things along.
- Flaky Sea Salt (for topping) — Maldon or any flaky salt. That final sprinkle before baking makes a real difference in texture and flavor.
- Optional Toppings — Fresh rosemary, cherry tomatoes, sliced olives, or caramelized onions. Use whatever you have on hand.
One thing I’ve learned—if your sourdough discard has been sitting in the fridge for more than two weeks, give it a sniff before using. It should smell pleasantly sour, not funky or like nail polish remover. Fresh discard gives you the best results.
Equipment Needed
You don’t need a stand mixer or a bread machine for this recipe. A few basic tools will get the job done just fine.
- Large Mixing Bowl—Any bowl big enough to hold the dough as it rises. Glass or ceramic works well because they hold warmth.
- 9×13-inch Baking Pan—This gives you the perfect thickness for focaccia. A metal pan will give you a crisper bottom than glass or ceramic.
- Wooden Spoon or Dough Scraper—For mixing the dough. A silicone spatula works too, but a dough scraper makes it easier to handle the sticky dough.
- Plastic Wrap or a Clean Kitchen Towel—To cover the dough while it rises. A damp towel works if you don’t have plastic wrap.
- Measuring Cups and Spoons—For accurate ingredient measurements. A kitchen scale is even better if you have one.
- Cooling Rack—Essential for keeping the bottom of your focaccia crispy. If you let it cool in the pan, it’ll get soggy.
If you don’t have a 9×13 pan, you can use a 10-inch cast iron skillet instead. The focaccia will be a bit thicker, and the crust will be even crispier. I’ve done it both ways, and honestly, the cast iron version is my secret favorite. Just make sure to grease it well.
Preparation Method
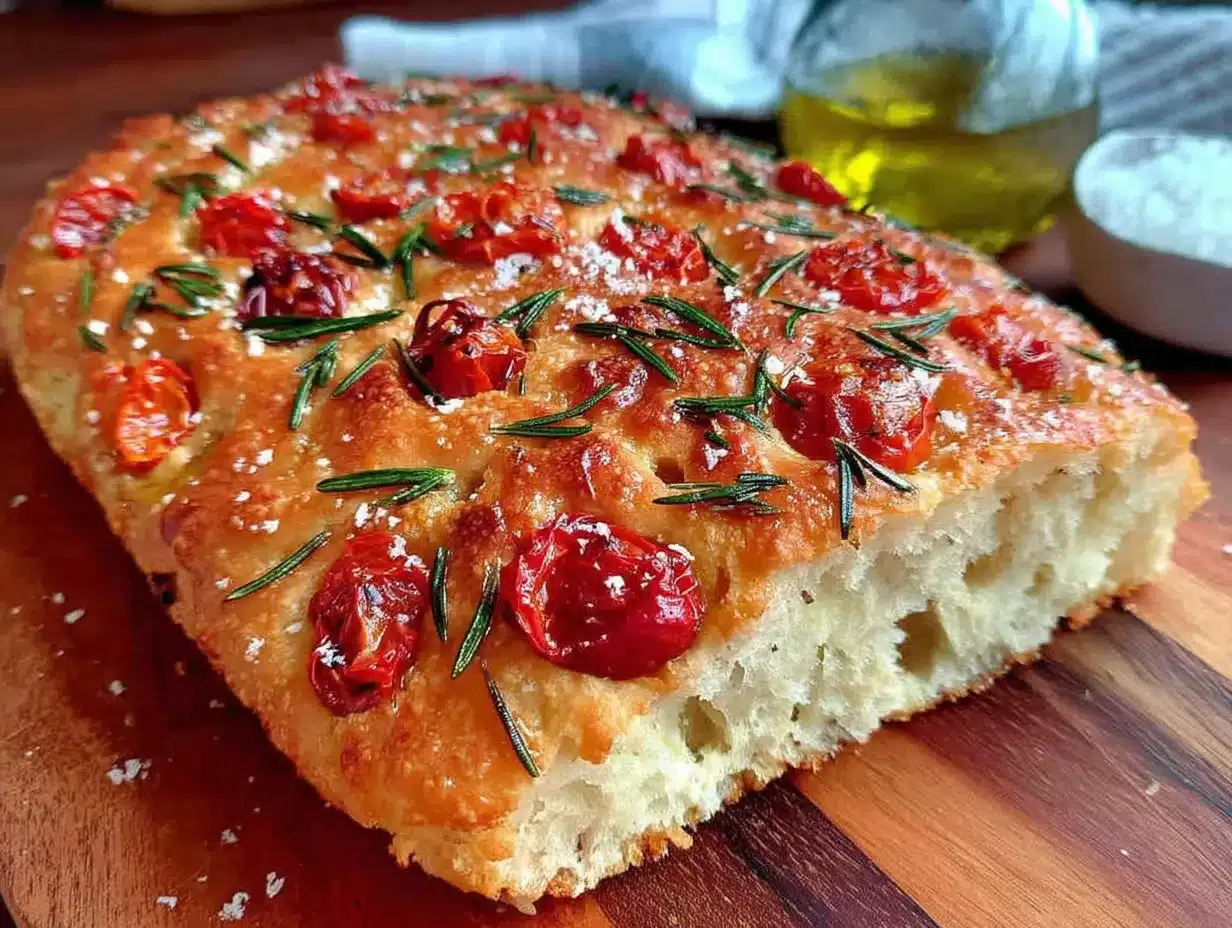
Let’s get to the good part. This dough is forgiving, so don’t stress about being too precise. The whole process takes about 30 minutes of active work, plus a couple of hours of rising time.
- Mix the Yeast (5 minutes) — In your large mixing bowl, combine the warm water, honey or sugar, and active dry yeast. Give it a gentle stir and let it sit for 5 minutes until it gets foamy on top. If it doesn’t foam, your yeast might be old. That’s okay—the dough will still work, but it might take longer to rise.
- Add the Discard and Oil (2 minutes) — Add the sourdough discard and ¼ cup of olive oil to the yeast mixture. Stir everything together until it’s mostly combined. The discard won’t dissolve completely, and that’s fine.
- Add the Flour and Salt (3 minutes) — Add the all-purpose flour and salt to the wet ingredients. Stir with a wooden spoon or dough scraper until a shaggy, sticky dough forms. It will look rough and uneven—that’s exactly what you want. Don’t be tempted to add more flour. Sticky dough means a soft, airy focaccia.
- First Rise (1½ to 2 hours) — Cover the bowl with plastic wrap or a damp towel. Let it sit at room temperature until it doubles in size. A warm spot near a window or on top of the fridge works well. If your kitchen is cold, it might take closer to 2½ hours. You’ll know it’s ready when the dough looks puffy and full of bubbles.
- Prepare the Pan (5 minutes) — Pour 2 to 3 tablespoons of olive oil into your 9×13 baking pan. Use your fingers to spread it all over the bottom and up the sides. The oil should pool slightly on the bottom—this is what gives focaccia its crispy, golden crust.
- Transfer the Dough (2 minutes) — Scrape the risen dough into the oiled pan. It will be sticky and wobbly. Don’t try to shape it with your hands yet—just get it into the pan as best you can.
- Stretch and Rest (30 to 40 minutes) — Let the dough rest in the pan for 10 minutes. Then, using oiled fingers, gently stretch the dough to fill the corners of the pan. If it resists, let it rest another 10 minutes and try again. Cover loosely with plastic wrap and let it rise for another 20 to 30 minutes. The dough should look puffy and jiggly.
- Preheat the Oven (10 minutes) — About halfway through the second rise, preheat your oven to 425°F (220°C). Place a rack in the middle position.
- Dimple the Dough (2 minutes) — This is the fun part. Dip your fingers in olive oil, then press them straight down into the dough, creating deep dimples all over the surface. Press all the way to the bottom of the pan. Don’t be shy—more dimples mean more pockets for olive oil to pool.
- Add Toppings (2 minutes) — Drizzle another tablespoon of olive oil over the top. Sprinkle generously with flaky sea salt. Add your toppings—fresh rosemary sprigs, halved cherry tomatoes, or whatever you like. Press toppings gently into the dimples so they stay put.
- Bake (20 to 25 minutes) — Place the pan in the preheated oven and bake until the top is deep golden brown and the edges look crispy. Rotate the pan halfway through for even browning. The focaccia should sound hollow when you tap it on the bottom.
- Cool (10 minutes) — Let the focaccia cool in the pan for 5 minutes, then transfer it to a cooling rack. Don’t skip this step—it keeps the bottom from getting soggy. Let it cool for at least 10 minutes before cutting, if you can wait that long.
The first time I made this, I pulled it out of the oven and immediately cut into it. Steam billowed out, and the inside looked a little gummy. Letting it rest really does make a difference. Trust the process.
Cooking Tips & Techniques
After making this focaccia more times than I can count, I’ve picked up a few tricks that make a real difference. Here’s what I’ve learned the hard way so you don’t have to.
Don’t Skip the Oil — I know it seems like a lot of olive oil, but it’s essential. The oil in the pan creates that crispy, fried bottom that makes focaccia so addictive. If you cut back, you’ll end up with a pale, sad crust. Learn from my mistakes—I tried to be healthy once and ended up with bread that tasted like a pillow.
Wet Hands Are Your Friend — Sourdough discard dough is sticky. Really sticky. Instead of adding more flour (which makes the bread dense), wet your hands with water or oil before handling the dough. It’ll slide right off your fingers without sticking. This tip changed my bread-making life.
Let It Rise Properly — Under-risen dough gives you dense, heavy focaccia. If your kitchen is cold, find a warm spot. I’ve used the microwave with a cup of hot water inside (door closed, microwave off) as a makeshift proofing box. It works like a charm.
Dimple Deep and Often — Those dimples aren’t just for looks. They create little pools for the olive oil to collect, which means every bite has that rich, fruity flavor. Press all the way to the bottom of the pan. You should see the oil bubbling up around your fingers.
Watch the Oven — Ovens vary wildly. Your focaccia might be done at 18 minutes or need 28. Look for a deep golden brown color on top and edges that have pulled away from the pan slightly. If the bottom isn’t crispy when you take it out, pop it back in for a few more minutes directly on the oven rack.
Variations & Adaptations
One of the best things about this focaccia is how adaptable it is. I’ve made it dozens of ways, and each version feels like a completely different bread. Here are some of my favorites.
- Herb and Garlic Focaccia — Mix 2 tablespoons of fresh rosemary, 1 tablespoon of fresh thyme, and 3 minced garlic cloves into the olive oil before drizzling it over the dough. The garlic roasts into something sweet and mellow. This is my most-requested version for parties.
- Tomato and Basil — Press halved cherry tomatoes into the dimples and scatter fresh basil leaves over the top before baking. The tomatoes burst in the oven, creating little pockets of jammy sweetness. Add a sprinkle of Parmesan cheese in the last 5 minutes for extra flavor.
- Everything Bagel Focaccia — Skip the traditional toppings and sprinkle everything bagel seasoning generously over the oiled dough. The sesame seeds, poppy seeds, garlic, and onion create a crust that’s absolutely addictive. Serve it with cream cheese for the ultimate snack.
- Caramelized Onion and Gruyère — Cook 2 large sliced onions in butter until deeply golden and sweet (about 30 minutes). Spread them over the dough before baking, then sprinkle shredded Gruyère cheese on top in the last 5 minutes. This version is rich enough to be a meal on its own.
- Gluten-Free Option — Substitute the all-purpose flour with a good gluten-free 1:1 baking flour blend. The texture will be slightly different—a bit more delicate—but it still works beautifully. Add an extra tablespoon of olive oil to help with moisture.
I once made a version with caramelized onions and roasted red peppers for a potluck, and someone asked me if I’d bought it from a fancy bakery. That’s the kind of compliment that makes all the testing worth it.
Serving & Storage Suggestions
This focaccia is best served warm, straight from the oven, but it’s still excellent at room temperature. Here’s how to make the most of it.
Serving Ideas — Slice it into squares and serve alongside soups or stews. It’s perfect for dipping into a bowl of creamy New England clam chowder or a hearty Mediterranean chickpea salad. You can also split it horizontally and use it for sandwiches—try it with roasted vegetables and fresh mozzarella for a lunch that feels special.
Storage — Keep leftover focaccia in an airtight container at room temperature for up to 2 days. Don’t refrigerate it—the cold will dry it out and make it stale. If you need to keep it longer, wrap it tightly in plastic wrap and freeze it for up to 3 months.
Reheating — The best way to revive focaccia is in a hot oven. Pop it in at 350°F (175°C) for 5 to 7 minutes, and it’ll come out almost as good as fresh. A toaster oven works great too. Avoid the microwave—it’ll turn your crispy crust into a sad, rubbery mess.
Flavor Development — Here’s a secret: this focaccia actually tastes better the next day. The flavors meld together overnight, and the tang from the sourdough discard becomes more pronounced. If you can resist eating it all in one sitting, save a few pieces for tomorrow’s lunch. You won’t regret it.
Nutritional Information & Benefits
This focaccia is a treat, but it also offers some nutritional perks thanks to the sourdough fermentation process. Here’s a rough breakdown per serving (based on 12 servings).
| Nutrient | Amount per Serving |
|---|---|
| Calories | 185 |
| Total Fat | 8g |
| Saturated Fat | 1g |
| Carbohydrates | 24g |
| Fiber | 1g |
| Protein | 4g |
| Sodium | 310mg |
Health Benefits — Sourdough fermentation breaks down some of the gluten and phytic acid in the flour, making the nutrients more bioavailable. This means your body can absorb more of the minerals naturally present in the wheat. The olive oil provides healthy monounsaturated fats, which are great for heart health.
Dietary Considerations — This recipe is vegetarian and can be made vegan by using sugar instead of honey. For a gluten-free version, use a quality gluten-free flour blend. It’s not low-carb, but it’s made with real ingredients and no preservatives—which is more than you can say for store-bought bread.
I’m not a nutritionist, but I do know that eating bread made with intention and real ingredients feels different. It satisfies in a way that processed bread never does. Sometimes that’s enough.
Conclusion
This easy no-knead sourdough discard focaccia has become a staple in my kitchen for good reason. It takes something that usually feels like a project—homemade bread—and turns it into something you can make on a whim. The sourdough discard adds depth, the olive oil makes it luxurious, and the no-knead method keeps it simple. It’s the kind of recipe that makes you feel like a hero without actually doing much work.
I’d love to hear how yours turns out. Did you go classic with rosemary or try something wild like caramelized onions and Gruyère? Drop a comment below and tell me about your version. Tag me in your photos on social media—I’m always excited to see what you create. And if you’re looking for more ways to use up that sourdough discard, check out my spiced peach butter for a sweet companion to this savory bread.
Happy baking, friend. Your kitchen is about to smell incredible.
Frequently Asked Questions
Can I use active sourdough starter instead of discard?
Yes, you absolutely can. If you use active starter, reduce the yeast to ½ teaspoon since the starter will help with the rise. The flavor will be slightly milder, but the texture will be just as good.
Why is my focaccia dough so sticky?
That’s normal! Sourdough discard dough is stickier than regular bread dough because of the extra liquid in the discard. Resist the urge to add more flour. Wet your hands with water or oil, and it’ll be much easier to handle.
Can I make this dough ahead of time?
Definitely. After the first rise, cover the bowl tightly and refrigerate the dough for up to 24 hours. When you’re ready to bake, let it come to room temperature for about 30 minutes, then proceed with the pan and second rise. The cold fermentation actually develops more flavor.
How do I know when the focaccia is fully baked?
Look for a deep golden brown color on top. The edges should be pulling away from the pan slightly, and the bottom should sound hollow when you tap it. If you have an instant-read thermometer, the internal temperature should be around 200°F (93°C).
Can I freeze this focaccia?
Yes, and it freezes beautifully. Bake it completely, let it cool, then wrap it tightly in plastic wrap and foil. Freeze for up to 3 months. To serve, thaw at room temperature and reheat in a 350°F oven for about 10 minutes. It’ll taste almost fresh-baked.
Pin This Recipe!
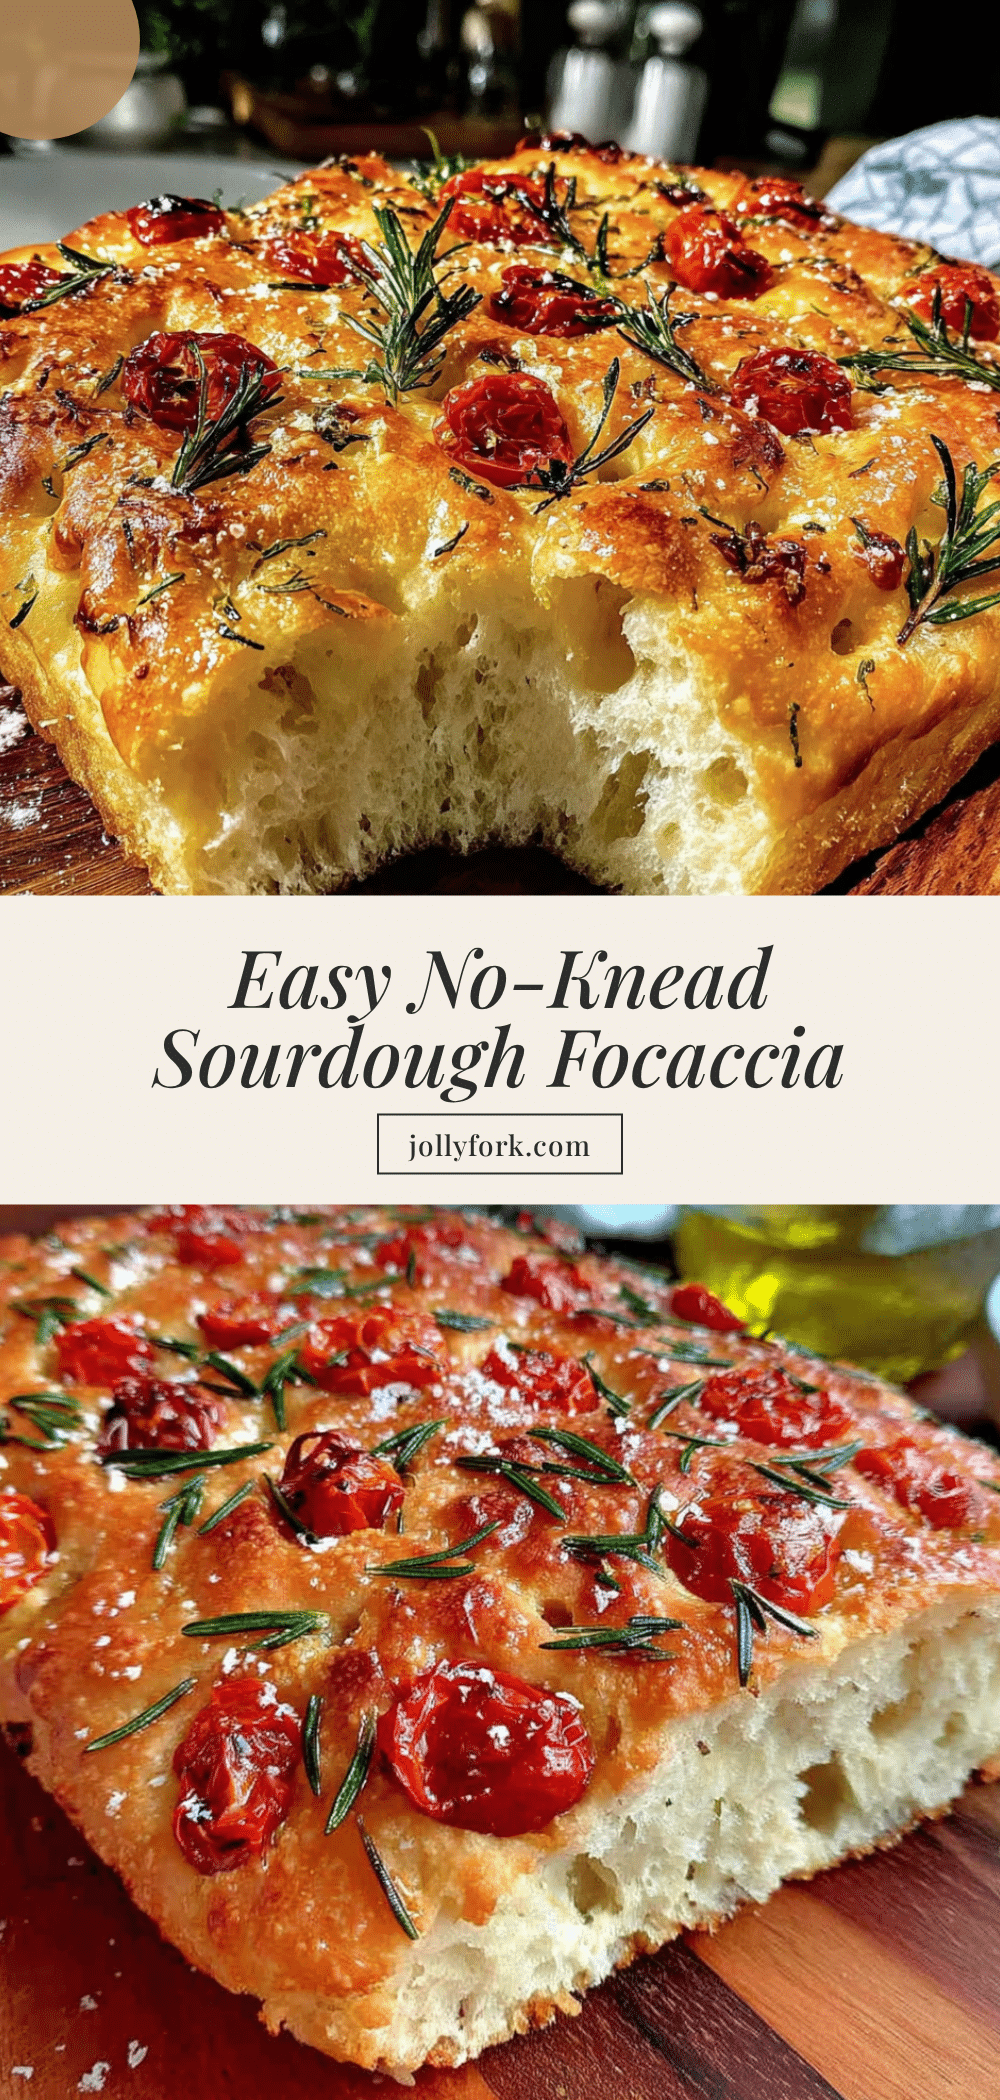
Easy No-Knead Sourdough Discard Focaccia: Best 30-Min Recipe

This easy no-knead sourdough discard focaccia comes together in just 30 minutes of active time, using sourdough discard for a subtle tang and a crispy, golden crust. Perfect for using up leftover starter, it’s endlessly customizable and delivers bakery-quality results with minimal effort.
- Prep Time: 30 minutes
- Cook Time: 25 minutes
- Total Time: 2 hours 55 minutes
- Yield: 12 servings 1x
- Category: Bread
- Cuisine: Italian
Ingredients
- 3 cups (360g) all-purpose flour
- 1 cup (240g) sourdough discard
- 1 cup (240ml) warm water (about 100°F/38°C)
- 1/4 cup (60ml) olive oil, plus more for the pan
- 1 teaspoon (3g) active dry yeast
- 1 1/2 teaspoons (9g) fine sea salt
- 1 teaspoon (5g) honey or sugar
- Flaky sea salt, for topping
- Optional toppings: fresh rosemary, cherry tomatoes, sliced olives, caramelized onions
Instructions
- Mix the Yeast (5 minutes): In a large mixing bowl, combine warm water, honey or sugar, and active dry yeast. Stir gently and let sit for 5 minutes until foamy.
- Add the Discard and Oil (2 minutes): Add sourdough discard and 1/4 cup olive oil to the yeast mixture. Stir until mostly combined.
- Add the Flour and Salt (3 minutes): Add all-purpose flour and salt. Stir with a wooden spoon or dough scraper until a shaggy, sticky dough forms. Do not add more flour.
- First Rise (1 1/2 to 2 hours): Cover the bowl with plastic wrap or a damp towel. Let rise at room temperature until doubled in size.
- Prepare the Pan (5 minutes): Pour 2-3 tablespoons olive oil into a 9×13-inch baking pan. Spread to coat bottom and sides.
- Transfer the Dough (2 minutes): Scrape the risen dough into the oiled pan. It will be sticky.
- Stretch and Rest (30 to 40 minutes): Let dough rest 10 minutes. Using oiled fingers, gently stretch to fill corners. Cover and let rise another 20-30 minutes until puffy.
- Preheat the Oven (10 minutes): Preheat oven to 425°F (220°C) with rack in middle position.
- Dimple the Dough (2 minutes): Dip fingers in olive oil and press straight down into dough, creating deep dimples all over.
- Add Toppings (2 minutes): Drizzle with 1 tablespoon olive oil. Sprinkle with flaky sea salt and add desired toppings, pressing gently into dimples.
- Bake (20 to 25 minutes): Bake until deep golden brown and edges are crispy. Rotate pan halfway through. Focaccia should sound hollow when tapped on bottom.
- Cool (10 minutes): Let cool in pan for 5 minutes, then transfer to a cooling rack. Cool at least 10 minutes before cutting.
Notes
For best results, use unfed sourdough discard straight from the fridge. If dough is too sticky, wet hands with water or oil instead of adding more flour. Focaccia tastes even better the next day. Store at room temperature for up to 2 days or freeze for up to 3 months.
Nutrition
- Serving Size: 1 square
- Calories: 185
- Sugar: 1
- Sodium: 310
- Fat: 8
- Saturated Fat: 1
- Carbohydrates: 24
- Fiber: 1
- Protein: 4
Keywords: sourdough discard focaccia, no-knead focaccia, easy focaccia recipe, sourdough discard recipe, 30-minute focaccia


