Third batch in five days, and I finally stopped stirring the yogurt before freezing it. That was the mistake. You don’t want it perfectly smooth—you want those little pockets of cold, almost icy texture that break apart like shards when you bite into them. I figured this out at 11 p.m. on a Tuesday, standing in front of my freezer in pajama pants, holding a spatula, feeling like I’d cracked some kind of breakfast code nobody else knew about.
The first batch was too sweet. The second had soggy berries that bled everywhere. But the third? That one had that snap. That perfect, satisfying crack when you break off a piece. And it hit me—this stupidly simple thing, this three-ingredient yogurt bark, was actually worth obsessing over. Not because it’s fancy (it’s not) or because it takes skill (it doesn’t). But because when you get it right, it feels like you’ve discovered something that shouldn’t be this good with this little effort.
I’ve been making it every morning since. Sometimes with granola on top, sometimes just plain. And honestly? It’s become my favorite thing to have waiting in the freezer. A little cold, a little sweet, and exactly as complicated as I want my mornings to be right now.
Why You’ll Love This Recipe
I’ve tested this yogurt bark more times than I care to admit, and here’s what I know for sure: it works because it doesn’t try too hard. No weird ingredients, no complicated techniques, and no waiting around for hours. You literally mix, spread, freeze, and break.
Here’s what makes it stand out:
- Three Ingredients Only — Yogurt, honey, and fruit. That’s it. No gelatin, no cornstarch, no weird stabilizers.
- Ready in Under 4 Hours — Most of that is hands-off freezer time. You spend maybe 10 minutes actually doing something.
- Perfect for Meal Prep — Make a batch on Sunday and grab pieces all week for breakfast, snacks, or dessert.
- Endlessly Customizable — Swap the fruit, change the yogurt, add toppings. It’s a canvas, not a rigid formula.
- Kid-Approved and Adult-Addictive — My niece calls them “yogurt cookies” and my husband eats them straight from the freezer at midnight.
What makes this different from other frozen yogurt recipes? It’s the texture. Most recipes end up too icy or too soft. This one hits that sweet spot—creamy but firm, with just enough crunch from the fruit. It’s not frozen yogurt from a machine. It’s something better. Something you can’t buy anywhere.
This is the kind of snack that makes you feel like you’re eating dessert when you’re really just eating yogurt. And honestly? That’s my favorite kind of food trick.
What Ingredients You Will Need
This recipe uses three simple ingredients that you probably already have in your kitchen. No special trips to the store, no hunting down obscure items. Just honest, straightforward stuff that works together beautifully.
- Greek Yogurt (2 cups / 480g) — Full-fat works best here. The higher fat content gives you a creamier bark that doesn’t get rock-hard. I prefer Fage or Chobani whole milk Greek yogurt, but any thick yogurt will do. Avoid thin, runny yogurts—they’ll make icy bark. (Pro tip: if you only have non-fat, stir in a tablespoon of heavy cream or coconut cream to improve the texture.)
- Honey (3 tablespoons / 60ml) — This is your sweetener and your texture helper. Honey doesn’t freeze as hard as sugar, so it keeps the bark slightly pliable. Local honey adds nice floral notes, but any honey works. Maple syrup is a solid swap if you want a different flavor profile. (Just note: maple syrup makes the bark slightly softer.)
- Mixed Berries (1 cup / 150g) — Fresh or frozen, doesn’t matter. I use a mix of blueberries, raspberries, and sliced strawberries. The berries add little pops of tartness and color. If using frozen berries, don’t thaw them first—they’ll release too much liquid. (For a different twist, try diced mango, sliced peaches, or even small chunks of dark chocolate.)
That’s genuinely it. Three ingredients, no hidden surprises. The magic happens when they freeze together, creating something that tastes way more complicated than it actually is.
Equipment Needed
You don’t need much for this recipe, which is part of its charm. Here’s what you’ll need:
- Baking Sheet (half-sheet pan, about 13×18 inches) — Standard size works perfectly. If you only have a smaller pan, just spread the yogurt thinner.
- Parchment Paper — Non-negotiable. Without it, your bark will stick to the pan and you’ll be picking yogurt shards off with a butter knife. Trust me on this.
- Spatula — For spreading the yogurt evenly. An offset spatula works great, but a regular rubber spatula does the job too.
- Sharp Knife — For breaking the bark into pieces. A chef’s knife gives you clean breaks. (I’ve also just smashed it with my hands when I was impatient. Both work.)
- Freezer-Safe Container — For storing the finished bark. A gallon-sized zip-top bag works perfectly. Glass containers are fine too, but make sure they’re airtight to prevent freezer burn.
If you don’t have a baking sheet, a large cutting board lined with parchment will work in a pinch. Just make sure it fits flat in your freezer.
Preparation Method
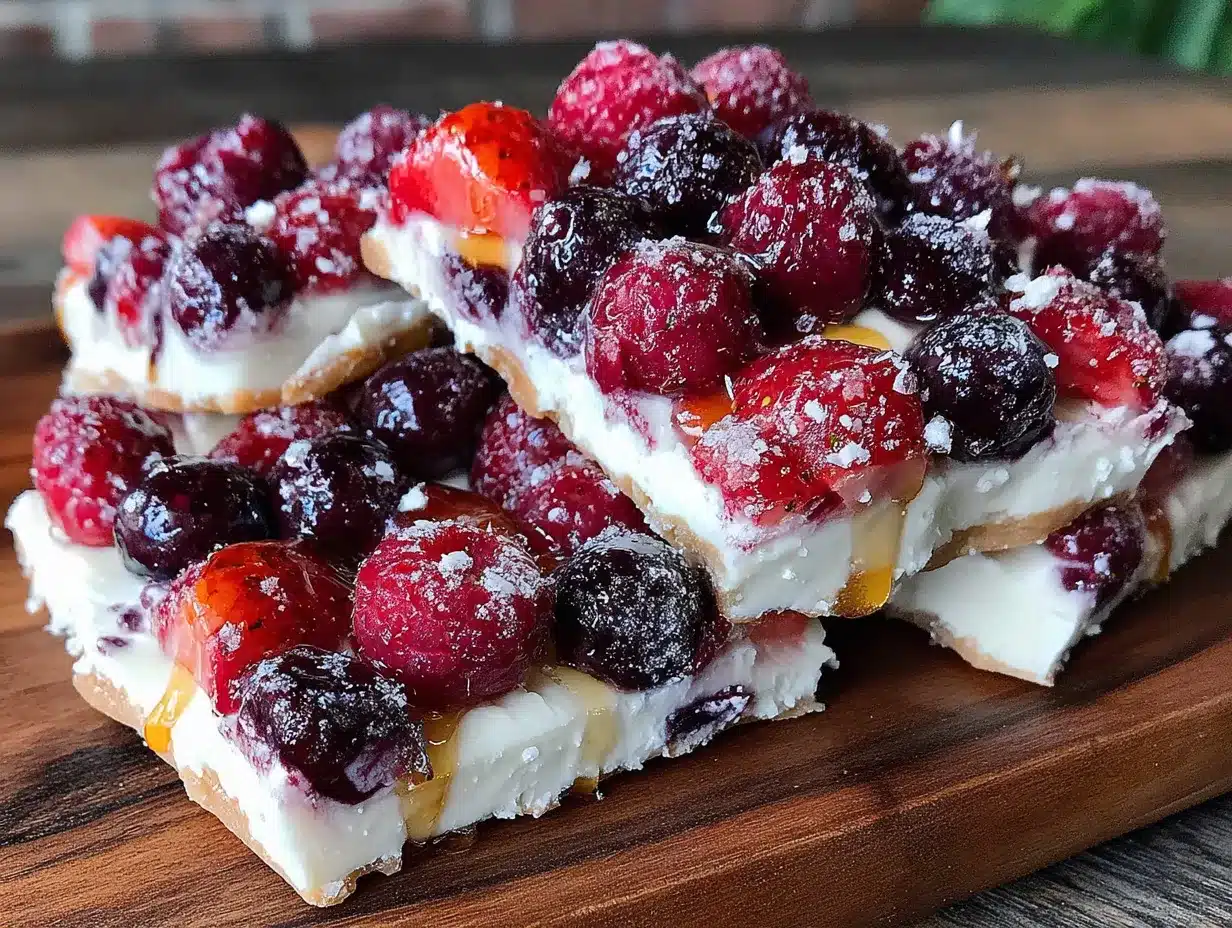
This is where the magic happens. Follow these steps, and you’ll have perfect yogurt bark every time. I’ve made this enough to know exactly where people get tripped up, so I’m including all the little details that make the difference.
- Line your baking sheet with parchment paper. Make sure the paper extends slightly over the edges—this gives you handles to lift the bark out later. Press the paper flat so there are no air bubbles underneath.
- Mix the yogurt and honey in a medium bowl. Stir until the honey is fully incorporated. Don’t overmix—you’re not trying to aerate the yogurt, just combine it. Taste it here. If you want it sweeter, add another teaspoon of honey. (I like mine on the tart side, so 3 tablespoons is my sweet spot.)
- Spread the mixture onto the prepared baking sheet. Use your spatula to spread it into an even layer, about 1/4 inch thick. Don’t make it too thin or it’ll be fragile. Too thick and it won’t freeze evenly. Aim for that quarter-inch thickness and you’ll be golden.
- Scatter the berries over the top. Press them gently into the yogurt so they’re partially submerged. If they’re sitting on top, they’ll freeze separately and fall off. You want them embedded. (This is where I messed up my first batch—berries everywhere, none of them actually stuck.)
- Freeze for 3-4 hours, or until completely solid. The bark should be firm to the touch and lift easily off the parchment. If it feels sticky or bends, it needs more time. I usually let mine go overnight for convenience.
- Break into pieces once frozen. Lift the parchment off the baking sheet and place it on a cutting board. Use a sharp knife to score lines, then break along the scores. Or just smash it with your hands—that’s honestly more fun. Aim for irregular shards about 2-3 inches across.
- Transfer to a freezer-safe container and store for up to 2 weeks. Layer the pieces with parchment between them if you’re stacking. Otherwise, they’ll freeze together into one giant chunk. (Learned that one the hard way.)
A few things to watch for: if your kitchen is warm, work quickly so the yogurt doesn’t thin out. And if you’re using frozen berries, don’t let them thaw before adding them—they’ll release juice that makes the bark watery. Straight from the freezer to the yogurt is the way to go.
Cooking Tips & Techniques
I’ve made this recipe at least a dozen times now, and I’ve collected a few tricks that make the difference between good bark and great bark. Here’s what I’ve learned:
Don’t stir the berries into the yogurt. I know it’s tempting to swirl everything together for that marbled look, but it actually makes the bark less stable. The berries create weak spots where the bark breaks unevenly. Instead, press them gently into the surface. You’ll get cleaner breaks and better texture.
Temperature matters more than you think. If your freezer is packed full, the bark will freeze faster and more evenly. If it’s mostly empty, the temperature fluctuates more, and you might get icy patches. Try to clear a flat space in your freezer before you start. I keep a dedicated shelf for things like this now.
Watch for freezer burn. This is the biggest enemy of yogurt bark. If you leave it uncovered for more than 4-5 hours, the surface will start to dry out and develop that weird, icy crust. Once it’s frozen, get it into an airtight container immediately. I’ve lost more than one batch to freezer burn because I got distracted.
Cut before you need to eat. If you break the bark into pieces while it’s still on the parchment, you can store individual pieces in snack bags for grab-and-go convenience. My kids love having “yogurt chips” in their lunchboxes. They don’t even realize it’s healthy.
One mistake I made: I once used flavored yogurt thinking it would save time. Don’t. The added sugar and stabilizers change the freezing properties, and you end up with bark that’s either too soft or too icy. Plain Greek yogurt gives you complete control over sweetness and texture.
Variations & Adaptations
This recipe is more of a template than a rigid formula. Here are some ways I’ve adapted it over the weeks:
- Chocolate Peanut Butter — Stir 2 tablespoons of cocoa powder into the yogurt before spreading, then top with chopped peanuts and mini chocolate chips. It tastes like a frozen Reese’s cup but healthier.
- Tropical Twist — Use coconut yogurt instead of Greek yogurt, and top with diced mango, pineapple, and toasted coconut flakes. It’s like a pina colada in solid form. (I made this for a summer party and it disappeared in minutes.)
- Savory-Sweet Combo — This one’s weird but works: use plain full-fat yogurt, skip the honey, and top with flaky sea salt, cracked black pepper, and fresh figs. The sweet-salty thing is addictive.
- Vegan Version — Use coconut or cashew-based yogurt. Just be aware that plant-based yogurts freeze harder than dairy, so you might need to let the bark sit at room temperature for 2-3 minutes before eating. I’ve had good luck with the unsweetened varieties from So Delicious and Kite Hill.
- Granola Crunch — Sprinkle a thin layer of granola over the yogurt before freezing. Press it in gently so it adheres. This turns the bark into a kind of frozen granola bar situation. I love this for breakfast with a cup of coffee.
If you’re feeling adventurous, try drizzling a little melted dark chocolate over the finished bark. It creates a shell that cracks when you bite into it. That’s my favorite variation, honestly. It feels fancy but takes about 30 seconds.
Serving & Storage Suggestions
Yogurt bark is best eaten straight from the freezer, but there are a few ways to serve it that make it feel special:
For breakfast, break a few pieces into a bowl and top with fresh fruit and a drizzle of honey. It’s like a parfait that went to the freezer. I’ve been doing this every morning for the past two weeks and I’m not bored yet.
For dessert, serve the bark on a small plate with a dollop of whipped cream or a dusting of cocoa powder. It feels indulgent without being heavy. My husband calls it “grown-up ice cream” and I don’t correct him.
For parties, arrange the pieces on a platter with other frozen treats. It’s a great conversation starter because people can’t believe it’s just yogurt. I served it at a brunch last weekend and got asked for the recipe four times.
Storage: Keep the bark in an airtight container in the freezer for up to 2 weeks. If you stack pieces, separate them with parchment paper to prevent sticking. Don’t store it in the refrigerator—it’ll get soft and lose its texture.
Reheating: You don’t need to reheat this, but if you want it slightly softer, let it sit at room temperature for 2-3 minutes before eating. Any longer and it’ll start to melt. (Pro tip: if you accidentally leave it out too long, just pop it back in the freezer for 10 minutes.)
One thing I’ve noticed: the flavors actually develop after a day or two in the freezer. The honey mellows out, the berries infuse the yogurt a bit more, and everything comes together. So if you can resist eating it all immediately, it actually gets better.
Nutritional Information & Benefits
This yogurt bark is a great example of how healthy food doesn’t have to taste like a punishment. Here’s the breakdown for one serving (about 1/4 of the batch):
- Calories: 180-200
- Protein: 12-15g
- Fat: 8-10g (mostly from the yogurt)
- Carbohydrates: 18-22g (natural sugars from honey and fruit)
- Fiber: 2-3g
- Calcium: 15% of daily value
The Greek yogurt provides a solid dose of protein and probiotics, which are great for gut health. Berries are packed with antioxidants and vitamin C. And honey adds natural sweetness along with trace amounts of vitamins and minerals. It’s not a health food in the strict sense, but it’s certainly a healthier alternative to most frozen treats.
If you’re watching your sugar intake, you can reduce the honey to 2 tablespoons or swap it for a sugar-free sweetener. Just note that the texture will be slightly different—honey helps keep the bark from freezing rock-hard.
This recipe is naturally gluten-free and, if you use plant-based yogurt, can be vegan-friendly. It’s also nut-free as written, making it a good option for school lunches and shared spaces.
Conclusion
Look, I know it’s just yogurt with some fruit and honey. But there’s something about this recipe that feels like a small victory every time I make it. It’s proof that you don’t need a dozen ingredients or a complicated technique to make something genuinely delicious. Sometimes the best things really are the simplest.
I love that I can make a batch on Sunday and have breakfast, snacks, and dessert covered for the whole week. I love that my kids eat it without complaint. And I love that it feels like a treat even though it’s basically just yogurt. That’s the kind of food magic I can get behind.
Try this recipe and make it your own. Swap in your favorite fruits, experiment with different yogurts, add whatever toppings sound good to you. And when you make a batch that blows your mind, come back and tell me about it. I genuinely want to know what variations you come up with. Drop a comment below, share a photo, or tag me on social media. Let’s make this yogurt bark thing a thing.
Happy freezing, friends. Your freezer is about to become your favorite place.
Frequently Asked Questions
Can I use non-dairy yogurt for this recipe?
Absolutely. Coconut, cashew, and soy-based yogurts all work well. Just keep in mind that plant-based yogurts tend to freeze harder than dairy, so you might need to let the bark sit at room temperature for a few minutes before eating. I’ve had the best results with full-fat coconut yogurt.
How long does yogurt bark last in the freezer?
Stored properly in an airtight container, yogurt bark stays good for up to 2 weeks. After that, it can develop freezer burn or start to lose its texture. I usually make a batch on Sunday and finish it by the following weekend, so it never really has time to go bad.
Can I use frozen fruit instead of fresh?
Yes, and honestly, I prefer frozen berries for this recipe. They’re already flash-frozen, so they hold their shape better and don’t release as much juice. Just don’t thaw them before adding them to the yogurt—straight from the freezer to the pan is the way to go.
Why is my yogurt bark too icy?
This usually happens for one of two reasons: either you used low-fat or non-fat yogurt, which has more water content, or you left the bark uncovered in the freezer too long, causing freezer burn. Stick with full-fat yogurt and transfer the bark to an airtight container as soon as it’s frozen solid.
Can I make this recipe with kids?
Absolutely. This is one of the easiest recipes to make with children. They can help stir the yogurt and honey, spread it on the baking sheet, and arrange the berries on top. Breaking the frozen bark into pieces is also very satisfying for little hands. Just supervise the knife work if you’re cutting it.
Pin This Recipe!
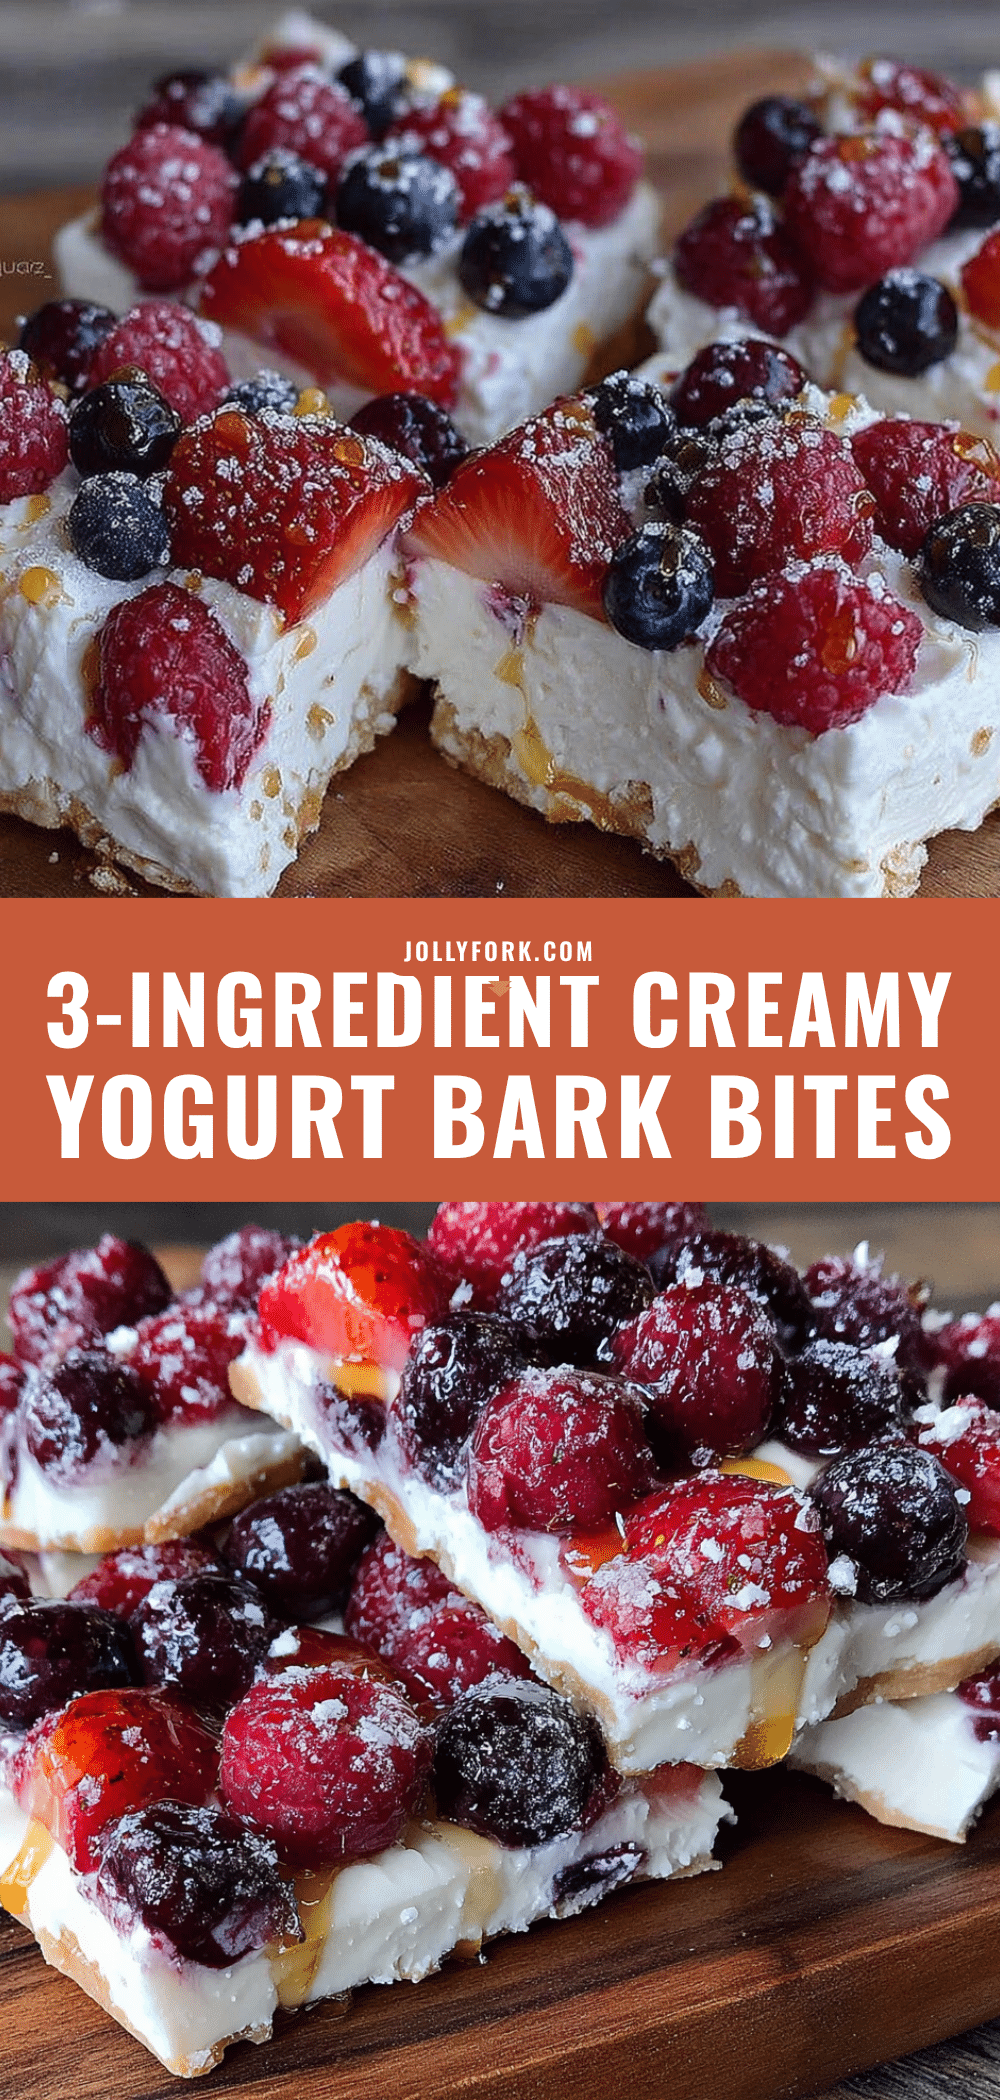
Easy 3-Ingredient Yogurt Bark Snack Squares
A simple, healthy frozen treat made with Greek yogurt, honey, and mixed berries. Perfect for breakfast, snacks, or dessert, this yogurt bark is creamy, crunchy, and endlessly customizable.
- Prep Time: 10 minutes
- Cook Time: 0 minutes
- Total Time: 3 hours 10 minutes (including freezing)
- Yield: 4 servings 1x
- Category: Snack
- Cuisine: American
Ingredients
- 2 cups (480g) Greek yogurt (full-fat recommended)
- 3 tablespoons (60ml) honey
- 1 cup (150g) mixed berries (fresh or frozen)
Instructions
- Line a baking sheet with parchment paper, letting it extend slightly over the edges.
- In a medium bowl, mix the yogurt and honey until fully incorporated. Taste and adjust sweetness if desired.
- Spread the mixture onto the prepared baking sheet in an even layer about 1/4 inch thick.
- Scatter the berries over the top and gently press them into the yogurt so they are partially submerged.
- Freeze for 3-4 hours, or until completely solid.
- Lift the parchment off the baking sheet and place on a cutting board. Break into pieces using a sharp knife or by hand.
- Transfer to a freezer-safe container, layering pieces with parchment if stacking. Store for up to 2 weeks.
Notes
For best texture, use full-fat Greek yogurt. Do not stir berries into the yogurt; press them gently into the surface. If using frozen berries, do not thaw them first. Store in an airtight container to prevent freezer burn. Let sit at room temperature for 2-3 minutes if too hard.
Nutrition
- Serving Size: 1/4 of the batch
- Calories: 190
- Sugar: 16
- Sodium: 50
- Fat: 9
- Saturated Fat: 5
- Carbohydrates: 20
- Fiber: 2.5
- Protein: 13.5
Keywords: yogurt bark, frozen yogurt, healthy snack, 3-ingredient, Greek yogurt, berry bark, easy recipe


