My husband took one bite of these one-pan garlic butter chicken thighs with green beans, looked at me with that half-squint he gets when he’s genuinely impressed, and said, “Okay, this is going into the regular rotation.” And he meant it—he asked for it again three days later without any prompting from me. That’s not something that happens often in our house, honestly. He’s a creature of habit with his meals, so when a new dish cracks the top five like that, I know I’ve stumbled onto something worth holding onto.
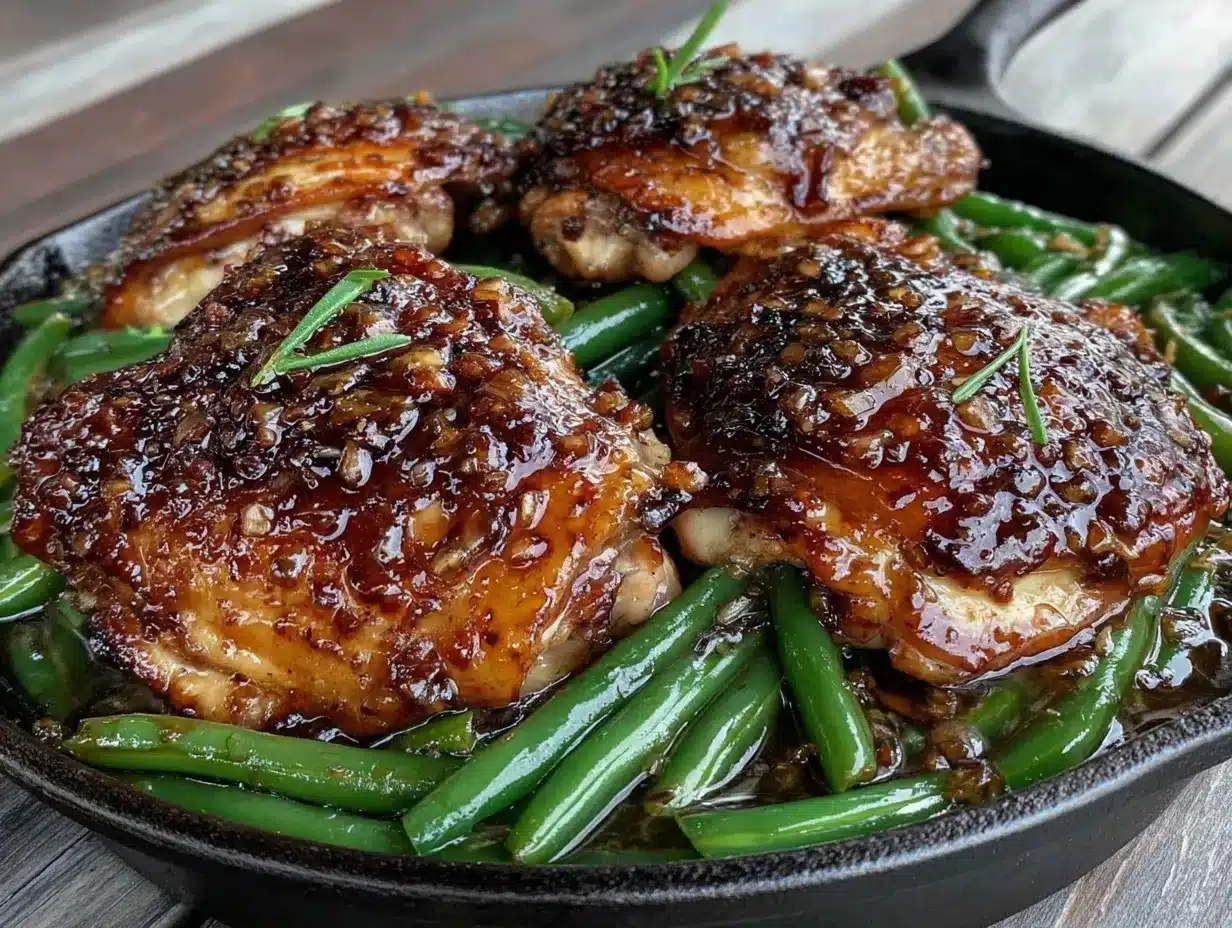
This wasn’t some elaborate plan, either. I had a pack of chicken thighs in the fridge that needed cooking, a bag of green beans that was starting to look a little sad, and a desperate need for dinner that didn’t involve a sink full of dishes. I remember thinking, “If I can make this work in one pan, I’m calling it a win.” And somehow, the garlic butter situation got a little out of hand—in the best way possible. The butter browned just slightly, the garlic infused everything, and the green beans soaked up all that savory goodness while staying crisp-tender.
What I love most about this one-pan garlic butter chicken thighs with green beans recipe is how unfussy it is. There’s no marinating overnight, no complicated sauce to whisk together, no separate pans for the veggies and the protein. It’s the kind of meal that makes you feel like you’ve got your act together, even on a Tuesday when you’re running on three hours of sleep. And honestly? That’s the kind of recipe worth keeping close.
Why You’ll Love This Recipe
I’ve tested this one-pan garlic butter chicken thighs with green beans more times than I care to admit, tweaking the heat levels, the timing, and the butter-to-garlic ratio until it felt just right. Here’s why I think it’ll become a favorite in your kitchen too:
- Quick & Easy: From start to finish, this meal comes together in about 35 minutes. No marinating, no complicated steps—just sear, toss, and bake. Perfect for those evenings when you need dinner on the table fast but still want something that tastes like you put in effort.
- Simple Ingredients: You probably already have most of these in your kitchen. Chicken thighs, green beans, butter, garlic, and a few pantry staples. No fancy grocery store trips required—I’ve made this with whatever green beans I had on hand, and it always works.
- Perfect for Weeknights: This is the kind of meal that makes a busy Tuesday feel a little special. It’s hearty enough to satisfy after a long day, but not so complicated that you dread making it. I’ve served it on frantic weeknights and lazy Sundays alike.
- Crowd-Pleaser: My kids devour the green beans (which is nothing short of a miracle), and my husband goes back for seconds every single time. Even my picky-eating sister asked for the recipe after trying it once.
- Unbelievably Delicious: The garlic butter sauce coats every single bite, and the chicken thighs stay incredibly juicy with that perfectly crispy skin. It’s comfort food that feels a little elevated without trying too hard.
What sets this recipe apart is the technique—searing the chicken first to get that golden-brown crust, then letting it finish cooking in the oven alongside the green beans. The beans soak up all those browned bits and garlic butter, becoming something you’d never guess came from the same pan. It’s not just another sheet pan dinner; it’s your new go-to.
What Ingredients You Will Need
This recipe relies on simple, everyday ingredients to create something genuinely delicious. The beauty of it is how each component pulls its weight without making you hunt down specialty items. Here’s what you’ll need:
For the Chicken
- 4 bone-in, skin-on chicken thighs (about 1.5 pounds total) — I prefer bone-in for maximum flavor and juiciness, but boneless works too if you adjust the cooking time. Look for thighs with the skin still attached for that crispy finish.
- 1 teaspoon kosher salt — Don’t skimp here. Salt helps the skin crisp up and seasons the meat all the way through. I use Diamond Crystal brand for its consistent texture.
- ½ teaspoon black pepper — Freshly ground is best, but pre-ground works in a pinch.
- ½ teaspoon garlic powder — This adds an extra layer of garlic flavor that complements the fresh garlic without overwhelming it.
- ½ teaspoon paprika — I use sweet paprika for color and a subtle warmth, but smoked paprika would work beautifully if you want a deeper flavor.
For the Green Beans
- 1 pound fresh green beans, trimmed — Look for beans that are bright green and snap when you bend them. No need to blanch them first; they’ll cook perfectly in the pan. If you only have frozen green beans, thaw them completely and pat them very dry before using.
- 2 tablespoons olive oil — This helps the beans roast without drying out. A good quality extra virgin olive oil adds a nice fruity note.
- ½ teaspoon salt — Just enough to bring out their natural flavor.
- ¼ teaspoon black pepper
For the Garlic Butter Sauce
- 4 tablespoons unsalted butter — I recommend Kerrygold or another European-style butter for its higher fat content and richer flavor. Salted butter works too, just reduce the added salt slightly.
- 6 cloves garlic, minced — I know that sounds like a lot, but trust me. The garlic mellows as it cooks and becomes sweet and nutty. Use fresh garlic here, not the jarred stuff—it really makes a difference.
- 1 tablespoon fresh lemon juice — This brightens everything up and cuts through the richness of the butter. A squeeze at the end is non-negotiable in my book.
- 2 tablespoons fresh parsley, chopped — For garnish and a pop of freshness. Dried parsley won’t give you the same effect, so grab a bunch if you can.
- Optional: ¼ teaspoon red pepper flakes — I add these when I want a little heat. They’re completely optional but add a nice kick.
Substitution Notes: If you’re dairy-free, you can use a high-quality plant-based butter or ghee (which is lactose-free). For a lower-fat option, you could reduce the butter to 2 tablespoons and add a splash of chicken broth, but honestly, the butter is what makes this dish sing. I’ve also made this with chicken drumsticks when I didn’t have thighs, and it worked beautifully—just add about 5 extra minutes to the cooking time.
Equipment Needed
One of the best things about this recipe is how little equipment it requires. Here’s what you’ll need:
- A large oven-safe skillet (10 to 12 inches) — Cast iron is my go-to for this recipe because it holds heat beautifully and gives the chicken that gorgeous golden crust. A stainless steel skillet works great too. If your skillet isn’t oven-safe, you can transfer everything to a baking sheet after searing—just make sure to scrape up all those browned bits first.
- Tongs — For flipping the chicken without piercing the skin. I’ve used a spatula in a pinch, but tongs give you so much more control.
- A sharp knife and cutting board — For trimming the green beans and mincing the garlic.
- A small bowl — For mixing the garlic butter sauce. Nothing fancy needed.
- Measuring spoons — For accuracy, especially with the salt and spices.
I’ve made this recipe in a well-seasoned cast iron skillet that I picked up at a flea market for $10, and it works just as well as my fancy new one. Don’t feel like you need to invest in expensive equipment—a sturdy oven-safe pan is all that matters. If you’re worried about sticking, just make sure your pan is hot enough before adding the chicken, and don’t rush the sear.
Preparation Method
Let me walk you through this step by step. I’ve made this recipe dozens of times, so I’ll share the little tricks I’ve picked up along the way.
Step 1: Preheat and Prep
Preheat your oven to 400°F (200°C). While it’s heating up, pat the chicken thighs dry with paper towels—this is crucial for getting crispy skin. I cannot stress this enough. Wet skin will steam instead of sear, and nobody wants soggy chicken skin. Season both sides of the chicken with the salt, pepper, garlic powder, and paprika. Set them aside while you trim the green beans. Just snap or cut off the stem ends—no need to be precious about it.
Step 2: Sear the Chicken
Place your oven-safe skillet over medium-high heat and add 1 tablespoon of the olive oil. Wait until the oil is shimmering—about 2 minutes—then carefully place the chicken thighs skin-side down. Don’t crowd the pan; if your skillet isn’t big enough, work in batches. Let them cook undisturbed for 5 to 6 minutes. You’ll know they’re ready to flip when the skin is deep golden brown and releases easily from the pan. If it sticks, give it another minute. Flip and cook for another 3 minutes on the other side. Transfer the chicken to a plate and set aside. The skin should be beautifully crispy at this point.
Step 3: Prepare the Green Beans
In the same skillet (don’t wipe it out—those browned bits are flavor gold), add the remaining 1 tablespoon of olive oil. Toss in the trimmed green beans, salt, and pepper. Cook for 2 to 3 minutes, stirring occasionally, until the beans start to get a little char in spots. They should still be bright green and crisp. This quick sauté gives them a head start before they hit the oven.
Step 4: Make the Garlic Butter
Push the green beans to one side of the skillet and add the butter to the empty space. Once it melts, add the minced garlic and red pepper flakes (if using). Stir constantly for about 30 seconds until the garlic is fragrant—don’t let it burn, or it’ll turn bitter. Toss the green beans with the garlic butter to coat them evenly. Spread the beans into an even layer in the skillet.
Step 5: Finish in the Oven
Nestle the seared chicken thighs back into the skillet, skin-side up, right on top of the green beans. Don’t worry if they’re touching a bit. Transfer the skillet to the preheated oven and bake for 15 to 18 minutes, or until the chicken reaches an internal temperature of 165°F (74°C). The green beans should be tender but still have a little bite to them. If you prefer softer beans, leave them in for an extra 3 to 5 minutes.
Step 6: Rest and Serve
Remove the skillet from the oven and squeeze fresh lemon juice over everything. Sprinkle with chopped parsley and let it rest for 5 minutes before serving. This resting time lets the juices redistribute through the chicken, so every bite is moist and flavorful. Trust me on this—don’t skip it.
Pro Tip: If you want extra-crispy skin, pop the skillet under the broiler for 1 to 2 minutes at the end. Watch it closely—it can go from perfect to burnt in seconds. I learned that one the hard way.
Cooking Tips & Techniques
After making this one-pan garlic butter chicken thighs with green beans more times than I can count, I’ve collected a few hard-won lessons. Let me save you some trouble.
Patience is everything with the sear. I know it’s tempting to fiddle with the chicken, but leave it alone. The skin needs uninterrupted contact with the hot pan to develop that deep golden crust. I once flipped a thigh too early and watched the skin tear right off—it was a sad, flabby mess. Now I set a timer for 5 minutes and walk away. The sound of the sizzle will tell you when it’s ready.
Don’t skip drying the chicken. This is non-negotiable. Moisture is the enemy of crispy skin. I pat the thighs dry, then let them sit uncovered on a plate for 5 minutes while I prep everything else. If you have time, you can even leave them in the fridge uncovered for an hour—that extra drying time makes a noticeable difference.
Watch your garlic. Garlic burns faster than you think, especially in butter. I add it to the pan after the butter has melted and stir constantly for just 30 seconds. If your pan is too hot, turn the heat down before adding the garlic. Burnt garlic tastes bitter and will ruin the whole dish. I’ve done it, and it’s not pretty.
Multitask wisely. While the chicken is searing, trim your green beans and mince the garlic. While the skillet is in the oven, set the table or make a quick side salad if you want. The active cooking time is only about 15 minutes, so the rest is hands-off. This is the kind of recipe where a little planning goes a long way.
Use a meat thermometer. Chicken thighs are forgiving, but they’re best at exactly 165°F. Overcooked thighs can get dry, and undercooked is obviously not ideal. I use an instant-read thermometer and check the thickest part of the thigh without touching the bone. It takes 5 seconds and saves you from guessing.
Variations & Adaptations
This recipe is wonderfully flexible. Here are some ways I’ve adapted it over the years:
Lemon Herb Version: Add the zest of one lemon along with the garlic, and throw in a few sprigs of fresh thyme or rosemary before baking. The herbs infuse the butter and give the whole dish a bright, aromatic flavor. I made this for a dinner party once, and everyone asked what the “secret ingredient” was. Spoiler: it’s just herbs.
Spicy Kick: Double the red pepper flakes and add a teaspoon of sriracha or harissa paste to the butter when it melts. The heat cuts through the richness beautifully. My spice-loving brother requests this version every time he visits. If you’re serving kids, you can add the heat only to your portion—just drizzle the spicy butter over your chicken at the end.
Vegetable Swap: Green beans are classic, but this works with asparagus, broccoli florets, or even thick slices of zucchini. Adjust the cooking time based on the vegetable—asparagus needs about 5 minutes less, while broccoli needs 5 minutes more. I’ve also used a mix of bell peppers and onions when I wanted something different, and it was fantastic.
Dairy-Free Adaptation: Use a good quality vegan butter or ghee (which is technically lactose-free). The texture will be slightly different, but the flavor is still amazing. I tested this with a friend who’s dairy-free, and she couldn’t tell the difference.
One-Pan Meal Extension: Add halved baby potatoes or quartered red potatoes to the skillet with the green beans. Toss them with the olive oil and seasonings, then roast everything together. The potatoes soak up the garlic butter and become incredibly tender. Just give them a 10-minute head start in the oven before adding the chicken back in.
Serving & Storage Suggestions
This dish is best served hot, straight from the skillet. The contrast between the crispy chicken skin and the tender, buttery green beans is pure magic. I like to serve it with a side of crusty bread to soak up every last drop of the garlic butter sauce—honestly, that might be my favorite part. A simple creamy dill cucumber and red onion salad on the side adds a cool, refreshing contrast that balances the richness beautifully.
If you’re feeding a crowd, this pairs wonderfully with rice, quinoa, or even mashed potatoes. The grains soak up the sauce and make the meal feel even more substantial. I’ve also served it alongside a simple sheet pan caprese chicken for a bigger spread, and it worked surprisingly well.
Storage: Leftovers keep well in an airtight container in the refrigerator for up to 3 days. The green beans will soften slightly, but the flavor remains fantastic. I actually think the dish tastes even better the next day, as the flavors have time to meld together.
Reheating: The best way to reheat is in a skillet over medium heat with a splash of chicken broth or water. This helps rehydrate the chicken and green beans without drying them out. Microwave works in a pinch, but the skin won’t be crispy. If you have an air fryer, you can reheat the chicken at 375°F for 3 to 4 minutes to restore some of that crispiness.
Freezing: You can freeze the cooked chicken and green beans in a freezer-safe container for up to 2 months. Thaw overnight in the refrigerator and reheat as directed. The texture won’t be quite as perfect as fresh, but it’s still a solid meal option for busy nights.
Nutritional Information & Benefits
Here’s an approximate breakdown per serving (one chicken thigh with green beans):
- Calories: 420
- Protein: 32g
- Fat: 28g
- Carbohydrates: 10g
- Fiber: 4g
- Sugar: 4g
Chicken thighs are an excellent source of protein, iron, and B vitamins, which support energy metabolism and immune function. The skin provides healthy fats that help keep you full and satisfied. Green beans are packed with vitamin C, vitamin K, and fiber, making them a nutrient-dense addition to the meal. Garlic offers anti-inflammatory and immune-boosting properties, while the olive oil provides heart-healthy monounsaturated fats.
This recipe is naturally gluten-free and low-carb, making it suitable for a variety of dietary preferences. If you’re watching your sodium intake, you can reduce the salt slightly, but I wouldn’t go below 1 teaspoon total for the chicken—it really needs that seasoning to shine. For a lower-fat option, you can remove the skin before eating, but honestly, the skin is where all the magic happens.
Conclusion
This one-pan garlic butter chicken thighs with green beans has become my go-to answer for the eternal question, “What’s for dinner?” It’s the kind of recipe that delivers big flavor without demanding much from you. The chicken stays juicy, the skin gets perfectly crispy, and the green beans soak up all that garlicky butter goodness. Plus, there’s only one pan to wash, which is a win in my book every single time.
I hope you give this recipe a try and make it your own. Maybe you’ll add extra garlic (I won’t judge), or throw in some mushrooms, or serve it over a bed of creamy polenta. That’s the beauty of a simple, solid recipe—it leaves room for your own creativity. If you make it, I’d love to hear how it turned out. Drop a comment below and let me know if your family asked for it three days in a row like mine did!
Frequently Asked Questions
Can I use boneless, skinless chicken thighs instead?
Yes, absolutely. Boneless, skinless thighs will cook faster—about 12 to 15 minutes in the oven instead of 15 to 18. Just keep an eye on the internal temperature and remove them from the oven when they hit 165°F. You’ll miss out on the crispy skin, but the garlic butter will still make them incredibly flavorful. If you want a similar crispy effect, you can sear them well on both sides before baking.
Can I make this recipe ahead of time?
You can prep the ingredients ahead, but I recommend cooking it fresh for the best texture. You can trim the green beans, mince the garlic, and season the chicken up to a day in advance. Store everything separately in the refrigerator, then pull it all together when you’re ready to cook. The actual cooking time is only about 30 minutes, so it’s easy to do on a weeknight.
What if I don’t have an oven-safe skillet?
No problem at all. Sear the chicken in any skillet, then transfer everything to a baking sheet or a 9×13-inch baking dish. Make sure to scrape up all those browned bits from the skillet and add them to the baking dish—that’s where so much of the flavor lives. Then bake as directed. The presentation won’t be as pretty, but the taste will be just as good.
Can I use frozen green beans?
You can, but you’ll need to thaw them completely and pat them very dry before cooking. Frozen green beans release a lot of water as they cook, which can make the dish soggy. If you’re in a pinch, thaw them, spread them on a paper towel-lined plate, and press another paper towel on top to absorb as much moisture as possible. Then proceed with the recipe as written.
How do I know when the chicken is fully cooked?
The most reliable method is using an instant-read meat thermometer. Insert it into the thickest part of the thigh without touching the bone. You’re looking for 165°F (74°C). If you don’t have a thermometer, you can check by cutting into the thickest part—the juices should run clear, and the meat should no longer be pink. But honestly, a thermometer is a worthwhile investment for perfectly cooked chicken every time.
Pin This Recipe!
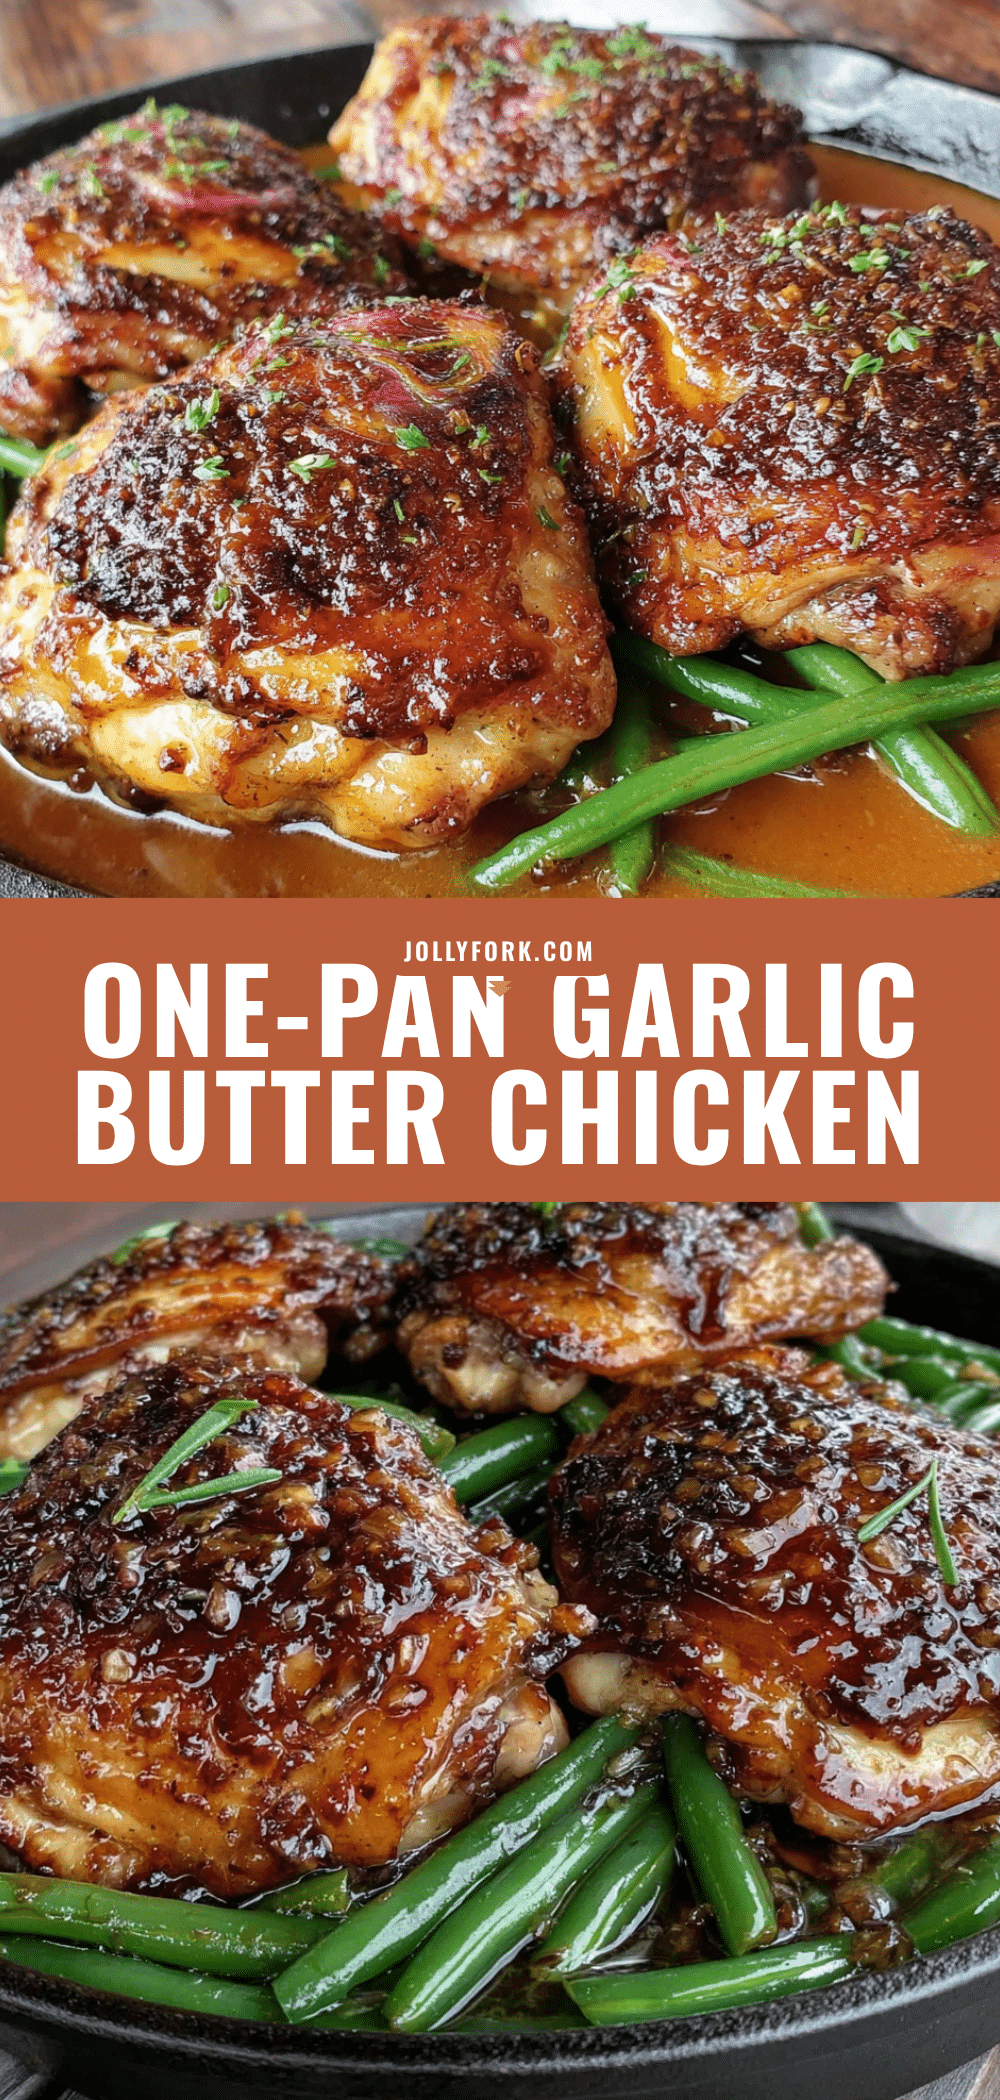
One-Pan Garlic Butter Chicken Thighs with Green Beans

Juicy, crispy-skinned chicken thighs and tender green beans are roasted together in a rich garlic butter sauce, all in one pan for an easy, flavorful weeknight dinner.
- Prep Time: 10 minutes
- Cook Time: 25 minutes
- Total Time: 35 minutes
- Yield: 4 servings 1x
- Category: Main Course
- Cuisine: American
Ingredients
- 4 bone-in, skin-on chicken thighs (about 1.5 pounds total)
- 1 teaspoon kosher salt
- ½ teaspoon black pepper
- ½ teaspoon garlic powder
- ½ teaspoon paprika
- 1 pound fresh green beans, trimmed
- 2 tablespoons olive oil, divided
- ½ teaspoon salt
- ¼ teaspoon black pepper
- 4 tablespoons unsalted butter
- 6 cloves garlic, minced
- 1 tablespoon fresh lemon juice
- 2 tablespoons fresh parsley, chopped
- Optional: ¼ teaspoon red pepper flakes
Instructions
- Preheat oven to 400°F (200°C). Pat chicken thighs dry with paper towels. Season both sides with 1 teaspoon salt, ½ teaspoon pepper, garlic powder, and paprika. Set aside.
- Place an oven-safe skillet over medium-high heat and add 1 tablespoon olive oil. When shimmering, place chicken skin-side down. Cook undisturbed for 5-6 minutes until skin is deep golden brown. Flip and cook 3 more minutes. Transfer chicken to a plate.
- In the same skillet, add remaining 1 tablespoon olive oil. Add green beans, ½ teaspoon salt, and ¼ teaspoon pepper. Cook 2-3 minutes, stirring occasionally, until beans start to char.
- Push green beans to one side. Add butter to empty space. Once melted, add minced garlic and red pepper flakes (if using). Stir constantly for 30 seconds until fragrant. Toss green beans with garlic butter to coat.
- Nestle chicken thighs back into skillet, skin-side up, on top of green beans. Transfer to oven and bake 15-18 minutes until chicken reaches 165°F (74°C) and beans are tender.
- Remove from oven. Squeeze lemon juice over everything and sprinkle with parsley. Let rest 5 minutes before serving.
Notes
For extra-crispy skin, broil for 1-2 minutes at the end. Pat chicken very dry before searing. Don’t crowd the pan. Use a meat thermometer for accuracy. Leftovers keep in the fridge for up to 3 days.
Nutrition
- Serving Size: 1 chicken thigh with
- Calories: 420
- Sugar: 4
- Sodium: 780
- Fat: 28
- Saturated Fat: 12
- Carbohydrates: 10
- Fiber: 4
- Protein: 32
Keywords: one-pan chicken, garlic butter chicken, chicken thighs, green beans, easy weeknight dinner, sheet pan dinner


