My neighbor, Mrs. Gable, watched me trying to flip a pancake that had turned into a sad, pale blob in my own skillet. She didn’t say anything at first. Then she just walked over to her side of the fence, picked a few sprigs of mint from her garden, and handed them over the wooden slats. “That’s for later,” she said with a wink. “But first, you need real buttermilk. Not that stuff with the vinegar trick.”
I had been making pancakes for years, but they were always a little dense, a little flat. Honestly, they were just okay. I figured that was just how homemade pancakes were—fine, but nothing special. Mrs. Gable, who had raised four kids and countless foster children on a tight budget, saw my struggle and decided to intervene. She didn’t give me a lecture. She just told me about her Saturday morning routine, the one that started before the sun was up, with a worn-out cast iron skillet and a carton of real buttermilk. She made it sound so simple, so matter-of-fact, like she was telling me how to tie my shoes.
That Saturday, I tried her way. I used real buttermilk, I let the batter rest for ten minutes, and I didn’t mess with the heat. The difference was night and day. The pancakes puffed up like little pillows, golden brown and tender on the inside. My kids, who usually picked at their breakfast, asked for seconds. Then thirds. My husband, a man of few words at the breakfast table, just looked at me and nodded. That nod said everything. This recipe became our Saturday morning tradition, and it’s never let us down. Maybe you’ve been there—staring at a stack of pancakes that just didn’t deliver, wondering what the secret was. Well, let me tell you, it’s simpler than you think.
Why You’ll Love This Recipe
These fluffy buttermilk pancakes are the kind of breakfast that makes everyone happy without making you crazy. I’ve tested this recipe about a dozen times, tweaking the flour ratio and the mixing technique until it was just right. It’s family-approved, budget-friendly, and honestly, it’s hard to mess up.
- Quick & Easy: From start to finish, you’re looking at about 20 minutes. That’s faster than driving to the diner and way cheaper.
- Simple Ingredients: You probably have most of these in your pantry right now. No weird specialty items, just good old-fashioned staples.
- Perfect for Busy Mornings: Whether it’s a lazy Saturday or a hectic school day, this recipe fits right in. You can even prep the dry mix the night before.
- Crowd-Pleaser: My kids love them plain, my husband piles on the blueberries, and I’m a fan of a drizzle of maple syrup. Everyone wins.
- Unbelievably Delicious: The texture is what gets you—light, airy, with a slight tang from the buttermilk. It’s comfort food at its finest, and it feels like a hug on a plate.
What makes this recipe different from the rest? It’s the little things. The way you let the batter rest, the gentle folding, the patience with the heat. These aren’t just steps—they’re secrets I picked up from Mrs. Gable and from my own trial and error. This isn’t just another pancake recipe. It’s the one that turns a regular morning into something special, without breaking the bank or your sanity.
What Ingredients You Will Need
This recipe uses simple, wholesome ingredients to deliver that perfect fluffy texture and rich flavor. Most of these are pantry staples, so you won’t need a special trip to the store. Let’s break it down.
For the Pancakes
- All-purpose flour – 2 cups (240g). I use Gold Medal or King Arthur for consistent results. Spoon and level it—don’t scoop directly from the bag, or you’ll end up with dense pancakes.
- Granulated sugar – 3 tablespoons (36g). Just enough to add sweetness without making them taste like cake.
- Baking powder – 2 teaspoons. Make sure it’s fresh—old baking powder won’t give you that lift. (Check the date on the can!)
- Baking soda – 1 teaspoon. This reacts with the buttermilk to create bubbles, which is what makes them fluffy.
- Salt – ½ teaspoon. It balances the sweetness and brings out the flavor.
- Buttermilk – 1 ¾ cups (420ml). Real buttermilk is key here. The cultured kind you find in the dairy aisle. If you must substitute, use 1 ¾ cups milk plus 1 ½ tablespoons lemon juice or vinegar, but honestly, real buttermilk is worth it for the texture and tang.
- Large egg – 1, lightly beaten. It binds everything together and adds richness.
- Unsalted butter – 3 tablespoons (42g), melted and slightly cooled. Plus more for the skillet and for serving. I like using salted butter for serving—it adds a nice contrast.
- Vanilla extract – 1 teaspoon. Pure vanilla is best, but imitation works in a pinch. (I’ve used both, and honestly, the difference is subtle.)
Optional Add-Ins
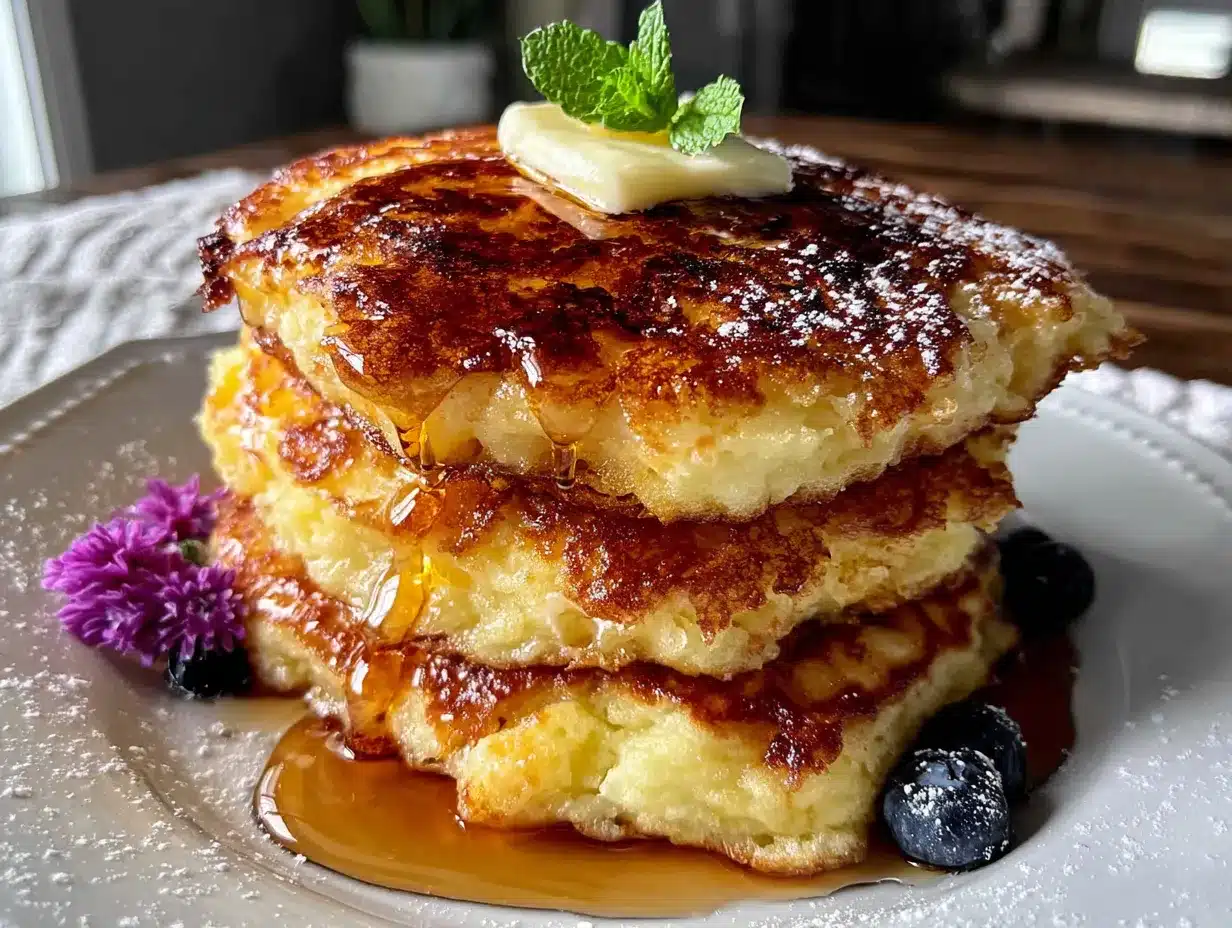
- Blueberries – 1 cup, fresh or frozen. If using frozen, toss them in a little flour first so they don’t sink to the bottom.
- Chocolate chips – ½ cup. A surefire way to win over picky eaters.
- Banana slices – 1 ripe banana, sliced thin. Adds natural sweetness and moisture.
When I’m shopping, I look for buttermilk that’s thick and a little chunky—it means it’s active and fresh. For the flour, I always buy unbleached all-purpose. It gives a slightly better texture than bleached, in my opinion. And if you’re looking to save a few bucks, store-brand flour works just fine. I’ve used it plenty of times, and the pancakes still come out great.
Equipment Needed
You don’t need fancy tools for this recipe. Here’s what I use:
- Large mixing bowl – Any medium-to-large bowl will do. I have a set of nesting bowls I picked up at a discount store years ago, and they work perfectly.
- Whisk – For mixing the dry ingredients and combining the wet ones. A fork works in a pinch, but a whisk gets the lumps out faster.
- Non-stick skillet or griddle – A 12-inch skillet is ideal. I use a cast iron skillet for that even heat, but a non-stick pan is great for beginners. (I actually burned my first batch in a stainless steel pan—lesson learned!)
- Spatula – A thin, flexible metal spatula is best for flipping. I’ve broken a few plastic ones trying to flip thick pancakes. Trust me on this.
- Measuring cups and spoons – For accuracy. I use dry measuring cups for flour and liquid ones for buttermilk. It makes a difference.
- Ladle or ¼-cup measure – For portioning the batter evenly. A ¼-cup scoop gives you consistent-sized pancakes every time.
- Cooling rack – Optional, but it keeps the pancakes from getting soggy if you’re making a big batch.
If you don’t have a griddle, no worries. A regular skillet works just fine. Just make sure it’s well-seasoned or lightly greased. And if you’re on a tight budget, skip the cooling rack—just stack the pancakes on a plate and cover them with a clean kitchen towel to keep them warm.
Preparation Method
Here’s how to make these pancakes step by step. It’s easier than you think, and I’ve included all the little cues that tell you you’re on the right track.
- Mix the dry ingredients. In a large bowl, whisk together 2 cups flour, 3 tablespoons sugar, 2 teaspoons baking powder, 1 teaspoon baking soda, and ½ teaspoon salt. Whisk until everything is evenly combined. You’ll see the baking powder and soda disperse through the flour. (If you see clumps, break them up with your fingers.)
- Combine the wet ingredients. In a separate bowl, whisk together 1 ¾ cups buttermilk, 1 beaten egg, 3 tablespoons melted butter, and 1 teaspoon vanilla. The mixture should look smooth and a little frothy on top. Don’t worry if the butter solidifies slightly when it hits the cold buttermilk—that’s normal.
- Make a well and pour. Create a well in the center of the dry ingredients. Pour the wet mixture into the well. Now, here’s the important part: stir gently with a spatula or wooden spoon. Use a folding motion—scrape from the bottom and fold over the top. Mix until just combined. A few lumps are okay. Overmixing is the enemy of fluffy pancakes. (I learned this the hard way when I made a batch that turned out tough and rubbery. Never again.)
- Let the batter rest. This is the step most people skip, and it’s a game-changer. Let the batter sit for 10 minutes. During this time, the gluten relaxes, and the baking soda and buttermilk react to create bubbles. You’ll see tiny bubbles forming on the surface. That’s good—that’s what makes them fluffy.
- Heat your skillet. Place your skillet or griddle over medium heat. Let it heat up for a couple of minutes. Test it by flicking a drop of water onto the surface—if it sizzles and evaporates, it’s ready. Lightly butter the surface. I use about 1 teaspoon of butter, spread with a paper towel. Too much butter will make the pancakes greasy.
- Pour the batter. Use a ¼-cup measure to pour batter onto the hot skillet. Leave about 2 inches between each pancake so they have room to spread. Don’t overcrowd the pan—I usually cook 3 or 4 at a time in a 12-inch skillet.
- Cook until bubbles form. Let the pancakes cook undisturbed for 2-3 minutes. You’ll see bubbles forming on the surface, and the edges will start to look set and slightly dry. When the bubbles pop and leave little holes, it’s time to flip. (If the bottom is too dark, your heat is too high. If it’s pale and the bubbles don’t form, the heat is too low.)
- Flip and finish. Slide your spatula under the pancake and flip it quickly. Cook for another 1-2 minutes on the second side, until golden brown. The pancake should feel light and springy when you press it gently.
- Keep warm. Transfer the cooked pancakes to a plate and cover with a clean kitchen towel. Or place them on a cooling rack in a 200°F oven if you’re making a big batch. (I’ve done both—the towel method is easier and works just fine.)
- Repeat. Add a little more butter to the skillet between batches, if needed. Wipe out any burnt bits with a paper towel to keep the pancakes clean.
One more thing: if you’re adding blueberries or chocolate chips, sprinkle them onto the batter immediately after pouring it onto the skillet. That way, they stay suspended in the pancake instead of sinking to the bottom.
Cooking Tips & Techniques
I’ve made a lot of pancakes over the years, and I’ve learned a few things the hard way. Here are my best tips for getting it right every time.
Don’t overmix the batter. This is the number one mistake. When you overmix, you develop the gluten, which makes the pancakes tough and chewy. Lumps are your friend. I always tell myself, “A few lumps means fluffy pancakes.” It’s my little mantra.
Get the heat right. Medium heat is your sweet spot. Too high, and the outside burns before the inside cooks. Too low, and they turn out pale and dense. I once made a batch on a camping stove that was way too hot—the pancakes were black on the outside and raw in the middle. Not my finest moment. So take the time to test your heat with a drop of water.
Rest the batter. I know I said it before, but it’s worth repeating. That 10-minute rest is non-negotiable. It lets the baking soda do its job and gives you a lighter texture. I use that time to set the table, pour the juice, and wrangle the kids into their chairs.
Use a thin spatula. A thick spatula can squish the pancake and deflate it. A thin, flexible metal spatula slides under the pancake cleanly and flips it without crushing it. (I broke two plastic spatulas before I figured this out.)
Keep the first batch warm. If you’re cooking for a crowd, keep the finished pancakes in a warm oven (200°F) on a baking sheet. Don’t stack them—lay them in a single layer so they don’t steam and get soggy. I learned this after serving a sad, limp stack to my in-laws. Never again.
Multitask smartly. While the batter is resting, prep your toppings—slice the bananas, wash the berries, set out the syrup. It saves time and keeps you from scrambling later.
Variations & Adaptations
This recipe is a great base, and you can adapt it to fit your family’s tastes or dietary needs. Here are some of my favorite variations:
- Gluten-Free Option: Swap the all-purpose flour with a 1:1 gluten-free baking blend. I’ve used Bob’s Red Mill and King Arthur, and both work well. The texture will be slightly different—a little more delicate—but still delicious. Add an extra tablespoon of buttermilk to help with moisture.
- Dairy-Free Version: Use a plant-based milk like oat or almond milk mixed with 1 tablespoon of lemon juice to mimic buttermilk. Swap the butter with melted coconut oil or a dairy-free butter substitute. The pancakes will be a bit less tender, but they still puff up nicely.
- Whole Wheat Twist: Replace half the all-purpose flour with whole wheat flour. This adds fiber and a nutty flavor. You might need an extra tablespoon of buttermilk since whole wheat absorbs more liquid. My kids actually like these—they say they taste “heartier.”
- Flavor Add-Ins: Try adding 1 teaspoon of cinnamon or a pinch of nutmeg to the dry ingredients. Or fold in ½ cup of fresh blueberries, chocolate chips, or diced apples. For a special treat, add a handful of toasted pecans or walnuts.
- Savory Pancakes: Omit the sugar and vanilla, and add ½ teaspoon of garlic powder and ¼ cup of shredded cheddar cheese. Serve with scrambled eggs and bacon for a savory breakfast. (I tried this once on a whim, and now it’s a regular request.)
One time, I tried making these with almond flour, and they turned out flat and crumbly. So stick with the gluten-free blend if you’re going that route. Live and learn, right?
Serving & Storage Suggestions
These pancakes are best served warm, straight from the skillet. But here’s how to make them last and how to serve them like a pro.
Serving: Stack 3-4 pancakes on a plate and top with a pat of butter. Drizzle with pure maple syrup—the real stuff is worth the splurge. For a fun twist, add a dollop of whipped cream and a handful of fresh berries. My kids love it when I make a “pancake face” with banana slices for eyes and a strawberry smile. It takes two seconds and makes their morning.
Complementary Dishes: Serve with crispy bacon, scrambled eggs, or a side of fresh fruit. For a bigger spread, add a fruit salad or yogurt parfait. And don’t forget the coffee or orange juice—it rounds out the meal perfectly.
Storage: Leftover pancakes can be stored in an airtight container in the refrigerator for up to 3 days. To freeze, place them in a single layer on a baking sheet and freeze until solid, then transfer to a freezer bag. They’ll keep for up to 2 months. (I always make a double batch on Sunday and freeze half for busy mornings.)
Reheating: The best way to reheat is in a toaster or toaster oven—it crisps up the edges and warms them through. You can also microwave them for 20-30 seconds, but they’ll be softer. For a big batch, reheat in a 350°F oven for 5-7 minutes.
Flavor Development: Honestly, these pancakes are best fresh. But if you do have leftovers, they’re still pretty good the next day. The texture softens a bit, but the flavor is still there. I’ve been known to eat cold pancakes straight from the fridge as a late-night snack. No judgment.
Nutritional Information & Benefits
Here’s a rough estimate for one pancake (based on 12 pancakes, without any add-ins or toppings):
- Calories: 140
- Fat: 5g
- Carbohydrates: 20g
- Protein: 4g
- Fiber: 1g
- Sugar: 5g
These numbers will vary depending on your toppings and add-ins. But overall, these pancakes are a reasonable breakfast option, especially if you pair them with protein like eggs or bacon to balance out the carbs.
Buttermilk is a good source of calcium and probiotics, which support gut health. And if you use whole wheat flour, you’ll get extra fiber and B vitamins. I like knowing that my kids are getting something nourishing, even when it feels like a treat. Of course, if you have dietary restrictions, this recipe can be adapted—just check the variations section above.
Potential allergens: wheat (gluten), dairy, eggs. For a dairy-free or gluten-free version, see the adaptations above. And if you’re watching your sugar intake, you can reduce the sugar to 2 tablespoons—the pancakes will still be plenty sweet with syrup.
Conclusion
These fluffy buttermilk pancakes have become a staple in my kitchen, and I hope they become one in yours too. They’re simple, affordable, and they bring a little joy to the breakfast table. Whether you’re feeding a crowd on a Saturday morning or just looking for a quick weekday treat, this recipe delivers.
I love that I can customize them for my family—blueberries for my daughter, chocolate chips for my son, and plain with extra butter for my husband. It’s a little thing, but it makes everyone feel seen. And honestly, that’s what cooking is all about, isn’t it? Making something that says, “I thought of you.”
So give this recipe a try. Play around with the add-ins, find your favorite combination, and make it your own. And when you do, come back and tell me about it. I’d love to hear how it turned out—leave a comment below, or tag me in your photos. Happy cooking, and here’s to many more delicious mornings!
Frequently Asked Questions
Can I make the batter the night before?
I don’t recommend it. The baking soda starts reacting as soon as it hits the buttermilk, so the batter loses its lift overnight. You’re better off mixing the dry ingredients the night before and adding the wet ingredients in the morning. That way, you save time without sacrificing fluffiness.
Why are my pancakes flat and dense?
This usually happens for one of three reasons: overmixing the batter, old baking powder, or not letting the batter rest. Check your baking powder’s expiration date—if it’s more than 6 months old, it might not be active. And remember, a few lumps are okay. Overmixing develops gluten and makes pancakes tough.
Can I use buttermilk powder instead of liquid buttermilk?
Yes, you can. Follow the package directions to reconstitute it, usually about 4 tablespoons of powder mixed with 1 cup of water. The flavor will be slightly milder, but the texture will still be good. I’ve used it in a pinch, and it works fine.
How do I keep pancakes warm while I cook the rest?
Preheat your oven to 200°F. Place a baking sheet or oven-safe plate in the oven. As each batch finishes, transfer the pancakes to the warm oven in a single layer. Don’t stack them, or they’ll steam and get soggy. Cover them loosely with foil to keep them from drying out.
Can I freeze these pancakes?
Absolutely! Let them cool completely, then place them in a single layer on a baking sheet and freeze until solid. Transfer to a freezer bag or airtight container. They’ll keep for up to 2 months. To reheat, pop them in the toaster or microwave. They’re a lifesaver on busy mornings.
Pin This Recipe!
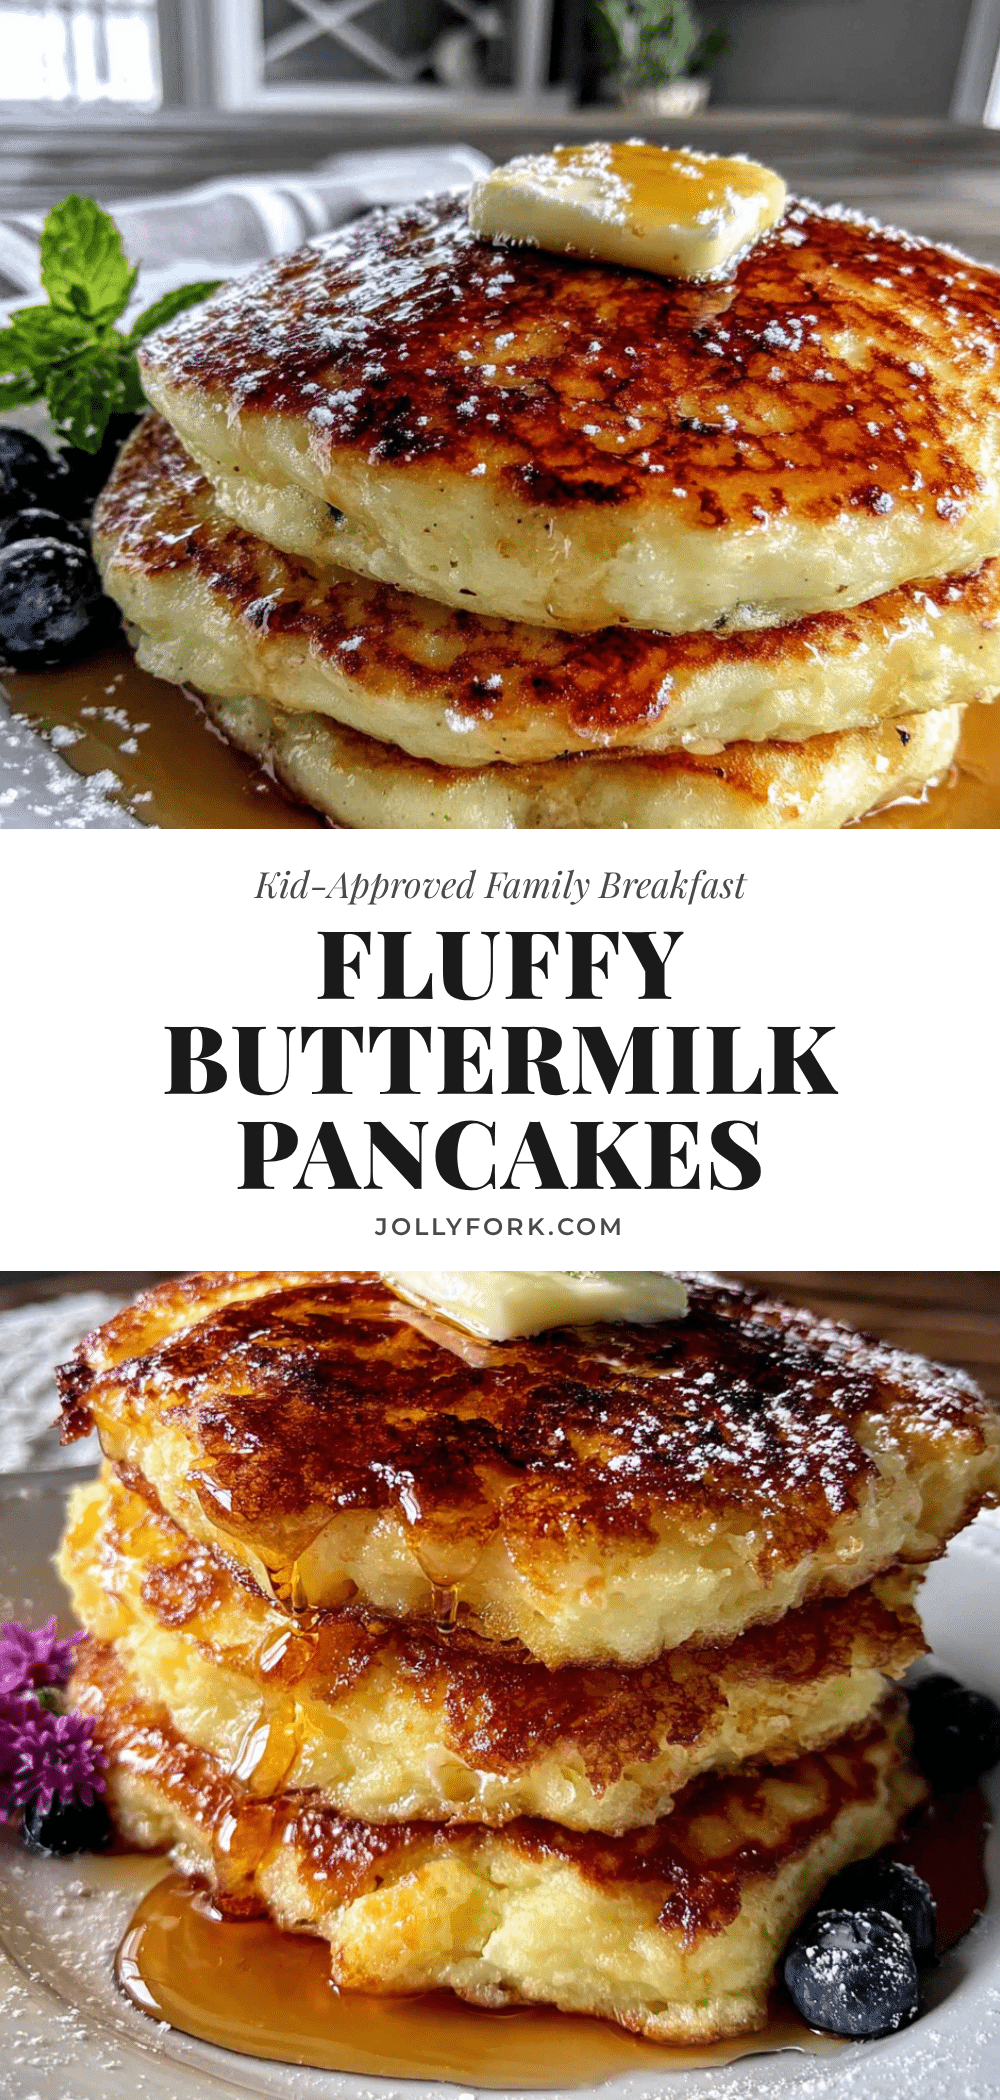
The Best Fluffy Buttermilk Pancakes Recipe for Families
These fluffy buttermilk pancakes are the kind of breakfast that makes everyone happy without making you crazy. They’re family-approved, budget-friendly, and honestly, it’s hard to mess up.
- Prep Time: 10 minutes
- Cook Time: 10 minutes
- Total Time: 20 minutes
- Yield: 4 servings (12 pancakes) 1x
- Category: Breakfast
- Cuisine: American
Ingredients
- 2 cups (240g) all-purpose flour
- 3 tablespoons (36g) granulated sugar
- 2 teaspoons baking powder
- 1 teaspoon baking soda
- ½ teaspoon salt
- 1 ¾ cups (420ml) buttermilk
- 1 large egg, lightly beaten
- 3 tablespoons (42g) unsalted butter, melted and slightly cooled
- 1 teaspoon vanilla extract
- 1 cup blueberries (optional, fresh or frozen)
- ½ cup chocolate chips (optional)
- 1 ripe banana, sliced thin (optional)
Instructions
- Mix the dry ingredients. In a large bowl, whisk together 2 cups flour, 3 tablespoons sugar, 2 teaspoons baking powder, 1 teaspoon baking soda, and ½ teaspoon salt. Whisk until evenly combined.
- Combine the wet ingredients. In a separate bowl, whisk together 1 ¾ cups buttermilk, 1 beaten egg, 3 tablespoons melted butter, and 1 teaspoon vanilla until smooth and slightly frothy.
- Make a well and pour. Create a well in the center of the dry ingredients. Pour the wet mixture into the well. Stir gently with a spatula or wooden spoon using a folding motion until just combined. A few lumps are okay.
- Let the batter rest. Let the batter sit for 10 minutes. You’ll see tiny bubbles forming on the surface.
- Heat your skillet. Place your skillet or griddle over medium heat. Test it by flicking a drop of water onto the surface—if it sizzles and evaporates, it’s ready. Lightly butter the surface.
- Pour the batter. Use a ¼-cup measure to pour batter onto the hot skillet. Leave about 2 inches between each pancake.
- Cook until bubbles form. Let the pancakes cook undisturbed for 2-3 minutes. When bubbles pop and leave little holes, it’s time to flip.
- Flip and finish. Slide your spatula under the pancake and flip it quickly. Cook for another 1-2 minutes on the second side, until golden brown.
- Keep warm. Transfer the cooked pancakes to a plate and cover with a clean kitchen towel, or place on a cooling rack in a 200°F oven.
- Repeat. Add a little more butter to the skillet between batches, if needed. Wipe out any burnt bits with a paper towel.
Notes
Don’t overmix the batter; lumps are okay. Let the batter rest for 10 minutes for fluffier pancakes. Use real buttermilk for best results. If adding blueberries or chocolate chips, sprinkle them onto the batter immediately after pouring onto the skillet.
Nutrition
- Serving Size: 3 pancakes
- Calories: 420
- Sugar: 15
- Sodium: 800
- Fat: 15
- Saturated Fat: 8
- Carbohydrates: 60
- Fiber: 3
- Protein: 12
Keywords: fluffy buttermilk pancakes, easy pancake recipe, family breakfast, homemade pancakes, buttermilk pancakes


