I was at the hardware store last Tuesday—not exactly where you expect to find culinary inspiration. I was hunting for a specific size of washer for a leaky faucet, feeling a bit frazzled after a long morning. The man behind the counter, who I’d guess was in his seventies with a name like “Bud” stitched on his shirt, started talking about squash while he rang me up. “You know,” he said, not looking up from the register, “the only way my grandkids eat acorn squash is if I drown it in maple syrup and butter. It’s the only thing that works.”
Honestly, I almost laughed. I’d been wrestling with my own kids over vegetables all week, and here was a plumber-slash-hardware-guru handing me the solution. I scribbled his rough method on the back of my receipt—he didn’t measure anything, just used his hands to show “this much” butter and “a good glug” of syrup. It felt too simple to be true. But let me tell you, that first bite of his maple butter acorn squash changed everything at our dinner table. The kids asked for seconds. Seconds of squash. Maybe you’ve been there, where you’re just desperate for one vegetable that doesn’t cause a meltdown. This is that recipe. It’s the one that stuck with me because it didn’t ask me to be a gourmet chef—it just asked for a squash, a little patience, and the trust that sometimes the best advice comes from the most unexpected places.
Why You’ll Love This Recipe
This isn’t just another roasted squash recipe. It’s the one that gets requested for Thanksgiving and Tuesday night dinners alike. I’ve tested it about six times now to make sure it works with different squash sizes and oven temperatures, and it’s foolproof.
- Quick & Easy: From cutting board to table in about 15 minutes of active time. The oven does the heavy lifting.
- Simple Ingredients: You probably have maple syrup and butter in your fridge right now. No trips to a specialty store.
- Perfect for Family Meals: It’s sweet enough for kids but savory enough for adults. It bridges that dinner-table gap beautifully.
- Crowd-Pleaser: I’ve served this at potlucks and watched people go back for thirds. It’s that good.
- Unbelievably Delicious: The maple syrup caramelizes in the oven, creating these sticky, buttery edges that are pure comfort. The texture is soft but not mushy—just right.
What makes this version different from all the others? It’s the balance. I’ve found that using a mix of salted butter and a good-quality maple syrup (not the imitation stuff) creates a glaze that clings to the squash without making it overly sweet. It’s comfort food reimagined—simpler, faster, but with the same soul-soothing satisfaction. Perfect for impressing guests without stress, or turning a simple weeknight meal into something memorable.
What Ingredients You Will Need
This recipe uses simple, wholesome ingredients to deliver bold flavor and satisfying texture without the fuss. Most of these are pantry staples, which makes this a great go-to side dish when you’re short on time.
- 1 medium acorn squash (about 1.5 to 2 pounds) — Look for one that feels heavy for its size and has a deep green color with some orange patches. That orange means it’s ripe and sweet.
- 3 tablespoons salted butter, melted — I prefer using salted butter here because it balances the sweetness of the maple. If you only have unsalted, just add a pinch of salt to the glaze.
- 2 tablespoons pure maple syrup — Please use real maple syrup, not pancake syrup. The flavor is deeper and less cloying. I like the Grade A Dark Amber for a richer taste, but any pure syrup works.
- ¼ teaspoon ground cinnamon — This is optional, but I find it rounds out the sweetness and adds a cozy warmth. You can skip it if you want a pure maple flavor.
- ⅛ teaspoon salt — Only if you use unsalted butter. It helps bring out the natural sweetness of the squash.
- Optional: fresh thyme or rosemary for garnish — A little greenery makes it look fancy, but it’s totally optional. My kids pick it off anyway.
Ingredient Selection Tip: When choosing acorn squash, avoid any with soft spots or cracks. The stem should be intact. If you’re buying it a few days ahead, store it in a cool, dark place—not the fridge. It will keep for up to a month.
Substitution Guidance: For a dairy-free version, use vegan butter or coconut oil. The coconut oil will add a slight coconut flavor, which actually pairs nicely with the maple. For a lower-sugar option, you can reduce the maple syrup to 1 tablespoon and add a splash of water to keep the glaze consistency.
Equipment Needed
You don’t need much for this recipe, which is part of its charm. Here’s what I use:
- Sharp chef’s knife — Acorn squash is tough. A dull knife is a recipe for frustration (and possibly a band-aid). I use my 8-inch chef’s knife and it works perfectly.
- Cutting board — Preferably one with a groove to catch any juices.
- Large spoon or ice cream scoop — For scooping out the seeds and stringy bits. A grapefruit spoon with a serrated edge works great too.
- Small bowl — For mixing the butter and maple syrup glaze.
- Pastry brush or spoon — To brush the glaze onto the squash. A silicone brush is easiest to clean.
- Baking sheet — Line it with parchment paper or foil for easy cleanup. I use a rimmed baking sheet so the glaze doesn’t drip off.
- Oven — Preheated to 400°F (200°C).
Budget-Friendly Option: If you don’t have a pastry brush, just use a regular spoon to drizzle the glaze over the squash. It works just as well—you might just have to be a little more careful to spread it evenly.
Preparation Method
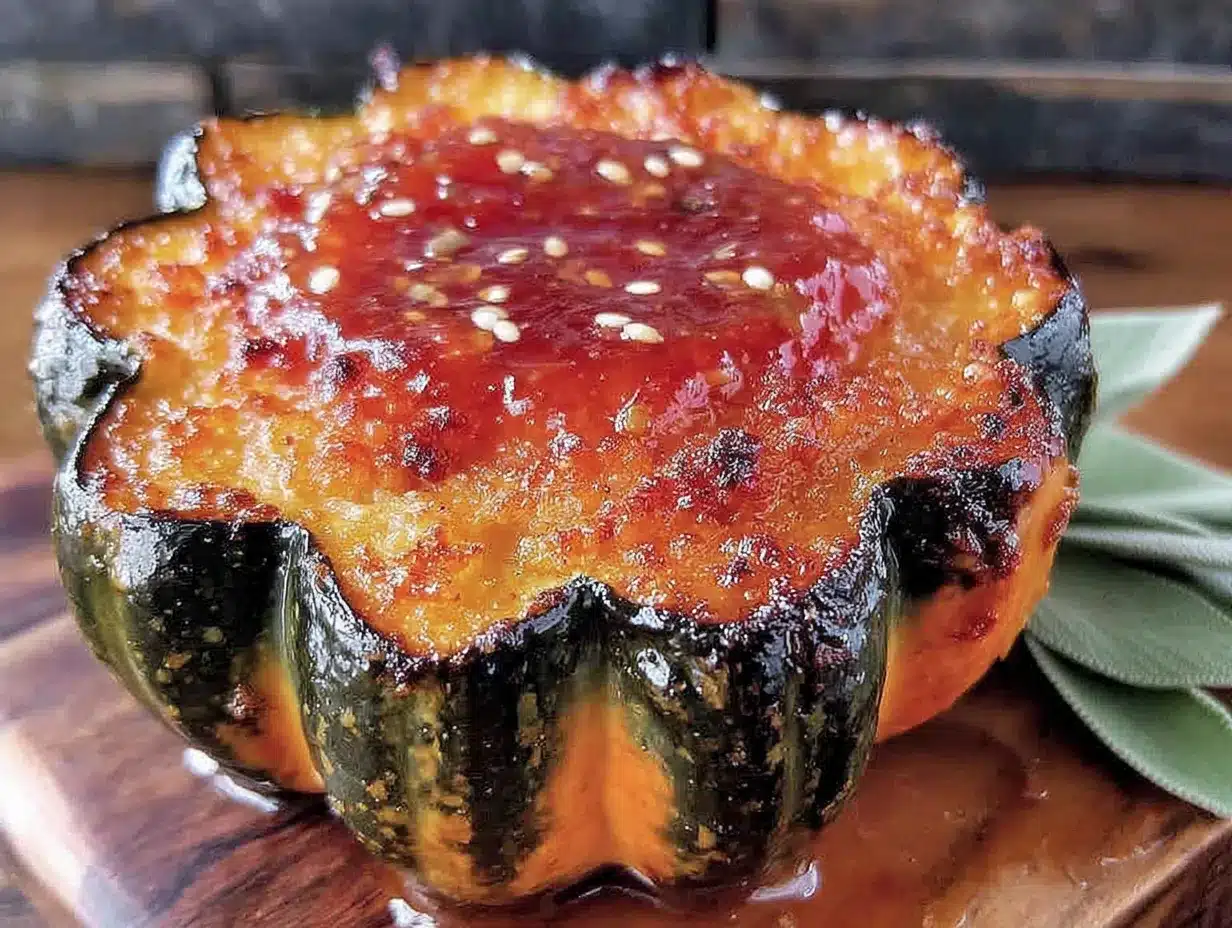
Let’s get cooking. This method is straightforward, but I’ll include the little tricks I’ve learned along the way.
- Preheat your oven to 400°F (200°C). Give it a full 15 minutes to come to temperature. A properly hot oven helps the squash caramelize instead of steaming.
- Prepare the acorn squash. Wash the outside of the squash thoroughly—you’re eating the skin, so you want it clean. Using a sharp chef’s knife, carefully cut the squash in half from stem to root end. This is the hardest part. If you’re struggling, microwave the whole squash for 2 minutes to soften it slightly. Trust me on this—it saves your fingers.
- Scoop out the seeds and stringy bits. Use a large spoon or an ice cream scoop to scrape out the center. You can save the seeds to roast later if you like—they’re delicious with a little salt and cayenne. For this recipe, just discard them or set them aside.
- Slice the squash into wedges. Cut each half into 1-inch thick slices, about 4 to 5 wedges per half. You want them roughly uniform in size so they cook evenly. Don’t worry about perfection—rustic is fine.
- Make the glaze. In a small bowl, combine the melted salted butter, maple syrup, and cinnamon (if using). Whisk together until smooth. It should look like a golden, slightly thick liquid. Lick the spoon—I won’t tell anyone.
- Arrange the wedges on the baking sheet. Place them in a single layer, not touching each other. If they’re crowded, they’ll steam instead of roast. Use two baking sheets if needed.
- Brush the glaze over the squash. Use a pastry brush to coat the tops and sides of each wedge generously. Don’t forget the cut sides—that’s where the most flavor soaks in. Pour any remaining glaze over the wedges.
- Roast for 25 to 30 minutes. The squash is done when it’s fork-tender and the edges are caramelized and slightly browned. Halfway through (around 12 minutes), flip the wedges gently with a spatula and brush with any glaze that’s pooled on the pan. This step is key for even cooking.
- Let it rest for 2 minutes. When you pull the pan out, the squash will be very hot. Let it sit on the pan for a couple of minutes before serving. This helps the glaze set and prevents burns.
- Garnish and serve. Transfer the wedges to a serving platter. If you’re using fresh thyme or rosemary, sprinkle it over the top now. The heat will release the herbs’ oils and make the kitchen smell incredible.
Troubleshooting Tip: If your squash isn’t browning after 25 minutes, your oven might run cool. Crank it up to 425°F for the last 5 minutes. Keep an eye on it so the sugar doesn’t burn.
Cooking Tips & Techniques
I’ve made this recipe enough times to know where things can go wrong. Here’s what I’ve learned the hard way so you don’t have to.
Don’t skip the flipping step. The first time I made this, I was in a rush and left the wedges untouched for the full 30 minutes. The bottoms burned while the tops were still pale. Flipping them halfway ensures the glaze caramelizes evenly. Set a timer—it’s easy to forget.
Watch the sugar content. Maple syrup has a lower burning point than honey, but it can still scorch if the oven is too hot. If you notice the glaze starting to smoke, reduce the oven temperature to 375°F immediately. The squash will still cook through; it just needs a little more time.
Use room-temperature butter for the glaze. If your butter is cold, it won’t mix smoothly with the maple syrup. Melt it gently in the microwave in 10-second bursts, stirring between each. You want it liquid, not hot.
Size matters. If your squash is especially large, cut the wedges a bit thinner—about ¾ inch instead of 1 inch. This ensures they cook in the same time frame. I made this mistake with a monster squash and ended up with raw centers. Not ideal.
Multitasking strategy: While the squash roasts, prepare the rest of your meal. It’s the perfect side dish to go alongside a simple roasted chicken or pork chop. I usually start the squash first, then work on the main dish while it’s in the oven.
Variations & Adaptations
This recipe is a great base for experimentation. Here are some ways I’ve tweaked it over the years.
- Savory version: Omit the cinnamon and add ½ teaspoon of smoked paprika and a pinch of cayenne pepper to the glaze. The smoky heat pairs beautifully with the sweet maple. I’ve served this alongside grilled sausages and it was a hit.
- Herb-infused: Add 1 tablespoon of finely chopped fresh sage or rosemary to the melted butter before mixing with the maple syrup. The herbs add an earthy note that feels fancy for a holiday table. My mother-in-law asked for the recipe after I served this at Thanksgiving.
- Air fryer adaptation: If you want to save even more time, cook the squash wedges in an air fryer at 375°F for 12 to 15 minutes. Shake the basket halfway through. The texture is slightly crispier on the edges, which my kids actually prefer.
- Vegan option: Use vegan butter or coconut oil instead of regular butter. I’ve tried it with both, and coconut oil gives a subtle tropical note that’s surprisingly good. Just reduce the maple syrup to 1½ tablespoons to balance the flavors.
- Spiced maple version: Add ¼ teaspoon of ground ginger and a pinch of nutmeg to the glaze along with the cinnamon. It makes the squash taste like a warm autumn dessert. Perfect for a cozy Sunday dinner.
Serving & Storage Suggestions
This maple butter acorn squash is best served warm, right out of the oven. The glaze is at its stickiest and most flavorful when it’s fresh. I like to arrange the wedges on a white platter with a sprinkle of fresh parsley or thyme for a pop of color.
What to serve with it: This squash pairs wonderfully with roasted chicken, pork tenderloin, or even a simple piece of grilled fish. For a vegetarian meal, serve it alongside a hearty grain bowl with quinoa and roasted chickpeas. The sweetness of the squash balances out savory and salty dishes beautifully.
Storage instructions: Leftovers can be stored in an airtight container in the refrigerator for up to 4 days. The squash will soften a bit as it sits, but the flavor actually deepens overnight. Don’t freeze it—the texture becomes watery and unappealing after thawing.
Reheating methods: The best way to reheat is in the oven at 350°F for 5 to 7 minutes. This restores some of the caramelization. You can also use an air fryer at 350°F for 3 to 4 minutes. Avoid the microwave if you can—it makes the squash mushy and the glaze turns into a sticky puddle.
Flavor development note: I’ve found that day-old squash has a more concentrated maple flavor because the glaze has had time to soak in. If you’re meal-prepping, make this a day ahead and reheat it just before serving. It’s almost better that way.
Nutritional Information & Benefits
Acorn squash is a nutritional powerhouse, and this recipe keeps it relatively healthy despite the butter and maple syrup. Here’s the breakdown per serving (about 4 wedges):
- Calories: Approximately 180
- Fat: 9 grams (mostly from butter)
- Carbohydrates: 26 grams
- Fiber: 3 grams
- Protein: 2 grams
- Vitamin A: 20% of the Daily Value
- Vitamin C: 30% of the Daily Value
- Potassium: 15% of the Daily Value
Health benefits: Acorn squash is rich in beta-carotene, which your body converts into vitamin A for healthy vision and immune function. It’s also a good source of fiber, which aids digestion and keeps you feeling full. The maple syrup provides quick energy, while the butter adds a small amount of fat-soluble vitamins.
Dietary considerations: This recipe is naturally gluten-free and nut-free. For a lower-sugar option, you can reduce the maple syrup to 1 tablespoon without sacrificing too much flavor. The squash itself is naturally sweet, so it doesn’t need much help.
Allergen note: This recipe contains dairy from the butter. For a dairy-free version, use vegan butter or coconut oil as mentioned in the variations section.
From a personal wellness perspective, I love that this recipe feels indulgent but is actually quite nutritious. It’s a side dish that satisfies my sweet tooth without derailing my healthy eating goals. Plus, it’s a great way to get my kids to eat a vegetable without a fight—that alone is a win in my book.
Conclusion
This easy maple butter acorn squash has become a staple in my kitchen for good reason. It’s quick, simple, and—most importantly—it actually gets eaten by everyone at the table, from the pickiest toddler to the most skeptical adult. The combination of sweet maple and salty butter is a classic for a reason, and the squash itself is forgiving enough that even a beginner cook can nail it.
I encourage you to make this recipe your own. Play with the spices, try different herbs, or experiment with the air fryer version. The beauty of this dish is that it’s flexible. And if you find a variation your family loves, I’d love to hear about it. Drop a comment below and share your twist—I’m always looking for new ideas.
Honestly, if a chance conversation at a hardware store can lead to a family-favorite recipe, imagine what else is out there waiting to be discovered. So go ahead, grab an acorn squash, and give this a try. Your dinner table will thank you.
Frequently Asked Questions
Can I use butternut squash instead of acorn squash?
Yes, you can! Butternut squash is a great substitute. It’s slightly sweeter and has a smoother texture. Just peel it first and cut it into similar-sized cubes or wedges. The cooking time will be about the same, but check for doneness at 25 minutes.
Do I need to peel the acorn squash?
No, you don’t need to peel it. The skin of acorn squash is edible and becomes tender when roasted. It also helps the wedges hold their shape. If you prefer a softer texture, you can peel it, but it’s not necessary.
Can I make this recipe ahead of time?
Absolutely. You can prep the squash wedges and mix the glaze up to a day in advance. Store them separately in the fridge. When you’re ready to cook, just brush the glaze on and roast as directed. The squash might need an extra 5 minutes if it’s cold from the fridge.
How do I prevent the maple syrup from burning in the oven?
Maple syrup can burn if the oven is too hot or if the squash is left in too long. To prevent this, keep your oven at 400°F and flip the wedges halfway through. If you notice the glaze starting to darken too quickly, reduce the temperature to 375°F. Also, lining the baking sheet with parchment paper helps prevent sticking.
Can I freeze leftover roasted acorn squash?
I don’t recommend freezing this dish. The texture of the squash becomes watery and mushy after thawing, and the glaze loses its caramelized quality. It’s best to enjoy it fresh or within a few days from the fridge. If you have a lot of leftovers, consider repurposing them into a soup or mash.
Pin This Recipe!
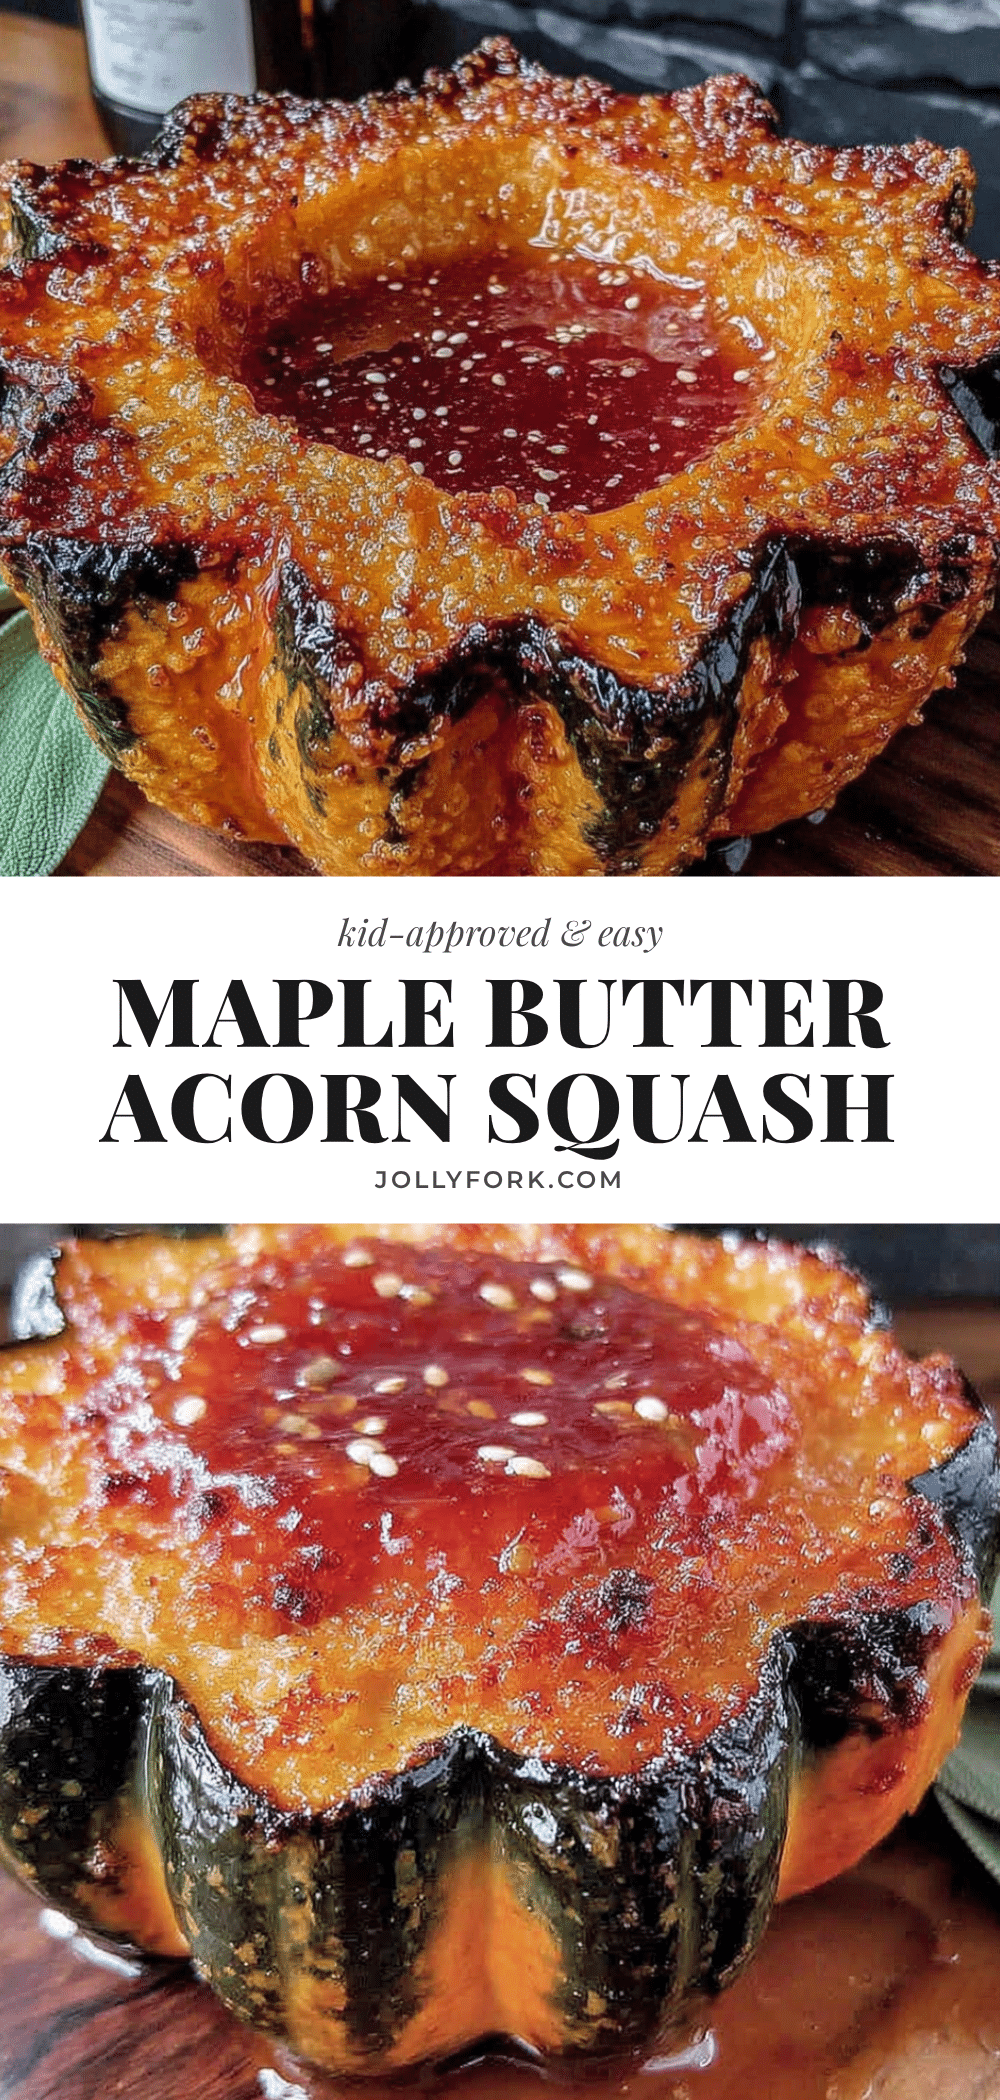
Easy Maple Butter Acorn Squash: Best 15-Minute Side Dish
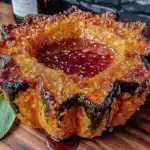
This quick and easy maple butter acorn squash is a family-friendly side dish that combines sweet maple syrup and salted butter for a caramelized, tender result. Perfect for weeknight dinners or holiday feasts, it’s ready in about 15 minutes of active time.
- Prep Time: 15 minutes
- Cook Time: 30 minutes
- Total Time: 45 minutes
- Yield: 4 servings 1x
- Category: Side Dish
- Cuisine: American
Ingredients
- 1 medium acorn squash (about 1.5 to 2 pounds)
- 3 tablespoons salted butter, melted
- 2 tablespoons pure maple syrup
- ¼ teaspoon ground cinnamon (optional)
- ⅛ teaspoon salt (only if using unsalted butter)
- Fresh thyme or rosemary for garnish (optional)
Instructions
- Preheat your oven to 400°F (200°C).
- Wash the acorn squash thoroughly, then cut it in half from stem to root end using a sharp chef’s knife. If needed, microwave the whole squash for 2 minutes to soften.
- Scoop out the seeds and stringy bits with a large spoon or ice cream scoop.
- Cut each half into 1-inch thick wedges (about 4 to 5 wedges per half).
- In a small bowl, combine melted salted butter, maple syrup, and cinnamon (if using). Whisk until smooth.
- Arrange the wedges in a single layer on a parchment-lined baking sheet, not touching.
- Brush the glaze generously over the tops, sides, and cut sides of the wedges. Pour any remaining glaze over them.
- Roast for 25 to 30 minutes, flipping the wedges halfway through and brushing with any pooled glaze.
- Let the squash rest on the pan for 2 minutes before serving.
- Transfer to a platter and garnish with fresh thyme or rosemary if desired.
Notes
For even cooking, flip the wedges halfway through. If the glaze starts to smoke, reduce oven temperature to 375°F. For a dairy-free version, use vegan butter or coconut oil. Leftovers can be stored in the refrigerator for up to 4 days; reheat in the oven at 350°F for 5-7 minutes.
Nutrition
- Serving Size: about 4 wedges
- Calories: 180
- Sugar: 12
- Sodium: 150
- Fat: 9
- Saturated Fat: 5
- Carbohydrates: 26
- Fiber: 3
- Protein: 2
Keywords: maple butter acorn squash, easy acorn squash, roasted acorn squash, fall side dish, quick side dish