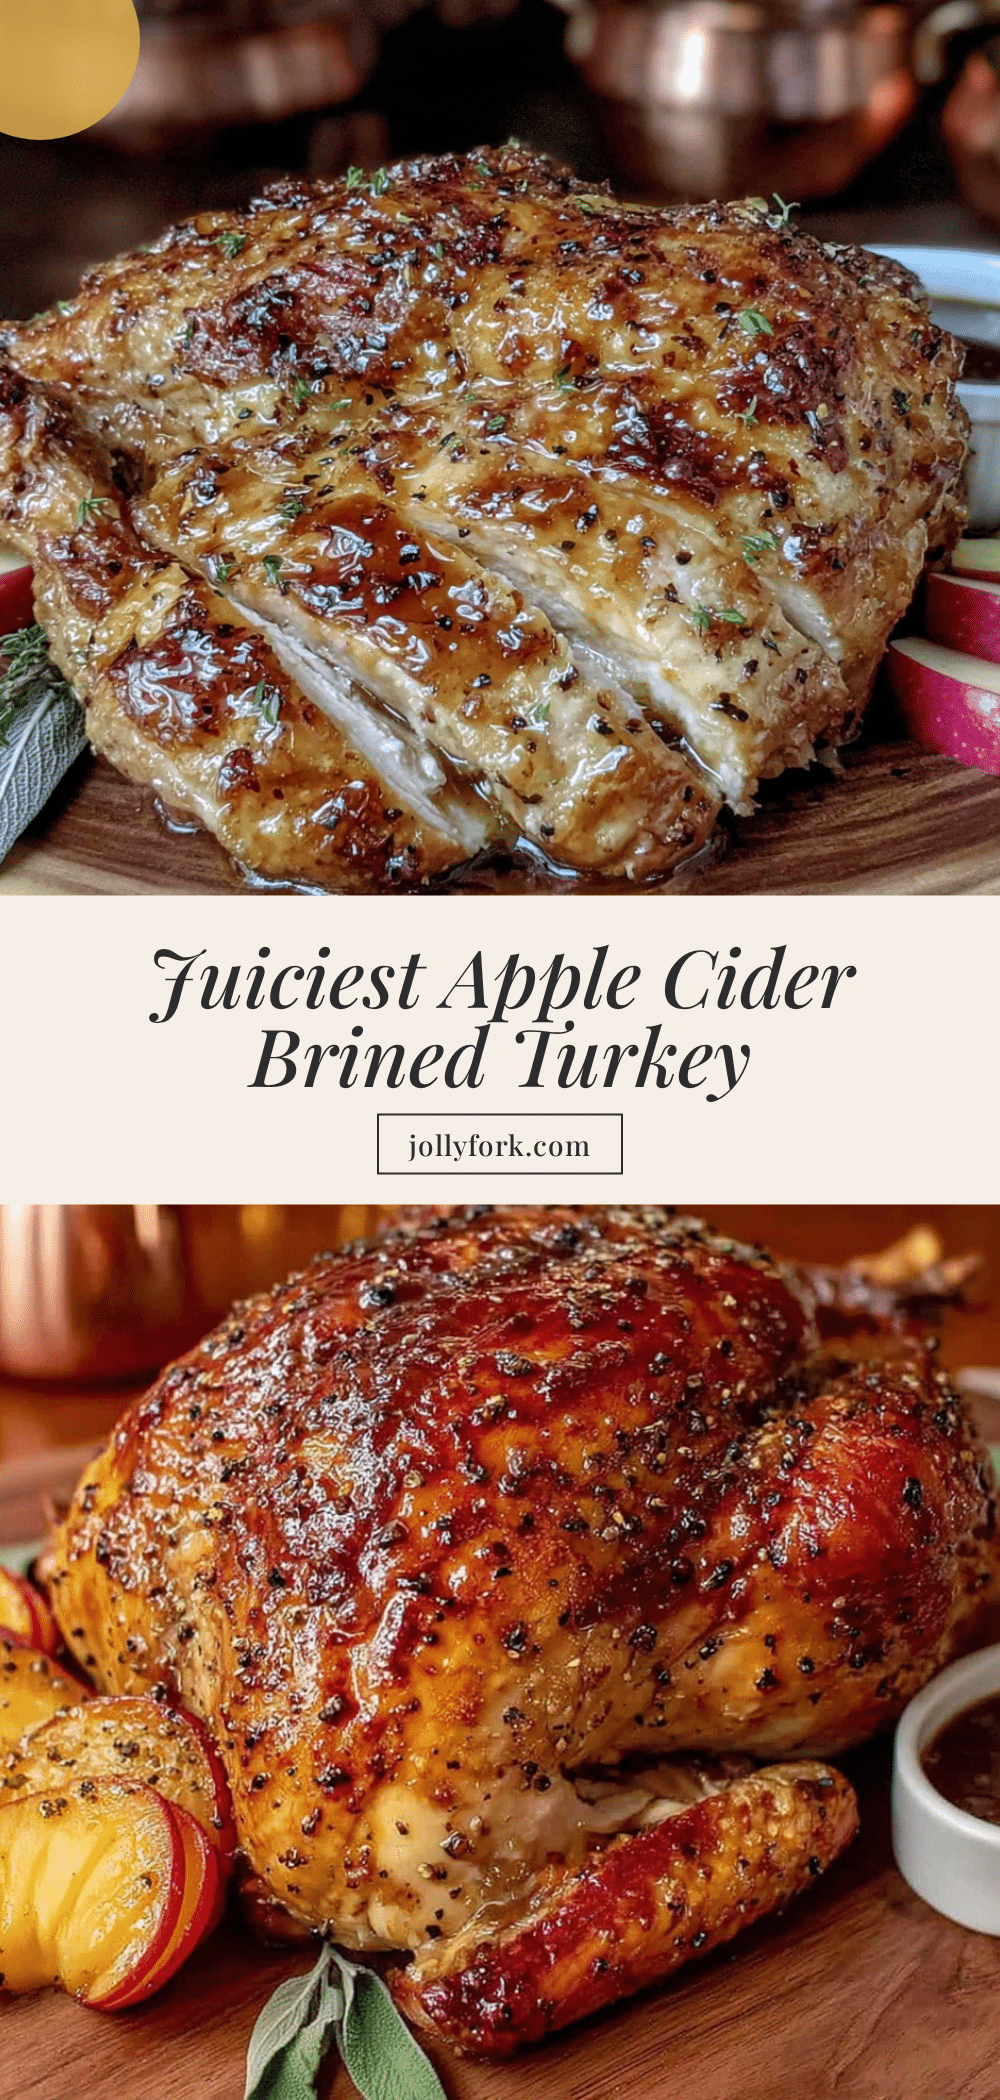
My neighbor Mark asked why I couldn’t just soak the turkey in apple cider instead of fussing with a complicated brine. I started to explain why that wouldn’t work — then stopped. Honestly? I had no good reason. I’d just been doing it the same way for years, and Mark, who once burned water, had a point. So I dumped a gallon of fresh apple cider into a cooler, added some salt and spices, and dropped the bird in. That Thanksgiving, the turkey was so juicy and flavorful that I actually had to admit he was right out loud. It stung a little, but the turkey was worth it.
That’s how this apple cider brined turkey recipe came to be. Not from some chef’s secret or a family heirloom, but from a neighbor who didn’t know any better and accidentally improved my cooking. I’ve tweaked it over the years, of course, but the core idea is still Mark’s. The cider does something magical to the meat — it tenderizes it, adds a subtle sweetness, and keeps every single bite moist. Even the white meat, you know, the part that’s usually dry and sad, comes out perfect.
I’ve made this turkey for holiday dinners, Sunday suppers, and even a random Tuesday when I needed comfort food. It never fails. The first time I pulled it out of the oven, the skin was golden and crisp, and the smell — oh, that smell — made everyone wander into the kitchen. My sister actually said, “Did you buy this from somewhere?” Let me tell you, that’s the highest compliment in my family. You might have had dry turkey before, but this one changes things. It’s the kind of recipe that makes you feel like a hero at the dinner table, even if you’re just following a neighbor’s dumb luck.
Why You’ll Love This Recipe
This isn’t just another turkey recipe. It’s the one you’ll come back to year after year, the one that gets requested before the holidays even start. I’ve tested it in different ovens, with different birds, and even with a frozen turkey once (thawed it first, don’t worry). It always works. Here’s why you’ll love it:
- Unbelievably Juicy : The apple cider brine locks in moisture like nothing else. Every bite is tender and flavorful, even the next day.
- Simple Ingredients : You don’t need a specialty store for this. Apple cider, salt, brown sugar, and a few spices are all it takes.
- Perfect for Holidays : Whether it’s Thanksgiving, Christmas, or a big family dinner, this turkey steals the show without stress.
- Crowd-Pleaser : I’ve served this to kids, grandparents, and picky eaters. Everyone loves it. No leftovers? That’s rare.
- Foolproof Method : The brine does the hard work for you. Even if you’re a beginner, this recipe makes you look like a pro.
What makes this different from other brined turkeys? It’s the balance. The apple cider isn’t overpowering — it’s subtle, like a hint of autumn in every bite. The salt and spices enhance the natural turkey flavor instead of masking it. I’ve tried wet brines with beer, citrus, and herbs, but this one is my best version. It’s comfort food reimagined: healthier than deep-frying, faster than a dry brine, but with the same soul-soothing satisfaction. Perfect for impressing guests without spending all day in the kitchen.
What Ingredients You Will Need
This recipe uses simple, wholesome ingredients to deliver bold flavor and satisfying texture without the fuss. Most of these are pantry staples or easy to find at any grocery store. The apple cider is the star, so grab a good one if you can.
- For the Brine:
- 1 gallon apple cider (unfiltered is best for flavor)
- 1 cup kosher salt (I recommend Diamond Crystal for its clean taste)
- 1/2 cup brown sugar, packed (light or dark both work)
- 4 sprigs fresh rosemary
- 4 sprigs fresh thyme
- 2 cinnamon sticks
- 1 tablespoon black peppercorns
- 6 cloves garlic, smashed
- 2 bay leaves
- 4 cups ice cubes (to cool the brine quickly)
- For the Turkey:
- 1 whole turkey, 12-14 pounds (thawed if frozen)
- 2 tablespoons olive oil or melted butter (for the skin)
- 1 teaspoon salt (for seasoning before roasting)
- 1 teaspoon black pepper
- 1 apple, quartered (for stuffing the cavity)
- 1 onion, quartered
- 2 sprigs fresh rosemary
- 2 sprigs fresh thyme
Ingredient Tips: Look for apple cider without added sugar or preservatives — it makes a difference in the final flavor. If you can’t find fresh herbs, dried work too, just use half the amount. I’ve used Morton’s kosher salt before, but it’s saltier, so reduce to 3/4 cup if you go that route. For a dairy-free option, use olive oil instead of butter on the skin. The ice cubes are important — they cool the brine fast so you don’t have to wait hours.
Equipment Needed
You don’t need fancy gear for this recipe, but a few tools make it easier. Here’s what I use:
- Large stockpot or cooler : A 5-gallon pot works, but I prefer a clean cooler. It keeps the brine cold and fits the turkey perfectly. A plastic brining bag is a good alternative.
- Roasting pan : A sturdy metal pan with a rack is ideal. If you don’t have a rack, use chopped vegetables like carrots and celery to lift the turkey.
- Meat thermometer : This is non-negotiable. An instant-read thermometer ensures the turkey is cooked perfectly without guessing.
- Kitchen twine : For trussing the legs. You can skip it, but it helps the turkey cook evenly.
- Large bowl or pitcher : For mixing the brine ingredients before adding to the pot.
- Aluminum foil : To tent the turkey if the skin browns too fast.
I’ve used a cheap roasting pan from the grocery store and it worked fine. The thermometer is the only thing I’d splurge on — a good one costs around $15 and saves you from dry turkey. If you don’t have a cooler, a large pot in the fridge works, but make sure the turkey is fully submerged.
Preparation Method
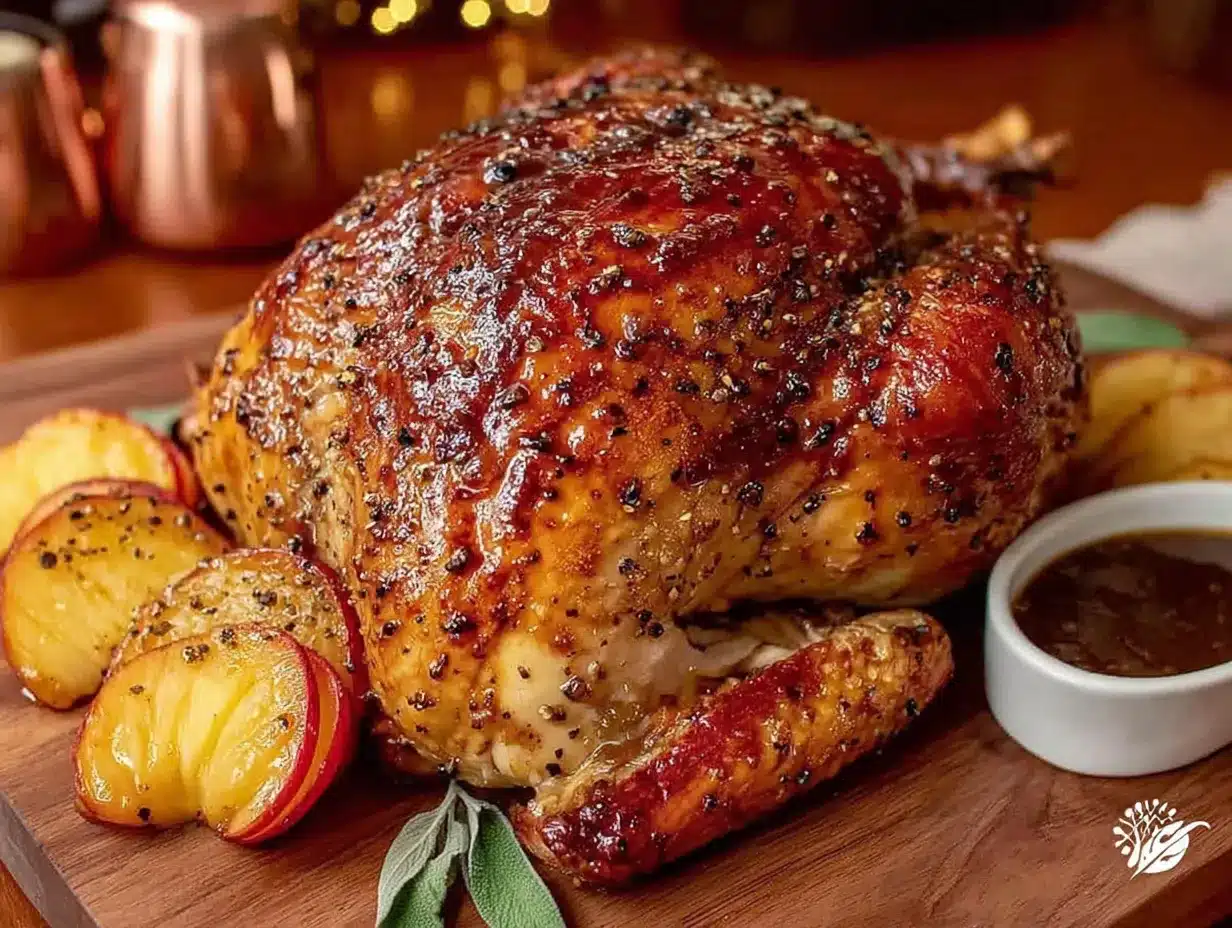
This method is straightforward, but take your time with each step. The brine needs to work its magic, so plan ahead. Here’s how to do it:
- Make the brine (Day before serving): In a large pot, combine 4 cups of the apple cider, kosher salt, brown sugar, rosemary, thyme, cinnamon sticks, peppercorns, garlic, and bay leaves. Bring to a boil over medium-high heat, stirring until the salt and sugar dissolve. This takes about 5 minutes. Remove from heat and add the remaining 4 cups of apple cider and the ice cubes. Stir until the ice melts and the brine cools to room temperature. It should feel cool to the touch, not warm.
- Prepare the turkey: Remove the turkey from its packaging. Take out the giblets and neck from the cavity — save them for gravy if you want. Rinse the turkey inside and out with cold water, then pat it dry with paper towels. Place the turkey in your cooler or brining bag.
- Brine the turkey: Pour the cooled brine over the turkey, making sure it’s fully submerged. If using a cooler, add more ice if needed to keep the turkey cold. Close the lid and refrigerate (or place the cooler in a cold spot like a garage) for 12 to 24 hours. I usually go for 18 hours — it’s the sweet spot. Don’t go over 24 hours or the meat can get mushy.
- Remove and dry (Roasting day): Take the turkey out of the brine. Discard the brine. Rinse the turkey thoroughly with cold water to remove excess salt. Pat it dry inside and out with paper towels. This step is crucial — a dry skin gets crispy. Let the turkey sit on a baking sheet in the fridge, uncovered, for 1 to 2 hours. This helps the skin dry out even more.
- Preheat the oven: Set your oven to 425°F (220°C). Place a rack in the lower third of the oven. If you have a convection setting, use it — it helps the skin brown evenly.
- Season and stuff: Rub the turkey all over with olive oil or melted butter. Season with salt and pepper. Stuff the cavity with the quartered apple, onion, rosemary, and thyme. Tie the legs together with kitchen twine and tuck the wing tips under the body.
- Roast the turkey: Place the turkey on a rack in a roasting pan. Roast at 425°F for 30 minutes. Then reduce the oven temperature to 325°F (160°C) and continue roasting. The total time will be about 13 to 15 minutes per pound for an unstuffed turkey. For a 12-pound bird, that’s about 2.5 to 3 hours. Baste the turkey with pan juices every 45 minutes — it adds flavor and keeps the skin golden.
- Check for doneness: Start checking the temperature about 30 minutes before the estimated time. Insert an instant-read thermometer into the thickest part of the thigh, avoiding the bone. It should read 165°F (74°C). Also check the breast — it should be at least 160°F (71°C). If the skin is browning too fast, tent the turkey loosely with foil.
- Rest and carve: Remove the turkey from the oven. Let it rest on a cutting board for 20 to 30 minutes. This allows the juices to redistribute. Don’t skip this — cutting too early makes the meat dry. Carve and serve warm.
Sensory Cues: When the brine boils, you’ll smell the cinnamon and herbs — it’s like autumn in a pot. During roasting, the skin should turn a deep golden brown, and the juices should run clear when you pierce the thigh. If the turkey starts smoking, your oven might be too hot — reduce the temperature slightly.
Cooking Tips & Techniques
I’ve made this turkey more times than I can count, and I’ve learned a few things the hard way. Here are my best tips:
- Don’t skip the rinse : After brining, rinse the turkey really well. I once forgot and ended up with a salty bird. It was edible, but barely. Rinse for at least 2 minutes under cold water.
- Dry skin is crispy skin : That hour in the fridge after rinsing? It makes a huge difference. The air dries the skin, so it crisps up in the oven. If you’re short on time, pat it dry with paper towels and let it sit for 15 minutes.
- Use a thermometer : I ruined a turkey once by trusting the pop-up timer. It popped at 180°F, and the meat was dry. A good thermometer costs little and saves your dinner.
- Baste wisely : Basting adds flavor, but opening the oven too often drops the temperature. Every 45 minutes is enough. If you want extra crispy skin, skip basting the last 30 minutes.
- Let it rest : I know you’re hungry, but resting is non-negotiable. The juices need time to settle. I once carved after 10 minutes, and the cutting board was flooded with liquid. Wait 20 to 30 minutes.
One mistake I made early on was using a frozen turkey without fully thawing it. The outside cooked while the inside was still cold. Thaw in the fridge for 24 hours per 4 to 5 pounds. For a 12-pound turkey, that’s 3 days. Plan ahead.
Variations & Adaptations
This recipe is flexible. I’ve tried different twists over the years, and they all worked. Here are some ideas:
- Herb Swap : If you don’t have rosemary and thyme, use sage and marjoram. They give a warmer, earthier flavor. I tried this once when I ran out of thyme, and it was lovely.
- Spicy Kick : Add 2 dried chipotle peppers or 1 teaspoon red pepper flakes to the brine. The heat balances the sweetness of the cider. My brother-in-law loves this version.
- Citrus Twist : Replace the apple in the cavity with orange or lemon wedges. It brightens the flavor. I did this for a summer roast, and it felt lighter.
- Dairy-Free : Use olive oil instead of butter on the skin. It still gets crispy, and the flavor is just as good.
- Gluten-Free : This recipe is naturally gluten-free. Just double-check your spice blends — some have additives.
- Smoked Version : Instead of roasting, smoke the turkey at 225°F for 4 to 5 hours. The apple cider brine pairs beautifully with smoke. I’ve done this on a pellet grill, and it was incredible.
If you’re feeding a smaller crowd, use a turkey breast instead of a whole bird. Reduce the brine ingredients by half and brine for 8 to 12 hours. Roast at 350°F for about 1.5 hours, or until the internal temperature hits 160°F.
Serving & Storage Suggestions
This turkey is best served warm, right after resting. Here’s how to make the most of it:
- Serving Temperature : Serve the turkey at 140°F to 145°F. It stays warm for about 30 minutes after resting. If it cools down, pop slices in a warm oven for a few minutes.
- Presentation : Arrange the carved turkey on a platter with fresh herbs and apple slices around it. It looks beautiful and festive. I like to drizzle a little pan juice over the top for shine.
- Complementary Dishes : This turkey goes with mashed potatoes, roasted vegetables, cranberry sauce, and stuffing. A crisp white wine like Sauvignon Blanc pairs nicely. For a non-alcoholic option, serve sparkling apple cider.
- Storage : Store leftover turkey in an airtight container in the refrigerator for up to 4 days. The flavors deepen overnight. For longer storage, freeze the meat in a freezer-safe bag for up to 3 months. Slice it first so you can grab portions easily.
- Reheating : To reheat without drying, place slices in a baking dish with a splash of turkey broth or apple cider. Cover with foil and warm at 300°F for 10 to 15 minutes. You can also microwave individual portions in 30-second bursts, but the oven is better.
The leftover turkey is amazing in sandwiches, salads, or soups. I make a turkey pot pie with the leftovers, and it’s almost as good as the main event.
Nutritional Information & Benefits
This apple cider brined turkey is a wholesome choice for a holiday meal. Here are the estimated values per serving (based on 3 ounces of cooked breast meat without skin):
| Nutrient | Amount |
|---|---|
| Calories | 140 |
| Protein | 25g |
| Fat | 3g |
| Saturated Fat | 1g |
| Carbohydrates | 0g |
| Sodium | 380mg |
Health Benefits : Turkey is lean protein that supports muscle health and keeps you full. Apple cider adds trace amounts of antioxidants and a touch of natural sweetness without refined sugar. The herbs like rosemary and thyme have anti-inflammatory properties. This recipe is lower in sodium than many store-bought brines, especially if you rinse well. It’s also naturally gluten-free and dairy-free if you use olive oil. For a lower-sodium option, reduce the salt in the brine to 3/4 cup. I’ve done this, and the turkey is still flavorful — just less salty.
Conclusion
This apple cider brined turkey is worth every minute of prep. It’s juicy, flavorful, and surprisingly easy to pull off. The brine does the heavy lifting, so you can relax while it roasts. I’ve made this for holidays, family dinners, and even a Friendsgiving, and it never disappoints. Honestly, it’s the recipe that made me stop fearing turkey.
I hope you try it and make it your own. Maybe add a little extra cinnamon, or swap in your favorite herbs. That’s the beauty of cooking — you can tweak it until it feels like yours. If you do make it, I’d love to hear how it turned out. Drop a comment below or tag me in your photos. And if you have a neighbor like Mark who gives you a crazy idea, listen to them. Sometimes the best recipes come from the most unexpected places. Happy cooking!
Frequently Asked Questions
Can I use apple juice instead of apple cider?
Yes, you can use apple juice, but it won’t have the same depth of flavor. Apple cider is unfiltered and has a richer, tangier taste. If you use juice, add an extra cinnamon stick to compensate.
How long should I brine the turkey?
12 to 24 hours is ideal. 18 hours is my sweet spot. Don’t go over 24 hours, or the meat can become mushy and overly salty.
Do I need to rinse the turkey after brining?
Yes, absolutely. Rinse it thoroughly under cold water for at least 2 minutes. This removes excess salt and prevents the turkey from being too salty.
Can I brine a frozen turkey?
No, the turkey must be fully thawed before brining. Thaw it in the refrigerator for 24 hours per 4 to 5 pounds. For a 12-pound turkey, that’s about 3 days.
What if I don’t have a cooler for brining?
Use a large stockpot or a brining bag placed in the refrigerator. A 5-gallon pot works for most turkeys. Just make sure the turkey is fully submerged in the brine.
Pin This Recipe!