My brother-in-law Mark had claimed to hate sugar cookies for as long as I’d known him. Fifteen years. Every holiday, every bake sale, every office party—he’d pass the plate with a polite but firm “no thanks.” Then last Thanksgiving, I caught him in my kitchen, mid-bite, with a guilty look on his face and a crumb on his sweater. The cookie in his hand? My new Hand Turkey Sugar Cookies. He didn’t even try to deny it. He just mumbled something about “the texture being different” and reached for another one. Honestly, that moment made my entire holiday.
I’d made these cookies for the kids, you know? Just a fun little activity to keep them busy while the turkey rested. I’d traced their hands with a butter knife in the sugar cookie dough, baked them up, and set out a rainbow of frosting and sprinkles. The plan was simple: let the little ones decorate, keep them entertained, and maybe have a few leftover cookies for the adults later. I didn’t expect my sugar-cookie-skeptic brother-in-law to become their biggest fan. But there he was, standing over the cooling rack, giving me that “okay, you win” look.
The thing about these cookies is that they’re not just cute—they’re genuinely good. The dough is soft and buttery, with a slight tang from the cream cheese that makes all the difference. It holds its shape perfectly when you cut out the handprints, so you don’t end up with a blob of dough that looks more like a mutant starfish than a turkey. And the decorating? Oh, it’s a whole event. I set up a little cookie-decorating station on the kitchen island with bowls of colored frosting, candy corn for feathers, and mini chocolate chips for eyes. By the time the kids were done, we had a flock of the most ridiculous, charming little turkeys you’ve ever seen. Mark ate three of them before dinner. I’m not even exaggerating.
Why You’ll Love This Recipe
These Hand Turkey Sugar Cookies are the kind of recipe that makes you the hero of any Thanksgiving gathering. They’re fun, festive, and surprisingly easy to pull off—even if you’re not a seasoned baker. Here’s why they’ve become a must-make in my kitchen every November:
- Kid-Approved & Adult-Friendly: The kids love tracing their hands and decorating, while the adults can’t stop eating them. It’s a win-win for every age group.
- Simple Ingredients: You probably have everything you need in your pantry right now. No fancy extracts or hard-to-find specialty items.
- Perfect for Hosting: Set up a decorating station before guests arrive, and let the activity keep everyone entertained while you finish the main meal. It’s the ultimate crowd-pleaser.
- Make-Ahead Magic: The dough freezes beautifully, and the baked cookies stay fresh for days. You can prep everything in advance and focus on the big day.
- Unbelievably Delicious: This isn’t your average sugar cookie. The cream cheese in the dough gives it a soft, rich texture that melts in your mouth. Honestly, it’s the best sugar cookie I’ve ever made.
What sets this recipe apart from the hundreds of other sugar cookie recipes out there? It’s the texture. I’ve tested dozens of versions over the years, and this one—with the cream cheese and the perfect ratio of butter to sugar—is the one that finally converted my brother-in-law. It’s not too sweet, not too dense, and it holds its shape beautifully when you cut out the handprints. Plus, the decorating possibilities are endless. You can go classic with candy corn feathers, or get creative with colored sanding sugars and edible glitter. It’s the kind of recipe that sparks joy, and honestly, that’s what Thanksgiving is all about.
What Ingredients You Will Need
This recipe uses simple, wholesome ingredients to deliver that perfect sugar cookie texture and flavor. Most of these are pantry staples, so you likely won’t need a special trip to the store.
- Unsalted butter, softened (1 cup / 2 sticks) – I always use unsalted so I can control the salt level. Let it sit out for about an hour until it’s soft but not melty.
- Cream cheese, softened (4 oz / half a block) – This is the secret ingredient. It adds a subtle tang and makes the dough incredibly tender. Use full-fat for best results.
- Granulated sugar (1 cup / 200g) – Regular white sugar works perfectly. Don’t substitute with a liquid sweetener here.
- Large egg (1, room temperature) – Let it sit out with the butter so it incorporates smoothly.
- Vanilla extract (2 teaspoons) – Pure vanilla extract makes a difference. I prefer Nielsen-Massey for its rich flavor.
- All-purpose flour (2 ½ cups / 315g) – Spoon and level your flour for accurate measuring. Too much flour makes the cookies dense.
- Baking powder (1 teaspoon) – Helps the cookies puff up just slightly without spreading too much.
- Salt (½ teaspoon) – Balances the sweetness and enhances the buttery flavor.
For the Royal Icing:
- Powdered sugar (2 cups / 240g) – Sift it to avoid lumps.
- Meringue powder (2 tablespoons) – This gives the icing a nice glossy finish and helps it set hard. You can find it in the baking aisle or online.
- Water (3-4 tablespoons) – Add slowly until you reach a piping consistency.
- Food coloring (assorted colors) – Gel colors work best for vibrant shades without thinning the icing.
- Candy corn (for feathers) – The classic turkey feather look. You’ll need about 3-4 pieces per cookie.
- Mini chocolate chips (for eyes) – Or use candy eyes if you prefer.
- Orange sprinkles or small orange candies (for the beak) – I’ve also used tiny orange M&Ms in a pinch.
Substitution Tips: If you’re dairy-free, you can use a high-quality vegan butter and dairy-free cream cheese, but the texture will be slightly different. For a gluten-free version, swap the all-purpose flour with a 1:1 gluten-free baking blend that contains xanthan gum. I’ve tried this with King Arthur’s measure-for-measure blend, and it worked beautifully.
Equipment Needed
You don’t need a lot of fancy equipment for these cookies, which is part of their charm. Here’s what I use:
- Stand mixer or hand mixer – A stand mixer makes creaming the butter and cream cheese effortless, but a hand mixer works just fine. I’ve made these with both.
- Rolling pin – A standard rolling pin is perfect. If you don’t have one, a clean wine bottle works in a pinch (I’ve been there).
- Parchment paper – Lining your baking sheets prevents sticking and makes cleanup a breeze. I buy the pre-cut sheets for convenience.
- Baking sheets – Two large, rimmed baking sheets are ideal. Avoid using dark non-stick pans, as they can cause the cookies to brown too quickly.
- Butter knife or bench scraper – For tracing the handprints in the dough. A sharp butter knife works perfectly.
- Piping bags or zip-top bags – For the royal icing. If you don’t have piping bags, snip a tiny corner off a zip-top bag. It’s not fancy, but it works.
- Cooling rack – Essential for letting the cookies cool completely before decorating. I have a set of stackable racks that save counter space.
If you’re new to cookie decorating, don’t stress about getting everything perfect. I’ve used a butter knife to spread icing more times than I’d like to admit, and the cookies still looked adorable. The kids don’t care if the feathers are perfectly aligned—they just want to eat them.
Preparation Method
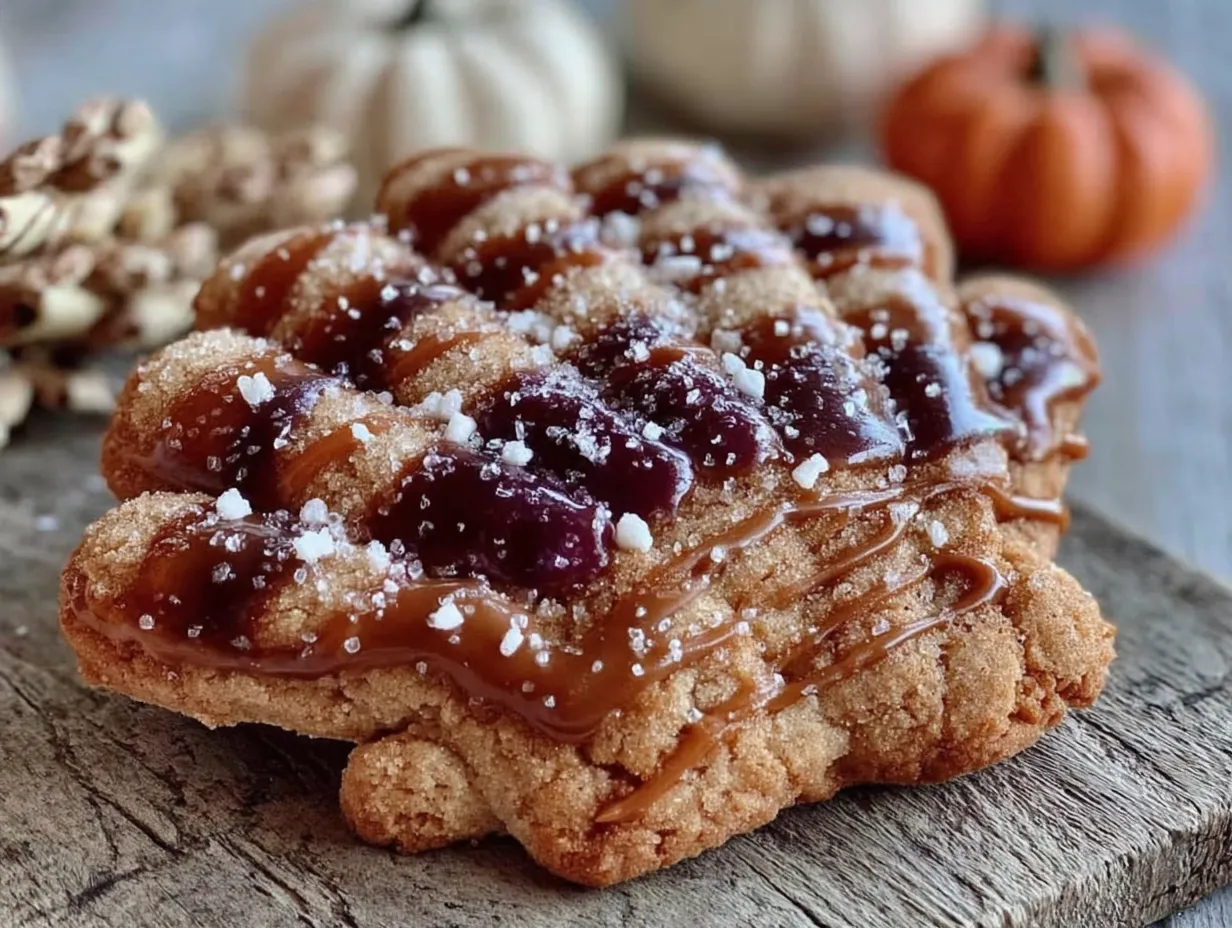
Let’s get to the fun part. Here’s how to make these Hand Turkey Sugar Cookies from start to finish. I’ve broken it down into clear steps so you can follow along easily.
Step 1: Make the Dough
In the bowl of your stand mixer (or a large bowl with a hand mixer), cream together the softened butter and cream cheese on medium speed until smooth and fluffy—about 2 minutes. Add the granulated sugar and continue beating for another 2-3 minutes until the mixture is light and pale. Scrape down the sides of the bowl with a spatula.
Add the egg and vanilla extract, then beat on low until just combined. Don’t overmix here—you don’t want to incorporate too much air.
In a separate bowl, whisk together the flour, baking powder, and salt. Gradually add the dry ingredients to the wet mixture, mixing on low speed until a soft dough forms. The dough should be smooth and slightly sticky but not wet. If it feels too sticky, add an extra tablespoon of flour.
Step 2: Chill the Dough
Divide the dough in half, shape each half into a flat disk (about 1-inch thick), and wrap tightly in plastic wrap. Refrigerate for at least 2 hours, or up to overnight. Chilling is crucial—it prevents the cookies from spreading too much during baking and makes the dough much easier to roll out and cut.
Pro tip: I’ve skipped this step before when I was in a hurry, and the cookies turned into flat, shapeless blobs. Don’t be like me. Chill the dough.
Step 3: Roll and Cut
Preheat your oven to 350°F (175°C). Line two baking sheets with parchment paper.
Lightly flour your work surface and rolling pin. Roll out one disk of dough to about ¼-inch thickness. Don’t go thinner—the cookies need to be sturdy enough to hold the handprint shape.
Here’s the fun part: Using a butter knife or bench scraper, gently trace your hand (or a child’s hand) into the dough. Cut around the outline, leaving about ½ inch of space around the fingers. Carefully transfer the hand-shaped dough to the prepared baking sheet, spacing them about 2 inches apart. I can usually fit 4-5 hand turkeys per sheet.
Gather the dough scraps, re-roll them, and repeat until all the dough is used. You should get about 12-14 hand turkeys, depending on the size of the hands.
Step 4: Bake
Bake for 10-12 minutes, or until the edges are just barely golden brown. The centers should look set but not browned. I usually rotate the baking sheets halfway through for even baking.
Let the cookies cool on the baking sheets for 5 minutes, then transfer them to a wire rack to cool completely. Don’t try to decorate them while they’re warm—the icing will melt and slide right off.
Step 5: Decorate
While the cookies cool, make the royal icing. In a medium bowl, whisk together the powdered sugar and meringue powder. Add water, one tablespoon at a time, and whisk until the icing is smooth and reaches a piping consistency. You want it thick enough to hold its shape but thin enough to pipe easily.
Divide the icing into small bowls and tint with food coloring. I usually make orange for the beak, red or yellow for the wattle, and then a rainbow of colors for the feathers. Transfer each color to a piping bag or zip-top bag with a tiny snip in the corner.
Pipe the feathers first: place 3-4 candy corn pieces in a fan shape behind the “wrist” area of the hand. Then pipe a small dot of orange icing for the beak and a tiny red dot for the wattle. Add two mini chocolate chips for the eyes. Let the icing set for about 30 minutes before serving.
Cooking Tips & Techniques
I’ve made these cookies more times than I can count, and I’ve learned a few things along the way. Here are my best tips for success:
Don’t skip the cream cheese. I know it seems like an extra step, but it’s what gives these cookies their soft, tender texture. I once tried making them without it, and they came out dry and crumbly. Never again.
Chill the dough thoroughly. I cannot stress this enough. If the dough is even slightly warm when you cut the handprints, the shapes will blur and spread in the oven. I’ve learned this the hard way—more than once. If you’re short on time, pop the cut-out cookies in the freezer for 15 minutes before baking.
Use a light hand with the flour. When rolling out the dough, use just enough flour to prevent sticking. Too much flour will make the cookies tough. I keep a small bowl of flour nearby and dust sparingly.
Bake one sheet at a time. If you try to bake two sheets at once, the heat won’t circulate evenly, and your cookies might end up with uneven browning. I know it takes longer, but it’s worth it for consistent results.
Let the icing set completely. I made the mistake of stacking the decorated cookies too soon once, and the icing smeared everywhere. Give them at least 30 minutes to set, or an hour if you’re using a thicker icing.
Multitask wisely. While the dough chills, you can prep the icing and set up your decorating station. This way, when the cookies come out of the oven, you’re ready to go. I like to have everything organized before the kids come anywhere near the kitchen—trust me on this.
Variations & Adaptations
One of the best things about this recipe is how customizable it is. Here are some variations I’ve tried and loved:
Dietary Swaps: For a dairy-free version, use vegan butter and dairy-free cream cheese. The texture will be slightly less tender, but still delicious. For a gluten-free option, use a 1:1 gluten-free baking blend. I’ve tested this with Bob’s Red Mill, and it worked great.
Flavor Twists: Add ½ teaspoon of almond extract along with the vanilla for a subtle nutty flavor. Or try adding a teaspoon of orange zest to the dough for a citrusy kick that pairs beautifully with the sweet icing.
Seasonal Variations: For Christmas, use the same handprint shape but decorate like reindeer—pretzel antlers, red candy nose, and brown icing. For Halloween, make them into little ghosts with white icing and black candy eyes. The possibilities are endless.
Different Decorating Styles: If you don’t want to use royal icing, you can simply dust the baked cookies with powdered sugar or drizzle them with a simple glaze made from powdered sugar and milk. I’ve also used melted white chocolate for a richer finish.
My Personal Favorite Variation: I once made these with a cinnamon-sugar coating instead of icing. I brushed the baked cookies with melted butter and sprinkled them with a mixture of cinnamon and granulated sugar. They weren’t as cute, but they were absolutely addictive. Mark ate six of them.
Serving & Storage Suggestions
These cookies are best served at room temperature, so let them sit out for about 15 minutes after decorating before serving. I like to arrange them on a large platter in a fan shape, with the hand turkeys facing outward. It makes for a fun, festive centerpiece that guests can’t resist.
What to Serve Alongside: These cookies pair beautifully with a hot cup of coffee or a glass of cold milk. If you’re serving them at a Thanksgiving gathering, they’re perfect alongside other desserts like pumpkin pie or apple crisp. I’ve also been known to set out a bowl of extra candy corn for snacking.
Storage: Store the undecorated cookies in an airtight container at room temperature for up to 5 days. Once decorated, they’ll stay fresh for about 3 days. If you’re stacking them, place a sheet of parchment paper between each layer to prevent the icing from smudging.
Freezer Instructions: The unbaked dough can be frozen for up to 3 months. Wrap it tightly in plastic wrap and then in foil. When you’re ready to bake, thaw the dough in the refrigerator overnight, then roll and cut as directed. You can also freeze the baked, undecorated cookies for up to 2 months. Thaw at room temperature before decorating.
Reheating: I don’t recommend reheating these cookies, as the icing will melt. If you want a warm cookie, bake them fresh and let them cool just slightly before serving without icing.
Flavor Development: Honestly, these cookies taste even better the next day. The flavors meld together, and the texture becomes even more tender. If you can resist eating them all on day one, you’re in for a treat.
Nutritional Information & Benefits
Let’s be real—these are sugar cookies, so they’re not exactly health food. But here’s the nutritional breakdown for one hand turkey cookie (without icing): approximately 180 calories, 8g fat, 25g carbohydrates, 2g protein, and 12g sugar. With icing and decorations, expect about 220 calories per cookie.
Health Benefits of Key Ingredients: The cream cheese adds a small amount of calcium and protein. The butter provides vitamin A. And hey, there’s a tiny bit of fiber from the flour. I’m reaching here, I know.
Dietary Considerations: These cookies contain dairy, eggs, and gluten. For a dairy-free option, use vegan butter and dairy-free cream cheese. For a gluten-free option, use a 1:1 gluten-free flour blend. They are not suitable for vegan diets unless you use egg replacers and vegan butter.
My Personal Perspective: Look, I’m not here to pretend these are healthy. They’re a treat, plain and simple. But I believe in balance—enjoying a couple of these cookies on Thanksgiving isn’t going to derail your wellness goals. The joy they bring to the table is worth every calorie. And honestly, watching my brother-in-law eat his third one with a grin on his face? That’s the real nutrition.
Conclusion
These Hand Turkey Sugar Cookies have become a non-negotiable part of my Thanksgiving tradition. They’re fun, festive, and genuinely delicious—not just a cute activity that results in mediocre cookies. The cream cheese dough is soft and buttery, the decorating is a blast for all ages, and the finished product is guaranteed to impress your guests.
I love this recipe because it brings people together. The kids get to be creative, the adults get to snack, and everyone walks away with a smile. It’s the kind of recipe that sparks conversations and creates memories. And if you’re lucky, it might even convert a sugar-cookie skeptic or two.
I’d love to hear how yours turn out! Share your decorated hand turkeys in the comments below, or tag me on social media. Did you try any fun variations? Did your kids come up with something I haven’t thought of? Let me know—I’m always looking for new ideas. And if you’re hosting this Thanksgiving, don’t forget to make a double batch. Trust me, they’ll disappear faster than you expect.
Happy baking, and happy Thanksgiving!
Frequently Asked Questions
Can I make the dough ahead of time?
Absolutely! The dough can be refrigerated for up to 3 days or frozen for up to 3 months. Just wrap it tightly in plastic wrap and then foil. Thaw in the refrigerator overnight before rolling and cutting.
Why did my cookies spread too much?
This usually happens when the dough isn’t chilled enough. Make sure you chill the dough for at least 2 hours before rolling, and if the cut-out cookies feel soft, pop them in the freezer for 15 minutes before baking. Also, check that your butter wasn’t too soft—it should be softened but not melty.
Can I use a different type of icing?
Yes! If you don’t want to make royal icing, you can use a simple glaze made from powdered sugar and milk, or even store-bought cookie icing. Just keep in mind that royal icing sets harder, which is helpful if you’re stacking the cookies or transporting them.
How do I get clean handprint shapes?
Use a sharp butter knife or bench scraper, and cut with confidence. Don’t saw back and forth—just press down firmly in one smooth motion. If the dough starts to stick to the knife, dip it in a little flour. Also, make sure your dough is well-chilled before cutting.
Can I make these cookies without a stand mixer?
Definitely! A hand mixer works perfectly for creaming the butter and cream cheese. You can even mix the dough by hand with a wooden spoon if you don’t mind a little arm workout. Just make sure the butter and cream cheese are well-softened so they incorporate smoothly.
Pin This Recipe!

Best Easy Hand Turkey Sugar Cookies for Thanksgiving

These Hand Turkey Sugar Cookies are soft, buttery, and fun to decorate, making them a perfect Thanksgiving activity for kids and adults alike. The cream cheese dough ensures a tender texture that holds its shape beautifully.
- Prep Time: 30 minutes
- Cook Time: 12 minutes
- Total Time: 2 hours 42 minutes (includes chilling time)
- Yield: 12-14 servings 1x
- Category: Dessert
- Cuisine: American
Ingredients
- 1 cup (2 sticks) unsalted butter, softened
- 4 oz cream cheese, softened
- 1 cup (200g) granulated sugar
- 1 large egg, room temperature
- 2 teaspoons vanilla extract
- 2 ½ cups (315g) all-purpose flour
- 1 teaspoon baking powder
- ½ teaspoon salt
- 2 cups (240g) powdered sugar
- 2 tablespoons meringue powder
- 3–4 tablespoons water
- Assorted food coloring (gel preferred)
- Candy corn (for feathers)
- Mini chocolate chips (for eyes)
- Orange sprinkles or small orange candies (for beak)
Instructions
- In a stand mixer or large bowl, cream together softened butter and cream cheese on medium speed until smooth and fluffy, about 2 minutes. Add granulated sugar and beat for another 2-3 minutes until light and pale. Scrape down sides.
- Add egg and vanilla extract, beat on low until just combined. Do not overmix.
- In a separate bowl, whisk together flour, baking powder, and salt. Gradually add dry ingredients to wet mixture, mixing on low until a soft dough forms. If too sticky, add an extra tablespoon of flour.
- Divide dough in half, shape into flat disks (1-inch thick), wrap in plastic wrap, and refrigerate for at least 2 hours or overnight.
- Preheat oven to 350°F (175°C). Line two baking sheets with parchment paper.
- Lightly flour work surface and rolling pin. Roll out one disk of dough to ¼-inch thickness. Using a butter knife or bench scraper, trace a hand shape into the dough, leaving ½ inch space around fingers. Cut and transfer to prepared baking sheet, spacing 2 inches apart. Gather scraps, re-roll, and repeat. Yield: 12-14 hand turkeys.
- Bake for 10-12 minutes, until edges are just barely golden brown. Rotate sheets halfway through. Cool on baking sheets for 5 minutes, then transfer to wire rack to cool completely.
- For royal icing: In a medium bowl, whisk together powdered sugar and meringue powder. Add water one tablespoon at a time until smooth and piping consistency. Divide into small bowls and tint with food coloring.
- Pipe feathers first: place 3-4 candy corn pieces in a fan shape behind the wrist area. Pipe a small dot of orange icing for beak and tiny red dot for wattle. Add two mini chocolate chips for eyes. Let icing set for 30 minutes before serving.
Notes
Chill dough thoroughly to prevent spreading. Use full-fat cream cheese for best texture. For dairy-free, use vegan butter and dairy-free cream cheese. For gluten-free, use a 1:1 gluten-free baking blend with xanthan gum. Cookies taste even better the next day.
Nutrition
- Serving Size: 1 hand turkey cookie
- Calories: 220
- Sugar: 12
- Sodium: 120
- Fat: 8
- Saturated Fat: 5
- Carbohydrates: 25
- Protein: 2
Keywords: hand turkey cookies, sugar cookies, Thanksgiving cookies, cream cheese sugar cookies, handprint cookies, turkey cookies, easy sugar cookies


