My youngest, Leo, had refused deviled eggs for years. Years. He’d wrinkle his nose at the sight of them on the Easter platter, push them to the edge of the plate at family barbecues, and declare them “weird squishy things” with the kind of conviction only a seven-year-old can muster. Then came the Halloween party at our neighbor Gina’s house last October. I walked into the kitchen to grab a napkin and found him, standing on tiptoes, reaching for a platter on the counter. He had a deviled egg in each hand, a black olive spider clinging to the top of one, and a look of pure, unrepentant delight on his face. Caught in the act of loving the very thing he swore he hated.
I didn’t say a word. I just watched him take a bite—yolk mixture first, then the olive legs—and saw his eyes go wide. “Mom,” he said, mouth still full, “these are NOT deviled eggs. These are Halloween spiders.” And that was that. The picky-eater wall came down, not because I argued or cajoled, but because a silly black-olive spider and the magic of a holiday made the same food feel completely different. Honestly, I felt a little smug. Not in a mean way—in that quiet, satisfied way you feel when you’ve won a battle without firing a single shot.
These Spooky Spider Deviled Eggs are now a non-negotiable part of our Halloween. They’re the snack that makes kids forget they’re eating protein, and the appetizer that makes adults smile before they even take a bite. Maybe you’ve got a little one at home who turns up their nose at eggs, or maybe you just want a Halloween treat that feels festive without being loaded with sugar. Either way, I think you’re going to love how simple—and how sneaky—this recipe really is.
Why You’ll Love This Recipe
Let’s be real for a second. Halloween snacks can be a total minefield. You want something fun, the kids want something spooky, and you don’t want to spend your whole evening in the kitchen while everyone else is having a good time. These Spooky Spider Deviled Eggs check every single box. I’ve tested this recipe through three different Halloween parties, two classroom celebrations, and one very chaotic trunk-or-treat event. It works every single time.
- Quick & Easy: From start to finish, you’re looking at about 25 minutes. The eggs boil while you prep the filling, and the assembly takes maybe five minutes. Perfect for that frantic hour before the trick-or-treaters start knocking.
- Simple Ingredients: You probably have everything you need right now. Eggs, mayonnaise, mustard, a little salt and pepper, and a can of black olives. No special trips to the store for weird candy or specialty items.
- Perfect for Halloween: These are the star of any spooky spread. They look impressive on the table, but they’re secretly one of the easiest things you can make. Kids love the spider design, and adults appreciate the savory break from all the candy.
- Crowd-Pleaser: Remember my Leo story? That’s not an isolated incident. I’ve watched kids who “don’t like eggs” go back for seconds and thirds. The spider design is pure magic for little ones—it transforms a food they think they don’t like into something fun and approachable.
- Unbelievably Delicious: This isn’t just a gimmick. The filling is creamy, tangy, and perfectly seasoned. The olive spider adds a briny pop that complements the rich yolk mixture beautifully. It’s comfort food with a creepy-crawly twist.
What makes this recipe different from every other deviled egg recipe out there? It’s the attention to the little details. I’ve learned the hard way that not all boiling methods are created equal, and I’ll share my foolproof technique for eggs that peel perfectly every time. Plus, the spider assembly is genuinely foolproof—even my five-year-old niece can do it with minimal help. This isn’t just another version of deviled eggs; it’s the version that will make you the hero of your Halloween party without breaking a sweat.
What Ingredients You Will Need
This recipe uses simple, everyday ingredients to create something that feels special. The magic is in how you put them together, not in fancy or hard-to-find components. Here’s what you’ll need to gather:
- 12 large eggs – Look for eggs that are at least a week old if you can. Fresh eggs are actually harder to peel after boiling. I usually buy my eggs a week before Halloween and let them sit in the fridge. Room temperature eggs also work better for a smoother filling, so let them sit out for about 15 minutes before you start.
- 1/3 cup mayonnaise – I prefer Duke’s or Hellmann’s for their creamy texture and balanced tang. Don’t use Miracle Whip here—the sweetness throws off the classic deviled egg flavor. If you’re watching calories, a light mayo works fine, but the texture will be slightly less luxurious.
- 1 tablespoon yellow mustard – This gives the filling that classic golden color and a gentle tang. You can use Dijon for a sharper flavor, but the kids seem to prefer the milder yellow mustard. I’ve tried both, and yellow mustard wins every time in my house.
- 1 teaspoon white vinegar – A tiny splash brightens everything up. Don’t skip it—it’s the secret to that diner-style deviled egg taste. Apple cider vinegar works in a pinch, but white vinegar is my go-to.
- 1/4 teaspoon salt – Fine sea salt dissolves better than kosher salt in the filling. Add it gradually and taste as you go.
- 1/8 teaspoon black pepper – Freshly ground is best, but pre-ground works fine. Go light on the pepper if you’re serving very young kids.
- 1/2 teaspoon paprika (plus more for garnish) – Smoked paprika adds a lovely depth, but sweet paprika gives that classic red sprinkle on top. I use sweet for the kids and sometimes add a pinch of smoked for the grown-up batch.
- 1 can (6 ounces) large black olives – You need the large ones for the spider bodies. Standard sliced olives won’t work. Look for “jumbo” or “colossal” black olives. I’ve used both store-brand and name-brand, and they all work fine. Just make sure they’re pitted.
That’s it. Seven ingredients, plus salt and pepper. No cream cheese, no relish, no fancy herbs. This is a back-to-basics deviled egg that lets the spider decoration do all the heavy lifting. The beauty of this recipe is that it’s incredibly forgiving—you can adjust the mayo and mustard to your taste, add a pinch of garlic powder if you’re feeling fancy, or swap in Greek yogurt for half the mayo if you want a lighter filling. But for the classic version that kids go crazy for? This list is all you need.
Equipment Needed
You don’t need any fancy equipment for these Spooky Spider Deviled Eggs. I’ve made them in my own kitchen with the basics, and I’ve even assembled them at a friend’s house using her mismatched collection of bowls and spoons. Here’s what you’ll want to have on hand:
- Large saucepan or pot – Big enough to hold 12 eggs in a single layer. A 3-quart pot works perfectly. Don’t crowd the eggs, or they’ll crack during boiling.
- Mixing bowls – One medium bowl for the ice water bath, one small bowl for the filling ingredients. Nothing fancy needed.
- Sharp knife – A paring knife works best for slicing the eggs cleanly in half. A dull knife will tear the whites and make a mess.
- Cutting board – Any clean cutting board will do. I use a plastic one for eggs because it’s easier to sanitize.
- Fork or potato masher – For mashing the yolks. A fork works fine, but a potato masher makes the job faster and gives you a smoother texture.
- Piping bag or zip-top bag – For filling the eggs neatly. A piping bag with a star tip looks prettier, but a zip-top bag with the corner snipped off works just as well. I’ve used both, and honestly, the zip-top bag is easier to clean up.
- Small knife or kitchen shears – For cutting the olive spiders. Kitchen shears are faster, but a small paring knife gives you more control.
- Serving platter – A flat platter works best for displaying the spiders. I like to use a dark-colored platter to make the white eggs and black spiders pop.
If you don’t have a piping bag, don’t stress. A zip-top bag with the corner snipped is a classic home cook hack that works perfectly. I’ve also seen people use a small spoon to fill the eggs, and while it’s not as neat, it gets the job done. The spiders cover up any messy filling anyway!
Preparation Method
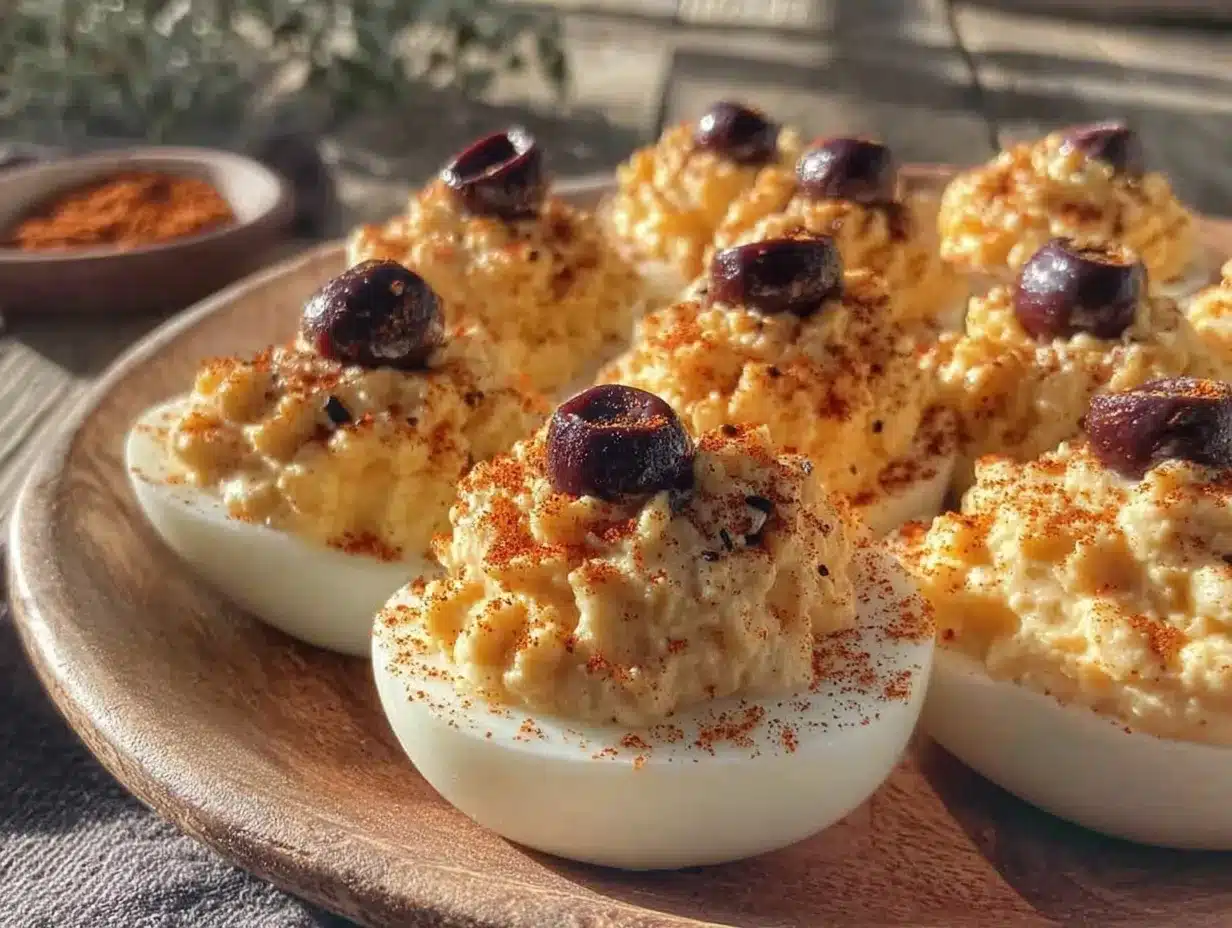
Let’s get down to business. I’ve broken this down into clear steps, with all the little tricks I’ve learned from years of making deviled eggs for every occasion. Take your time with the first batch—once you’ve done it once, you’ll be able to whip these out in no time.
- Boil the eggs. Place your 12 eggs in a single layer in a large saucepan. Cover them with cold water by about an inch. Bring the water to a full rolling boil over high heat. As soon as it reaches a boil, cover the pot with a lid and remove it from the heat entirely. Let it sit, covered, for exactly 12 minutes. This is the foolproof method I learned from a chef friend, and I’ve never had a green ring around the yolk since I started doing it. Set a timer—don’t guess.
- Prepare the ice bath. While the eggs are sitting, fill a medium bowl with cold water and a generous handful of ice cubes. You want the water to be genuinely cold, not just cool. This stops the cooking process immediately and makes the eggs easier to peel.
- Cool and peel the eggs. After 12 minutes, use a slotted spoon to transfer the eggs to the ice bath. Let them sit for at least 5 minutes. Gently tap each egg on the counter to crack the shell all over, then roll it between your hands to loosen the shell. Start peeling from the wider end of the egg—there’s usually an air pocket there that makes it easier to get under the membrane. Rinse the peeled eggs under cool water to remove any tiny shell fragments. Pat them dry with a paper towel.
- Slice the eggs. Using a sharp knife, slice each egg in half lengthwise. Wipe the knife clean between cuts to keep the edges neat. Gently pop the yolks out into a small mixing bowl. Arrange the egg white halves on your serving platter, cut side up.
- Make the filling. Add the mayonnaise, yellow mustard, white vinegar, salt, pepper, and paprika to the bowl with the yolks. Mash everything together with a fork until smooth. I like to use a potato masher for this—it’s faster and gives you a creamier texture. Taste the filling and adjust the seasoning. I always add a tiny pinch more salt than I think I need, because the egg whites are relatively bland and need the seasoning to shine.
- Fill the eggs. Spoon the yolk mixture into a piping bag fitted with a star tip, or into a zip-top bag with one corner snipped off. Pipe the filling into each egg white half, mounding it slightly. You want a nice swirl on top. If you’re using a zip-top bag, don’t cut too big of a hole—start small and cut a little more if needed. I learned this the hard way after a filling explosion on my first try.
- Create the spider bodies. Drain the can of black olives and pat them dry with a paper towel. Select 12 large olives for the spider bodies. Using a small sharp knife, slice each olive in half crosswise (not lengthwise). One half will be the spider body. Set the other half aside.
- Make the spider legs. Take the remaining olive halves and slice each one lengthwise into thin strips. You want 8 legs per spider. Each olive half should give you about 4 strips, so two halves will give you enough legs for one spider. It sounds fiddly, but once you get the rhythm, it goes fast. I usually make all the legs first and then assemble.
- Assemble the spiders. Place one olive half (the body) on top of the filling on each egg. Arrange 8 thin olive strips around the body to look like spider legs—4 on each side, slightly curved for a creepy-crawly look. Gently press them into the filling so they stay in place.
- Add the finishing touches. Sprinkle a tiny pinch of paprika over the filling around each spider. This adds a pop of color and makes the whole thing look more finished. Refrigerate for at least 30 minutes before serving to let the flavors meld and the filling firm up.
One thing I want to emphasize: don’t rush the peeling step. I’ve had batches where I was in a hurry and ended up with ragged egg whites that looked terrible. If you’re making these for a party, give yourself an extra 10 minutes for the peeling process. It’s worth it for those smooth, beautiful egg white halves.
Cooking Tips & Techniques
I’ve made more deviled eggs than I can count, and I’ve made every mistake in the book. Let me save you some trouble with these tips I’ve learned the hard way.
The perfect hard-boiled egg is all about timing. I mentioned the 12-minute method above, and I want to double down on it. The biggest mistake people make is boiling the eggs too long. Overcooked eggs develop that greenish-gray ring around the yolk and a sulfurous smell. Trust the 12-minute covered rest—it’s never failed me. Also, older eggs peel more easily than fresh ones. If you can, buy your eggs a week before you plan to make these.
Cold eggs crack in hot water. Take your eggs out of the fridge about 15 minutes before you boil them. Let them come to room temperature. If you’re in a rush, you can place them in a bowl of warm water for 5 minutes. This simple step prevents those annoying cracks that send egg white streaming into the water.
Pipe, don’t spoon. I know it’s tempting to just spoon the filling into the egg whites, but piping gives you a much nicer presentation. The star tip creates those beautiful ridges that catch the paprika and look professional. If you don’t have a piping bag, a zip-top bag with the corner snipped works great. Just be careful not to overfill the bag—it gets messy when the filling squishes out the top.
Make the spiders ahead of time. You can boil and peel the eggs, make the filling, and even pipe it into the whites a day ahead. Just cover them tightly with plastic wrap and refrigerate. Add the olive spiders right before serving—the olives can dry out and look sad if they sit too long on top. I usually assemble the spiders while the eggs are chilling in the fridge, then place them on right before the party starts.
Keep the filling creamy. If your filling seems too thick, add a tiny splash of milk or pickle juice. Yes, pickle juice! It sounds weird, but the tangy brine adds amazing flavor. If it’s too thin, add a bit more crumbled yolk or a pinch of instant potato flakes. I’ve used both tricks, and they work like a charm.
My biggest failure: I once tried to make these for a school Halloween party and forgot to buy olives. I panicked and used raisins instead. Don’t do that. The raisins looked nothing like spiders, and the sweet-savory combo was genuinely unpleasant. Stick with the olives—they’re the whole point.
Variations & Adaptations
One of the best things about this recipe is how easy it is to customize. I’ve tried several variations over the years, and here are my favorites:
Spicy Spider Eggs: Add 1/2 teaspoon of hot sauce (I like Cholula or Tabasco) and a pinch of cayenne pepper to the filling. The heat cuts through the richness beautifully. My husband loves this version, and it’s a hit at adult Halloween parties. Just label them clearly so the kids don’t grab one by mistake!
Avocado Deviled Spiders: Replace half the mayonnaise with mashed ripe avocado. The filling turns a gorgeous pale green, and it adds healthy fats and a creamy texture. Squeeze a little lime juice into the mix to keep the avocado from browning. This version is always gone first at our house.
Bacon Spider Eggs: Cook 4 slices of bacon until crispy, let them cool, and crumble them into the filling before piping. The smoky, salty crunch is incredible against the creamy yolk. You can also sprinkle a few bacon bits on top of the spiders for extra texture. Fair warning: once you make these, you might never go back to plain.
Vegan Spider Eggs: I developed this version for a friend’s vegan Halloween party, and it surprised everyone. Use firm tofu instead of eggs—press it well, crumble it, and mix with vegan mayo, black salt (for that eggy flavor), and turmeric for color. Shape the mixture into egg-shaped ovals and top with the olive spiders. It’s not exactly the same, but it’s genuinely delicious in its own right.
Gluten-Free Note: This recipe is naturally gluten-free, which makes it perfect for Halloween parties where you might have guests with dietary restrictions. Just double-check your mustard and mayonnaise labels to be safe—some brands add vinegar that’s made from gluten-containing grains.
My personal favorite variation: I add a tiny pinch of curry powder to the filling. It gives the eggs a warm, golden color and a subtle complexity that makes people ask, “What’s in this?” It’s my secret weapon, and now it’s yours too.
Serving & Storage Suggestions
These Spooky Spider Deviled Eggs are best served chilled, straight from the fridge. The cold filling firms up nicely and holds the spider legs in place. I like to arrange them on a dark-colored platter—black, dark purple, or deep orange—to make the white eggs and black spiders really stand out. A bed of fresh parsley or kale underneath adds a nice pop of green and looks festive.
For a Halloween party spread, these pair beautifully with other savory snacks. I often serve them alongside a bowl of creamy pumpkin hummus with veggie sticks, or with a platter of mummy pizza rolls for a full spooky spread. They also go great with a simple green salad if you’re serving a meal. For drinks, apple cider or a sparkling water with a splash of cranberry juice complements the eggs without overwhelming them.
Storage: If you have leftovers (which is rare in my house), store the deviled eggs in an airtight container in the refrigerator. They’ll keep for up to 2 days, but the texture is best within 24 hours. The olive spiders might soften slightly over time, but they’ll still look and taste good. I do not recommend freezing deviled eggs—the texture of both the whites and the filling becomes watery and unpleasant after thawing.
Reheating: These are served cold, so no reheating is needed. If you’ve made the filling ahead of time and it’s been in the fridge for a while, let the filled eggs sit at room temperature for about 10 minutes before serving. This takes the chill off and brings out the flavors. Don’t leave them out for more than 2 hours, especially if you’re serving them at a party.
One thing I love about this recipe is that the flavors actually get better after a few hours in the fridge. The mayonnaise and mustard meld with the yolks, and the seasoning settles into something perfectly balanced. If you can, make these the morning of your Halloween party and let them chill until serving time. Your future self will thank you.
Nutritional Information & Benefits
Let’s be honest—deviled eggs aren’t health food, but they’re not junk food either. They’re a protein-packed snack that happens to look like creepy crawlies, which is pretty much the perfect Halloween food in my book.
Here’s the approximate nutritional breakdown for one spider deviled egg (based on 24 servings):
| Nutrient | Amount per serving |
|---|---|
| Calories | 65 |
| Protein | 5g |
| Fat | 4.5g |
| Saturated Fat | 1g |
| Carbohydrates | 1g |
| Fiber | 0g |
| Sugar | 0.5g |
| Sodium | 150mg |
Eggs are a fantastic source of high-quality protein, and they contain choline, which is important for brain health. The black olives add a small amount of healthy monounsaturated fats and iron. This recipe is naturally low in carbohydrates and sugar, making it a great option if you’re watching your carb intake. It’s also gluten-free and can be made dairy-free easily (just check your mayo label).
From a wellness perspective, I love that this snack gives kids protein and healthy fats before they head out for a night of candy-fueled chaos. It’s a little anchor in their stomachs that helps balance out the sugar rush. Plus, the fun presentation makes them excited to eat something that’s actually good for them. It’s a win-win in my book.
Frequently Asked Questions
Can I make these spider deviled eggs a day ahead?
Absolutely! You can boil, peel, and fill the eggs up to 24 hours in advance. Just cover them tightly with plastic wrap and refrigerate. I recommend adding the olive spiders right before serving so they stay fresh and crisp.
How do I get my eggs to peel easily?
The key is using older eggs (at least a week old) and shocking them in an ice bath immediately after boiling. Start peeling from the wider end of the egg, where the air pocket is. Peeling under running cold water can also help loosen the shell.
Can I use a different type of olive?
Large black olives work best because they’re big enough to cut into spider bodies and legs. Green olives would work visually, but the flavor is much more briny and might overpower the eggs. I wouldn’t recommend kalamata olives—they’re too soft and tend to fall apart.
How long do these stay fresh at a party?
Deviled eggs should not sit out at room temperature for more than 2 hours. If you’re serving them at a Halloween party, keep the platter on ice or in the refrigerator until serving time, and put out only what you think will be eaten quickly.
Can I add food coloring to make them more spooky?
You can! A drop of green or purple food coloring in the filling makes the spiders look even more Halloween-themed. Just go easy—you want the flavor to stay the same. I’ve also seen people add a tiny drop of black food coloring to the egg whites, but that’s a lot of work for minimal effect.
Conclusion
These Spooky Spider Deviled Eggs have become a Halloween tradition in our house, and I have a feeling they’ll become one in yours too. They’re the perfect combination of fun and practical—a snack that delights the kids, satisfies the adults, and doesn’t require a culinary degree to pull off. The best part? Watching the look on someone’s face when they realize the “spider” on top is just an olive, and the creamy filling underneath is something they actually love.
I’ve made these for picky eaters, for Halloween parties, for classroom celebrations, and for quiet family movie nights. Every single time, they disappear faster than I expect. There’s something about the combination of the familiar deviled egg and the playful spider design that just works. It’s comfort food with a sense of humor.
Now I want to hear from you. Have you tried making these? Did your kids love them as much as mine did? Did you come up with a variation I haven’t thought of? Drop a comment below and let me know—I read every single one, and I love hearing how these recipes come to life in your kitchen. And if you’re looking for more Halloween snack ideas, don’t miss my easy Halloween punch recipe or these ghost banana pops for a sweet treat that’s just as fun to make. Happy Halloween, and happy cooking!
Pin This Recipe!
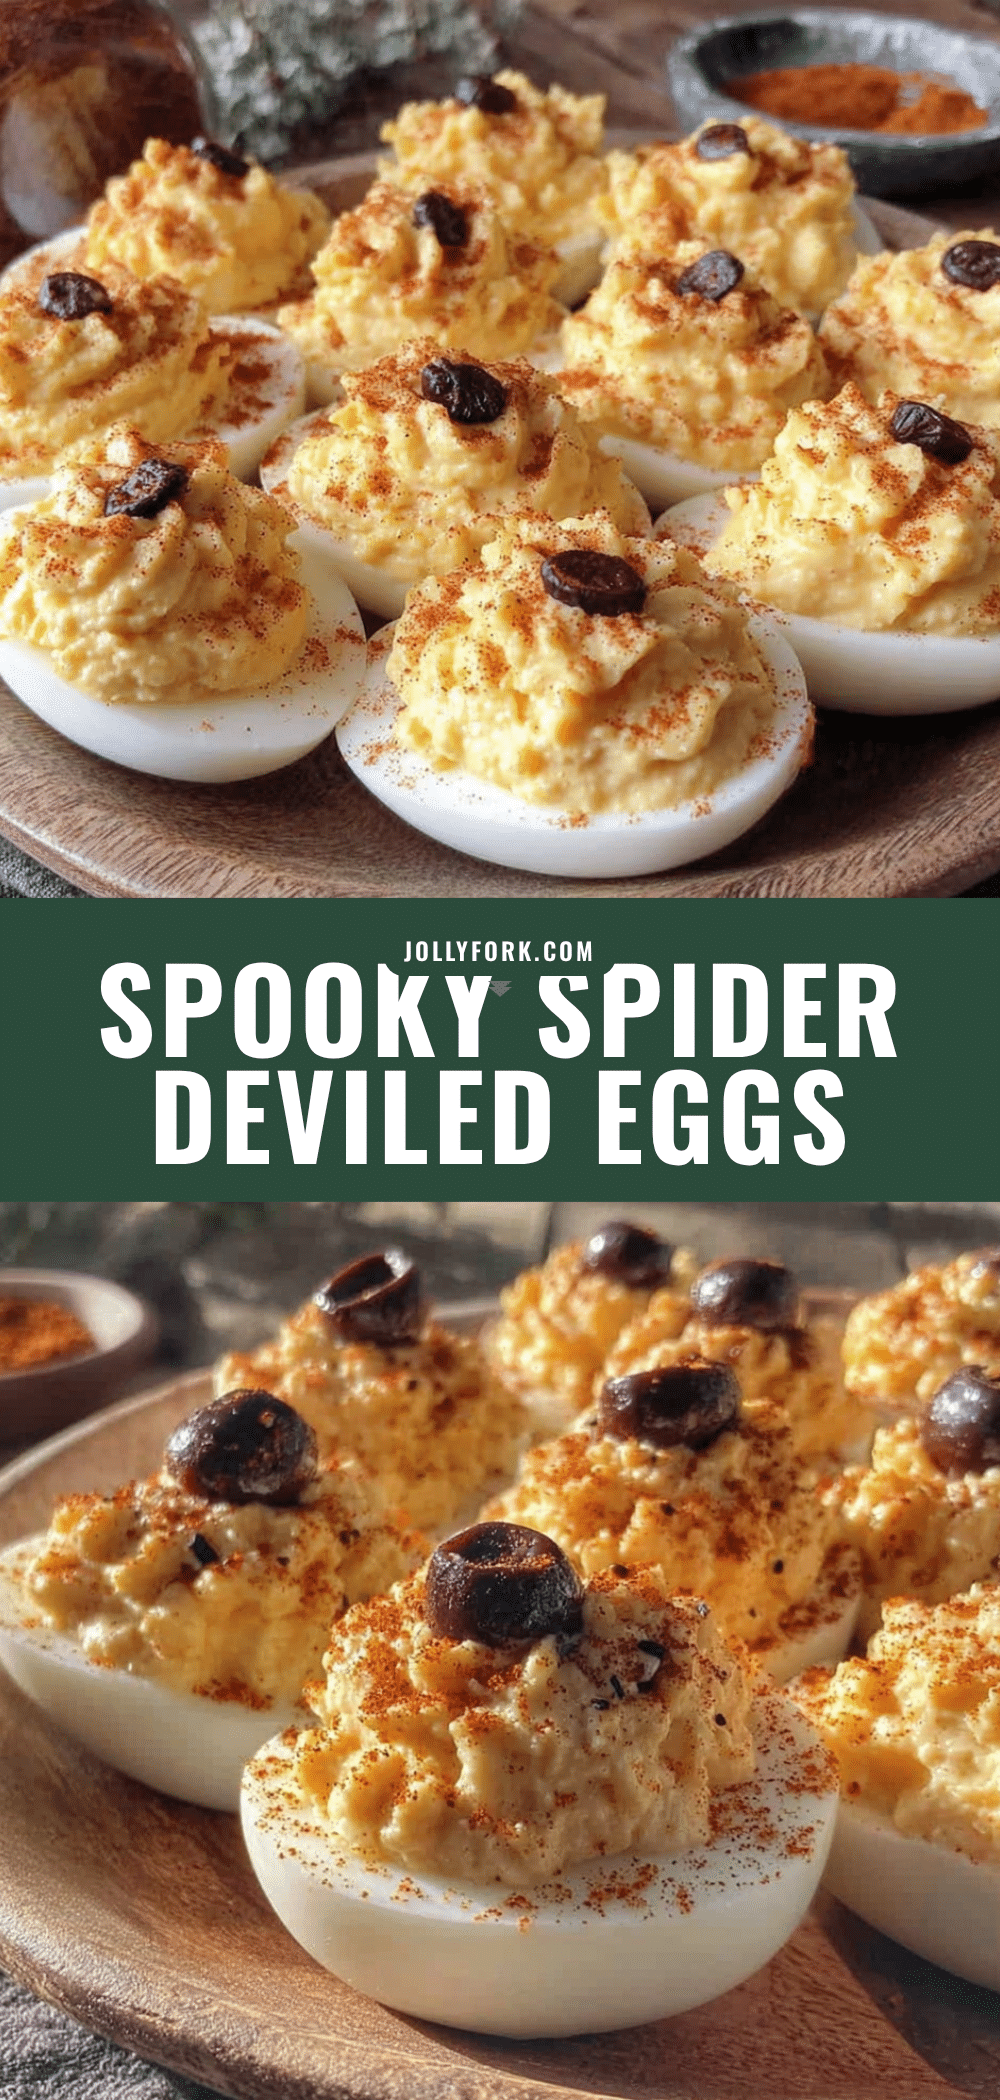
Best Easy Spooky Spider Deviled Eggs for Halloween

These spooky spider deviled eggs are a Halloween party favorite, featuring creamy deviled eggs topped with black olive spiders. They’re quick, easy, and perfect for picky eaters.
- Prep Time: 15 minutes
- Cook Time: 12 minutes
- Total Time: 27 minutes
- Yield: 24 servings 1x
- Category: Appetizer
- Cuisine: American
Ingredients
- 12 large eggs
- 1/3 cup mayonnaise
- 1 tablespoon yellow mustard
- 1 teaspoon white vinegar
- 1/4 teaspoon salt
- 1/8 teaspoon black pepper
- 1/2 teaspoon paprika (plus more for garnish)
- 1 can (6 ounces) large black olives
Instructions
- Place the eggs in a single layer in a large saucepan. Cover with cold water by about an inch. Bring to a full rolling boil over high heat. Cover the pot, remove from heat, and let sit for exactly 12 minutes.
- While the eggs sit, prepare an ice bath by filling a medium bowl with cold water and ice cubes.
- Transfer the eggs to the ice bath using a slotted spoon. Let cool for at least 5 minutes. Gently crack the shells, roll between hands, and peel starting from the wider end. Rinse and pat dry.
- Slice each egg in half lengthwise with a sharp knife. Remove yolks to a small bowl. Arrange egg white halves on a serving platter, cut side up.
- Add mayonnaise, yellow mustard, white vinegar, salt, pepper, and paprika to the yolks. Mash until smooth with a fork or potato masher. Taste and adjust seasoning.
- Spoon the yolk mixture into a piping bag fitted with a star tip, or into a zip-top bag with a corner snipped off. Pipe filling into each egg white half, mounding slightly.
- Drain and pat dry the black olives. Select 12 large olives. Slice each in half crosswise. One half is the spider body; set the other half aside.
- Slice the remaining olive halves lengthwise into thin strips to create 8 legs per spider (each half yields about 4 strips).
- Place one olive half (body) on top of the filling on each egg. Arrange 8 olive strips around the body to look like spider legs, pressing gently into the filling.
- Sprinkle a tiny pinch of paprika over the filling around each spider. Refrigerate for at least 30 minutes before serving.
Notes
Use older eggs (at least a week old) for easier peeling. Let eggs come to room temperature before boiling to prevent cracking. Pipe the filling for a nicer presentation. Add olive spiders just before serving to keep them fresh. Store leftovers in an airtight container in the refrigerator for up to 2 days.
Nutrition
- Serving Size: 1 spider deviled egg
- Calories: 65
- Sugar: 0.5
- Sodium: 150
- Fat: 4.5
- Saturated Fat: 1
- Carbohydrates: 1
- Protein: 5
Keywords: Halloween deviled eggs, spider deviled eggs, spooky deviled eggs, Halloween appetizer, deviled eggs with olives


