The PTA bake sale was in six hours and I’d completely forgotten. Every other parent would be bringing those gorgeous, Pinterest-perfect confections—layered cakes with fondant, macarons in pastel colors, cupcakes with hand-piped rosettes. I had a half-stick of butter, some questionable eggs, and a bag of sprinkles that had been sitting in my pantry since my son’s third birthday. He was nine now. Honestly, I wanted to crawl under the kitchen table. But the kids were counting on me, and I refused to show up empty-handed. So I threw together the most basic vanilla cake I knew, slathered it with buttercream, and dumped half that sprinkle bag on top. I mean, it looked like a confetti bomb went off. I was mortified handing it over. You know that feeling when you’re sure you’ve failed before you’ve even started? Yeah, that was me. But then the emails started rolling in. People asked for the recipe. Someone offered to buy a whole cake. And my son—he looked at me and said, “Mom, yours was the only one with no leftovers.” That’s when I realized: this cozy homemade vanilla birthday cake with sprinkle frosting wasn’t just a last-minute save. It was the recipe I’d been looking for all along.
Why You’ll Love This Recipe
Let me tell you why this cake has become my most-requested recipe. I’ve tested it at least a dozen times—once with a neighbor who’s a pastry chef, and even she asked for the measurements. It’s not fancy, but it works every single time.
- Quick & Easy: From start to finish, you’re looking at under an hour. Perfect for those “oh no, I forgot” moments we all have.
- Simple Ingredients: No weird extracts or hard-to-find flours. You probably have everything in your kitchen right now.
- Perfect for Birthdays: Obviously. But also great for bake sales, potlucks, or just a Tuesday that needs fixing.
- Crowd-Pleaser: Kids love the sprinkles. Adults love the moist, buttery crumb. Everyone wins.
- Unbelievably Delicious: The texture is soft, the frosting is creamy, and that sprinkle crunch? Pure joy.
What makes this different from other vanilla cakes? I use a technique called reverse creaming—mixing the dry ingredients with the butter first, then adding the wet ingredients. It sounds backwards, but it gives you a tighter, more tender crumb. No gummy texture, no dry edges. Plus, I add a splash of vanilla bean paste alongside the extract. That little touch makes the flavor feel warm and nostalgic, like something your grandmother might have made. This isn’t just another recipe—it’s the one that makes people close their eyes after the first bite.
What Ingredients You Will Need
This recipe uses simple, wholesome ingredients to deliver bold flavor and satisfying texture without the fuss. Most of these are pantry staples, which makes this cake perfect for spontaneous baking.
For the Cake:
- 2 ½ cups (312g) all-purpose flour, spooned and leveled (I use King Arthur for consistent results)
- 2 ½ teaspoons baking powder
- ½ teaspoon baking soda
- 1 teaspoon salt
- ¾ cup (170g) unsalted butter, softened (let it sit out for an hour—cold butter won’t cream right)
- 1 ¾ cups (350g) granulated sugar
- 3 large eggs, at room temperature (adds richness and structure)
- 1 tablespoon vanilla extract
- 1 teaspoon vanilla bean paste (optional, but highly recommended for that speckled look)
- 1 ½ cups (360ml) whole milk, at room temperature (use dairy-free milk if needed)
For the Sprinkle Frosting:
- 1 cup (226g) unsalted butter, softened
- 4 cups (480g) powdered sugar, sifted
- 2-3 tablespoons heavy cream (or milk, in a pinch)
- 2 teaspoons vanilla extract
- ¼ teaspoon salt
- ½ cup rainbow sprinkles (jimmies work best—nonpareils bleed color)
Ingredient Tips from My Kitchen: Look for butter with at least 80% fat content for the best flavor. For the sprinkles, I’ve learned the hard way that gel-based colors in the frosting can make the sprinkles bleed. Stick with classic rainbow jimmies. If you’re in a humid climate, add an extra tablespoon of flour to keep the cake from getting soggy. And please—please—don’t skip the vanilla bean paste. It’s not expensive, and it makes the cake taste like you spent hours on it.
Equipment Needed
You don’t need a professional bakery setup for this cake. Here’s what I use every time:
- Two 9-inch round cake pans (I prefer light-colored metal pans for even baking)
- Stand mixer or hand mixer (I’ve made this with both—hand mixer works fine, just takes a little longer)
- Large mixing bowls
- Rubber spatula (for scraping the bowl—don’t skip this)
- Parchment paper (cut circles for the pan bottoms—this changed my life)
- Cooling rack (wire rack is best, but a cutting board works in a pinch)
- Offset spatula (for frosting—you can use a butter knife, but the spatula makes it look professional)
- Measuring cups and spoons
- Kitchen scale (optional, but I weigh my flour for consistency)
If you don’t have two 9-inch pans, you can bake the batter in a 9×13-inch pan—just add 5-10 minutes to the baking time. I’ve also used disposable aluminum pans in a pinch. They work, but the cake might brown faster, so keep an eye on it.
Preparation Method
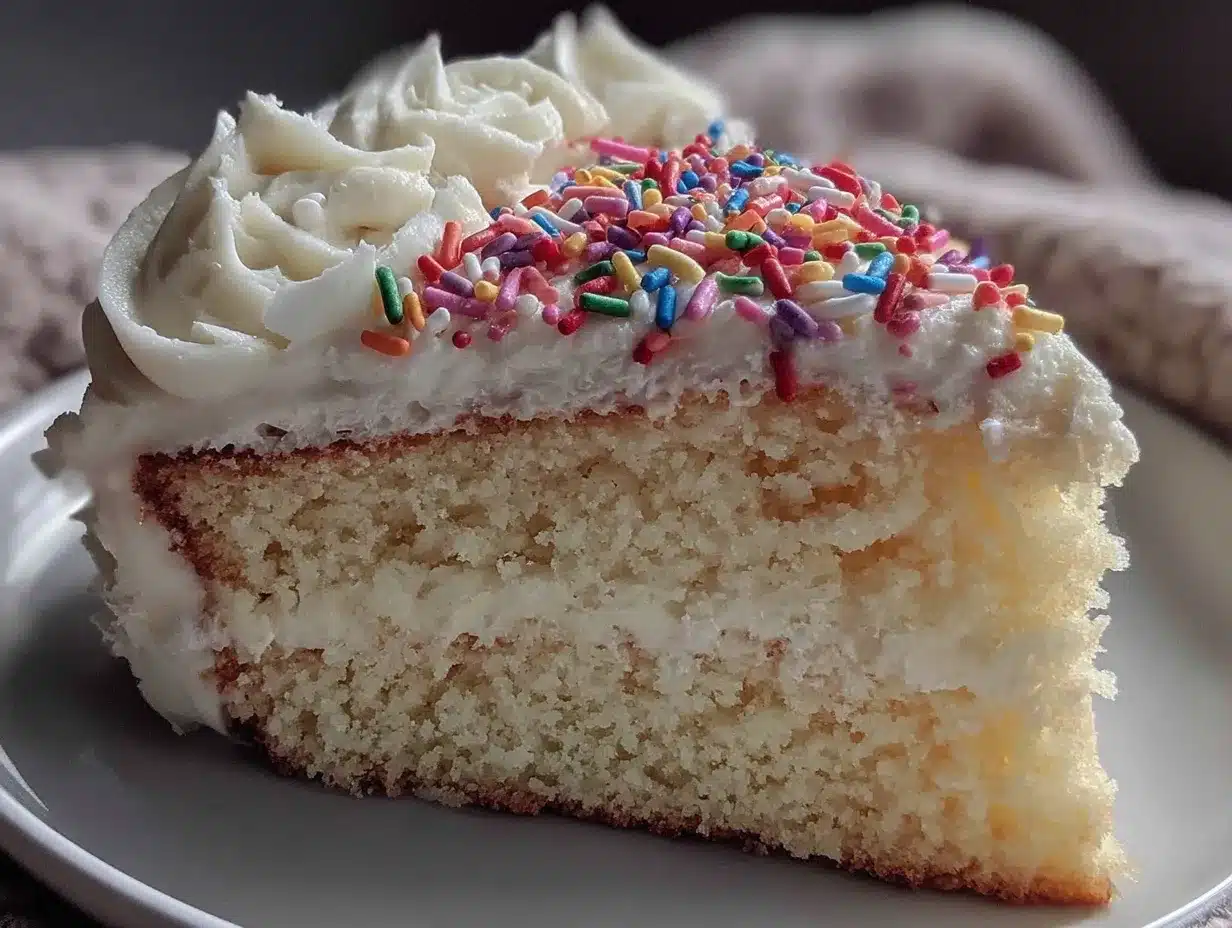
Let’s make this cake. I’ll walk you through every step, including the little things I’ve learned from my own mistakes.
Step 1: Prep Your Pans
Preheat your oven to 350°F (175°C). Grease two 9-inch round cake pans with butter or non-stick spray. Cut circles of parchment paper for the bottoms and press them in. Then grease the parchment too. This sounds extra, but I promise—your cakes will come out perfectly every time.
Step 2: Mix the Dry Ingredients
In a medium bowl, whisk together the flour, baking powder, baking soda, and salt. Set this aside. Make sure there are no lumps—baking powder clumps can leave bitter spots in your cake.
Step 3: Reverse Cream the Butter and Sugar
In your stand mixer bowl (or a large bowl if using a hand mixer), beat the softened butter on medium speed for about 2 minutes until it’s smooth and creamy. Add the sugar and beat for another 3-4 minutes. The mixture should look light and fluffy, almost like wet sand. This is the reverse creaming method—the butter coats the sugar, which helps create a tender crumb.
Step 4: Add the Eggs and Vanilla
Add the eggs one at a time, beating well after each addition. Scrape down the sides of the bowl with your spatula. Then add the vanilla extract and vanilla bean paste. Beat until combined. The mixture might look slightly curdled—that’s okay. It’ll come together when we add the flour.
Step 5: Alternate the Flour and Milk
With the mixer on low speed, add about one-third of the flour mixture. Then add half of the milk. Then another third of flour, the rest of the milk, and finally the remaining flour. Beat just until combined after each addition. Overmixing at this stage will make your cake tough. I’ve done it. It’s not good. Stop the mixer when you still see a few streaks of flour, then finish mixing by hand with your spatula.
Step 6: Divide and Bake
Divide the batter evenly between the two prepared pans. Use a kitchen scale if you have one—each pan should hold about 600 grams of batter. Smooth the tops with your spatula. Bake for 28-32 minutes, or until a toothpick inserted in the center comes out clean or with a few moist crumbs. The cakes should be golden brown and pulling away from the edges of the pan.
Step 7: Cool the Cakes
Let the cakes cool in the pans for 10 minutes. Then run a knife around the edges and turn them out onto a wire rack. Peel off the parchment paper. Let them cool completely before frosting. If you’re in a hurry, pop them in the fridge for 20 minutes—but don’t frost warm cakes. The frosting will melt into a sad puddle. Trust me on this one.
Step 8: Make the Frosting
In your stand mixer, beat the softened butter on medium speed for 3-4 minutes until it’s pale and fluffy. Reduce speed to low and gradually add the powdered sugar, about 1 cup at a time. Add the heavy cream, vanilla extract, and salt. Increase speed to medium-high and beat for 2-3 minutes until the frosting is light and airy. If it’s too thick, add another tablespoon of cream. Too thin? Add a little more powdered sugar.
Step 9: Assemble and Frost
Place one cake layer on your serving plate. Spread about ¾ cup of frosting evenly on top. Place the second layer on top, flat side up. Apply a thin crumb coat—a layer of frosting that traps the crumbs—and refrigerate for 15 minutes. Then apply the final layer of frosting. Use your offset spatula to create swirls or smooth it out—whatever you prefer.
Step 10: Add the Sprinkles
Here’s the fun part. Gently press the rainbow sprinkles into the frosting on the sides of the cake. You can do this by cupping sprinkles in your hand and pressing them against the cake. For the top, just sprinkle them generously. Don’t overthink it—more is more when it comes to sprinkles.
Cooking Tips & Techniques
I’ve made this cake more times than I can count, and I’ve learned a few things the hard way. Here are my best tips:
- Room temperature ingredients matter. Cold eggs and milk can seize the butter, giving you a dense cake. Set everything out an hour before you start baking.
- Don’t overmix the batter. I know I said this, but it’s worth repeating. Overmixing develops gluten, which makes the cake tough. Mix until just combined, then stop.
- Use a kitchen scale for flour. Scooping flour with a measuring cup can add up to 25% more flour than you need. Weighing it ensures consistency every time.
- Let the cakes cool completely. I once frosted a slightly warm cake and ended up with a buttercream puddle. It still tasted good, but it looked like a disaster.
- Chill the cake before the final frosting layer. The crumb coat is your best friend. It traps the crumbs so your final layer looks smooth and professional.
- If your frosting gets too soft, pop it in the fridge for 10 minutes. Warm hands can melt the butter in the frosting, especially on a hot day.
One of my biggest failures? I once used nonpareils (those tiny round sprinkles) for the frosting. They bled their color into the buttercream, turning it a weird grayish-pink. Stick with jimmies—the long, rod-shaped sprinkles. They hold their color and don’t bleed.
Variations & Adaptations
This cozy homemade vanilla birthday cake with sprinkle frosting is incredibly adaptable. Here are some ways I’ve changed it up:
- Chocolate Version: Replace ½ cup of flour with ½ cup of unsweetened cocoa powder. Add an extra ¼ cup of milk to compensate for the dryness. The result is a rich, chocolatey cake that pairs beautifully with the sprinkle frosting.
- Gluten-Free Option: Use a 1:1 gluten-free baking flour blend. I’ve tested this with Bob’s Red Mill, and it works perfectly. Add an extra tablespoon of milk since gluten-free flours absorb more liquid.
- Lemon Birthday Cake: Add the zest of two lemons to the sugar and rub it in with your fingers before creaming. Replace the vanilla extract with lemon extract. It’s bright, fresh, and perfect for spring birthdays.
- Dairy-Free Adaptation: Use vegan butter (I like Miyoko’s) and oat milk or almond milk. The texture is slightly less tender, but it still tastes amazing.
- Cupcake Version: Divide the batter into 24 lined muffin tins. Bake at 350°F for 18-22 minutes. Frost and sprinkle as usual. Perfect for parties.
My personal favorite variation? I made a strawberry version once by adding ½ cup of finely chopped fresh strawberries to the batter. I folded them in gently at the end. The cake was a little more delicate, but the flavor was incredible. Just be aware that fresh fruit can make the cake denser, so don’t skip the room temperature ingredients step.
Serving & Storage Suggestions
This cake is best served at room temperature. If you’ve refrigerated it, let it sit out for about 30 minutes before slicing. The buttercream softens, and the cake becomes incredibly moist and tender.
For serving, I love pairing it with a tall glass of cold milk or a cup of hot coffee. The sweetness of the cake balances perfectly with the bitterness of coffee. If you’re feeling fancy, add a scoop of vanilla ice cream on the side.
Storage Instructions:
- At Room Temperature: Store in an airtight container for up to 3 days. Keep it away from direct sunlight or heat sources.
- In the Refrigerator: Store in an airtight container for up to 5 days. The cake will stay moist, but the frosting will firm up. Let it come to room temperature before serving.
- In the Freezer: Wrap unfrosted cake layers tightly in plastic wrap, then foil. Freeze for up to 3 months. Thaw overnight in the refrigerator before frosting. You can also freeze the frosted cake—just place it in the freezer unwrapped for an hour to harden the frosting, then wrap it well.
Reheating Tips: If you want that just-baked warmth, microwave a slice for 10-15 seconds. The cake will be soft, and the frosting will get slightly melty. It’s a different experience, but honestly, it’s delicious.
One thing I’ve noticed—the flavors actually develop overnight. The vanilla becomes more pronounced, and the cake gets even more moist. So if you can, make this cake a day ahead. Your future self will thank you.
Nutritional Information & Benefits
Let’s be real—this is a celebration cake. It’s not health food. But here’s what you’re working with per slice (based on 12 servings):
| Nutrient | Amount Per Serving |
|---|---|
| Calories | 485 |
| Total Fat | 24g |
| Saturated Fat | 15g |
| Carbohydrates | 65g |
| Sugar | 48g |
| Protein | 5g |
| Sodium | 320mg |
Now, let’s talk about the good stuff. The butter provides vitamin A, which supports eye health. The eggs are packed with protein and choline, which is great for brain function. And the vanilla? It has antioxidants and can even help reduce anxiety. Okay, that last one might be a stretch, but I like to think a slice of this cake makes everything feel better.
Dietary Considerations: This recipe contains gluten, dairy, and eggs. For a gluten-free version, see the variations section. For dairy-free, use vegan butter and plant-based milk. I haven’t tested an egg-free version, but flax eggs might work in a pinch.
My personal take? Food is about joy, connection, and celebration. This cake brings people together. That’s its real nutritional value.
Conclusion
This cozy homemade vanilla birthday cake with sprinkle frosting is more than just a recipe—it’s a reminder that you don’t need to be perfect to create something wonderful. I started this journey in a panic, with a half-empty pantry and zero confidence. But that cake taught me something important: simple, made with love, is always enough.
I hope you’ll try this recipe and make it your own. Add extra sprinkles. Swap in lemon zest. Use your favorite frosting color. The beauty of this cake is that it welcomes your personal touch. It’s forgiving, it’s delicious, and it never fails to bring smiles.
When you make it, I’d love to hear how it turned out. Drop a comment below and tell me about your bake—did you add a special twist? Was it for a birthday? Did someone ask for the recipe? Share your story. And if you loved it, please share this post with a friend who needs a little sweetness in their life.
Now go preheat that oven. You’ve got a cake to bake.
Frequently Asked Questions
Can I use cake flour instead of all-purpose flour?
Yes. Cake flour has a lower protein content, which gives you an even more tender crumb. Use 2 ¾ cups (330g) of cake flour instead of the all-purpose flour. Reduce the baking time by 2-3 minutes since cake flour absorbs less liquid.
Why did my cake sink in the middle?
This usually happens for a few reasons: the oven door was opened too early, the batter was overmixed, or the baking powder was expired. Make sure your oven is fully preheated, don’t open the door for the first 20 minutes, and check the expiration date on your leavening agents.
Can I make this cake without a stand mixer?
Absolutely. A hand mixer works perfectly. You’ll just need to beat the butter and sugar for a little longer—about 5-6 minutes—to get that light, fluffy texture. You can even mix by hand with a whisk, but your arm will get a workout.
How do I prevent the sprinkles from bleeding into the frosting?
Use jimmies (the long, rod-shaped sprinkles) instead of nonpareils (the tiny round ones). Nonpareils have a coating that dissolves in moisture, which turns your frosting gray. Jimmies hold their color and shape much better.
Can I use this recipe for a layer cake with more than two layers?
Yes. Double the recipe and bake the batter in three 8-inch pans. Reduce the baking time to 22-26 minutes. You’ll need about 1 ½ batches of the frosting to cover all three layers. Just make sure each layer is completely cool before stacking.
Pin This Recipe!
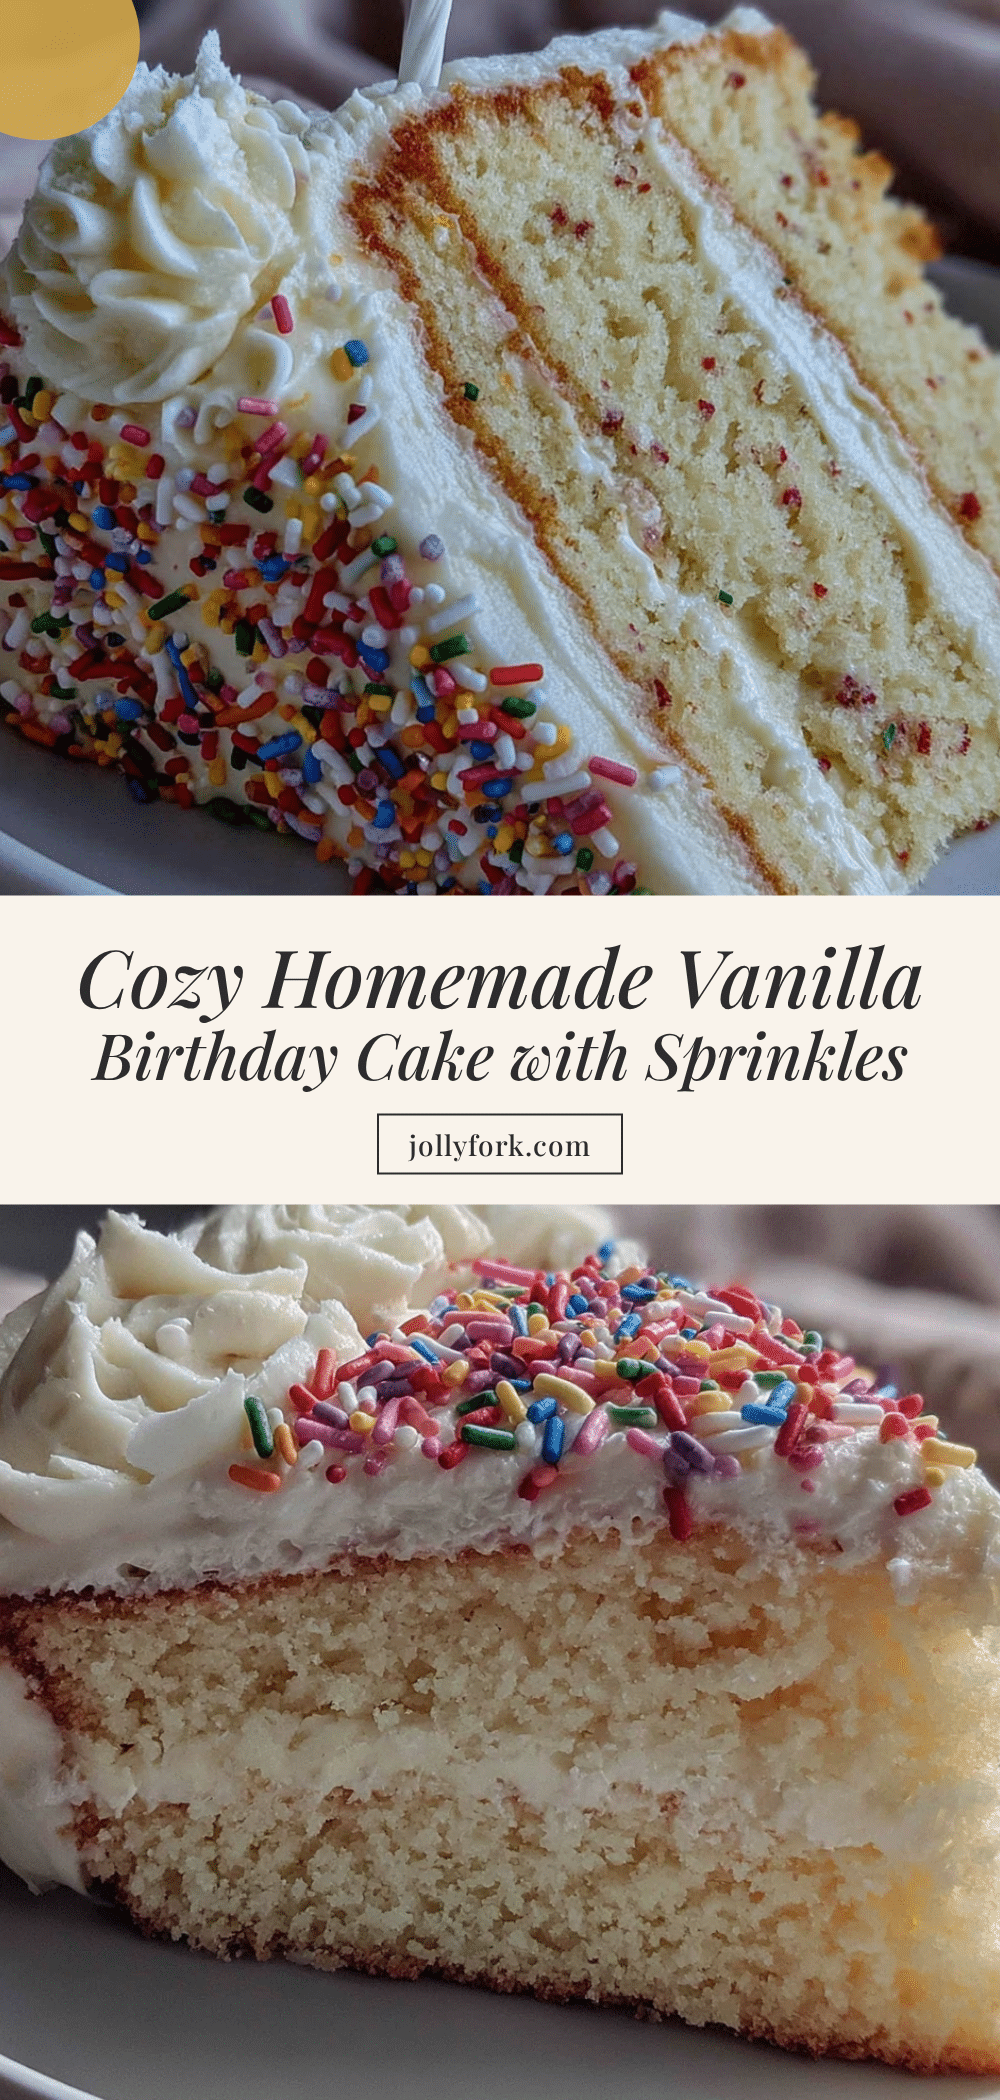
Best Homemade Vanilla Birthday Cake with Sprinkle Frosting
A simple, moist vanilla birthday cake with creamy sprinkle frosting that’s perfect for last-minute celebrations. This easy recipe uses the reverse creaming method for a tender crumb and is a guaranteed crowd-pleaser.
- Prep Time: 20 minutes
- Cook Time: 30 minutes
- Total Time: 50 minutes
- Yield: 12 servings 1x
- Category: Dessert
- Cuisine: American
Ingredients
- 2 ½ cups (312g) all-purpose flour, spooned and leveled
- 2 ½ teaspoons baking powder
- ½ teaspoon baking soda
- 1 teaspoon salt
- ¾ cup (170g) unsalted butter, softened
- 1 ¾ cups (350g) granulated sugar
- 3 large eggs, at room temperature
- 1 tablespoon vanilla extract
- 1 teaspoon vanilla bean paste (optional)
- 1 ½ cups (360ml) whole milk, at room temperature
- 1 cup (226g) unsalted butter, softened (for frosting)
- 4 cups (480g) powdered sugar, sifted
- 2–3 tablespoons heavy cream (or milk)
- 2 teaspoons vanilla extract (for frosting)
- ¼ teaspoon salt (for frosting)
- ½ cup rainbow sprinkles (jimmies)
Instructions
- Preheat oven to 350°F (175°C). Grease two 9-inch round cake pans, line bottoms with parchment paper, and grease the parchment.
- In a medium bowl, whisk together flour, baking powder, baking soda, and salt. Set aside.
- In a stand mixer or large bowl, beat softened butter on medium speed for 2 minutes until smooth. Add sugar and beat for 3-4 minutes until light and fluffy (reverse creaming).
- Add eggs one at a time, beating well after each. Scrape down bowl. Add vanilla extract and vanilla bean paste; beat until combined.
- With mixer on low, add one-third of flour mixture, then half of milk, another third of flour, remaining milk, and final flour. Beat just until combined; finish mixing by hand with a spatula.
- Divide batter evenly between prepared pans (about 600g each). Smooth tops. Bake for 28-32 minutes, until a toothpick inserted in center comes out clean or with moist crumbs.
- Cool cakes in pans for 10 minutes, then turn out onto a wire rack. Remove parchment and cool completely.
- For frosting: Beat softened butter on medium speed for 3-4 minutes until pale and fluffy. Gradually add powdered sugar, then heavy cream, vanilla extract, and salt. Beat on medium-high for 2-3 minutes until light and airy.
- Place one cake layer on serving plate. Spread about ¾ cup frosting on top. Add second layer. Apply thin crumb coat and refrigerate 15 minutes. Apply final frosting layer.
- Gently press rainbow sprinkles into frosting on sides and top of cake.
Notes
Use room temperature ingredients for best results. Don’t overmix the batter. For a gluten-free version, use a 1:1 gluten-free flour blend. For dairy-free, use vegan butter and plant-based milk. The cake can be stored at room temperature for up to 3 days, refrigerated for up to 5 days, or frozen for up to 3 months.
Nutrition
- Serving Size: 1 slice
- Calories: 485
- Sugar: 48
- Sodium: 320
- Fat: 24
- Saturated Fat: 15
- Carbohydrates: 65
- Fiber: 1
- Protein: 5
Keywords: vanilla birthday cake, sprinkle frosting, homemade cake, easy cake recipe, birthday cake, vanilla cake, sprinkle cake


