My neighbor, Mrs. Kowalski, watched me wrestling a hot roasting pan out of the oven one Thanksgiving, a look of pure pity on her face. I was trying to do the impossible—carve the bird, mash the potatoes, and whisk up a last-minute gravy, all while the dining room was calling. She didn’t say anything at first. Then she just shook her head and said, “Come over tomorrow. I’ll show you how to do it the right way.” That was the first time I learned that the secret to a stress-free Thanksgiving wasn’t a better turkey recipe—it was a gravy you could make days before. Honestly, it changed my entire holiday cooking game. I mean, who knew you could have rich, silky, deeply flavorful gravy without the frantic stove-top scramble? This recipe is that secret. It’s the one that lets you actually enjoy your own party, and let me tell you, after years of perfecting it, I’ll never go back to the old way. If you’ve ever felt that last-minute kitchen panic, this one’s for you.
Why You’ll Love This Recipe
This isn’t just another gravy recipe; it’s a Thanksgiving problem-solver that I’ve tested and refined over countless holiday dinners. It’s the kind of recipe that makes you look like a pro without the last-minute stress.
- Stress-Free Thanksgiving: The biggest win here is the “make-ahead” factor. You can have this done up to three days before the big day, freeing up your oven and your brain for the main event.
- Rich, Deep Flavor: By using roasted turkey wings and aromatic vegetables, we build a stock that’s far more flavorful than anything from a box. It’s the real deal.
- Perfectly Silky Texture: No lumps, no floury taste. The secret is a simple roux and a good whisk. It’s smooth as silk every single time.
- Crowd-Pleasing Classic: This gravy is a universal crowd-pleaser. It’s the one everyone pours over their mashed potatoes and soaks up with their rolls.
- Simple, Honest Ingredients: You don’t need any fancy chef tricks. Just good butter, flour, homemade stock, and a little patience. That’s it.
This recipe is different because it focuses on building flavor from the ground up, not just relying on the turkey drippings. It’s a tested method that guarantees a perfect result, even if your turkey is a little dry. It’s comfort food at its finest—rich, savory, and full of that soul-soothing satisfaction that only a homemade Thanksgiving can provide. You can finally enjoy your meal instead of sweating over the stove.
What Ingredients You Will Need
This recipe uses a handful of simple, wholesome ingredients to deliver a gravy that tastes like it’s been simmering all day. Most of these are likely pantry staples, or easily found at your local grocery store.
- For the Turkey Stock (The Foundation):
- 3 to 4 pounds turkey wings (or 2-3 turkey legs) – (These roast up beautifully, creating a deep, meaty flavor base)
- 2 tablespoons olive oil – (For roasting the wings)
- 2 medium yellow onions, quartered
- 3 large carrots, peeled and cut into 2-inch chunks
- 3 celery stalks, cut into 2-inch chunks
- 4 cloves garlic, smashed
- 8 sprigs fresh thyme
- 2 sprigs fresh rosemary
- 1 tablespoon whole black peppercorns
- 2 dried bay leaves
- 8 cups cold water (plus more as needed to cover)
- For the Gravy (The Finish):
- 1/2 cup unsalted butter
- 1/2 cup all-purpose flour
- 6 to 7 cups of the prepared turkey stock (strained)
- Kosher salt and freshly ground black pepper, to taste
- Optional: 1/2 cup of reserved turkey drippings from the roasted bird (adds incredible flavor, but is not essential)
Ingredient Tips & Substitutions: I always buy organic turkey wings from my local butcher—they have a much richer flavor. For the stock, look for wings that have a good amount of skin and meat on them. If you are gluten-free, you can swap the all-purpose flour for a good quality gluten-free all-purpose blend (like King Arthur’s or Cup4Cup). The texture will be slightly different, but still delicious. You can also use chicken wings if you can’t find turkey wings, but the flavor will be a bit lighter. Don’t skip roasting the vegetables—it’s where a ton of flavor comes from.
Equipment Needed
You don’t need a professional kitchen for this, just a few key tools that will make the process smooth and easy.
- Large Roasting Pan or Baking Sheet: For roasting the turkey wings and vegetables.
- Large Stockpot (8-10 quarts): To simmer the stock. A Dutch oven works perfectly here.
- Fine-Mesh Strainer: Essential for straining out all the solids, leaving you with a crystal-clear stock.
- Large Heavy-Bottomed Saucepan or Dutch Oven: For making the gravy roux and finishing the sauce.
- Whisk: Your best friend for a lump-free gravy. A flat whisk works wonders in a saucepan.
- Measuring Cups and Spoons: For accuracy.
- Sharp Knife and Cutting Board: For prepping the vegetables.
I’ve used a cheap roasting pan before, and the wings stuck to the bottom terribly. A heavy-duty, non-stick pan is worth the investment. If you don’t have a fine-mesh strainer, you can line a colander with cheesecloth. It works just as well!
Preparation Method
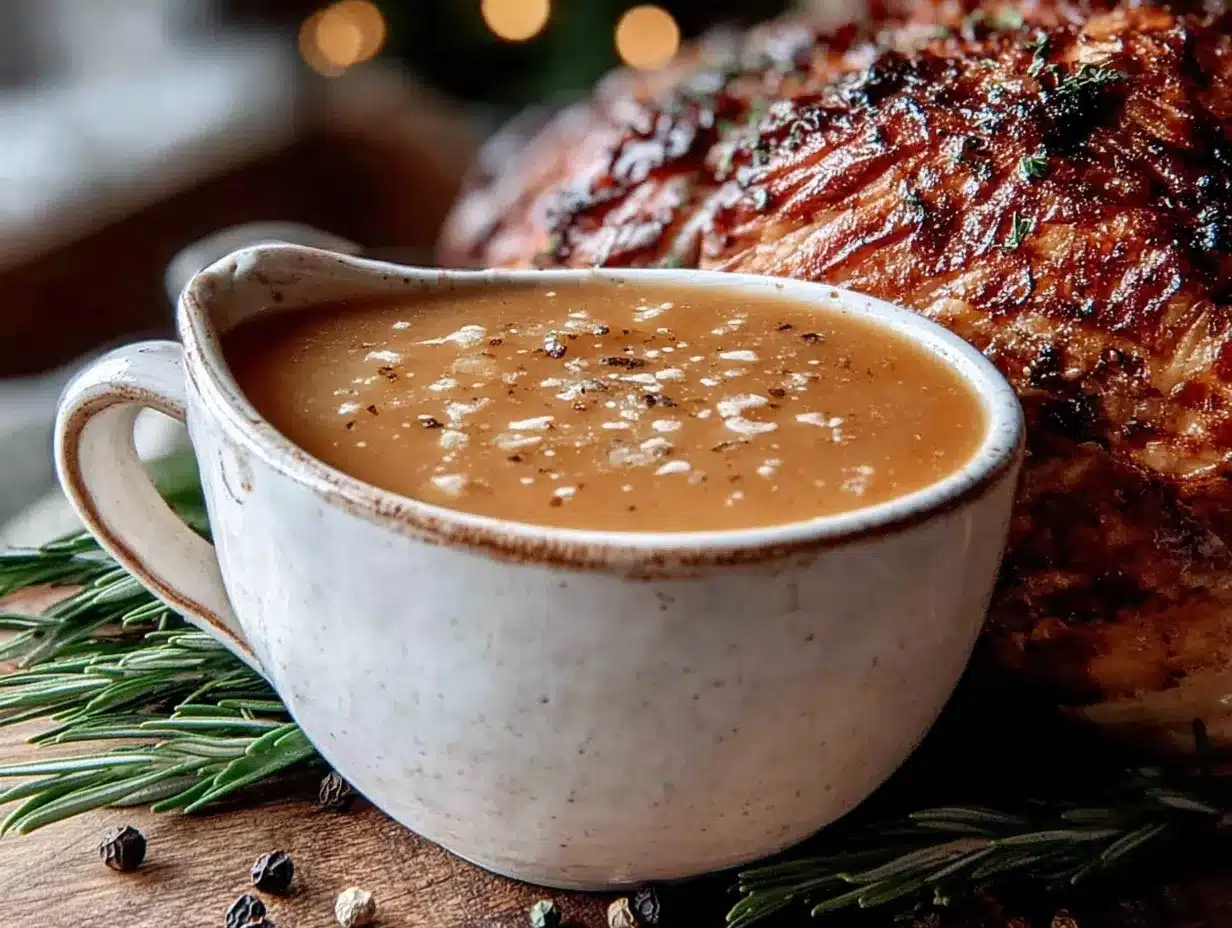
Let’s break this down into simple, manageable steps. The process is split into two parts: making the stock and then making the gravy. You can do the stock up to three days ahead.
Part 1: Make the Turkey Stock (Day One or Up to 3 Days Ahead)
- Roast the Wings and Veggies (20-25 minutes): Preheat your oven to 425°F (220°C). Place the turkey wings on a large roasting pan or baking sheet. Drizzle with the olive oil and season generously with salt and pepper. Scatter the quartered onions, carrots, and celery around the wings. Roast for 20-25 minutes, until the wings are deeply golden brown and the vegetables are starting to caramelize. This step is non-negotiable for deep flavor.
- Start the Stock (5 minutes): Carefully transfer the roasted wings and all the vegetables to your large stockpot. Do not discard any of the browned bits from the pan—this is pure flavor!
- Deglaze the Pan (2 minutes): Place the roasting pan on your stovetop over medium heat. Pour about 1 cup of the cold water into the hot pan and use a wooden spoon to scrape up all the browned bits from the bottom. This is called deglazing, and it’s liquid gold. Pour this liquid into the stockpot with the wings and veggies.
- Simmer the Stock (3-4 hours): Add the smashed garlic, thyme, rosemary, peppercorns, and bay leaves to the pot. Pour in the remaining 8 cups of cold water (or enough to cover the wings by about 1 inch). Bring the pot to a gentle boil, then immediately reduce the heat to low. You want a very gentle simmer—just small bubbles breaking the surface. Let it simmer, uncovered, for 3 to 4 hours. Do not let it boil hard, or your stock will become cloudy.
- Strain and Cool (10 minutes): After 3-4 hours, the stock will be deeply colored and fragrant. Set your fine-mesh strainer over a large bowl or another clean pot. Carefully pour the entire contents of the stockpot through the strainer. Discard all the solids (they’ve given all their flavor). You should have about 7 to 8 cups of rich, golden stock.
- Chill and Defat (Overnight): Let the stock cool to room temperature, then cover and refrigerate it overnight. The fat will rise to the top and solidify into a hard, white layer. This makes it incredibly easy to remove the next day. You can also do this step up to 3 days in advance.
Part 2: Make the Gravy (Day of Thanksgiving or Up to 2 Days Ahead)
- Remove the Fat (2 minutes): Take your chilled stock out of the fridge. Use a spoon to lift off and discard the solid fat layer. You are left with pure, defatted turkey stock. Measure out 6 cups of this stock.
- Make the Roux (5-7 minutes): In your large, heavy-bottomed saucepan, melt the 1/2 cup of butter over medium heat. Once it’s fully melted and starting to bubble, add the 1/2 cup of flour all at once. Whisk constantly to combine. Cook this mixture, stirring continuously, for about 2-3 minutes. You want it to turn a light golden brown and smell nutty. This is your roux, and it’s the key to a silky, lump-free gravy. Do not let it burn.
- Whisk in the Stock (3-4 minutes): Slowly pour in the 6 cups of cold turkey stock, whisking constantly as you add it. This is the most important step to avoid lumps. Keep whisking until the mixture is smooth and begins to thicken.
- Simmer and Thicken (10-15 minutes): Bring the gravy to a gentle simmer, then reduce the heat to low. Let it cook, stirring occasionally, for 10-15 minutes. It will thicken beautifully. It should coat the back of a spoon. If you want it thicker, let it simmer a little longer. If it gets too thick, whisk in a splash more stock or water.
- Season and Finish (2 minutes): Taste the gravy. Add a generous pinch of kosher salt and a few cracks of black pepper. If you have reserved drippings from your roasted turkey, now is the time to whisk them in for an extra layer of roasted flavor. Taste again and adjust seasoning.
- Cool and Store (5 minutes): Let the gravy cool completely. Pour it into an airtight container and refrigerate for up to 3 days. On Thanksgiving day, simply reheat it gently in a saucepan over low heat, whisking occasionally. You might need to add a splash of water or stock to thin it back out.
Cooking Tips & Techniques
Over the years, I’ve made a few mistakes so you don’t have to. Here are my best tips for perfect gravy every time.
- Don’t Skip Roasting: I once tried to make this with just raw turkey wings and water. The result was a pale, flavorless broth. Roasting the wings and vegetables is where the magic happens—it creates the deep, savory flavor you are after. It’s non-negotiable.
- Low and Slow for the Stock: A hard boil makes stock cloudy. A cloudy stock makes cloudy gravy. Keep it at a gentle simmer—a few lazy bubbles—for the clearest, most beautiful result. Patience is your friend here.
- The Roux is Your Foundation: Don’t rush the roux. Cooking the flour in butter for a few minutes gets rid of that raw, pasty taste. You want it to look like wet sand and smell like toasted nuts. I once walked away to answer the phone and came back to a burnt roux—had to start over. Set a timer!
- Cold Stock, Hot Roux: This is the golden rule for lump-free gravy. When you add cold liquid to a hot roux, the fat and starch combine more smoothly. If you use hot stock, the roux can seize up and form clumps. Keep your stock in the fridge until you need it.
- Taste as You Go: The amount of salt and pepper you need will depend on your stock. Always taste the gravy before you season it, and adjust gradually. You can always add more, but you can’t take it away.
Variations & Adaptations
This recipe is a fantastic base, and it’s easy to tweak to fit your needs or preferences. Here are a few of my favorite ways to change it up.
- Herb-Infused Gravy: Add a bundle of fresh sage and a few sprigs of thyme to the stock while it simmers. Remove them before straining. It adds a wonderful, aromatic Thanksgiving flavor.
- Mushroom & Shallot Gravy: After removing the fat from the stock, sauté 8 ounces of sliced cremini mushrooms and 2 finely chopped shallots in the butter before making the roux. Cook until they are soft and golden, then proceed with the flour. This makes an incredible, umami-packed gravy for a vegetarian table.
- Gluten-Free Gravy: Simply swap the all-purpose flour for a 1:1 gluten-free all-purpose flour blend. I’ve used both Bob’s Red Mill and King Arthur Flour with great success. The cooking time might be a minute or two shorter, so keep an eye on it.
- Spicy Kick: Add 1/2 teaspoon of cayenne pepper or a pinch of red pepper flakes to the roux while it cooks. It gives the gravy a subtle warmth that’s lovely with the richness of the turkey.
- White Wine Gravy: After making the roux, deglaze the saucepan with 1/2 cup of dry white wine (like Sauvignon Blanc) before adding the stock. Let it reduce for a minute, scraping up any browned bits. It adds a lovely acidity that cuts through the richness.
Serving & Storage Suggestions
This gravy is best served warm, but it’s incredibly versatile in how you can use it.
- Serving: Reheat the gravy gently in a small saucepan over low heat, whisking occasionally. If it’s too thick, thin it out with a splash of milk, stock, or even water. Serve it in a warm gravy boat alongside your carved turkey, mashed potatoes, stuffing, and biscuits. It’s also fantastic over roasted vegetables.
- Storage: Store any leftover gravy in an airtight container in the refrigerator for up to 5 days. The flavors will continue to meld and deepen, making it even better the next day.
- Freezing: This gravy freezes beautifully! Pour it into a freezer-safe bag or container, leaving a little headroom for expansion. It will keep for up to 3 months. To thaw, place it in the refrigerator overnight. Reheat gently, whisking to bring it back together. It might need a little extra liquid to smooth out, but it will taste just as good as the day you made it.
- Flavor Development: Honestly, this gravy is even better the day after you make it. The flavors have time to settle and meld together. It’s a great dish to make on Tuesday for a Thursday feast.
Nutritional Information & Benefits
While gravy is a treat, it does have some redeeming qualities. The nutritional values are estimates based on the recipe as written.
- Estimated Serving (1/4 cup): Approximately 80-100 calories, 6g fat, 6g carbohydrates, 2g protein.
- Key Ingredient Benefits: The turkey stock is rich in protein and minerals like selenium and phosphorus, which are great for immune function and bone health. The butter provides Vitamin A, and the vegetables in the stock contribute antioxidants.
- Dietary Considerations: This recipe can be made gluten-free with a simple swap. It is naturally low in sugar and can be part of a balanced holiday meal. The main source of fat is from the butter and turkey fat, so it is not low-fat.
- Potential Allergens: This recipe contains dairy (butter) and gluten (flour). Use the dairy-free butter and gluten-free flour substitutions mentioned above to make it suitable for those with allergies.
I love that this gravy lets me enjoy a richer meal without the last-minute stress. It’s a small indulgence that makes the whole holiday feel more special.
Conclusion
This make-ahead turkey gravy is more than just a sauce; it’s your ticket to a calm, collected, and incredibly delicious Thanksgiving. It frees you from the stove, gives you back your time, and delivers a depth of flavor that will have everyone asking for your secret. I love that I can make it days ahead, knowing that when the turkey comes out of the oven, all I have to do is reheat and serve. It makes the whole meal feel effortless. I honestly can’t imagine doing it any other way now. Give it a try this year—I promise it will become your new holiday tradition. And when you do, I’d love to hear about it! Leave a comment below sharing how it turned out, or tag me in your photos on social media. Happy Thanksgiving, and happy cooking!
Frequently Asked Questions
Can I use chicken wings instead of turkey wings for the stock?
Absolutely. If you can’t find turkey wings, chicken wings are a great substitute. The flavor will be slightly lighter and less “turkey-like,” but it will still be incredibly rich and delicious. Just be sure to roast them well for deep color.
My gravy is lumpy. How can I fix it?
Don’t panic! The easiest fix is to pour the entire lumpy gravy through a fine-mesh strainer into a clean bowl. Press on the lumps with a spoon to get as much liquid through as possible. Then, return the smooth gravy to the saucepan. For the future, always add cold stock to a hot roux and whisk vigorously.
Can I make this gravy completely vegan?
Yes, you can! To make a vegan version, skip the turkey wings entirely. Roast the vegetables (onions, carrots, celery, and add some mushrooms for umami) with olive oil. Use a high-quality vegetable stock instead of the turkey stock. Use a vegan butter substitute (like Miyoko’s or Earth Balance) for the roux. The flavor profile will be different, but it will be just as delicious and satisfying.
Can I double this recipe for a large crowd?
Yes, this recipe doubles beautifully. Simply use 6-8 pounds of turkey wings and double all the other stock ingredients. You may need a larger stockpot. For the gravy, double the butter and flour, and use 12-14 cups of stock. The simmering time for the stock might be slightly longer, and the gravy will take a few extra minutes to thicken.
My gravy is too thin. How do I thicken it?
If your gravy is thinner than you’d like, you have a few options. You can make a cornstarch slurry: mix 1 tablespoon of cornstarch with 2 tablespoons of cold water until smooth, then whisk it into the simmering gravy. Let it cook for 1-2 minutes to activate the starch. Alternatively, you can let the gravy simmer uncovered for a few more minutes to reduce and naturally thicken.
Pin This Recipe!
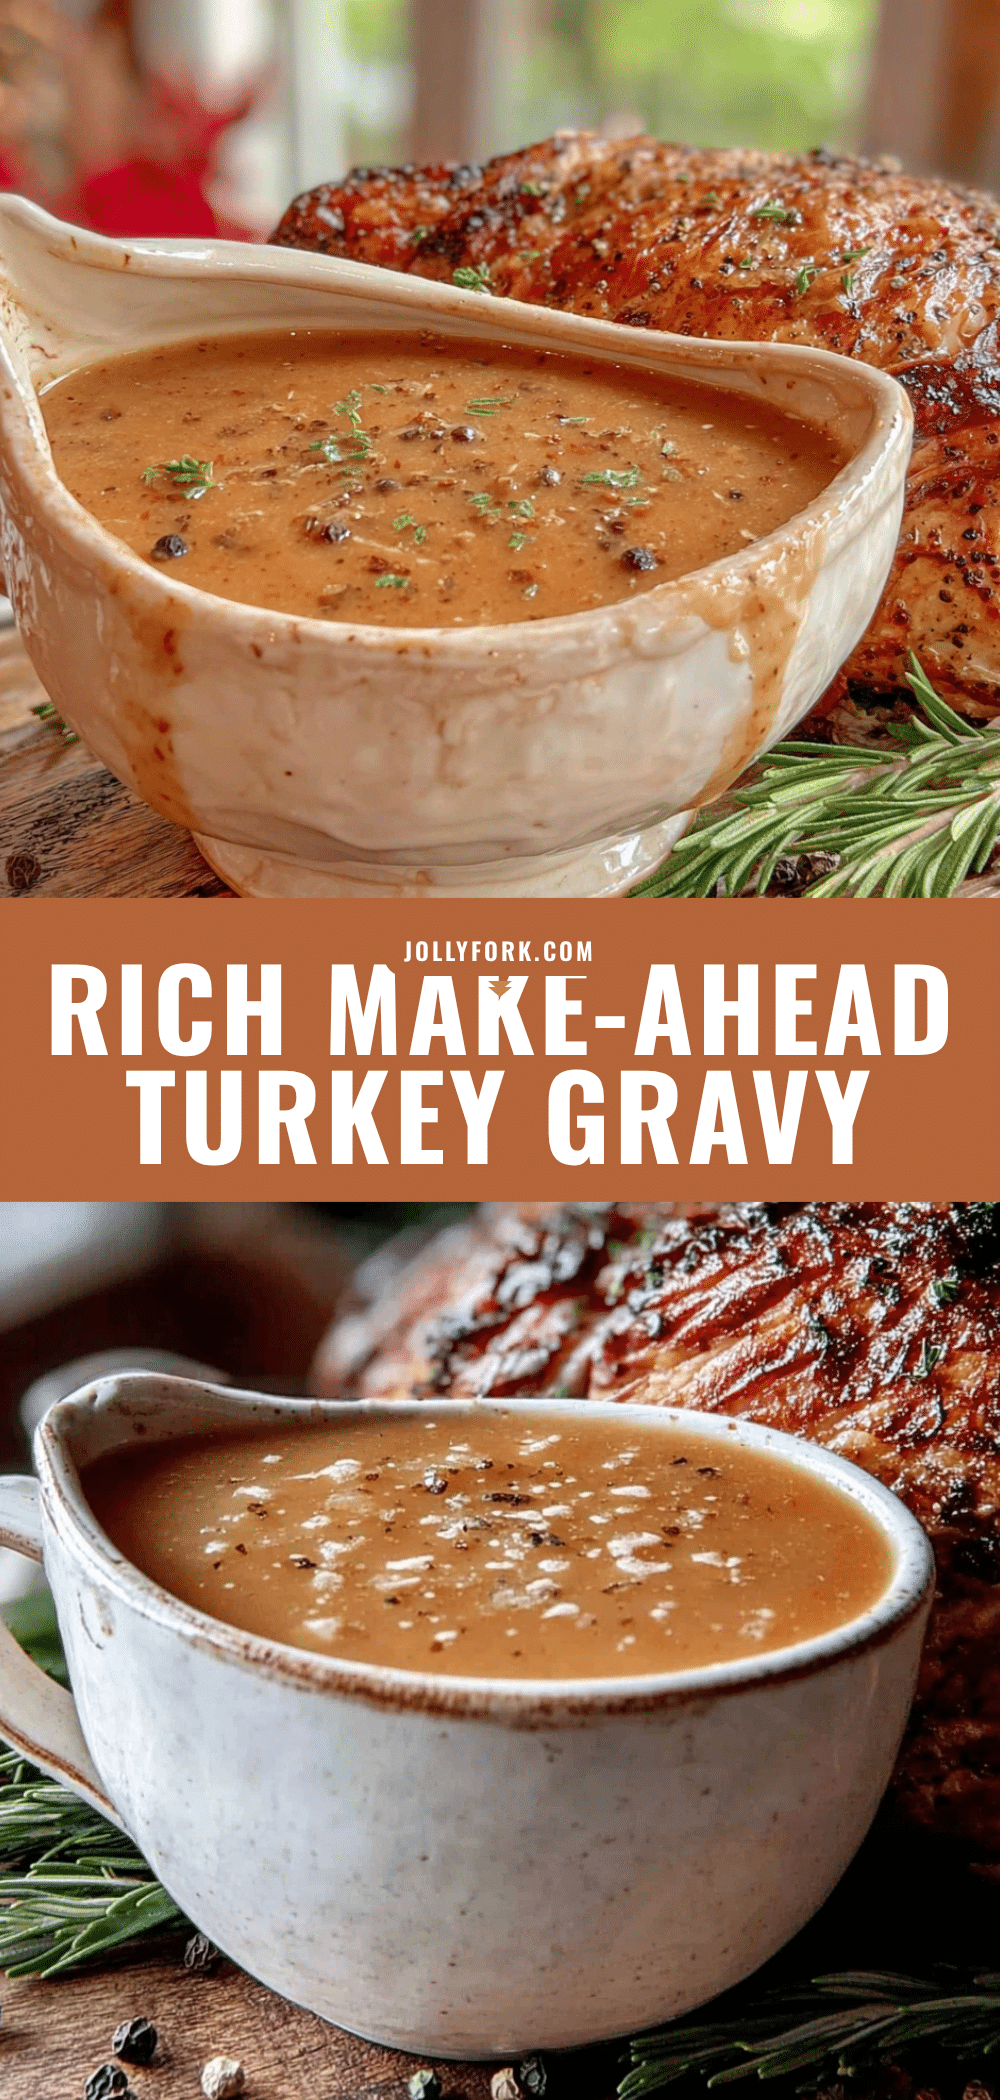
Best Make-Ahead Turkey Gravy: Easy Thanksgiving Recipe

This make-ahead turkey gravy is the secret to a stress-free Thanksgiving. Made with roasted turkey wings and aromatic vegetables, it delivers rich, silky, deeply flavorful gravy that you can prepare up to three days in advance.
- Prep Time: 30 minutes
- Cook Time: 3 hours 45 minutes
- Total Time: 4 hours 15 minutes (plus overnight chilling)
- Yield: 6 cups (about 24 servings of 1/4 cup each) 1x
- Category: Sauce
- Cuisine: American
Ingredients
- 3 to 4 pounds turkey wings (or 2–3 turkey legs)
- 2 tablespoons olive oil
- 2 medium yellow onions, quartered
- 3 large carrots, peeled and cut into 2-inch chunks
- 3 celery stalks, cut into 2-inch chunks
- 4 cloves garlic, smashed
- 8 sprigs fresh thyme
- 2 sprigs fresh rosemary
- 1 tablespoon whole black peppercorns
- 2 dried bay leaves
- 8 cups cold water (plus more as needed to cover)
- 1/2 cup unsalted butter
- 1/2 cup all-purpose flour
- 6 to 7 cups prepared turkey stock (strained)
- Kosher salt and freshly ground black pepper, to taste
- Optional: 1/2 cup reserved turkey drippings from the roasted bird
Instructions
- Part 1: Make the Turkey Stock (Day One or Up to 3 Days Ahead)
- 1. Roast the Wings and Veggies: Preheat oven to 425°F (220°C). Place turkey wings on a large roasting pan or baking sheet. Drizzle with olive oil and season generously with salt and pepper. Scatter quartered onions, carrots, and celery around the wings. Roast for 20-25 minutes until wings are deeply golden brown and vegetables are starting to caramelize.
- 2. Start the Stock: Carefully transfer roasted wings and all vegetables to a large stockpot. Do not discard any browned bits from the pan.
- 3. Deglaze the Pan: Place roasting pan on stovetop over medium heat. Pour about 1 cup cold water into the hot pan and use a wooden spoon to scrape up all browned bits. Pour this liquid into the stockpot with wings and veggies.
- 4. Simmer the Stock: Add smashed garlic, thyme, rosemary, peppercorns, and bay leaves to the pot. Pour in remaining 8 cups cold water (or enough to cover wings by about 1 inch). Bring to a gentle boil, then reduce heat to low. Simmer gently, uncovered, for 3 to 4 hours. Do not let it boil hard.
- 5. Strain and Cool: After 3-4 hours, set a fine-mesh strainer over a large bowl or clean pot. Carefully pour entire contents of stockpot through strainer. Discard all solids. You should have about 7 to 8 cups of rich, golden stock.
- 6. Chill and Defat: Let stock cool to room temperature, then cover and refrigerate overnight. The fat will rise and solidify, making it easy to remove the next day. Can be done up to 3 days in advance.
- Part 2: Make the Gravy (Day of Thanksgiving or Up to 2 Days Ahead)
- 7. Remove the Fat: Take chilled stock out of fridge. Use a spoon to lift off and discard the solid fat layer. Measure out 6 cups of defatted stock.
- 8. Make the Roux: In a large, heavy-bottomed saucepan, melt 1/2 cup butter over medium heat. Once melted and bubbling, add 1/2 cup flour all at once. Whisk constantly to combine. Cook for 2-3 minutes until light golden brown and nutty smelling.
- 9. Whisk in the Stock: Slowly pour in 6 cups cold turkey stock, whisking constantly. Keep whisking until mixture is smooth and begins to thicken.
- 10. Simmer and Thicken: Bring gravy to a gentle simmer, then reduce heat to low. Let cook, stirring occasionally, for 10-15 minutes until it coats the back of a spoon. If too thick, whisk in a splash more stock or water.
- 11. Season and Finish: Taste gravy. Add kosher salt and black pepper to taste. If using reserved turkey drippings, whisk them in now. Taste again and adjust seasoning.
- 12. Cool and Store: Let gravy cool completely. Pour into an airtight container and refrigerate for up to 3 days. To serve, reheat gently in a saucepan over low heat, whisking occasionally. Add a splash of water or stock if needed to thin.
Notes
Roasting the wings and vegetables is non-negotiable for deep flavor. Keep stock at a gentle simmer, not a boil, to avoid cloudiness. Always add cold stock to a hot roux for lump-free gravy. Taste and adjust seasoning gradually. Gravy can be made up to 3 days ahead and freezes well for up to 3 months.
Nutrition
- Serving Size: 1/4 cup
- Calories: 90
- Sugar: 1
- Sodium: 180
- Fat: 6
- Saturated Fat: 3.5
- Carbohydrates: 6
- Protein: 2
Keywords: make-ahead turkey gravy, Thanksgiving gravy, homemade turkey gravy, easy gravy recipe, stress-free Thanksgiving, turkey stock, gravy from scratch