There used to be a tiny Mexican joint called El Patio tucked behind a gas station on the edge of town that made the most incredible taco filling I have ever tasted. When they shut down suddenly in 2019 — I still remember the Tuesday I pulled up to a locked door and a handwritten sign — I felt a genuine pang of loss. I mean, honestly, I drove by that place for three weeks hoping it was just a vacation. After about twelve tries — the first one was a watery, sad mess that my kids refused to touch — I finally cracked the code. This one-pan cheesy ground beef taco skillet is the result of that obsession, and let me tell you, it tastes even better than I remember from El Patio.
You know that feeling when you find a recipe that makes everyone at the table happy without you having to work too hard? That is this skillet. It has all the bold taco flavors you crave — the seasoned beef, the melty cheese, the little pops of corn and beans — but it comes together in one pan in under 30 minutes. No separate pots, no complicated steps, no hunting for specialty ingredients. Just honest, crowd-pleasing food that makes a Tuesday night feel a little bit special.
I remember the first time I made the final version for my family. My youngest, who usually picks around anything that looks “mixed together,” actually asked for seconds. My husband looked up from his plate and said, “This is better than takeout.” And the best part? I had all the ingredients in my pantry and fridge already. No last-minute grocery run, no stress, just a hot dinner that made everyone happy. That is the kind of win every home cook deserves.
This recipe has become my go-to for those nights when I need something reliable. It is forgiving, flexible, and it reheats like a dream — which matters when you are feeding a family on a budget and can not afford to waste a single bite. So grab your biggest skillet, and let me show you how to make this happen.
Why You Will Love This Recipe
Let me be straight with you — I have tested this recipe more times than I care to count. I have made it with different cheeses, different beans, different seasoning blends. I have burned it, undercooked it, and accidentally added way too much chili powder. Through all those trials, this version emerged as the clear winner. Here is why it works so well for real families.
- Quick and Easy: From start to finish, this comes together in about 25 minutes. That is faster than ordering takeout, and way cheaper.
- Simple Ingredients: Ground beef, canned tomatoes, beans, corn, cheese, and taco seasoning. That is it. No fancy grocery trips required.
- Perfect for Busy Weeknights: This is the kind of dinner you can make on a Wednesday when everyone is hungry and you have zero energy left.
- Crowd-Pleaser: I have served this to picky kids, hungry teenagers, and adults who claim they do not like “casserole-type” food. Everyone cleans their plate.
- Budget-Friendly: Ground beef, canned goods, and shredded cheese are some of the most affordable ingredients you can buy. This stretches your grocery dollar beautifully.
- One-Pan Cleanup: This might be my favorite part. One skillet means less dishes, and less dishes means more time to actually sit down and enjoy your meal.
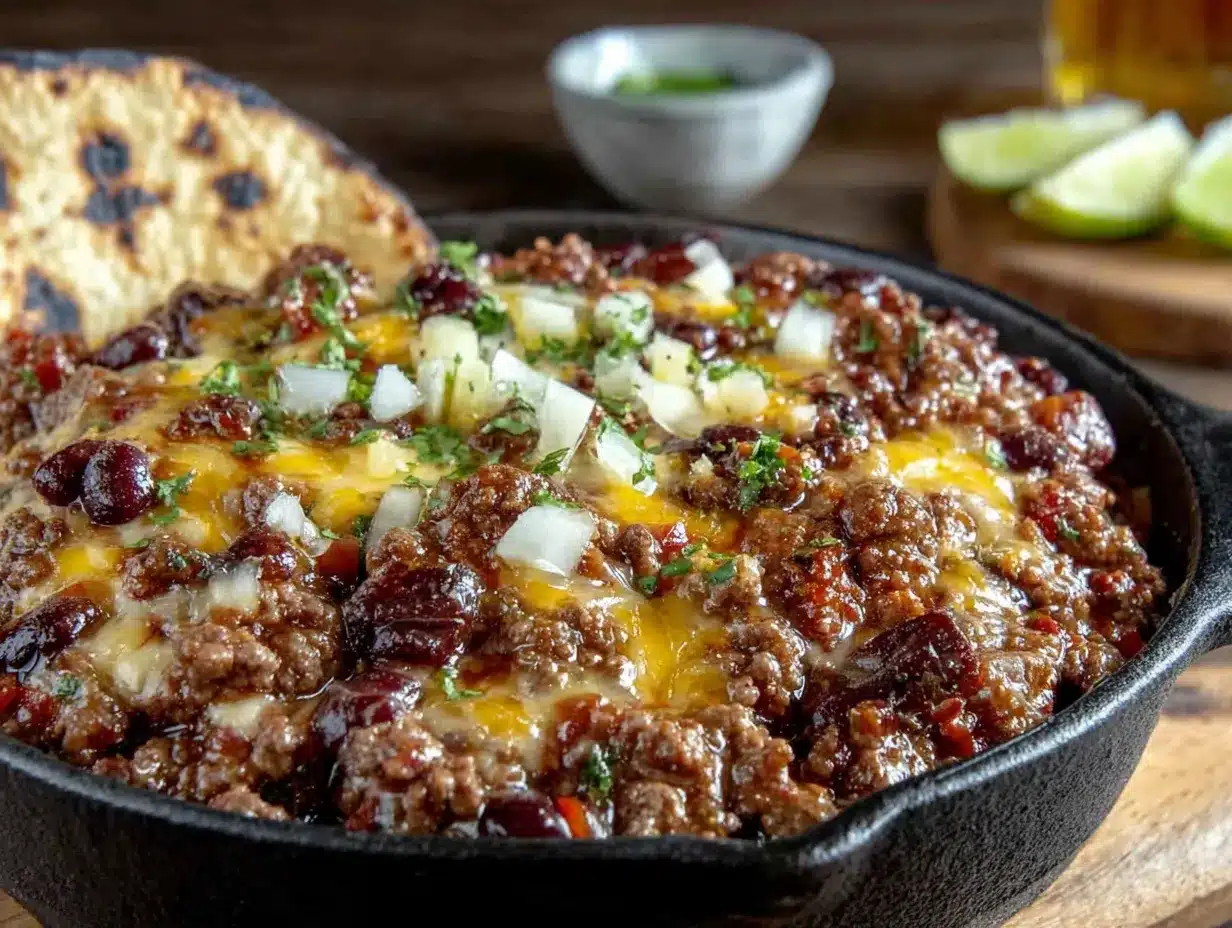
What makes this recipe different from the dozens of taco skillet recipes out there? It is the texture. I figured out that draining the beef properly and letting the mixture simmer uncovered for a few minutes creates a filling that is thick and rich, not soupy. The cheese melts into every crevice instead of floating on top. And the balance of flavors — the slight sweetness from the corn, the earthiness from the beans, the tang from the tomatoes — hits just right. This is not just another version of taco skillet. This is the version you will come back to again and again.
Honestly, this recipe is the kind that makes you close your eyes after the first bite. It is comfort food at its finest — warm, cheesy, satisfying, and deeply familiar. But it is also practical. It uses ingredients you already have, comes together without stress, and pleases everyone at the table. That is the sweet spot, right there.
What Ingredients You Will Need
This recipe uses simple, honest ingredients that work together to create something truly satisfying. Nothing fancy, nothing complicated — just good food that tastes like you put in way more effort than you actually did.
For the Skillet Base
- 1 pound (450g) ground beef — I use 80/20 for the best flavor, but leaner works fine too. If using lean, you might need a splash of oil to prevent sticking.
- 1 medium yellow onion, diced — About 1 cup. Onion adds sweetness and depth. Red onion works too, but yellow is my go-to.
- 3 cloves garlic, minced — Fresh garlic makes a difference here. Skip the jarred stuff if you can.
- 1 tablespoon (15ml) olive oil — Only needed if your beef is lean. Otherwise, you can skip it.
For the Taco Seasoning
- 1 tablespoon (8g) chili powder — I prefer mild chili powder for this recipe since kids are involved. You can always add heat later.
- 1 teaspoon (2g) ground cumin — This is non-negotiable for me. Cumin gives that warm, earthy taco flavor.
- 1 teaspoon (2g) smoked paprika — Adds a subtle smokiness that makes this taste like it cooked all day.
- 1/2 teaspoon (1g) garlic powder — Not the same as fresh garlic, but it adds a different layer of flavor.
- 1/2 teaspoon (1g) onion powder — Rounds out the seasoning blend nicely.
- 1/2 teaspoon (1g) dried oregano — A little goes a long way. Mexican oregano is ideal if you have it.
- 1/2 teaspoon (3g) salt — Adjust to taste. Different brands of chili powder have different salt levels.
- 1/4 teaspoon (0.5g) black pepper — Freshly ground if you can.
Alternatively, you can use 2 tablespoons of your favorite store-bought taco seasoning. I recommend the brand Simply Organic for a clean ingredient list, or McCormick for that classic flavor. But honestly, making your own is cheaper and lets you control the salt.
For the Mix-Ins
- 1 can (15 oz or 425g) diced tomatoes, undrained — Fire-roasted adds a lovely depth. Regular works fine too.
- 1 can (15 oz or 425g) black beans, drained and rinsed — Rinsing removes excess sodium and that canned bean taste. Kidney beans or pinto beans work great too.
- 1 cup (165g) frozen corn kernels — No need to thaw. Canned corn works too, just drain it well first.
- 1 can (4 oz or 113g) diced green chiles — These are mild and add a little something extra. Totally optional but highly recommended.
For the Cheesy Finish
- 1 1/2 cups (170g) shredded Mexican blend cheese — I use a mix of Monterey Jack, cheddar, and asadero. Pre-shredded works in a pinch, but freshly shredded melts so much better.
- 1/2 cup (60g) shredded cheddar cheese — For that sharp, familiar flavor on top. Use sharp cheddar for more punch.
For Serving (Optional but Recommended)
- Fresh cilantro, chopped — A handful adds freshness and color.
- Green onions, sliced — For a mild onion bite.
- Sour cream or Greek yogurt — Cools things down nicely.
- Diced avocado — Creamy and delicious.
- Hot sauce — For those who want more heat.
- Tortilla chips or warm tortillas — For scooping or wrapping.
Equipment Needed
One of the best things about this recipe is how little equipment it requires. You do not need a fancy kitchen to make this work. Here is what you will need.
- Large skillet or frying pan (12-inch / 30cm) — A deep skillet with a lid works best. Cast iron is my favorite because it holds heat beautifully, but non-stick works great too. I have been using my Lodge 12-inch cast iron skillet for years, and it just gets better with age.
- Wooden spoon or silicone spatula — For breaking up the ground beef and stirring everything together. Silicone is gentler on non-stick pans.
- Chef’s knife and cutting board — For dicing the onion and mincing the garlic. A sharp knife makes this job much faster.
- Can opener — You will need this for the tomatoes, beans, and green chiles.
- Colander — For draining and rinsing the black beans. Also useful if you need to drain excess fat from the beef.
- Measuring spoons — For the seasoning blend. I use my OXO Good Grips set and they are still going strong after five years.
- Box grater or food processor — If you are shredding your own cheese. I find that pre-shredded cheese has anti-caking agents that prevent it from melting as smoothly. Grating your own takes two extra minutes but makes a real difference.
If you do not have a lid for your skillet, a baking sheet placed on top works as a makeshift cover. And if you are using a non-stick pan, avoid metal utensils to keep the coating intact. Trust me on this — I learned that lesson the hard way.
Preparation Method
This comes together fast, so I like to have everything prepped and ready before I start cooking. Read through the whole method first, then gather your ingredients. Let us get cooking.
Step 1: Brown the Beef
Place your skillet over medium-high heat and add the olive oil if you are using lean beef. Once the oil shimmers — or if using fattier beef, just place the meat directly in the hot pan — add the ground beef. Break it up with your wooden spoon into small crumbles. Cook for 5 to 7 minutes, stirring occasionally, until the beef is browned all over and no longer pink. You want some nice brown bits sticking to the bottom of the pan — that is flavor.
Pro tip: Do not crowd the pan. If your skillet is too small, the beef will steam instead of brown. If needed, cook in two batches. I learned this after making a sad, gray mess of ground beef one too many times.
Step 2: Drain the Fat
Using a colander set over a bowl, carefully drain the excess fat from the beef. Alternatively, you can tilt the skillet and spoon out most of the fat, leaving about 1 tablespoon behind for flavor. Return the beef to the skillet and reduce the heat to medium.
Warning: Do not pour hot grease down the drain. Let it cool, then dispose of it in the trash. I keep an empty can on my counter for this exact purpose.
Step 3: Sauté the Aromatics
Add the diced onion to the skillet with the beef. Cook for 3 to 4 minutes, stirring occasionally, until the onion softens and turns translucent. Add the minced garlic and cook for 30 seconds more, until fragrant. Your kitchen should smell amazing at this point.
Step 4: Add the Seasoning
Sprinkle the homemade taco seasoning — or your store-bought blend — over the beef and onion mixture. Stir well to coat everything evenly. Cook for 1 minute, stirring constantly. This toasts the spices and wakes up their flavors. Do not skip this step — it makes a real difference.
Step 5: Add the Tomatoes and Green Chiles
Pour in the undrained diced tomatoes and the diced green chiles. Stir everything together, scraping the bottom of the pan to release any browned bits. Those bits are pure gold for flavor.
Step 6: Add the Beans and Corn
Add the drained and rinsed black beans and the frozen corn. Stir well to combine. Bring the mixture to a gentle simmer — you should see small bubbles breaking the surface. Reduce the heat to medium-low.
Step 7: Simmer and Thicken
Let the mixture simmer uncovered for 8 to 10 minutes, stirring occasionally. You want the liquid to reduce slightly and the flavors to meld together. The mixture should be thick and saucy, not watery. If it looks too dry, add a splash of water or broth. If it looks too wet, let it simmer a few minutes longer.
Sensory cue: At this stage, the mixture should look rich and dark, with the corn and beans visibly distributed throughout. The aroma should be warm and spicy, with that unmistakable taco smell filling your kitchen.
Step 8: Add the Cheese
Remove the skillet from the heat. Sprinkle the shredded Mexican blend cheese evenly over the top of the mixture. Then sprinkle the shredded cheddar on top. Cover the skillet with a lid — or a baking sheet — and let it sit for 2 to 3 minutes. The residual heat will melt the cheese into a gooey, irresistible layer.
Step 9: Garnish and Serve
Remove the lid and sprinkle fresh cilantro and sliced green onions over the top if using. Serve immediately with your choice of toppings — sour cream, diced avocado, hot sauce — and tortilla chips or warm tortillas on the side.
Total time: About 25 minutes from start to finish. You just made dinner.
Cooking Tips and Techniques
After making this recipe more times than I can count, I have picked up a few tricks that make a real difference. Here is what I have learned.
Get the Right Texture
The biggest mistake people make with skillet dinners is ending up with a watery mess. The key is to let the mixture simmer uncovered long enough for the liquid to reduce. You want a thick, hearty filling, not soup. If you are in a hurry, you can increase the heat slightly, but watch it closely so it does not burn on the bottom.
Season as You Go
I taste the mixture at every stage — after the beef browns, after the seasoning goes in, and after the simmer. This lets me adjust salt and spices gradually instead of dumping everything in at once and hoping for the best. You can always add more, but you can not take it out.
Use Freshly Shredded Cheese
I know it is tempting to grab the bag of pre-shredded cheese. I have done it plenty of times. But for this recipe, freshly shredded cheese makes a noticeable difference. Pre-shredded cheese is coated with starch and anti-caking agents that prevent it from melting smoothly. Taking two minutes to grate your own block of cheese gives you that perfect, gooey, stretchy melt every time.
Let the Cheese Rest
After you sprinkle the cheese on top, resist the urge to stir it in. Cover the skillet and let the cheese melt from the residual heat. This creates a beautiful, even layer of melted cheese on top instead of having it mixed throughout. It looks more appealing, and it gives you that satisfying cheese pull when you scoop into it.
Don’t Skip the Drain
Draining the beef after browning is crucial. If you leave all the fat in, the final dish will be greasy and heavy. I learned this the hard way when I made a version that left my family reaching for antacids. A quick drain makes all the difference.
Make It Ahead
This recipe actually tastes better the next day. The flavors have time to meld and deepen overnight. You can make the entire skillet up to the point of adding the cheese, then refrigerate it. When you are ready to serve, reheat it on the stovetop, then add the cheese and let it melt. This is a lifesaver on busy nights.
Variations and Adaptations
One of the things I love most about this recipe is how flexible it is. You can change it up based on what you have in your pantry or what your family likes. Here are some variations I have tried and loved.
Make It Spicier
If your family likes heat, add a diced jalapeño along with the onion. You can also use hot chili powder instead of mild, or add a pinch of cayenne pepper to the seasoning blend. For extra heat, stir in a tablespoon of chipotle peppers in adobo sauce — that smoky heat is incredible.
Make It Milder
For little kids or sensitive palates, skip the green chiles and use a very mild chili powder. You can also add a tablespoon of brown sugar or honey to balance any bitterness from the tomatoes. My youngest prefers it this way, and I have to say, it is still delicious.
Make It Healthier
Swap the ground beef for ground turkey or chicken. You will need to add a tablespoon of olive oil since poultry is leaner. You can also add extra vegetables — diced bell peppers, zucchini, or even shredded carrots blend right in and add nutrients without changing the flavor much.
Make It Vegetarian
Skip the meat entirely and double the beans. Use two cans of black beans or a mix of black beans and kidney beans. You can also add a bag of frozen cauliflower rice for extra bulk. The texture will be slightly different, but the flavor is still fantastic.
Make It Gluten-Free
This recipe is naturally gluten-free as written, as long as you use certified gluten-free taco seasoning. Some store-bought blends contain wheat flour as a thickener. Check the label, or make your own seasoning to be safe.
Make It Low-Carb
Skip the corn and beans, and add extra ground beef or diced bell peppers instead. Serve it over cauliflower rice or lettuce wraps instead of tortillas or chips. I have made this version for friends on keto diets, and they raved about it.
Change the Protein
Ground pork works beautifully here, as does ground chorizo. If using chorizo, skip the seasoning blend since chorizo is already heavily spiced. Just brown it, drain the fat, and proceed with the recipe.
Serving and Storage Suggestions
This skillet is incredibly versatile when it comes to serving. Here is how I like to present it and store it.
Serving Suggestions
I serve this straight from the skillet at the table — it looks gorgeous and keeps everything warm. Set out bowls of toppings so everyone can customize their own plate. Tortilla chips are my favorite for scooping, but warm flour tortillas make excellent soft tacos too. You can also serve it over rice or a bed of lettuce for a different experience.
For drinks, a cold Mexican Coke or a limeade pairs beautifully. For adults, a cold beer or a margarita is a natural fit. But honestly, this dish is perfect all on its own.
Storage Instructions
Leftovers keep beautifully in the refrigerator for up to 4 days. Store them in an airtight container. The flavors actually deepen and improve overnight, so do not be surprised if it tastes even better the next day.
To freeze, let the skillet cool completely, then transfer to a freezer-safe container. It will keep for up to 3 months. Thaw overnight in the refrigerator before reheating.
Reheating Tips
The best way to reheat this is on the stovetop over medium-low heat. Add a splash of water or broth to loosen it up, and stir occasionally until heated through. You can also microwave individual portions in 30-second bursts, stirring between each. If the cheese has separated, just stir it back in — it will still taste great.
I do not recommend reheating in the oven unless you have a large batch, as it takes too long for a single serving. But if you do use the oven, cover the dish with foil and heat at 350°F (175°C) for about 15 minutes.
Nutritional Information and Benefits
Here is the approximate nutritional breakdown for one serving of this skillet, assuming six servings total. Values will vary based on specific ingredients and portion sizes.
| Nutrient | Amount Per Serving |
|---|---|
| Calories | 385 |
| Total Fat | 22g |
| Saturated Fat | 10g |
| Cholesterol | 85mg |
| Sodium | 720mg |
| Total Carbohydrates | 22g |
| Dietary Fiber | 6g |
| Sugars | 5g |
| Protein | 28g |
This dish is a solid source of protein from the beef and beans, and the black beans add a good dose of fiber, which helps keep everyone full and satisfied. The tomatoes provide vitamin C and lycopene, a powerful antioxidant. The corn adds a bit of sweetness and some B vitamins.
If you are watching your sodium, use low-sodium canned tomatoes and beans, and reduce the salt in the seasoning blend. You can also rinse the beans thoroughly to remove excess sodium.
This recipe is naturally gluten-free and can easily be made dairy-free by using vegan cheese shreds or skipping the cheese altogether. It is also nut-free and egg-free, making it a safe choice for many common allergies.
Frequently Asked Questions
Can I use ground turkey instead of beef?
Absolutely. Ground turkey works great, though it is leaner, so you will need to add a tablespoon of olive oil to prevent sticking. The flavor will be slightly milder, so you might want to bump up the seasoning a bit.
Can I make this in a slow cooker?
You can, but the texture will be different. Brown the beef and sauté the onion and garlic on the stovetop first, then transfer everything except the cheese to a slow cooker. Cook on low for 4 to 6 hours or on high for 2 to 3 hours. Add the cheese during the last 15 minutes and let it melt before serving.
How do I make this less spicy for my kids?
Use mild chili powder, skip the green chiles, and consider adding a tablespoon of brown sugar or a dollop of sour cream to balance any remaining heat. You can also serve it with extra sour cream or yogurt on the side so everyone can cool down their own portion.
Can I add more vegetables to this recipe?
Yes, and I encourage it. Diced bell peppers, zucchini, mushrooms, or even shredded carrots blend right in. Add them along with the onion and cook until softened. This is a great way to sneak extra veggies into a meal without anyone noticing.
How long do leftovers last in the fridge?
Leftovers will keep in an airtight container in the refrigerator for up to 4 days. They also freeze beautifully for up to 3 months. The flavors actually improve after a day or two, so do not be shy about making a double batch.
Conclusion
This one-pan cheesy ground beef taco skillet is the kind of recipe that earns a permanent spot in your dinner rotation. It is fast, affordable, and made with ingredients you probably already have in your kitchen. But more than that, it is the kind of meal that brings people together. The kind where everyone reaches for seconds and the conversation flows easily around the table.
I love this recipe because it reminds me that good food does not have to be complicated. It does not require fancy techniques or hard-to-find ingredients. It just requires a little bit of care, a willingness to taste as you go, and the understanding that dinner does not have to be perfect to be wonderful. This skillet is proof of that.
I would love to hear how this turns out for you. Did your kids go back for seconds? Did you add your own twist? Drop a comment below and let me know. And if you loved this recipe, share it with a friend who needs an easy dinner win. Happy cooking, friends.
Pin This Recipe!
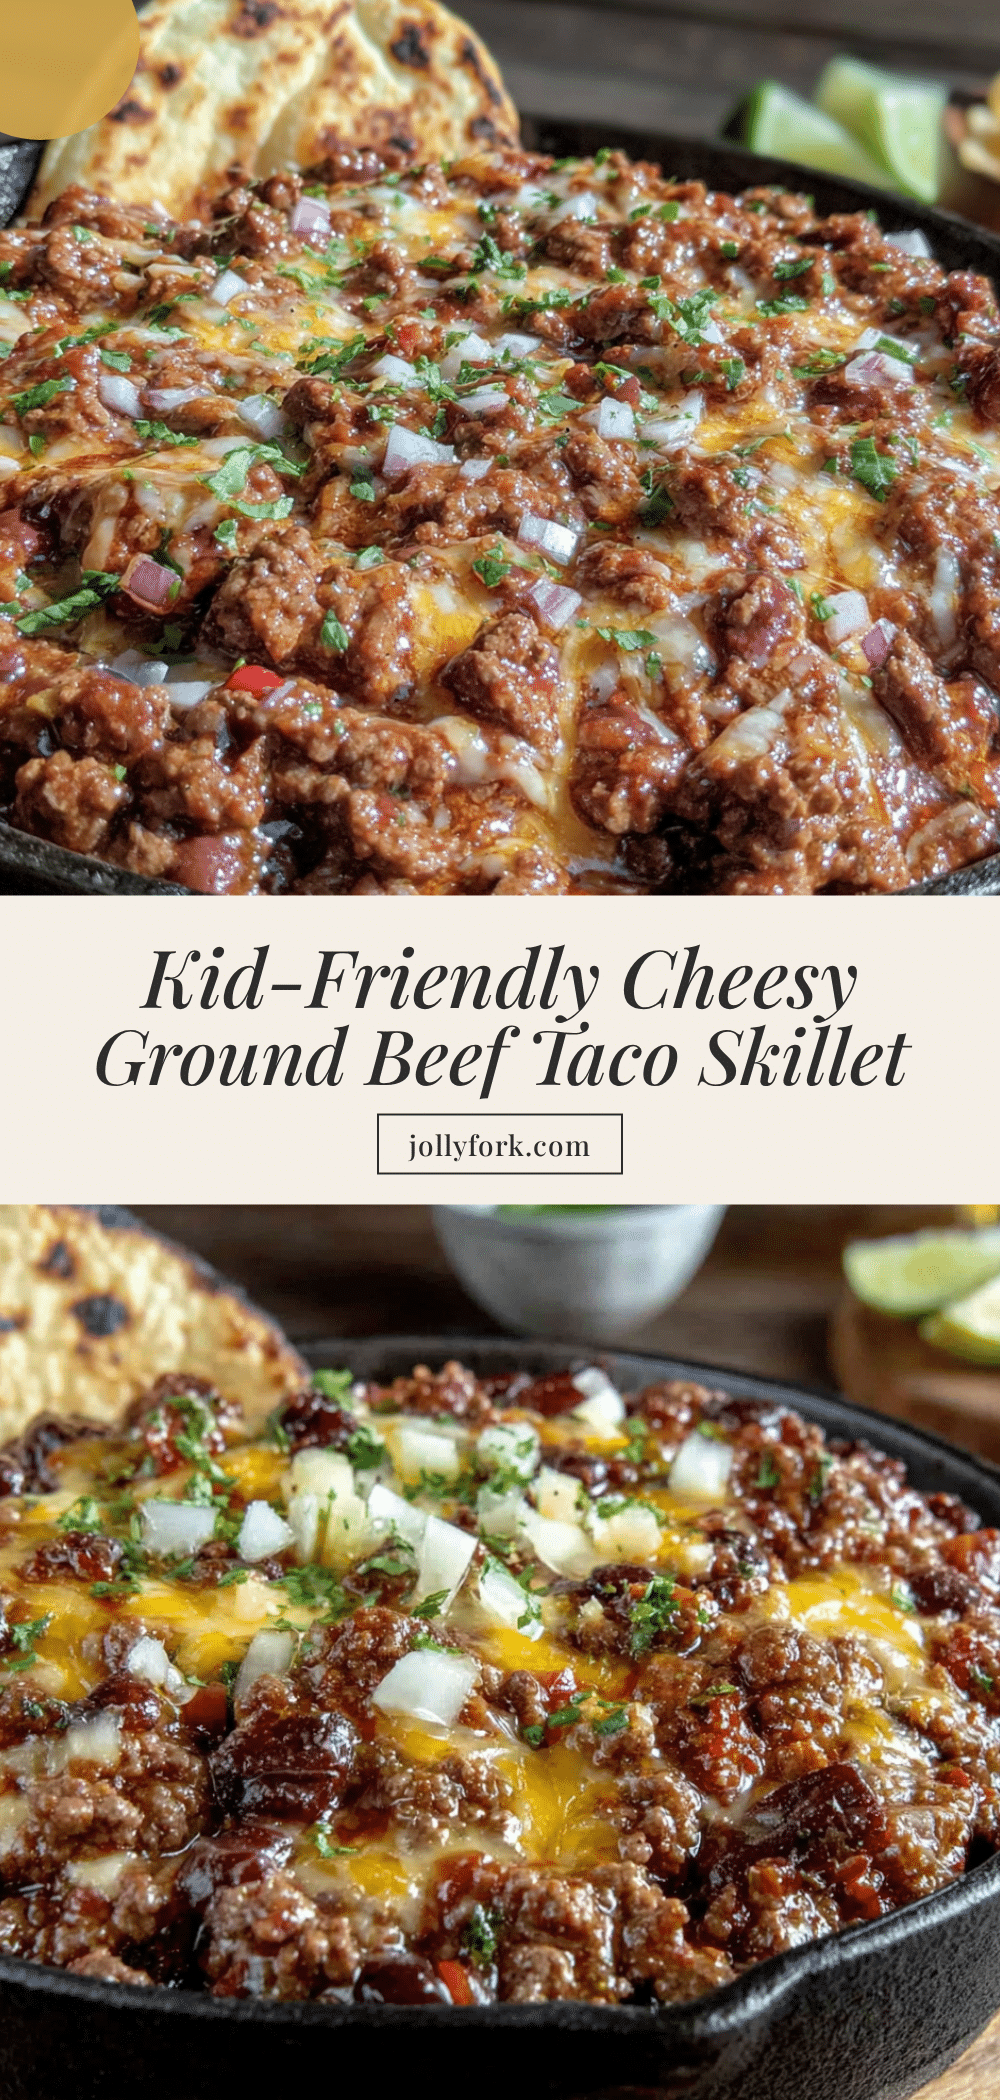
Best One-Pan Cheesy Ground Beef Taco Skillet

A quick and easy one-pan taco skillet with seasoned ground beef, black beans, corn, and melted cheese. Ready in under 30 minutes, this crowd-pleasing dinner is perfect for busy weeknights.
- Prep Time: 10 minutes
- Cook Time: 15 minutes
- Total Time: 25 minutes
- Yield: 6 servings 1x
- Category: Main Course
- Cuisine: Mexican
Ingredients
- 1 pound (450g) ground beef (80/20 recommended)
- 1 medium yellow onion, diced (about 1 cup)
- 3 cloves garlic, minced
- 1 tablespoon (15ml) olive oil (optional, for lean beef)
- 1 tablespoon (8g) chili powder (mild preferred)
- 1 teaspoon (2g) ground cumin
- 1 teaspoon (2g) smoked paprika
- 1/2 teaspoon (1g) garlic powder
- 1/2 teaspoon (1g) onion powder
- 1/2 teaspoon (1g) dried oregano (Mexican oregano preferred)
- 1/2 teaspoon (3g) salt
- 1/4 teaspoon (0.5g) black pepper
- 1 can (15 oz or 425g) diced tomatoes, undrained (fire-roasted preferred)
- 1 can (15 oz or 425g) black beans, drained and rinsed
- 1 cup (165g) frozen corn kernels (no need to thaw)
- 1 can (4 oz or 113g) diced green chiles (optional)
- 1 1/2 cups (170g) shredded Mexican blend cheese (Monterey Jack, cheddar, asadero)
- 1/2 cup (60g) shredded cheddar cheese (sharp preferred)
- Fresh cilantro, chopped (for garnish, optional)
- Green onions, sliced (for garnish, optional)
- Sour cream or Greek yogurt (for serving, optional)
- Diced avocado (for serving, optional)
- Hot sauce (for serving, optional)
- Tortilla chips or warm tortillas (for serving, optional)
Instructions
- Place a large skillet (12-inch/30cm) over medium-high heat. Add olive oil if using lean beef. Once hot, add ground beef and break into small crumbles. Cook for 5-7 minutes until browned and no longer pink.
- Drain excess fat using a colander or by tilting the skillet and spooning out fat, leaving about 1 tablespoon. Return beef to skillet and reduce heat to medium.
- Add diced onion to the skillet. Cook for 3-4 minutes until softened and translucent. Add minced garlic and cook for 30 seconds until fragrant.
- Sprinkle homemade taco seasoning (chili powder, cumin, smoked paprika, garlic powder, onion powder, oregano, salt, pepper) over beef and onion. Stir well and cook for 1 minute, stirring constantly.
- Pour in undrained diced tomatoes and diced green chiles. Stir, scraping the bottom of the pan to release browned bits.
- Add drained black beans and frozen corn. Stir to combine. Bring to a gentle simmer, then reduce heat to medium-low.
- Let mixture simmer uncovered for 8-10 minutes, stirring occasionally, until liquid reduces and mixture thickens. Adjust consistency with a splash of water or broth if needed.
- Remove skillet from heat. Sprinkle shredded Mexican blend cheese evenly over the top, followed by shredded cheddar. Cover with a lid or baking sheet and let sit for 2-3 minutes until cheese melts.
- Remove lid, garnish with fresh cilantro and sliced green onions if desired. Serve immediately with optional toppings and tortilla chips or warm tortillas.
Notes
For best texture, let the mixture simmer uncovered to reduce liquid. Use freshly shredded cheese for optimal melt. Leftovers keep in the refrigerator for up to 4 days or freeze for up to 3 months. Reheat on stovetop with a splash of water or broth.
Nutrition
- Serving Size: 1 serving (about 1.5
- Calories: 385
- Sugar: 5
- Sodium: 720
- Fat: 22
- Saturated Fat: 10
- Carbohydrates: 22
- Fiber: 6
- Protein: 28
Keywords: taco skillet, ground beef, one-pan, cheesy, weeknight dinner, easy, quick, family-friendly