“You’re making challah? Like, the braided bread?” My sister squinted at me through the Zoom screen, a forkful of salad halfway to her mouth. “Since when?”
Since I accidentally watched a baking documentary at 2 AM, that’s since when. But I didn’t tell her that. I just shrugged and held up a ball of dough I’d been wrestling with for the past hour. It was sticky, lopsided, and honestly looked more like a sad potato than bread. But something about the process had hooked me—the way the flour smelled as it hit the counter, the quiet rhythm of kneading, the fact that I was making something that people have been making for thousands of years.
That first loaf was a disaster. Dense, uneven, and the braid looked like a tangled shoelace. But I couldn’t stop thinking about it. There’s something about challah that feels important. It’s not just bread—it’s tradition, celebration, and the kind of food that shows up at the table when people gather. And the round version? That’s for Rosh Hashanah, the Jewish New Year, symbolizing the cycle of life and the sweetness of what’s to come.
This best round challah bread with honey glaze became my project. I tested batches for weeks, tweaking the hydration, the proofing times, the number of strands in the braid. I wanted a loaf that was soft but sturdy, golden and glossy, with a honey glaze that soaked in just enough to add sweetness without making it sticky. And after more failed attempts than I care to admit—including one memorable loaf that deflated like a sad balloon—I finally got it right.
This is that recipe. The one that makes you feel like you actually know what you’re doing in the kitchen. The one that fills your house with a smell so good, neighbors might accidentally show up at your door. And the honey glaze? It’s the finishing touch that turns good challah into something you’ll want to make for every special occasion—or just because it’s Tuesday.
Why You’ll Love This Recipe
Let me tell you why this round challah bread with honey glaze has become my go-to for everything from holiday dinners to random Sunday baking sessions. It’s not just another bread recipe—it’s the one I’ve tested, tweaked, and perfected so you don’t have to go through the same trial and error I did.
- Foolproof Dough: This recipe uses a specific hydration ratio that makes the dough forgiving even if you’re new to yeast breads. I’ve tested it in humid weather, dry winter air, and everything in between. It works.
- Simple Pantry Ingredients: Flour, eggs, yeast, honey, oil, salt. That’s it. No specialty flours or hard-to-find items. You probably have most of this right now.
- Perfect for Holidays: The round shape is traditional for Rosh Hashanah, but honestly, it works for any celebration—or just a beautiful weekend baking project.
- That Honey Glaze: It’s not just for show. The glaze adds a subtle sweetness and gives the crust that gorgeous golden sheen that makes bakery challah look so professional.
- Freezes Beautifully: Make two loaves—one for now, one for later. This bread freezes like a dream and tastes just as fresh after thawing.
What makes this recipe different from the dozens of others I tried? It’s the technique. I discovered that letting the dough rest for an extra 10 minutes after kneading makes it infinitely easier to shape. And the egg wash? I brush it on twice—once before the final rise, once right before baking—for that deep, mahogany color that makes people think you bought it from a fancy bakery. This isn’t just another challah recipe; it’s the one I’d make for my grandmother, if she were still around to taste it.
Honestly, the first time I pulled a perfect round loaf out of the oven, I almost cried. Not because I’m overly emotional about bread (okay, maybe a little), but because it felt like I’d finally cracked a code. The kind of bread that makes you close your eyes after the first bite. That’s what this recipe delivers.
What Ingredients You Will Need
This recipe uses simple, humble ingredients to create something that feels special. The magic is in how they work together—the eggs giving structure, the honey adding sweetness, the oil keeping everything tender. Here’s what you’ll need:
For the Dough
- All-purpose flour – 4 cups (500g). I prefer King Arthur Flour for consistent results, but any brand works. Don’t use bread flour here; it makes the challah too chewy.
- Active dry yeast – 2 ¼ teaspoons (one packet). Make sure it’s fresh—expired yeast is the number one reason bread fails. Trust me, I learned this the hard way.
- Warm water – 1 cup (240ml), about 110°F. Too hot kills the yeast, too cold and it won’t activate. Think warm bath temperature.
- Granulated sugar – ¼ cup (50g). Just enough to feed the yeast and add a touch of sweetness.
- Large eggs – 3, plus 1 for the egg wash. Room temperature is crucial here—cold eggs will slow down your dough and make it harder to knead.
- Vegetable oil – ⅓ cup (80ml). A neutral oil like canola or grapeseed works best. Olive oil has too strong a flavor for traditional challah.
- Honey – 3 tablespoons (60g). This adds subtle sweetness and helps with browning. A mild honey like clover or orange blossom is perfect.
- Salt – 1 ½ teaspoons (9g). Don’t skip this! Salt controls yeast activity and adds flavor. I use fine sea salt.
For the Honey Glaze
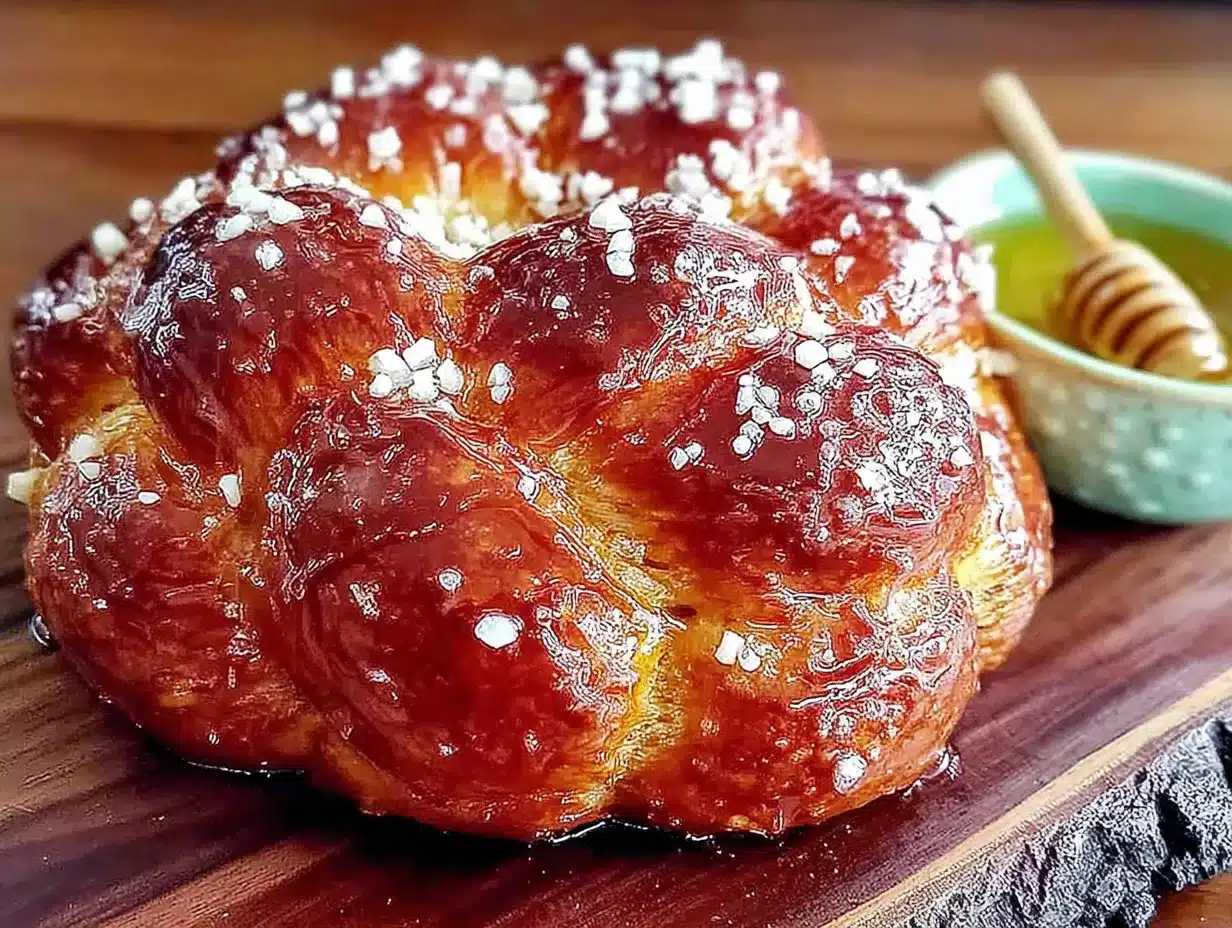
- Honey – 3 tablespoons (60g). Same honey you used in the dough works great.
- Warm water – 1 tablespoon (15ml). Just enough to thin the honey so it brushes on smoothly.
- Optional: A pinch of flaky sea salt for sprinkling on top after glazing. It sounds fancy but it’s just delicious.
Ingredient Tips from My Kitchen
I’ve made this recipe with both all-purpose and whole wheat flour, and honestly, stick with all-purpose for the best texture. Whole wheat makes it too dense. For the eggs, if you forget to take them out of the fridge, place them in a bowl of warm water for 5 minutes—that brings them to room temperature quickly. And here’s something I wish someone had told me: don’t use extra virgin olive oil. It overpowers the delicate flavor of the challah. Stick with something neutral.
For the honey, I’ve tested this with buckwheat honey (too strong) and manuka honey (too expensive for bread, honestly). A good-quality clover honey or wildflower honey gives the perfect balance of sweetness without stealing the show. If you’re feeling adventurous, try it with the honey you’d use in a honey peach cobbler—that fruity honey adds a lovely depth.
Equipment Needed
You don’t need a professional bakery setup to make this round challah bread with honey glaze. Here’s what I use:
- Stand mixer with dough hook – This is optional but makes life so much easier. I use a KitchenAid, and it handles this dough beautifully. If you don’t have one, you can absolutely knead by hand—it’ll take about 10-12 minutes of arm work.
- Large mixing bowl – Glass or stainless steel works best. Plastic bowls can retain odors.
- Measuring cups and spoons – For accuracy, especially with yeast. A kitchen scale is even better for the flour.
- Baking sheet – A standard half-sheet pan lined with parchment paper. Don’t use a dark pan; it can burn the bottom of your bread.
- Pastry brush – For applying the egg wash and honey glaze. A silicone one is easiest to clean.
- Plastic wrap or a clean kitchen towel – For covering the dough while it rises. I prefer a damp towel in dry climates to prevent crusting.
- Sharp knife or bench scraper – For dividing the dough into strands for braiding. A bench scraper is also great for cleaning your counter after kneading.
If you don’t have a stand mixer, here’s a tip: mix the dough with a wooden spoon until it comes together, then turn it onto a lightly floured surface and knead. It’s actually kind of therapeutic. And if you’re using a glass bowl for rising, lightly oil it first—the dough will slide right out without sticking.
Preparation Method
Let’s get to the good part. This method has been tested more times than I can count, and I’ve included all the little details that make the difference between good challah and great challah. Take your time with each step—bread baking is a meditation, not a race.
Step 1: Activate the Yeast
In the bowl of your stand mixer (or a large bowl if mixing by hand), combine the warm water, 1 tablespoon of the sugar, and the yeast. Give it a gentle stir and let it sit for 5-10 minutes. You’re looking for a foamy layer on top—that means your yeast is alive and happy. If nothing happens after 10 minutes, your yeast might be dead. Start over with fresh yeast; it’s worth it.
Step 2: Mix the Dough
Add the remaining sugar, the oil, 3 eggs (save the fourth for the egg wash), honey, and salt to the yeast mixture. Whisk everything together until well combined. Add the flour, one cup at a time, mixing on low speed with the dough hook. After about 2 minutes, you’ll have a shaggy dough. Don’t worry if it looks rough—that’s normal.
Step 3: Knead the Dough
Increase the mixer speed to medium and knead for 6-8 minutes. The dough should pull away from the sides of the bowl and feel smooth and elastic. If it’s too sticky, add flour one tablespoon at a time. Too dry? Add warm water a teaspoon at a time. When you poke the dough, it should spring back slightly. If kneading by hand, expect 10-12 minutes of steady work. Your arms will feel it, but the bread will thank you.
Step 4: First Rise
Shape the dough into a smooth ball and place it in a lightly oiled bowl. Turn the dough once to coat it with oil, then cover the bowl with plastic wrap or a damp kitchen towel. Let it rise in a warm, draft-free spot for 1.5 to 2 hours, or until doubled in size. I like to put mine in the microwave (turned off, obviously) with a cup of hot water beside it—the steam creates a perfect proofing environment.
Step 5: Shape the Round Challah
Punch the dough down gently to release the air. Turn it out onto a lightly floured surface. Divide the dough into 4 equal pieces (use a kitchen scale if you want to be precise). Roll each piece into a rope about 14 inches long. Here’s the trick: start from the middle and roll outward, applying even pressure. The ropes should be thicker in the middle and slightly tapered at the ends.
To braid a round challah: lay the four ropes in a plus sign shape (+), with the ends overlapping in the center. Braid by taking the rope on the right and crossing it over the one next to it, then the left over the next, working in a circle. It sounds complicated, but once you get the rhythm, it’s actually easier than a straight braid. Pinch the ends together and tuck them under the loaf. If you’re struggling, there are great video tutorials online—I watched about fifteen before mine looked presentable.
Step 6: Second Rise
Transfer the shaped loaf to a parchment-lined baking sheet. Cover loosely with plastic wrap and let it rise for another 45-60 minutes. It should puff up noticeably but not double in size. About 20 minutes before baking, preheat your oven to 350°F (175°C).
Step 7: Egg Wash and Bake
Beat the remaining egg with 1 tablespoon of water. Brush this mixture gently over the entire surface of the challah—get into the crevices between the braids. This first wash helps the crust develop that beautiful color. Let it sit for 10 minutes, then brush on a second coat. This double-wash technique is what gives professional bakeries that glossy, deep-golden finish.
Bake for 30-35 minutes, rotating the pan halfway through. The challah should be deep golden brown and sound hollow when tapped on the bottom. If the top is browning too quickly, tent loosely with foil for the last 10 minutes.
Step 8: Apply the Honey Glaze
While the challah is still warm (but not hot), whisk together the honey and warm water for the glaze. Brush it generously over the entire loaf. The warmth helps the glaze soak into the crust, creating that subtle sweetness without making it sticky. Let it cool completely on a wire rack before slicing—I know it’s tempting, but cutting into warm bread compresses the crumb and makes it gummy.
Cooking Tips & Techniques
I’ve made every mistake you can imagine with this round challah bread with honey glaze. Let me save you some trouble with these tips I learned the hard way.
Temperature matters more than you think. If your kitchen is cold, your dough will take forever to rise. I once left dough to proof in a drafty kitchen and came back three hours later to barely any change. Now I use the microwave trick I mentioned, or I turn my oven to the lowest setting for 2 minutes, turn it off, and proof the dough inside with the door slightly open. It works like a charm.
Don’t over-flour your surface. When shaping the ropes for braiding, use just enough flour to prevent sticking. Too much flour makes the ropes dry and they won’t stick together properly during braiding. If your dough is sticking excessively, it might be too wet—add a tablespoon of flour to the dough during kneading next time.
The braid doesn’t have to be perfect. My first few round challahs looked like something a toddler made. But here’s the thing: even a messy braid bakes into beautiful bread. The dough puffs up and fills in gaps, and the golden crust hides a multitude of sins. Don’t stress about perfection—focus on getting the ropes even in thickness and the braid reasonably tight.
Watch the bottom of the loaf. Dark baking sheets can cause the bottom to burn before the top is done. If you notice the bottom getting too dark, slide another baking sheet underneath the first one to add insulation. I’ve also started placing my challah on a silicone baking mat, which helps distribute heat more evenly.
Let it cool completely. I cannot stress this enough. The honey glaze needs time to set, and the bread needs time to finish cooking internally. If you slice it warm, you’ll get a gummy texture and the glaze will just slide off. I know the smell is intoxicating, but patience pays off here.
Variations & Adaptations
This recipe is wonderfully adaptable. Here are some variations I’ve tried and loved:
Whole Wheat Version
Substitute 2 cups of the all-purpose flour with whole wheat flour. The texture will be denser and nuttier, but still delicious. Add an extra tablespoon of honey to balance the earthiness of the whole wheat. I like this version for a more rustic, everyday loaf.
Sweet Cinnamon Swirl
After the first rise, roll the dough out into a rectangle, brush with melted butter, and sprinkle with a mixture of cinnamon and brown sugar. Roll it up tightly, then shape into the round braid. The cinnamon swirl adds a lovely surprise inside each slice—perfect for holiday mornings or when you want something extra special.
Savory Herb Challah
Skip the honey in the dough and add 2 tablespoons of fresh rosemary, 1 tablespoon of fresh thyme, and a teaspoon of black pepper. Use the honey glaze on top, or swap it for an everything bagel seasoning sprinkle before baking. This savory version is amazing with soup or as the base for an epic sandwich.
Gluten-Free Adaptation
I’ve tested this with a 1:1 gluten-free baking flour blend. The dough is stickier and harder to braid—I recommend using a 6-strand braid in a loaf pan instead of shaping it round. Add an extra egg for structure and let the dough rest for 30 minutes after shaping before the second rise. It won’t be exactly the same, but it’s surprisingly good.
Serving & Storage Suggestions
This round challah bread with honey glaze is beautiful on its own, but here’s how to serve and store it for the best experience.
Serving: Serve at room temperature or slightly warm. For special occasions, I like to present the whole loaf on a wooden board with a small bowl of extra honey for drizzling. It’s also incredible sliced and toasted—the honey glaze caramelizes slightly in the toaster, creating a delicate crunch. Pair it with a fresh honey ricotta crostini spread for an appetizer that will steal the show.
Storage: Keep the challah in an airtight container or wrapped tightly in plastic wrap at room temperature for up to 3 days. Don’t refrigerate it—the cold temperature actually speeds up staling. If your climate is humid, store it in a paper bag to prevent the crust from getting soggy.
Freezing: This bread freezes beautifully. Wrap the completely cooled loaf in plastic wrap, then a layer of aluminum foil. Freeze for up to 3 months. To thaw, leave it at room temperature for 4-5 hours, then warm in a 300°F oven for 10 minutes to refresh the crust. I always make two loaves and freeze one for busy weeks.
Reheating: For that fresh-baked taste, wrap slices in foil and warm in a 350°F oven for 5-7 minutes. Or simply toast slices and spread with butter—the honey glaze caramelizes beautifully. Leftover challah also makes amazing French toast or bread pudding. In fact, day-old challah is ideal for French toast because it’s slightly dried out and absorbs the custard better.
Nutritional Information & Benefits
While challah is definitely a treat, it does have some redeeming qualities. Here’s the nutritional breakdown per slice (based on 12 slices per loaf):
- Calories: Approximately 280
- Protein: 8g
- Carbohydrates: 45g
- Fat: 8g
- Fiber: 1g
- Sugar: 12g
The eggs in this recipe provide high-quality protein and important nutrients like choline, which supports brain health. Honey, while still a sugar, contains antioxidants and has antimicrobial properties. And honestly, there’s something to be said for the mental health benefits of baking bread—the process of kneading and shaping is meditative, and sharing homemade bread with loved ones is genuinely good for the soul.
If you’re watching your sugar intake, you can reduce the honey in the dough by half. The glaze adds the most sweetness, so you could skip it entirely for a less sweet version. For a lower-carb option, this isn’t the recipe for you—challah is meant to be a celebration bread, and sometimes we need to just enjoy things without overthinking them.
Conclusion
This round challah bread with honey glaze has become a staple in my kitchen for good reason. It’s the kind of recipe that feels special enough for holidays but simple enough for a Tuesday baking project. The first time I pulled a perfect golden loaf from the oven, I felt like I’d accomplished something real—and honestly, I had. Bread baking teaches patience, attention to detail, and the joy of creating something beautiful from humble ingredients.
I hope you give this recipe a try. Don’t worry if your first braid isn’t perfect or if your glaze gets a little messy—that’s all part of the learning process. Every loaf you make will be better than the last, and even the “ugly” ones taste amazing. And if you make it for a holiday dinner or just because, I’d love to hear how it turned out. Drop a comment below and let me know about your challah journey—the good, the bad, and the beautifully imperfect.
Happy baking, friends. May your kitchen smell amazing and your bread always be golden.
Frequently Asked Questions
Can I make this challah ahead of time?
Absolutely. You can prepare the dough through the first rise, punch it down, and refrigerate it covered for up to 24 hours. The cold fermentation actually develops more flavor. When you’re ready to bake, let the dough come to room temperature for about an hour before shaping and proceeding with the recipe.
Why didn’t my challah rise properly?
The most common culprit is old yeast. Check the expiration date on your yeast packet and make sure it’s fresh. Also, water temperature matters—too hot will kill the yeast, too cold won’t activate it. Aim for 110°F, which feels like warm bath water. If your kitchen is cold, find a warmer spot for proofing, like the microwave with a cup of hot water.
Can I use instant yeast instead of active dry yeast?
Yes, you can substitute instant yeast 1:1. The difference is that instant yeast doesn’t need to be activated in water first—you can mix it directly with the flour. Reduce the warm water by 2 tablespoons and add it with the other liquid ingredients. The rising times may be slightly shorter with instant yeast.
How do I know when the challah is fully baked?
The internal temperature should read 190-200°F on an instant-read thermometer. The crust should be deep golden brown, and the loaf should sound hollow when you tap the bottom. If you’re unsure, it’s better to bake a few extra minutes than to underbake—undercooked challah will be gummy in the center.
Can I freeze the unbaked dough?
You can freeze the dough after shaping it into the round braid. Place the shaped loaf on a parchment-lined baking sheet and freeze until solid, then wrap tightly in plastic wrap and foil. When ready to bake, thaw in the refrigerator overnight, then let it come to room temperature and complete the second rise before baking. The texture won’t be quite as perfect as fresh, but it’s a great time-saver.
Pin This Recipe!
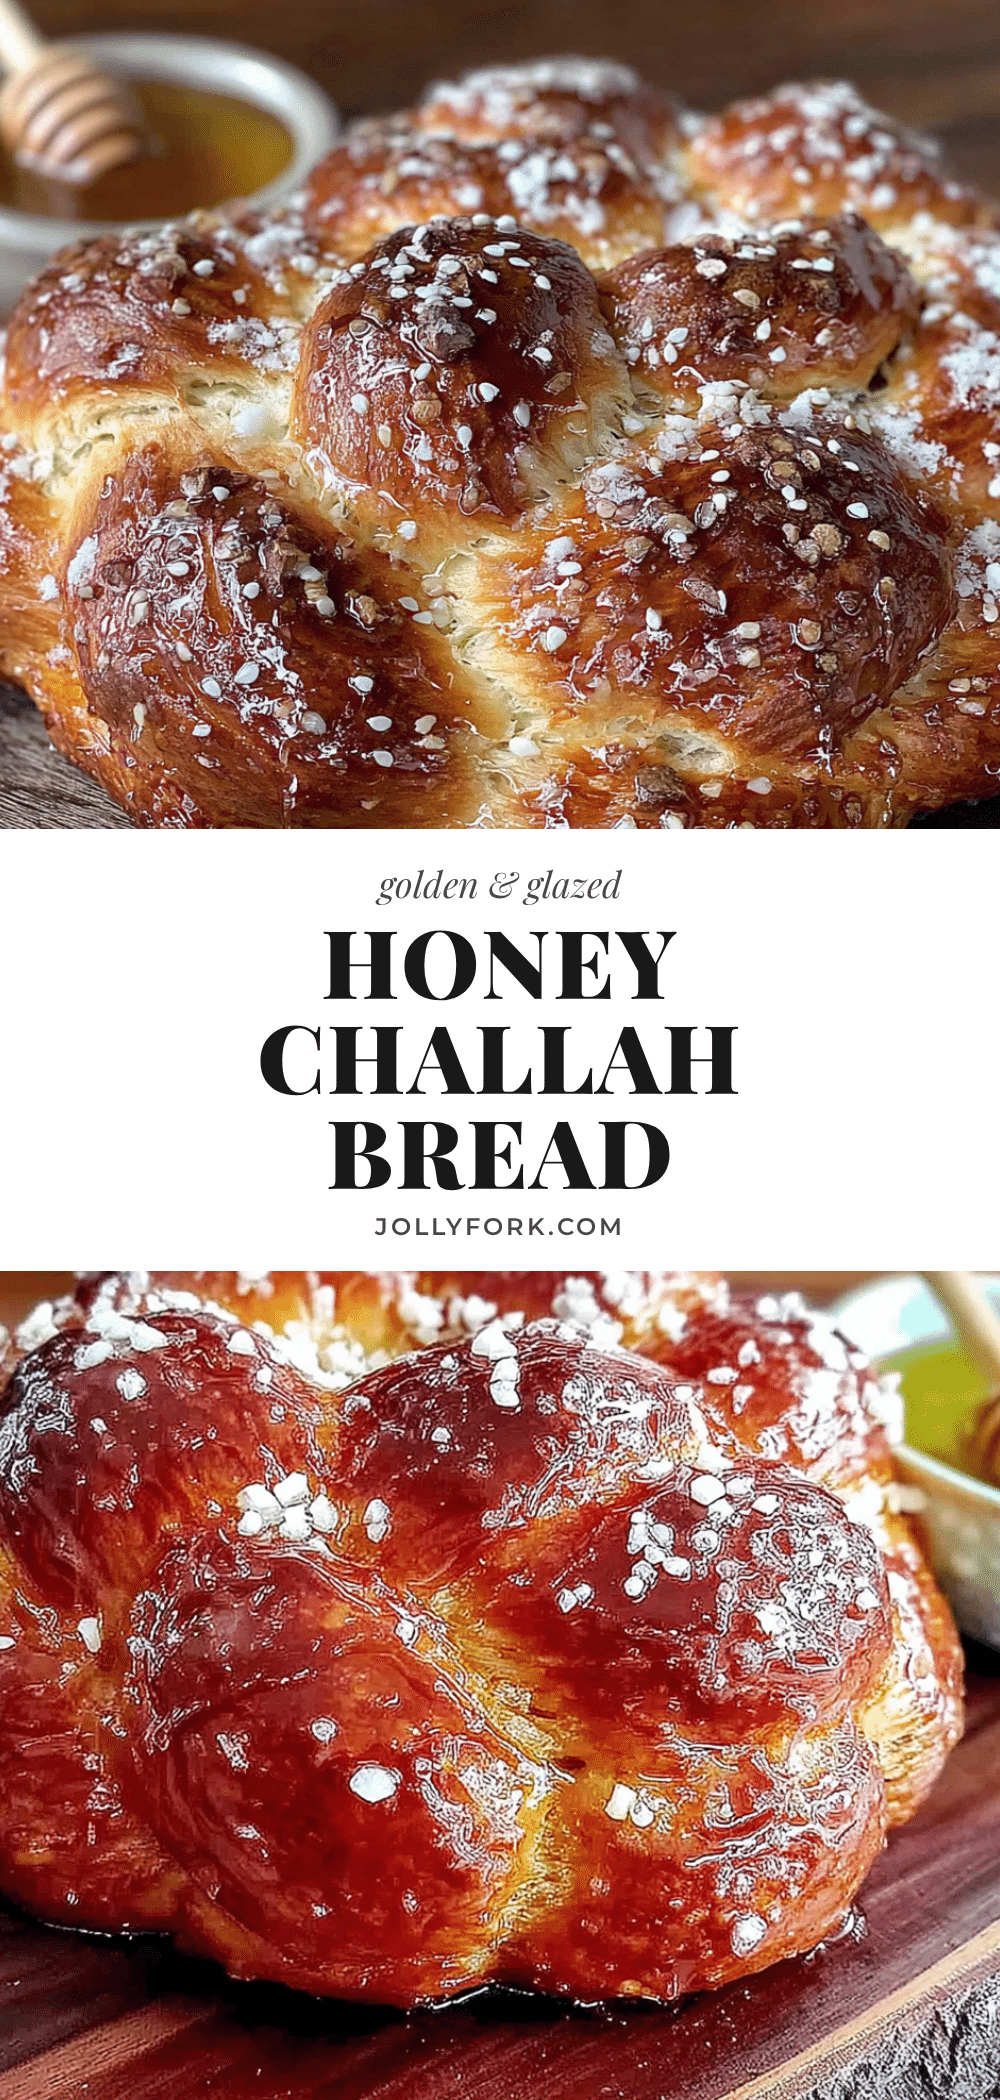
Best Round Challah Bread with Honey Glaze – Easy Homemade Recipe
This foolproof round challah bread with honey glaze is soft, golden, and perfect for holidays or any special occasion. The honey glaze adds a subtle sweetness and gorgeous sheen, making it look like it came from a fancy bakery.
- Prep Time: 30 minutes
- Cook Time: 30 minutes
- Total Time: 3 hours 30 minutes
- Yield: 12 servings 1x
- Category: Bread
- Cuisine: Jewish
Ingredients
- 4 cups (500g) all-purpose flour
- 2 ¼ teaspoons (one packet) active dry yeast
- 1 cup (240ml) warm water (about 110°F)
- ¼ cup (50g) granulated sugar
- 3 large eggs, room temperature, plus 1 for egg wash
- ⅓ cup (80ml) vegetable oil (canola or grapeseed)
- 3 tablespoons (60g) honey (mild like clover or orange blossom)
- 1 ½ teaspoons (9g) fine sea salt
- For the honey glaze: 3 tablespoons (60g) honey
- 1 tablespoon (15ml) warm water
- Optional: pinch of flaky sea salt for sprinkling
Instructions
- Activate the yeast: In the bowl of a stand mixer (or large bowl), combine warm water, 1 tablespoon of sugar, and yeast. Stir gently and let sit for 5-10 minutes until foamy.
- Mix the dough: Add remaining sugar, oil, 3 eggs, honey, and salt to the yeast mixture. Whisk until combined. Add flour one cup at a time, mixing on low with dough hook until a shaggy dough forms.
- Knead the dough: Increase speed to medium and knead 6-8 minutes (10-12 minutes by hand) until smooth and elastic. Dough should spring back when poked. Adjust with flour or water if needed.
- First rise: Shape dough into a ball, place in a lightly oiled bowl, turn to coat. Cover with plastic wrap or damp towel. Let rise in a warm, draft-free spot for 1.5 to 2 hours until doubled.
- Shape the round challah: Punch down dough. Turn onto lightly floured surface. Divide into 4 equal pieces. Roll each into a 14-inch rope. Lay ropes in a plus sign shape and braid in a circle, pinching ends together and tucking under.
- Second rise: Transfer shaped loaf to parchment-lined baking sheet. Cover loosely with plastic wrap. Let rise 45-60 minutes until puffed. Preheat oven to 350°F (175°C) about 20 minutes before baking.
- Egg wash and bake: Beat remaining egg with 1 tablespoon water. Brush gently over entire challah. Let sit 10 minutes, then brush with second coat. Bake 30-35 minutes, rotating pan halfway, until deep golden brown and hollow when tapped.
- Apply honey glaze: While challah is still warm, whisk honey and warm water for glaze. Brush generously over entire loaf. Let cool completely on wire rack before slicing.
Notes
Let the dough rest for an extra 10 minutes after kneading for easier shaping. Brush egg wash twice for a deep mahogany color. Let cool completely before slicing to avoid gummy texture. Freezes well for up to 3 months.
Nutrition
- Serving Size: 1 slice
- Calories: 280
- Sugar: 12
- Sodium: 180
- Fat: 8
- Saturated Fat: 1.5
- Carbohydrates: 45
- Fiber: 1
- Protein: 8
Keywords: round challah, honey glaze, braided bread, Rosh Hashanah, homemade challah, yeast bread, holiday bread


