I burned the bottom of at least four batches of small-batch chocolate chip cookies before I figured out what I was actually doing wrong. Not the recipe — the pan. I was using a full-size baking sheet for six cookies, and the heat had nowhere to go but straight into the butter. That first perfect cookie — golden on the bottom, soft in the middle, still warm enough to bend — came out of a quarter-sheet pan on a random Tuesday night when I was making dinner for one. I wasn’t trying to impress anyone. I was just hungry and tired of wasting dough.
There’s something about making cookies for two that feels different than baking a full batch. It’s more intentional. You’re not feeding a crowd or stocking a freezer. You’re making exactly enough for tonight, maybe tomorrow morning with coffee if you’re lucky enough to have leftovers. These small-batch chocolate chip cookies solve the real problem of wanting something warm and homemade without committing to two dozen cookies that will sit on your counter taunting you for a week. I’ve made this recipe so many times I could do it with my eyes closed, and honestly? I still burn one occasionally. It’s part of the charm.
The first time I got it right, I ate two cookies standing at the counter and saved the third for my husband. He took one bite and said, “These are better than the big batch.” He wasn’t wrong. Smaller batches concentrate the butter flavor differently. The edges get crispier. The centers stay softer. And you don’t have to share with anyone you don’t want to. That’s the kind of baking I can get behind.
Why You’ll Love This Recipe
These aren’t just good small-batch cookies. They’re the kind of cookies that make you question why you ever bothered with a full recipe in the first place. I’ve tested this recipe more times than I care to admit, tweaking butter temperatures and resting times until every single cookie came out consistently perfect. Here’s what makes them worth your time:
- Quick & Easy: From start to finish, you’re looking at about 20 minutes. No chilling required (though it helps if you have the patience).
- Simple Ingredients: You probably have everything in your kitchen right now. Butter, sugar, an egg yolk, flour, chocolate chips. That’s it.
- Perfect for Date Night: There’s something sweet about making cookies for two people. It feels intentional without being over-the-top.
- No Waste: You use exactly one egg yolk. No leftover egg whites sitting in your fridge for weeks.
- Crowd-Pleaser: Everyone who tries these asks for the recipe. They can’t believe it only makes six cookies.
What makes these different from other small-batch recipes is the ratio. Most recipes scale down poorly because they don’t account for the way heat distributes differently in smaller amounts. I spent weeks adjusting the butter-to-flour ratio until the cookies spread just enough without turning into flat puddles. The secret is using melted butter and letting the dough rest for ten minutes before baking. It gives the flour time to absorb the fat, which means chewier centers and crispier edges. No weird ingredients. No complicated techniques. Just better cookies.
These cookies are the kind you make when you want something warm and homemade but don’t want to commit to a full batch. They’re for lazy Sunday afternoons, late-night cravings, and those moments when you just need a cookie. Trust me on this one.
What Ingredients You Will Need
This recipe uses simple, pantry-friendly ingredients to deliver big flavor in a small package. Nothing fancy here — just the basics done right.
- Unsalted butter – 4 tablespoons (56g), melted and slightly cooled. I use Kerrygold because the higher butterfat content gives better flavor, but any good unsalted butter works. Melted butter is key here — it creates a chewier cookie than creamed butter would.
- Light brown sugar – ¼ cup (50g), packed. Brown sugar adds moisture and that deep, caramel-like flavor. Don’t skip it or substitute white sugar entirely. You need the molasses content.
- Granulated sugar – 2 tablespoons (25g). Just enough to balance the brown sugar and help the edges crisp up.
- Large egg yolk – 1 yolk. Save the white for breakfast or freeze it for later. The yolk adds richness without making the dough too wet.
- Vanilla extract – ½ teaspoon. Pure vanilla extract makes a difference here. I use Nielsen-Massey, but any pure extract works better than imitation.
- All-purpose flour – ½ cup (60g). Spoon and level it. Don’t scoop directly from the bag or you’ll end up with dry cookies.
- Baking soda – ¼ teaspoon. Just enough to give them a little lift without making them cakey.
- Salt – ¼ teaspoon. I use fine sea salt. It balances the sweetness and brings out the chocolate flavor.
- Chocolate chips – ⅓ cup (60g). Use good quality chips. I prefer Guittard or Ghirardelli semi-sweet. You can also chop up a chocolate bar for bigger puddles of chocolate.
Substitution Notes: If you only have salted butter, reduce the added salt to ⅛ teaspoon. For a dairy-free version, use vegan butter sticks (not tub margarine) and check that your chocolate chips are dairy-free. You can swap the brown sugar for coconut sugar, but the cookies will be slightly less tender. I don’t recommend using all white sugar — the cookies will spread too much and lack that chewy texture.
Equipment Needed
You don’t need much for this recipe, which is part of why I love it. Here’s what you’ll need:
- Small mixing bowl – Any bowl works. I use a ceramic one because it doesn’t retain heat, which helps when you’re working with melted butter.
- Whisk – For combining the wet ingredients. A fork works in a pinch.
- Rubber spatula – For folding in the flour and chocolate chips without overmixing.
- Quarter-sheet pan – This is the secret to even baking. A full-size sheet pan lets the cookies spread too much. A quarter-sheet pan keeps them contained and helps them bake evenly. I got mine for under $10 at a restaurant supply store.
- Parchment paper – Non-negotiable. It prevents sticking and makes cleanup effortless. Silpat mats work too, but I find parchment gives crisper bottoms.
- Cookie scoop – A 1.5-tablespoon scoop makes perfectly uniform cookies. If you don’t have one, use two spoons to portion the dough.
- Cooling rack – Lets the cookies cool evenly so the bottoms don’t get soggy.
If you don’t have a quarter-sheet pan, you can use a regular baking sheet — just bake only six cookies on one half of the pan and leave the other half empty. I’ve done this plenty of times and it works fine.
Preparation Method
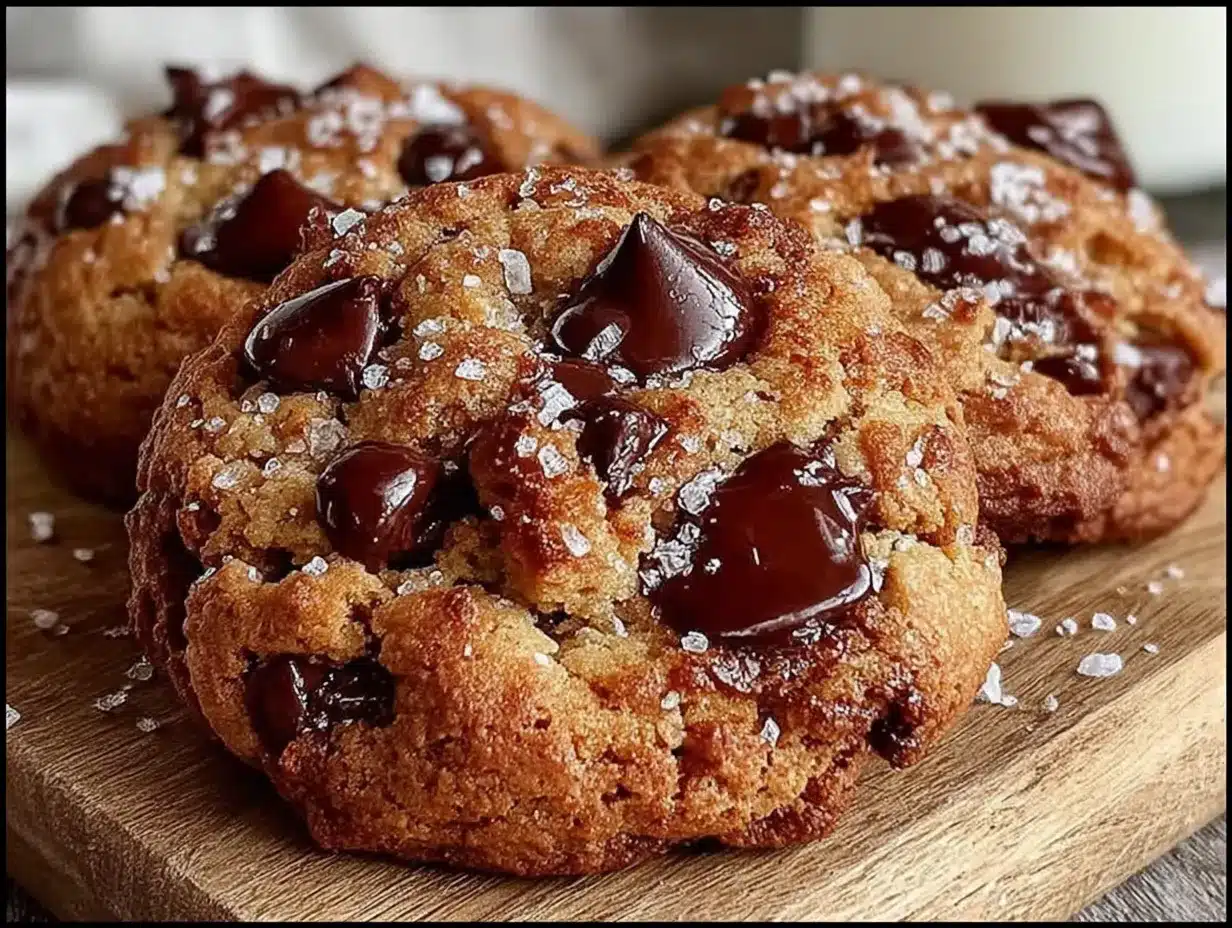
Preheat your oven to 350°F (175°C) and line your quarter-sheet pan with parchment paper. This is a small batch, so everything moves quickly. Have your ingredients measured and ready before you start.
- Melt the butter. Place 4 tablespoons of butter in a microwave-safe bowl and heat in 15-second bursts until mostly melted. Stir until completely liquid. Let it cool for about 2 minutes — you want it warm, not hot. Hot butter will cook the egg yolk and ruin the texture.
- Combine sugars and butter. In your small mixing bowl, whisk together the melted butter, ¼ cup brown sugar, and 2 tablespoons granulated sugar. Whisk vigorously for about 30 seconds until the mixture looks like wet sand and starts to pull away from the sides of the bowl. This step aerates the sugar and helps create those crispy edges.
- Add the egg yolk and vanilla. Drop in the egg yolk and ½ teaspoon vanilla extract. Whisk until smooth and glossy, about 20 seconds. The mixture should look thick and shiny, almost like caramel sauce.
- Add dry ingredients. Sprinkle the ½ cup flour, ¼ teaspoon baking soda, and ¼ teaspoon salt over the wet mixture. Use your rubber spatula to fold everything together gently. Stop as soon as you no longer see streaks of flour. Overmixing at this stage develops gluten and makes tough cookies.
- Fold in chocolate chips. Add the ⅓ cup chocolate chips and fold 5-6 times until evenly distributed. The dough will be soft and slightly sticky — that’s exactly what you want.
- Rest the dough. Let the dough sit for 10 minutes. I know it’s tempting to skip this step, but don’t. Resting allows the flour to fully absorb the butter, which means the cookies will spread less and stay chewier in the center. Use this time to clean up your workspace.
- Portion the dough. Use your cookie scoop or two spoons to portion the dough into 6 equal balls, about 1.5 tablespoons each. Place them on the prepared baking sheet, spacing them about 2 inches apart. Don’t flatten them — they’ll spread on their own.
- Bake. Place the pan on the middle rack of your preheated oven. Bake for 9-11 minutes. At 9 minutes, the cookies will look underdone in the center — puffy, pale, and slightly shiny. That’s when I pull mine out. At 11 minutes, they’ll be more set with golden edges. Both are correct; it depends on how gooey you like your cookies.
- Cool on the pan. Let the cookies rest on the hot baking sheet for 5 minutes. This is crucial. The residual heat continues baking the centers while the edges set. If you try to move them immediately, they’ll fall apart.
- Transfer to a cooling rack. After 5 minutes, use a thin spatula to move the cookies to a cooling rack. Let them cool for another 5 minutes if you can wait that long. I usually can’t.
Troubleshooting Tip: If your cookies spread too much, your butter was too hot or you skipped the resting step. If they’re too thick and cakey, you overmixed the dough or added too much flour. If the bottoms are burning, your oven runs hot — try reducing the temperature to 325°F (160°C) next time.
Cooking Tips & Techniques
I’ve made enough mistakes with small-batch cookies to fill a cookbook. Here’s what I’ve learned the hard way so you don’t have to.
Weigh your ingredients. I know it’s annoying, but flour measurement by volume is wildly inconsistent. A cup of flour can weigh anywhere from 120 to 150 grams depending on how you scoop it. For a recipe this small, that difference matters. If you don’t have a scale, spoon the flour into your measuring cup and level it off with a knife. Never scoop directly from the bag.
Use room temperature egg yolk. Cold egg yolk will seize the melted butter and give you a lumpy dough. If your eggs are straight from the fridge, place the yolk in a small bowl and let it sit for 10 minutes before using. Or float the egg in a bowl of warm water for 5 minutes.
Bake one test cookie. This sounds ridiculous for a batch of six, but hear me out. If you’re trying a new oven or a new brand of butter, bake one cookie first. See how it spreads and how fast it browns. Adjust the rest of the batch accordingly. I learned this after ruining two entire batches in a rental oven.
Underbake by 30 seconds. Cookies continue baking on the hot pan after they come out of the oven. If they look perfectly done in the oven, they’ll be overdone by the time they cool. Pull them out when the edges are golden and the centers still look slightly underdone and puffy. Trust the carryover cooking.
Use a light-colored pan. Dark baking sheets absorb more heat and will burn the bottoms of your cookies before the centers are done. If you only have dark pans, reduce your oven temperature by 25°F and watch them closely.
Rest the dough overnight. If you have the time, cover the dough and refrigerate it for 12-24 hours. The flavor deepens dramatically as the sugars caramelize and the vanilla infuses the dough. The texture changes too — the cookies become chewier and more complex. I’ve done side-by-side tests, and the rested dough always wins.
Variations & Adaptations
Once you’ve mastered the basic recipe, here are some ways to switch things up:
- Double Chocolate: Replace 1 tablespoon of flour with 1 tablespoon of unsweetened cocoa powder. Use dark chocolate chips instead of semi-sweet. You’re welcome.
- Brown Butter Version: Brown the butter in a small saucepan over medium heat until it turns amber and smells nutty, about 3-4 minutes. Let it cool completely before using. This adds a deep, toasty flavor that pairs beautifully with the chocolate. Make sure to scrape all the browned bits from the pan into the bowl.
- Add-In Options: Swap half the chocolate chips for chopped pecans, walnuts, or white chocolate chips. Add ¼ cup of shredded coconut for texture. Toss in a tablespoon of flaky sea salt on top before baking for that sweet-salty thing.
- Gluten-Free: Replace the all-purpose flour with a 1:1 gluten-free baking flour blend that contains xanthan gum. I’ve tested this with King Arthur Measure for Measure and it works perfectly. The texture is slightly more tender, but nobody will notice.
- Vegan: Use vegan butter sticks and a flax egg (1 tablespoon ground flaxseed mixed with 3 tablespoons water, let sit for 5 minutes). The cookies will be slightly less chewy but still delicious.
- Bigger Batch: Double or triple the recipe easily — just use a whole egg instead of two yolks for the doubled version. Bake in batches on a quarter-sheet pan for consistent results.
I once made a brown butter version with chopped dark chocolate and a sprinkle of sea salt for a friend’s birthday. She said it was the best cookie she’d ever had. I didn’t tell her it was a single yolk and four tablespoons of butter. Some secrets are worth keeping.
Serving & Storage Suggestions
These cookies are best served warm, about 10 minutes after they come out of the oven. The edges are crisp, the centers are soft, and the chocolate is still melty. Pair them with a cold glass of milk, a hot cup of coffee, or — my personal favorite — a scoop of vanilla ice cream sandwiched between two cookies.
If you’re serving them for dessert, arrange them on a small plate with a few fresh berries and a dusting of powdered sugar. It looks fancy without any extra effort. They also work beautifully alongside a warm mug of cozy slow cooker apple cider for a fall-inspired treat.
Storage: Store leftover cookies in an airtight container at room temperature for up to 3 days. They’ll lose some of their crispness, but they’ll still be delicious. To restore that fresh-baked texture, pop them in a 300°F oven for 3-4 minutes. I don’t recommend the microwave — it makes them rubbery.
Freezing: You can freeze the baked cookies for up to 3 months. Wrap each cookie individually in plastic wrap, then place them in a freezer bag. Thaw at room temperature for 15 minutes or reheat directly from frozen in a 300°F oven for 5 minutes. Better yet, freeze the dough balls instead. Portion the dough, place the balls on a parchment-lined tray, freeze until solid, then transfer to a freezer bag. Bake from frozen, adding 2-3 minutes to the baking time. Fresh cookies on demand — that’s the dream.
The flavors actually deepen after a day or two. The brown sugar and vanilla meld together, and the texture becomes more uniform. If you can resist eating them all immediately, day-two cookies are almost better than fresh. Almost.
Nutritional Information & Benefits
Let’s be real — these are cookies, not health food. But here’s the honest breakdown per cookie (based on 6 cookies per batch):
| Nutrient | Amount per Cookie |
|---|---|
| Calories | 185 |
| Total Fat | 11g |
| Saturated Fat | 7g |
| Carbohydrates | 22g |
| Sugar | 15g |
| Protein | 2g |
| Sodium | 115mg |
The good news? Because this recipe makes only six cookies, portion control is built in. You’re not staring down a plate of two dozen. One or two cookies feels like a reasonable treat, not a binge. The butter provides a small amount of vitamin A, and the dark chocolate chips offer antioxidants. The egg yolk adds choline, which supports brain health. So yes, there are some redeeming qualities here.
For dietary considerations: these cookies contain gluten, dairy, and eggs. They are not suitable for vegan or strict allergen-free diets without substitutions (see variations above). If you’re watching your sugar intake, you can reduce the granulated sugar by half, but the texture will be slightly less crisp.
My personal take? Life is too short for bad cookies. If you’re going to have one, make it count. These are worth every single calorie.
Frequently Asked Questions
Can I make these cookies without an egg yolk?
You can substitute the egg yolk with 1 tablespoon of milk or water mixed with 1½ teaspoons of melted butter. The texture will be slightly less rich and the cookies won’t spread quite as much, but they’ll still be good. For a vegan option, use a flax egg as described in the variations section.
Why did my cookies spread into one giant cookie?
This usually happens for one of three reasons: your butter was too hot when you mixed it, you skipped the 10-minute dough rest, or your baking soda is old. Make sure your butter is warm but not hot, and always let the dough rest. If your baking soda is more than 6 months old, test it by dropping a pinch into vinegar — it should bubble vigorously.
Can I double this recipe?
Absolutely. Double all the ingredients and use one whole egg instead of two yolks. The baking time stays about the same, but you might need to bake in two batches depending on your pan size. The dough also freezes beautifully if you want to save half for later.
How do I get perfectly round cookies every time?
Right when the cookies come out of the oven, use a round cookie cutter or a glass slightly larger than the cookies to gently scoot each one into a perfect circle. Swirl the cutter around the cookie for about 10 seconds. This works best while the cookies are still warm and pliable. I learned this trick from a bakery owner and it’s a game-changer.
Can I use bread flour instead of all-purpose flour?
You can, but the cookies will be chewier and slightly denser. Bread flour has more protein, which develops more gluten. If you prefer a softer, more tender cookie, stick with all-purpose. If you want that bakery-style chew, go ahead and use bread flour — just don’t overmix the dough.
Conclusion
These small-batch chocolate chip cookies are proof that you don’t need a crowd to enjoy homemade baking. Six perfect cookies, warm from the oven, made with ingredients you already have. No leftovers to tempt you. No complicated techniques. Just good cookies for two people who deserve something sweet.
What I love most about this recipe is how adaptable it is. Make them with brown butter for a special occasion. Add sea salt because you’re feeling fancy. Double the batch and freeze half for emergency cookie cravings. The recipe works with you, not against you.
I’d love to hear how yours turn out. Did you try the brown butter version? Did you manage to save one for breakfast? Drop a comment below and let me know. And if you’re looking for another small-batch dessert, these cookies pair beautifully with a slice of cozy cinnamon apple cake for the ultimate cozy night in. Happy baking, friends.
Pin This Recipe!
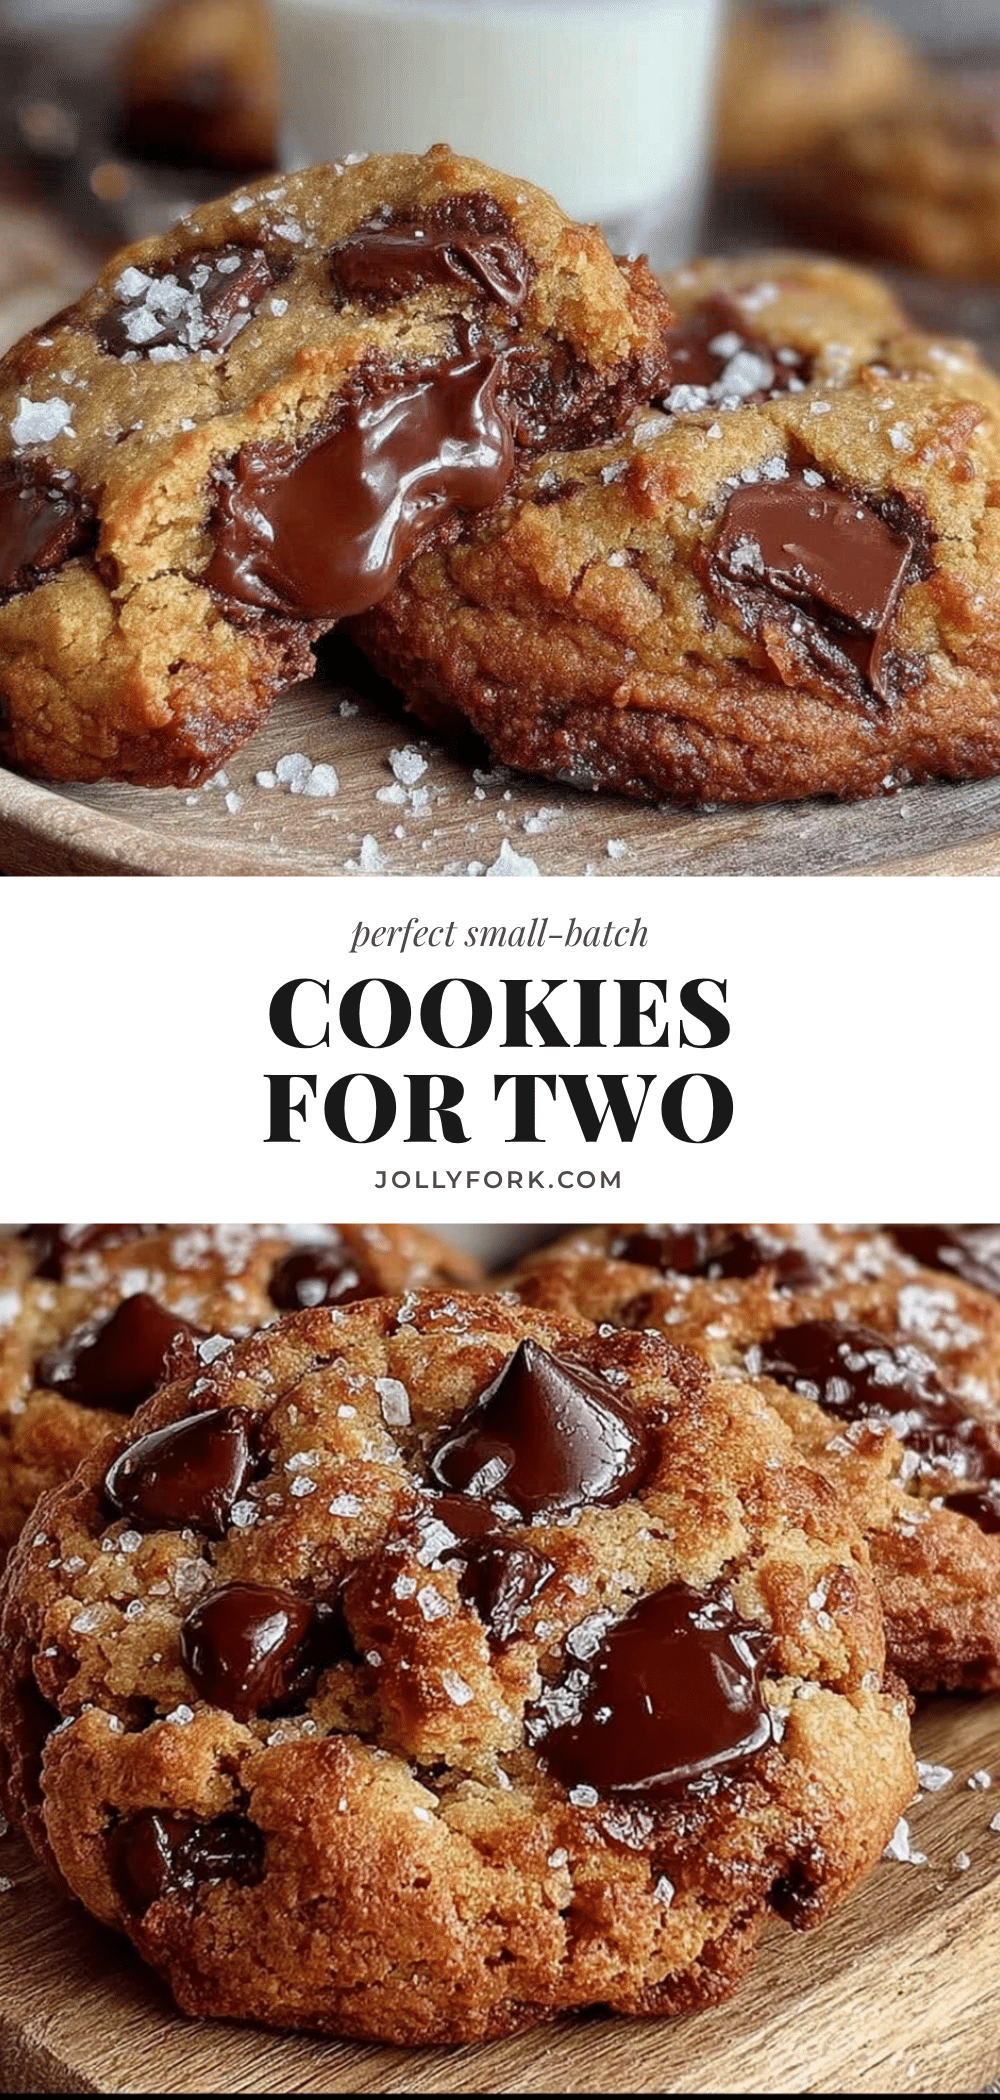
Best Small-Batch Chocolate Chip Cookies for Two

These small-batch chocolate chip cookies are perfect for when you want a warm, homemade treat without committing to a full batch. Made with simple ingredients and ready in about 20 minutes, they deliver crispy edges, soft centers, and rich butter flavor—ideal for date night or a cozy evening in.
- Prep Time: 10 minutes
- Cook Time: 10 minutes
- Total Time: 20 minutes
- Yield: 6 cookies 1x
- Category: Dessert
- Cuisine: American
Ingredients
- 4 tablespoons (56g) unsalted butter, melted and slightly cooled
- ¼ cup (50g) light brown sugar, packed
- 2 tablespoons (25g) granulated sugar
- 1 large egg yolk
- ½ teaspoon vanilla extract
- ½ cup (60g) all-purpose flour, spooned and leveled
- ¼ teaspoon baking soda
- ¼ teaspoon fine sea salt
- ⅓ cup (60g) semi-sweet chocolate chips
Instructions
- Preheat your oven to 350°F (175°C) and line a quarter-sheet pan with parchment paper.
- Melt the butter in a microwave-safe bowl in 15-second bursts until mostly melted. Stir until completely liquid and let cool for about 2 minutes.
- In a small mixing bowl, whisk together the melted butter, brown sugar, and granulated sugar for about 30 seconds until the mixture looks like wet sand and starts to pull away from the sides.
- Add the egg yolk and vanilla extract. Whisk until smooth and glossy, about 20 seconds.
- Sprinkle the flour, baking soda, and salt over the wet mixture. Fold gently with a rubber spatula until no streaks of flour remain. Do not overmix.
- Fold in the chocolate chips until evenly distributed. The dough will be soft and slightly sticky.
- Let the dough rest for 10 minutes to allow the flour to absorb the butter.
- Portion the dough into 6 equal balls (about 1.5 tablespoons each) and place them on the prepared baking sheet, spacing about 2 inches apart. Do not flatten.
- Bake on the middle rack for 9-11 minutes. For gooier cookies, bake 9 minutes; for more set cookies, bake 11 minutes. The edges should be golden and centers slightly underdone.
- Let the cookies rest on the hot baking sheet for 5 minutes, then transfer to a cooling rack. Cool for another 5 minutes before serving.
Notes
For best results, use a quarter-sheet pan to ensure even baking. If using a full-size pan, bake only 6 cookies on one half. Resting the dough for 10 minutes is crucial for chewy centers. For deeper flavor, refrigerate the dough overnight. If cookies spread too much, the butter was too hot or the resting step was skipped. For burning bottoms, reduce oven temperature to 325°F (160°C).
Nutrition
- Serving Size: 1 cookie
- Calories: 185
- Sugar: 15
- Sodium: 115
- Fat: 11
- Saturated Fat: 7
- Carbohydrates: 22
- Fiber: 1
- Protein: 2
Keywords: small-batch chocolate chip cookies, cookies for two, easy cookie recipe, quick cookies, no chill cookies


