I’m not supposed to play favorites with recipes, but this one-pan garlic butter chicken and rice has me completely hooked. Last Tuesday, I stopped by my neighbor’s house to return a mixing bowl she’d lent me weeks ago—honestly, I’d been meaning to bring it back for ages. The smell hit me before I even got inside. That rich, buttery garlic aroma mixed with something warm and savory, like the coziest fall evening had been bottled up and set to simmer on her stove.
She wasn’t trying to impress anyone. In fact, she was in her sweatpants, half-watching a cooking show while stirring a pan with one hand and texting with the other. “Oh, that? It’s just chicken and rice,” she said when I asked what smelled so incredible. Just chicken and rice. Let me tell you, there was nothing “just” about it. The chicken was golden and crispy on the edges, the rice was fluffy and soaked in all that garlic butter goodness, and the whole thing came together in one pan. One pan. I mean, come on—that’s practically a miracle on a busy weeknight.
I stood there in her kitchen, probably looking a little too eager, and she handed me a spoon. “Here, taste it.” That first bite had this unexpected warmth that spread through me like a hug from the inside out. The garlic wasn’t overpowering—it was mellow and sweet, cooked down until it melted into the butter and coated every grain of rice. I asked for the recipe, and she shrugged and said, “I just threw stuff together.” Typical. So I went home and spent the next week figuring it out myself, tweaking and testing until I got it right.
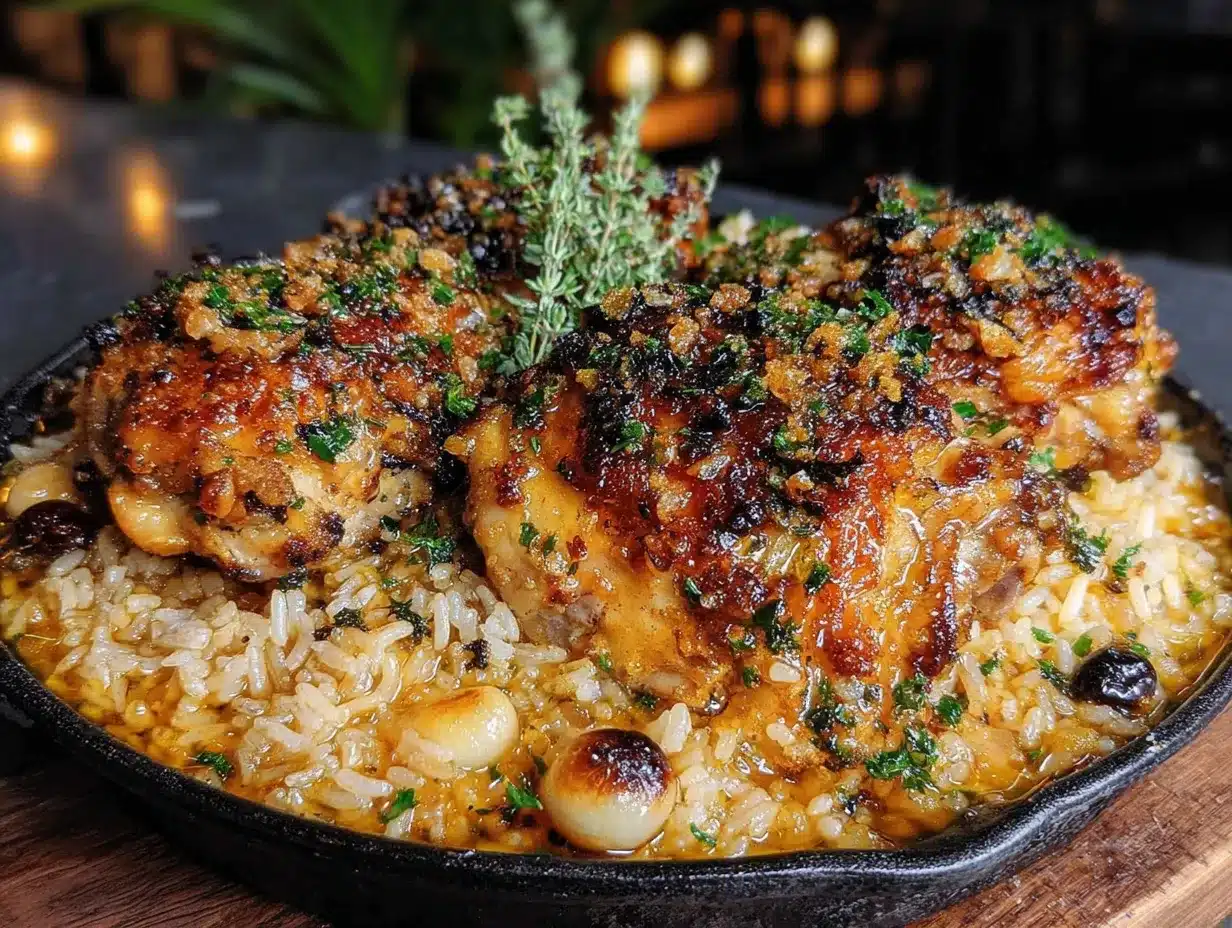
This cozy one-pan garlic butter chicken and rice for fall nights is the result of that obsession. It’s the kind of meal you make when the air gets crisp and the leaves start turning, when all you want is something warm and satisfying without spending hours in the kitchen. Maybe you’ve been there—standing in your kitchen on a chilly evening, wondering what to make that feels special but doesn’t require a million dishes. This is it. Honestly, I keep making it because it makes my whole house smell like comfort, and that’s something worth holding onto.
Why You’ll Love This Recipe
This isn’t just another chicken and rice recipe. After about six test batches—some too dry, some too garlicky, one where I accidentally burned the butter (we don’t talk about that)—I finally nailed the perfect balance. Here’s what makes this one special:
- One-Pan Wonder: Everything cooks in a single skillet or Dutch oven. Less cleanup means more time to curl up on the couch with a blanket and a good book. I mean, who wants to scrub a million pots on a fall evening?
- Simple Ingredients: You probably already have most of these in your kitchen. No fancy grocery trips needed—just chicken, rice, garlic, butter, and a few pantry staples. It’s the kind of recipe you can make on a whim.
- Perfect for Fall Nights: This dish was made for those cool evenings when the windows are fogged up and you can hear the wind outside. It’s warm, hearty, and fills your home with the most incredible aroma. Think of it as comfort in a pan.
- Crowd-Pleaser: I’ve served this to my family, friends, and even picky eaters, and it always gets rave reviews. The kids go back for seconds, and the adults ask for the recipe. It’s one of those meals that brings everyone to the table.
- Unbelievably Delicious: The texture is what gets me every time. The chicken comes out tender and juicy with crispy golden edges, while the rice is perfectly fluffy and infused with garlic butter. It’s next-level comfort food that feels fancy but is secretly super easy.
What makes this different from the dozens of other chicken and rice recipes out there? It’s the technique. Instead of just dumping everything in a pan, you sear the chicken first to build that deep, savory flavor. Then you toast the rice in the garlic butter before adding the broth—this little step makes the rice extra nutty and flavorful. And the ratio of liquid to rice is just right, so you never end up with mushy or dry results. It’s comfort food reimagined—simpler, faster, but with the same soul-soothing satisfaction.
What Ingredients You Will Need
This recipe uses simple, wholesome ingredients to deliver bold flavor and satisfying texture without the fuss. Most of these are pantry staples, which is exactly what you want on a busy fall evening when you just need dinner to happen.
For the Chicken
- 4 bone-in, skin-on chicken thighs (about 1.5 lbs or 680g) – The bone keeps the meat juicy, and the skin gets beautifully crispy. You can use boneless thighs if you prefer, but reduce cooking time by about 10 minutes.
- 1 teaspoon salt – I use fine sea salt for even seasoning.
- ½ teaspoon black pepper – Freshly ground is best.
- ½ teaspoon paprika – Adds a subtle warmth and beautiful color. Smoked paprika works great too.
- ¼ teaspoon garlic powder – Just a little extra garlic love.
- 2 tablespoons olive oil – For searing the chicken. Avocado oil works too.
For the Garlic Butter Rice
- 4 tablespoons unsalted butter – The star of the show. I recommend using a good-quality butter like Kerrygold for the richest flavor.
- 6 cloves garlic, minced – Yes, six. Don’t skimp here—garlic is what makes this dish so cozy. If your cloves are small, use eight.
- 1 cup long-grain white rice – Basmati or jasmine work beautifully. Avoid short-grain rice as it can get too sticky.
- 2 cups low-sodium chicken broth – Using low-sodium lets you control the salt level. If you only have regular broth, reduce the added salt in the recipe.
- ½ cup water – Helps the rice cook evenly without drying out.
- ½ teaspoon dried thyme – Adds an earthy, slightly floral note that pairs perfectly with garlic butter.
- ¼ teaspoon dried rosemary – Crush it between your fingers before adding to release the oils.
- Salt and pepper to taste – Adjust at the end after the rice has absorbed the broth.
For Garnish
- 2 tablespoons fresh parsley, chopped – Adds a pop of color and freshness.
- 1 tablespoon fresh lemon juice – Brightens up all the rich flavors. Don’t skip this—it makes a huge difference.
- Optional: red pepper flakes – For a tiny kick of heat.
For the best texture, look for chicken thighs that are roughly the same size so they cook evenly. And please, use fresh garlic—not the jarred stuff. It really matters here since garlic is such a key flavor. If you’re out of fresh herbs, you can use dried parsley for garnish, but fresh really does make it look and taste better.
Equipment Needed
One of the best things about this recipe is how little equipment you need. Here’s what you’ll want to have on hand:
- A large, heavy-bottomed skillet or Dutch oven – A 12-inch skillet with a tight-fitting lid is perfect. I use my trusty cast iron skillet (which I’ve had for years and it just keeps getting better), but a stainless steel or non-stick pan works fine too. The key is that it’s oven-safe if you want to finish it in the oven (though this recipe is entirely stovetop).
- Tongs – For flipping the chicken without piercing the skin and losing those precious juices.
- A wooden spoon or silicone spatula – For stirring the rice and scraping up the browned bits from the bottom of the pan. Those bits are pure flavor.
- A sharp knife and cutting board – For mincing the garlic and chopping the parsley.
- Measuring cups and spoons – Accuracy matters for the rice-to-liquid ratio.
- A lid that fits your pan tightly – This is crucial for the rice to cook properly. If your pan doesn’t have a lid, use a sheet of aluminum foil crimped tightly around the edges.
If you don’t have a cast iron skillet, don’t worry—I’ve made this in a regular non-stick pan and it turned out great. The only tool I’d really recommend investing in is a good pair of tongs. They make flipping chicken so much easier, and you’ll use them for everything.
Preparation Method
Let’s get cooking! This whole dish comes together in about 45 minutes, and most of that is hands-off simmering time. Here’s how to do it:
- Prep the chicken. Pat the chicken thighs dry with paper towels. This is super important—wet skin won’t get crispy. In a small bowl, mix together 1 teaspoon salt, ½ teaspoon black pepper, ½ teaspoon paprika, and ¼ teaspoon garlic powder. Sprinkle this seasoning all over the chicken thighs, making sure to get under the skin too if you can.
- Sear the chicken. Heat 2 tablespoons of olive oil in your large skillet over medium-high heat. Once the oil is shimmering (you’ll see little waves in it), carefully place the chicken thighs skin-side down. Let them cook without moving for 5-6 minutes—I know it’s tempting to peek, but leave them alone! The skin should be deep golden brown and crispy. Flip and cook for another 4-5 minutes on the other side. Transfer the chicken to a plate and set aside. Don’t wipe out the pan—those browned bits are flavor gold.
- Make the garlic butter. Reduce the heat to medium. Add 4 tablespoons of butter to the same pan. Once it’s melted and bubbling, add the minced garlic. Stir constantly for about 30-45 seconds until the garlic is fragrant but not browned. Burnt garlic tastes bitter, so watch it carefully. If it starts browning too fast, take the pan off the heat for a few seconds.
- Toast the rice. Add 1 cup of rice to the garlic butter and stir to coat every grain. Cook for 1-2 minutes, stirring constantly, until the rice starts to look slightly translucent at the edges and smells nutty. This toasting step is what gives the rice so much flavor.
- Add the liquids and seasonings. Pour in 2 cups of chicken broth and ½ cup of water. Add ½ teaspoon dried thyme and ¼ teaspoon dried rosemary (crushed between your fingers). Stir everything together, scraping up any browned bits from the bottom of the pan. Bring the liquid to a gentle boil.
- Nestle the chicken back in. Place the seared chicken thighs on top of the rice, skin-side up. Don’t push them down into the rice—just let them rest on top. The juices will drip down into the rice as it cooks, infusing it with even more flavor.
- Cover and simmer. Reduce the heat to low, cover the pan with a tight-fitting lid, and let it cook for 20 minutes. Do not lift the lid during this time—I know it’s hard, but trust me. Every time you lift the lid, steam escapes, and that steam is what cooks the rice.
- Rest and fluff. After 20 minutes, turn off the heat but keep the lid on. Let it rest for 5 minutes. This resting time allows the rice to absorb any remaining liquid and become perfectly fluffy. Then remove the lid, fluff the rice gently with a fork, and check the chicken for doneness (it should reach 165°F/74°C at the thickest part).
- Garnish and serve. Sprinkle with fresh parsley, squeeze 1 tablespoon of lemon juice over everything, and add a pinch of red pepper flakes if you like a little heat. Serve straight from the pan—fewer dishes, remember?
A few things to watch for: If your rice seems undercooked after the 20 minutes, add 2-3 tablespoons of water, re-cover, and cook for another 3-4 minutes. If it’s too wet, remove the lid and let it cook on low for a couple of minutes to evaporate excess moisture. The perfect rice should be tender and separate, not mushy or crunchy.
Cooking Tips & Techniques
After making this recipe more times than I care to count, I’ve picked up a few tricks that make a real difference. Let me share what I’ve learned—including some mistakes so you don’t have to make them yourself.
Don’t skip the searing step. I know it adds an extra 10 minutes, but it’s non-negotiable. That golden crust on the chicken is where the flavor lives. Plus, the browned bits left in the pan—called fond—add a depth of flavor that you just can’t get any other way. One time I was in a hurry and skipped this step, and the whole dish tasted flat. Never again.
Toast the rice properly. This is another step that might seem unnecessary, but it’s what makes the rice so good. Toasting the grains in the garlic butter before adding liquid gives them a nutty flavor and helps them stay separate instead of clumping together. You want to stir constantly and cook until the rice smells fragrant—about 1-2 minutes. If you hear popping sounds, that’s normal.
Watch your heat levels. This is probably the most common mistake I see. When you add the chicken broth to the pan, bring it to a gentle boil, then immediately reduce the heat to low before covering. If the heat is too high, the liquid will evaporate too quickly and the rice will be undercooked. Too low, and the rice might not cook through in time. Medium-low to low is your sweet spot.
Resist the urge to peek. I can’t stress this enough. Every time you lift that lid, steam escapes, and that steam is what cooks the rice. Set a timer and walk away. Do something else—set the table, pour yourself a glass of wine, or just sit down for a few minutes. The rice needs that undisturbed steam bath to cook evenly.
Let it rest. That 5-minute rest at the end isn’t optional. It allows the rice to absorb any remaining moisture and firm up slightly. If you dig in right away, the rice might seem a bit wet. After resting, it’s perfect. I learned this the hard way when I was too impatient and ended up with slightly soupy rice.
If you’re multitasking, start the chicken first, then use the simmering time to make a simple side salad or roasted vegetables. The rice takes about 25 minutes total from when you add the broth, so plan accordingly.
Variations & Adaptations
One of the things I love about this recipe is how easy it is to adapt. Here are some variations I’ve tried and loved:
Make it creamy. Stir in ¼ cup of heavy cream or full-fat coconut milk after the rice has cooked, right before serving. It makes the rice extra rich and luxurious—perfect for when you want something really indulgent. My sister tried this version and now refuses to make it any other way.
Go Mediterranean. Swap the thyme and rosemary for 1 teaspoon of dried oregano and add ½ cup of chopped sun-dried tomatoes along with the broth. Top with crumbled feta cheese and kalamata olives before serving. This version is bright and tangy, and it’s amazing served with a side of crusty bread.
Add vegetables. Toss in 1 cup of sliced mushrooms along with the garlic, or add ½ cup of frozen peas and carrots during the last 5 minutes of cooking. For a heartier version, add diced zucchini or bell peppers. Just make sure any veggies you add are cut into small, even pieces so they cook through in time.
Make it dairy-free. Use olive oil or a good vegan butter substitute instead of regular butter. The flavor will be slightly different, but it’s still delicious. I’ve used Miyoko’s vegan butter with great results.
Spice it up. Add ½ teaspoon of cayenne pepper or red pepper flakes along with the other seasonings. Or stir in a chopped chipotle pepper in adobo sauce for a smoky heat. My husband loves this version—he says it warms him up from the inside out.
Try different proteins. This recipe works beautifully with chicken drumsticks, bone-in chicken breasts, or even turkey thighs. Just adjust the cooking time based on the size of the meat. For boneless chicken breasts, sear for 3 minutes per side and reduce the covered cooking time to 15 minutes.
I once tried a version with andouille sausage instead of chicken, and it was incredible. Just slice the sausage into rounds, brown it in the pan, then proceed with the recipe. It gives the rice a smoky, spicy flavor that’s perfect for fall.
Serving & Storage Suggestions
This dish is practically a meal in itself, but a few simple sides can make it even better. Here’s how I like to serve and store it:
Serving suggestions. Serve this garlic butter chicken and rice straight from the pan for a cozy, family-style dinner. The bright squeeze of lemon juice at the end really makes a difference—it cuts through the richness and wakes up all the flavors. For a complete meal, add a simple green salad with a lemon vinaigrette or some roasted broccoli. I also love serving it with a side of crusty bread to soak up any extra garlic butter sauce left in the pan. If you’re feeling fancy, a glass of crisp white wine like Sauvignon Blanc pairs beautifully with the garlic and herbs.
Storage instructions. Let any leftovers cool completely, then transfer to an airtight container. Store in the refrigerator for up to 4 days. The flavors actually get better after a day or two as they meld together—it’s one of those dishes that tastes even better the next day.
Freezing tips. This recipe freezes well for up to 3 months. Let it cool completely, then transfer to a freezer-safe container. I like to portion it into individual servings so I can grab just what I need. To thaw, move it to the refrigerator overnight.
Reheating methods. The best way to reheat this is in a skillet over medium-low heat. Add a splash of chicken broth or water (about 2 tablespoons per serving), cover, and heat for 5-7 minutes, stirring occasionally. This helps rehydrate the rice and keeps it from drying out. You can also microwave individual portions—just cover with a damp paper towel and heat in 30-second bursts, stirring between each. The chicken skin won’t be as crispy after reheating, but the flavor is still amazing.
One thing to note: the rice will absorb more liquid as it sits, so leftovers might be slightly firmer than the fresh version. That’s normal. Just add a little extra liquid when reheating to bring it back to life.
Nutritional Information & Benefits
While this is definitely a comfort food dish, it does have some nutritional perks worth mentioning. Here’s a rough breakdown per serving (based on 4 servings, using chicken thighs with skin):
- Calories: Approximately 520-560
- Protein: 32-35g
- Fat: 28-32g
- Carbohydrates: 38-42g
- Fiber: 1-2g
- Sugar: 1-2g
- Sodium: 680-720mg (varies based on broth and added salt)
Chicken thighs are a great source of protein, iron, and B vitamins, which help support energy levels—especially important during the darker fall months. Garlic isn’t just for flavor; it’s known for its immune-supporting properties, which is perfect for cold and flu season. And butter, in moderation, provides fat-soluble vitamins like A and E.
If you’re watching your sodium, use low-sodium broth and go easy on the added salt. You can also remove the skin from the chicken after cooking to reduce the fat content. For a lower-carb option, serve the chicken and garlic butter sauce over cauliflower rice instead of regular rice—it’s surprisingly good!
I personally love that this dish feels indulgent but is made with whole, recognizable ingredients. It’s the kind of meal that nourishes both body and soul, especially on a chilly evening when you need a little extra warmth.
Conclusion
This cozy one-pan garlic butter chicken and rice for fall nights has become my go-to for those evenings when I need something warm, satisfying, and completely unfussy. It started with a neighbor who didn’t think twice about what she was making, and it turned into a recipe I genuinely look forward to cooking again and again. The crispy chicken, the fluffy garlic butter rice, the way the whole house smells like comfort—it’s everything I want in a fall dinner.
What I love most is how adaptable it is. You can make it creamy, spicy, or packed with vegetables. You can use whatever chicken you have on hand. It’s forgiving, it’s delicious, and it cleans up in minutes. Honestly, what more could you ask for on a busy weeknight?
I hope you give this recipe a try and make it your own. Maybe you’ll add extra garlic like I do, or throw in some mushrooms, or serve it with a big glass of red wine. Whatever you do, I’d love to hear about it. Drop a comment below and let me know how it turned out—did you make any changes? Did your family love it as much as mine does? And if you’re looking for more cozy fall dinners, you might enjoy my creamy Tuscan chicken skillet or this one-pot beef stew for those extra chilly nights. Happy cooking, friends!
Frequently Asked Questions
Can I use boneless, skinless chicken breasts instead of thighs?
Absolutely. Boneless chicken breasts will work, but they cook faster and can dry out more easily. Sear them for 2-3 minutes per side, then reduce the covered cooking time to 15 minutes. Check the internal temperature—it should reach 165°F (74°C). For the best results, I’d still recommend thighs for their juiciness and flavor.
Why is my rice mushy or undercooked?
This usually comes down to the rice-to-liquid ratio or the heat level. If your rice is mushy, you might have added too much liquid or cooked it on too high heat. If it’s undercooked, the heat might have been too low, or you lifted the lid too often during cooking. Stick to the measurements in the recipe and keep that lid on—it makes all the difference.
Can I make this in a rice cooker or Instant Pot?
Yes, with some adjustments. For an Instant Pot, use the sauté function to sear the chicken and toast the rice, then pressure cook on high for 5 minutes with a natural release. For a rice cooker, sear the chicken in a separate pan first, then add everything to the rice cooker and cook on the regular setting. The texture might be slightly different, but it’s still delicious.
How can I make this recipe gluten-free?
This recipe is naturally gluten-free as written! Just make sure your chicken broth is certified gluten-free, as some brands add wheat-based ingredients. All the other ingredients—chicken, rice, butter, garlic, herbs—are naturally gluten-free. It’s one of the reasons I love this recipe for entertaining.
Can I double this recipe for a crowd?
You can, but you’ll need a larger pan—a 14-inch skillet or a large Dutch oven works best. Keep the rice-to-liquid ratio the same, but increase the searing time slightly since the pan will be more crowded. The covered cooking time should remain about 20 minutes. Just make sure the chicken pieces aren’t overlapping too much, or they won’t brown properly.
Pin This Recipe!
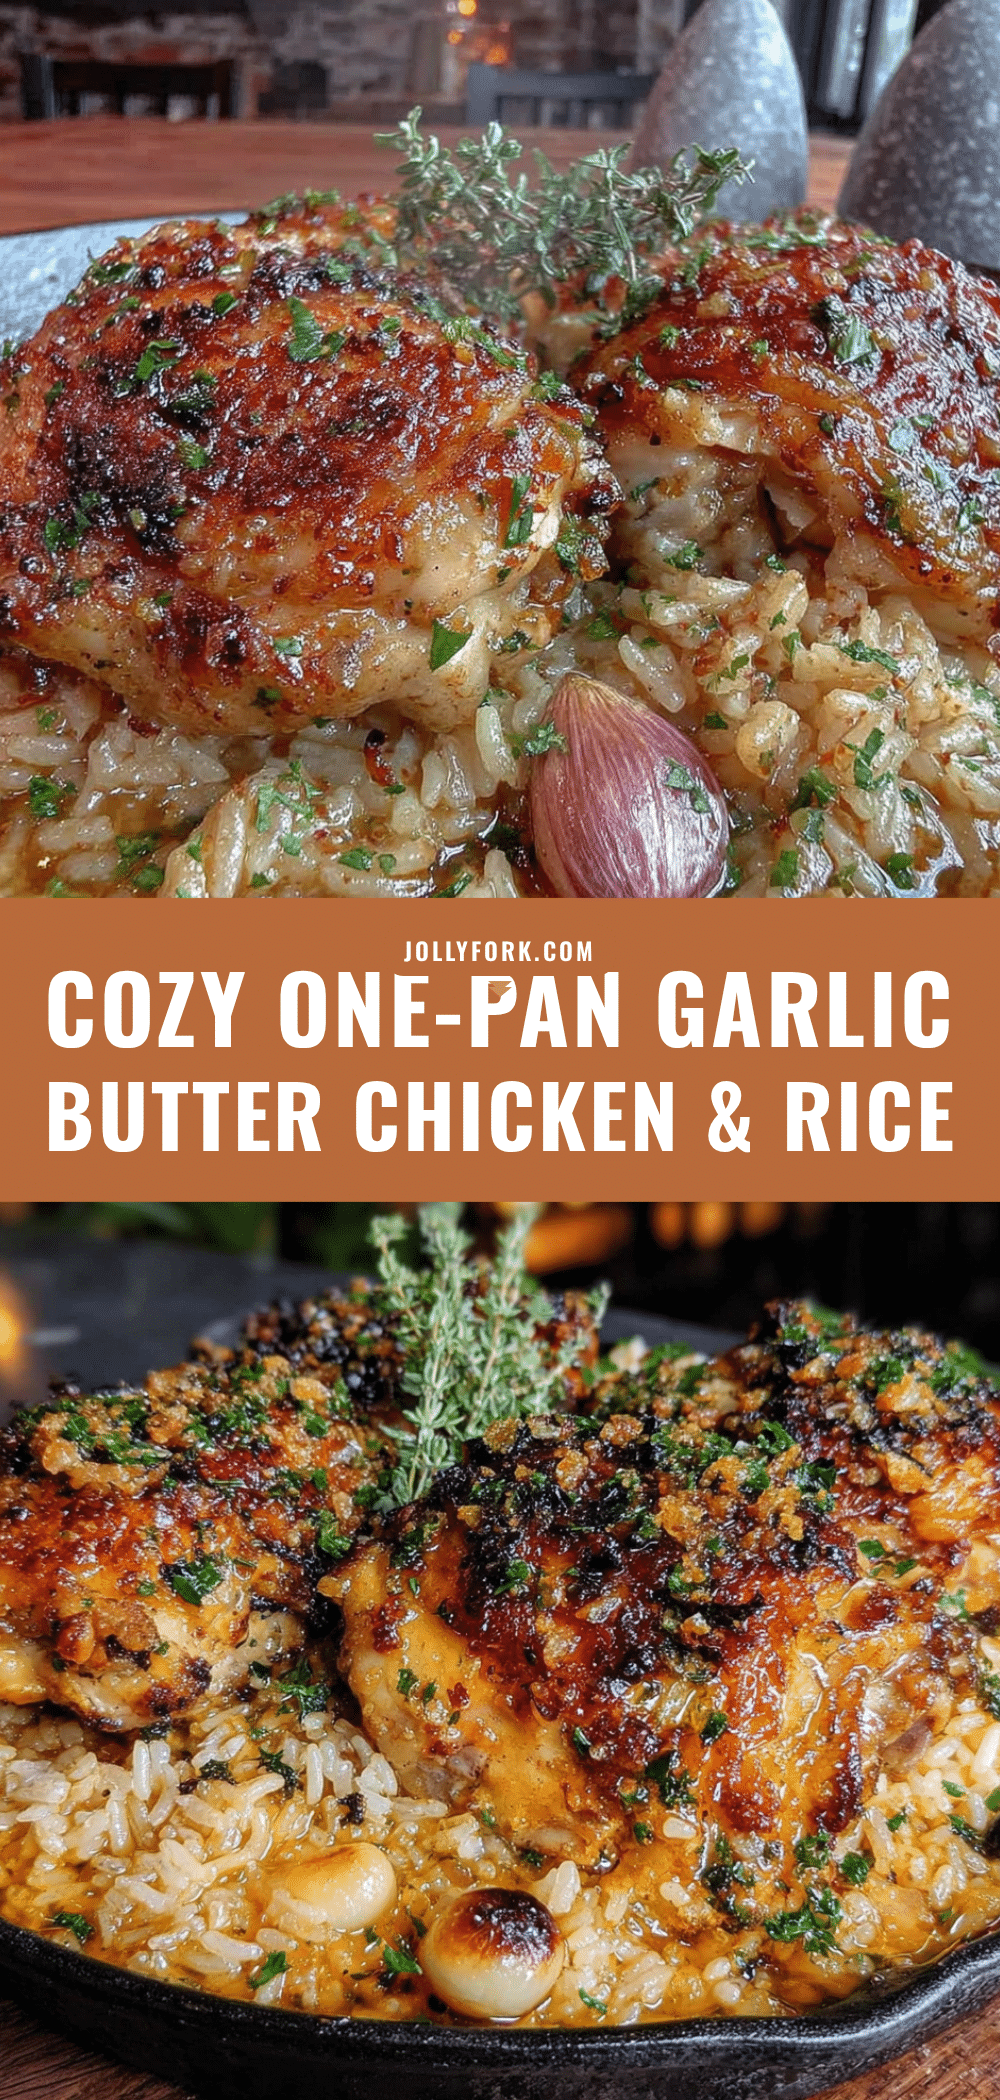
Cozy One-Pan Garlic Butter Chicken and Rice for Fall Nights

This one-pan garlic butter chicken and rice features crispy, golden chicken thighs and fluffy rice infused with garlic butter, all cooked in a single skillet for a cozy, satisfying fall dinner with minimal cleanup.
- Prep Time: 10 minutes
- Cook Time: 35 minutes
- Total Time: 45 minutes
- Yield: 4 servings 1x
- Category: Main Course
- Cuisine: American
Ingredients
- 4 bone-in, skin-on chicken thighs (about 1.5 lbs or 680g)
- 1 teaspoon salt
- ½ teaspoon black pepper
- ½ teaspoon paprika
- ¼ teaspoon garlic powder
- 2 tablespoons olive oil
- 4 tablespoons unsalted butter
- 6 cloves garlic, minced
- 1 cup long-grain white rice (basmati or jasmine)
- 2 cups low-sodium chicken broth
- ½ cup water
- ½ teaspoon dried thyme
- ¼ teaspoon dried rosemary
- Salt and pepper to taste
- 2 tablespoons fresh parsley, chopped
- 1 tablespoon fresh lemon juice
- Optional: red pepper flakes
Instructions
- Pat the chicken thighs dry with paper towels. In a small bowl, mix together 1 teaspoon salt, ½ teaspoon black pepper, ½ teaspoon paprika, and ¼ teaspoon garlic powder. Sprinkle this seasoning all over the chicken thighs, making sure to get under the skin too if you can.
- Heat 2 tablespoons of olive oil in your large skillet over medium-high heat. Once the oil is shimmering, carefully place the chicken thighs skin-side down. Let them cook without moving for 5-6 minutes until deep golden brown and crispy. Flip and cook for another 4-5 minutes on the other side. Transfer the chicken to a plate and set aside. Do not wipe out the pan.
- Reduce the heat to medium. Add 4 tablespoons of butter to the same pan. Once melted and bubbling, add the minced garlic. Stir constantly for about 30-45 seconds until fragrant but not browned.
- Add 1 cup of rice to the garlic butter and stir to coat every grain. Cook for 1-2 minutes, stirring constantly, until the rice starts to look slightly translucent at the edges and smells nutty.
- Pour in 2 cups of chicken broth and ½ cup of water. Add ½ teaspoon dried thyme and ¼ teaspoon dried rosemary (crushed between your fingers). Stir everything together, scraping up any browned bits from the bottom of the pan. Bring the liquid to a gentle boil.
- Place the seared chicken thighs on top of the rice, skin-side up. Do not push them down into the rice.
- Reduce the heat to low, cover the pan with a tight-fitting lid, and let it cook for 20 minutes. Do not lift the lid during this time.
- After 20 minutes, turn off the heat but keep the lid on. Let it rest for 5 minutes. Then remove the lid, fluff the rice gently with a fork, and check the chicken for doneness (it should reach 165°F/74°C at the thickest part).
- Sprinkle with fresh parsley, squeeze 1 tablespoon of lemon juice over everything, and add a pinch of red pepper flakes if desired. Serve straight from the pan.
Notes
Don’t skip searing the chicken or toasting the rice—these steps build deep flavor. Resist the urge to lift the lid during cooking; steam is essential for perfect rice. Let the dish rest for 5 minutes after cooking for best texture. If rice is undercooked, add 2-3 tablespoons water and cook covered for 3-4 more minutes. If too wet, cook uncovered on low for a couple minutes.
Nutrition
- Serving Size: 1 serving (about 1 c
- Calories: 540
- Sugar: 1.5
- Sodium: 700
- Fat: 30
- Saturated Fat: 12
- Carbohydrates: 40
- Fiber: 1.5
- Protein: 33
Keywords: one-pan chicken and rice, garlic butter chicken, fall dinner, easy weeknight meal, comfort food