I want a brownie right now. Not in thirty minutes, not after I preheat an oven and wash a mixing bowl. I want it in the time it takes me to decide I want it. And I have everything except patience. That’s the exact moment this easy 5-ingredient microwave mug brownie was born—standing in my kitchen at ten o’clock at night, staring at the pantry, refusing to wait for dessert. It felt almost too simple to work. Flour, sugar, cocoa powder, oil, water. That’s it. No eggs, no milk, no vanilla extract if you don’t have it. I remember thinking, “This is either going to be the best decision I make all week or a disappointing chocolate puddle.”
Spoiler: it was the best decision. The first time I pulled that mug out of the microwave, the top was perfectly set, slightly cracked in that way brownies do when they mean business. I stuck a spoon in, and it came out warm, fudgy, and deeply chocolate. Not dry. Not rubbery. Just a real brownie that happened to cook in sixty seconds. I ate it standing at the counter, no plate, no judgment. And honestly? That felt like a win. This recipe has saved me from bad decisions (store-bought snack cakes) and late-night cravings more times than I can count. It’s the kind of thing you don’t realize you need until you’ve had it—and then suddenly, it’s your favorite emergency dessert.
So if you’re someone who loves chocolate but hates waiting, or you just want a single serving dessert that doesn’t leave you with a whole tray to resist, this one’s for you. No complicated techniques, no rare ingredients. Just a warm, gooey brownie in a mug that tastes like you put in way more effort than you actually did. Let’s make it.
Why You’ll Love This Recipe
Let me tell you why this mug brownie has earned a permanent spot in my late-night rotation. I’ve tested it at least a dozen times—different microwaves, different mug sizes, different cocoa powders—and it works every single time. Here’s what makes it special:
- Ready in 1 Minute: From craving to spoon in hand, you’re looking at about sixty seconds of cook time. No preheating, no waiting, no fuss.
- Just 5 Ingredients: Flour, sugar, cocoa powder, oil, and water. That’s it. You probably have all of them right now.
- No Eggs or Milk Needed: This is a vegan-friendly base recipe, and it works beautifully without dairy or eggs. Perfect for when the fridge is bare.
- Single Serving Perfection: No temptation to eat an entire pan. Just one perfectly portioned brownie that satisfies the craving without the leftovers.
- Fudgy, Not Cakey: The texture is rich, dense, and slightly gooey in the center—exactly how a brownie should be. No dry mug cake situation here.
What makes this different from other mug brownie recipes I’ve tried? Honestly, most of them are either too dry or too eggy. Some use an egg yolk, which makes the texture weirdly spongy. Others rely on milk, which changes the fat ratio and makes it more like a mug cake. This version uses water and oil, which gives you that classic brownie chew without any weirdness. I’ve tested it with different oils—coconut oil, vegetable oil, melted butter—and they all work, though butter gives it a slightly richer flavor. The key is not overcooking it, which I’ll walk you through.
This is the kind of recipe that feels like a secret weapon. When you want something warm and chocolatey but don’t want to commit to a full baking project, this is your answer. It’s comfort food in its most efficient form.
What Ingredients You Will Need
This recipe uses simple, pantry-friendly ingredients to deliver a rich, fudgy brownie without any fuss. Here’s what you’ll need and why each one matters:
- All-Purpose Flour (3 tablespoons / 24g): This gives the brownie structure. Don’t pack it into the spoon—just scoop and level. If you’re gluten-free, you can swap in a 1:1 gluten-free flour blend, though the texture may be slightly more delicate.
- Granulated Sugar (3 tablespoons / 36g): Regular white sugar works perfectly here. It dissolves easily and gives the brownie that crackly top. You can use coconut sugar for a less refined option, but the texture will be slightly grainier.
- Unsweetened Cocoa Powder (2 tablespoons / 12g): This is where the chocolate flavor comes from. I recommend a good quality cocoa powder like Ghirardelli or Hershey’s Special Dark for a deeper flavor. Dutch-process cocoa works too and gives a smoother taste.
- Vegetable Oil (2 tablespoons / 30ml): Oil keeps the brownie moist and tender. You can use melted coconut oil, avocado oil, or even melted butter (though butter adds a bit more richness). Avoid olive oil—the flavor is too strong here.
- Water (3 tablespoons / 45ml): Water activates the dry ingredients and creates steam, which helps the brownie rise slightly in the microwave. You can substitute milk or non-dairy milk for a slightly creamier texture, but water works great and keeps it dairy-free.
Optional Add-Ins: A pinch of salt really brings out the chocolate flavor. You can also add 1/4 teaspoon of vanilla extract if you have it on hand. For extra decadence, throw in a few chocolate chips or a tablespoon of chopped nuts on top before microwaving.
I personally prefer using a standard 12-ounce mug for this recipe. Anything smaller might overflow during cooking, and anything larger will make the brownie too thin. A wide-bottomed mug works best for even cooking.
Equipment Needed
You don’t need much for this recipe, which is part of the beauty. Here’s what you’ll need:
- Microwave-Safe Mug (12 oz / 350ml): A standard coffee mug works perfectly. Avoid metal-trimmed mugs—they can spark in the microwave. Ceramic or glass mugs are ideal.
- Small Bowl or Directly in the Mug: You can mix the batter right in the mug to save dishes, or use a small bowl for easier stirring. I usually mix in the mug because I’m lazy and it works fine.
- Fork or Small Whisk: A fork works great for mixing the batter. A small whisk helps if you want to be thorough, but honestly, a fork does the job.
- Measuring Spoons: Accurate measurements matter here since the recipe is small. Eyeballing it can lead to a dry or gummy brownie.
- Optional: Spoon or Small Spatula: For scraping the sides of the mug to make sure everything is well combined.
I’ve made this in different mugs over the years, and I’ve learned that thicker ceramic mugs tend to cook more evenly. Thin mugs can get too hot on the bottom and overcook the brownie before the top is set. If you have a favorite sturdy mug, that’s the one to use.
Preparation Method
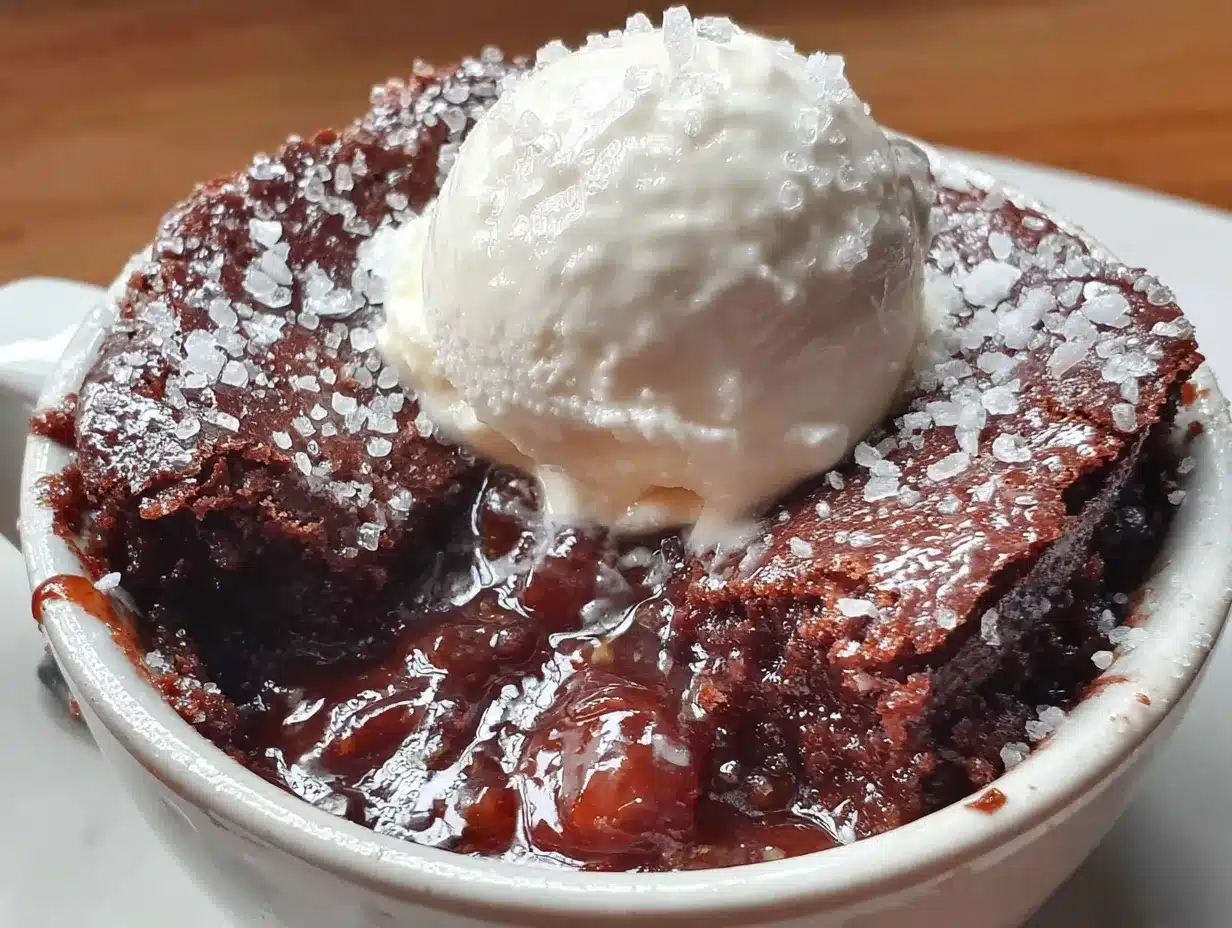
This comes together in less than two minutes from start to finish. Here’s how to do it:
- Combine the dry ingredients: In your microwave-safe mug, add 3 tablespoons all-purpose flour, 3 tablespoons granulated sugar, and 2 tablespoons unsweetened cocoa powder. Stir them together with a fork until evenly combined. Break up any clumps of cocoa powder—they can hide in the flour and create bitter pockets later.
- Add the wet ingredients: Pour in 2 tablespoons vegetable oil and 3 tablespoons water. Stir everything together until you have a smooth, thick batter. Make sure to scrape the bottom and sides of the mug—dry flour loves to hide there. The batter should look like a thick, glossy brownie batter, not runny. If it seems too thick, add another teaspoon of water. If it seems too thin, add a teaspoon more flour.
- Optional add-ins: If you’re adding chocolate chips, nuts, or a pinch of salt, stir them in now. I usually add about a tablespoon of chocolate chips on top so they melt into little pools of chocolate.
- Microwave on high: Place the mug in the microwave and cook on high power for 45-60 seconds. Start checking at 45 seconds. Every microwave is different—mine takes exactly 50 seconds for a perfect fudgy texture. The brownie should look set on top but still slightly moist in the center. It will continue to cook from residual heat after you take it out.
- Let it rest: Carefully remove the mug (it will be hot!) and let it sit for 1-2 minutes. This allows the brownie to finish setting up. If you dig in immediately, it might be a bit gooey—which some people love, but if you want a cleaner texture, give it that short rest.
- Enjoy: Grab a spoon and dig in while it’s warm. The top should be slightly crackly, and the inside should be fudgy and rich. If you want to get fancy, add a scoop of vanilla ice cream or a drizzle of peanut butter on top.
Important note: Microwaves vary wildly in power. A 700-watt microwave might need the full 60 seconds, while a 1200-watt microwave might be done at 40 seconds. The first time you make this, check it at 40 seconds and add time in 5-second increments. You’re looking for a brownie that’s set on top but still looks slightly underdone in the very center—it’ll finish cooking as it cools.
If you overcook it, the brownie will be dry and spongy. If you undercook it, it’ll be more like brownie batter (which is honestly still delicious, just messier). The sweet spot is that perfect fudgy middle ground.
Cooking Tips & Techniques
After making this more times than I care to admit, I’ve picked up a few tricks that make a real difference:
Don’t overmix the batter. I learned this the hard way. Stir just until the ingredients are combined—about 10-15 seconds of stirring. Overmixing develops the gluten in the flour, which can make the brownie tough instead of tender. You want it smooth but not overworked.
Use a slightly underfilled mug. The brownie will rise as it cooks, so leave at least an inch of space at the top of your mug. If you fill it too full, you’ll have a messy microwave and a sad brownie. A 12-ounce mug is the perfect size for this recipe.
Watch the microwave like a hawk. I’m serious. The difference between a perfect mug brownie and a dry one is about 10 seconds. Stand there and watch it. When you see the top start to look set and slightly puffed, it’s done. Don’t walk away—I’ve ruined plenty of mug brownies by getting distracted.
Add a splash of milk or coffee. If you want to deepen the chocolate flavor, substitute one tablespoon of the water with milk or brewed coffee. Coffee doesn’t make it taste like coffee—it just makes the chocolate taste more chocolatey. It’s a little trick I picked up from professional bakers.
Let it rest before eating. I know it’s hard to wait, but that 1-2 minute rest is crucial. The brownie continues to cook from residual heat, and the texture sets up properly. If you eat it immediately, it’ll be more like warm pudding. Which is fine, but if you want a brownie texture, give it that short rest.
One mistake I made early on was using a mug that was too wide. The brownie spread out thin and cooked unevenly—dry edges, gooey center. A standard, straight-sided mug gives you a nice tall brownie with even cooking. Something about the height helps it cook properly.
Variations & Adaptations
This base recipe is incredibly flexible. Here are some of my favorite ways to change it up:
Peanut Butter Swirl: After mixing the batter, drop a teaspoon of peanut butter on top and gently swirl it in with a knife. The peanut butter gets warm and melty, creating little pockets of salty-sweet goodness. It’s my personal favorite variation.
Vegan & Dairy-Free: The base recipe is already vegan since it uses water and oil. Just make sure your sugar is vegan-friendly (some brands use bone char in processing, though most are fine). Skip any dairy add-ins and use dairy-free chocolate chips if you want.
Gluten-Free: Swap the all-purpose flour for a 1:1 gluten-free flour blend. I’ve tested this with Bob’s Red Mill 1:1 Baking Flour and it works well. The texture is slightly more delicate, so be gentle when mixing. You can also use almond flour, but you’ll need to adjust the liquid slightly—start with 2 tablespoons water and add more if needed.
Mint Chocolate: Add 1/4 teaspoon peppermint extract to the batter along with the wet ingredients. Top with a few chocolate chips or a crushed peppermint candy. It tastes like a thin mint brownie—dangerously good.
Cookies & Cream: Crush 2-3 chocolate sandwich cookies (like Oreos) and fold them into the batter before microwaving. The cookie pieces soften slightly but stay a little crunchy. It’s a texture dream.
Nutella Lover’s: Replace 1 tablespoon of the oil with 1 tablespoon of Nutella. Stir it in well, and you’ll get a hazelnut-chocolate brownie that’s extra rich. You might need to add an extra teaspoon of water to balance the consistency.
I once tried a s’mores version by topping the brownie with mini marshmallows and a crushed graham cracker after cooking, then microwaving for another 10 seconds. The marshmallows puffed up and got all gooey—it was messy and perfect.
Serving & Storage Suggestions
This mug brownie is best enjoyed warm, straight from the microwave. That’s when the texture is at its peak—fudgy, soft, and deeply chocolatey. Here’s how to serve it:
Serving Temperature: Warm is non-negotiable. Cold mug brownies lose their magic and become dense. If you somehow have leftovers (unlikely), reheat them in the microwave for 10-15 seconds to bring back that soft texture.
Toppings: A scoop of vanilla ice cream is the classic pairing. The cold, creamy ice cream against the warm brownie is a match made in dessert heaven. You can also add a dollop of whipped cream, a drizzle of caramel or chocolate sauce, or a sprinkle of sea salt for that sweet-salty thing.
Complementary Dishes: This brownie pairs beautifully with a glass of cold milk, a hot cup of coffee, or even a scoop of this creamy no-churn peach cream cheese ice cream for a fruity contrast. If you’re feeling extra indulgent, serve it alongside a fresh strawberry Greek yogurt parfait for a dessert that feels almost balanced.
Storage: If you somehow don’t finish it, cover the mug with plastic wrap or transfer the brownie to an airtight container. It will keep at room temperature for up to 2 days, but the texture will become more cake-like. To reheat, microwave for 15-20 seconds until warm. I don’t recommend freezing mug brownies—they’re meant to be eaten fresh.
Flavor Development: Interestingly, the brownie actually tastes more chocolatey the next day, but the texture suffers. So if you want maximum flavor with a slightly denser texture, let it sit overnight. But honestly, I’ve never had one last that long.
Nutritional Information & Benefits
Here’s the approximate nutritional breakdown for one mug brownie (without add-ins):
- Calories: ~310
- Fat: 15g
- Carbohydrates: 44g
- Fiber: 3g
- Sugar: 24g
- Protein: 4g
These values are estimates and will vary based on specific brands and any add-ins you use.
Health Benefits: Cocoa powder is actually a good source of antioxidants, specifically flavonoids, which can help reduce inflammation and support heart health. The dark chocolate flavor means you’re getting more cocoa and less sugar than a typical brownie. Plus, since this is a single serving, portion control is built right in—no temptation to eat half a pan.
Dietary Considerations: This recipe is naturally vegan, dairy-free, and egg-free. It can easily be made gluten-free with a flour swap. It’s also nut-free if you use a neutral oil like vegetable or canola. Just be mindful of your cocoa powder and sugar brands if you have specific dietary needs.
I personally love that this recipe lets me enjoy a chocolate treat without feeling like I’ve derailed my whole day. It’s satisfying, quick, and doesn’t leave me with a kitchen full of dishes.
Conclusion
This easy 5-ingredient microwave mug brownie is proof that you don’t need a fancy kitchen or a lot of time to make something genuinely delicious. It’s the kind of recipe that feels almost too simple to work—and then it works, and you wonder why you ever bothered with boxed mixes or complicated baking projects for a single serving.
I love this recipe because it meets me exactly where I am: craving chocolate, short on time, and not willing to compromise on flavor. It’s forgiving, adaptable, and always satisfying. Whether you’re a college student in a dorm, a parent sneaking a treat after the kids go to bed, or just someone who wants a brownie right now, this recipe is for you.
Try it once, and I think you’ll be surprised at how good it is. Play around with the variations, add your favorite toppings, and make it your own. If you come up with a killer combination, I’d love to hear about it—drop a comment below and share your creation. And if you’re in the mood for more quick desserts, check out this easy no-bake peanut butter chocolate energy balls for another no-fuss treat.
Now go grab a mug and make yourself a brownie. You deserve it.
Frequently Asked Questions
Can I use a different type of flour?
Yes, you can use a 1:1 gluten-free flour blend or even almond flour. Just note that almond flour will change the texture slightly—it’ll be more tender and slightly denser. If using almond flour, start with 2 tablespoons water and add more if the batter seems too thick.
Why is my mug brownie dry?
Dry mug brownies are almost always caused by overcooking. Every microwave is different, so start checking at 40 seconds. The brownie should look set on top but still slightly moist in the center. Remember, it continues to cook from residual heat after you take it out, so it’s better to undercook slightly than overcook.
Can I make this in a regular oven instead?
You can, but it defeats the purpose of a quick single serving. If you want to bake it in the oven, pour the batter into a small ramekin and bake at 350°F (175°C) for about 10-12 minutes. The texture will be slightly different—more like a traditional brownie with a crispier top.
Can I double the recipe?
You can, but you’ll need a larger mug or bowl. Double the ingredients and use a 16-ounce mug or a small microwave-safe bowl. Increase the cook time to 1 minute 30 seconds to 2 minutes, checking at 1 minute 30 seconds. The brownie will be thicker, so it needs a bit more time to cook through.
What if I don’t have cocoa powder?
You can substitute 2 tablespoons of hot chocolate mix for the cocoa powder, but reduce the sugar to 2 tablespoons since hot chocolate mix is already sweetened. The flavor won’t be as rich, but it’ll still be a tasty chocolate treat. You can also use melted dark chocolate (about 30g) mixed with an extra tablespoon of flour to balance the liquid.
Pin This Recipe!
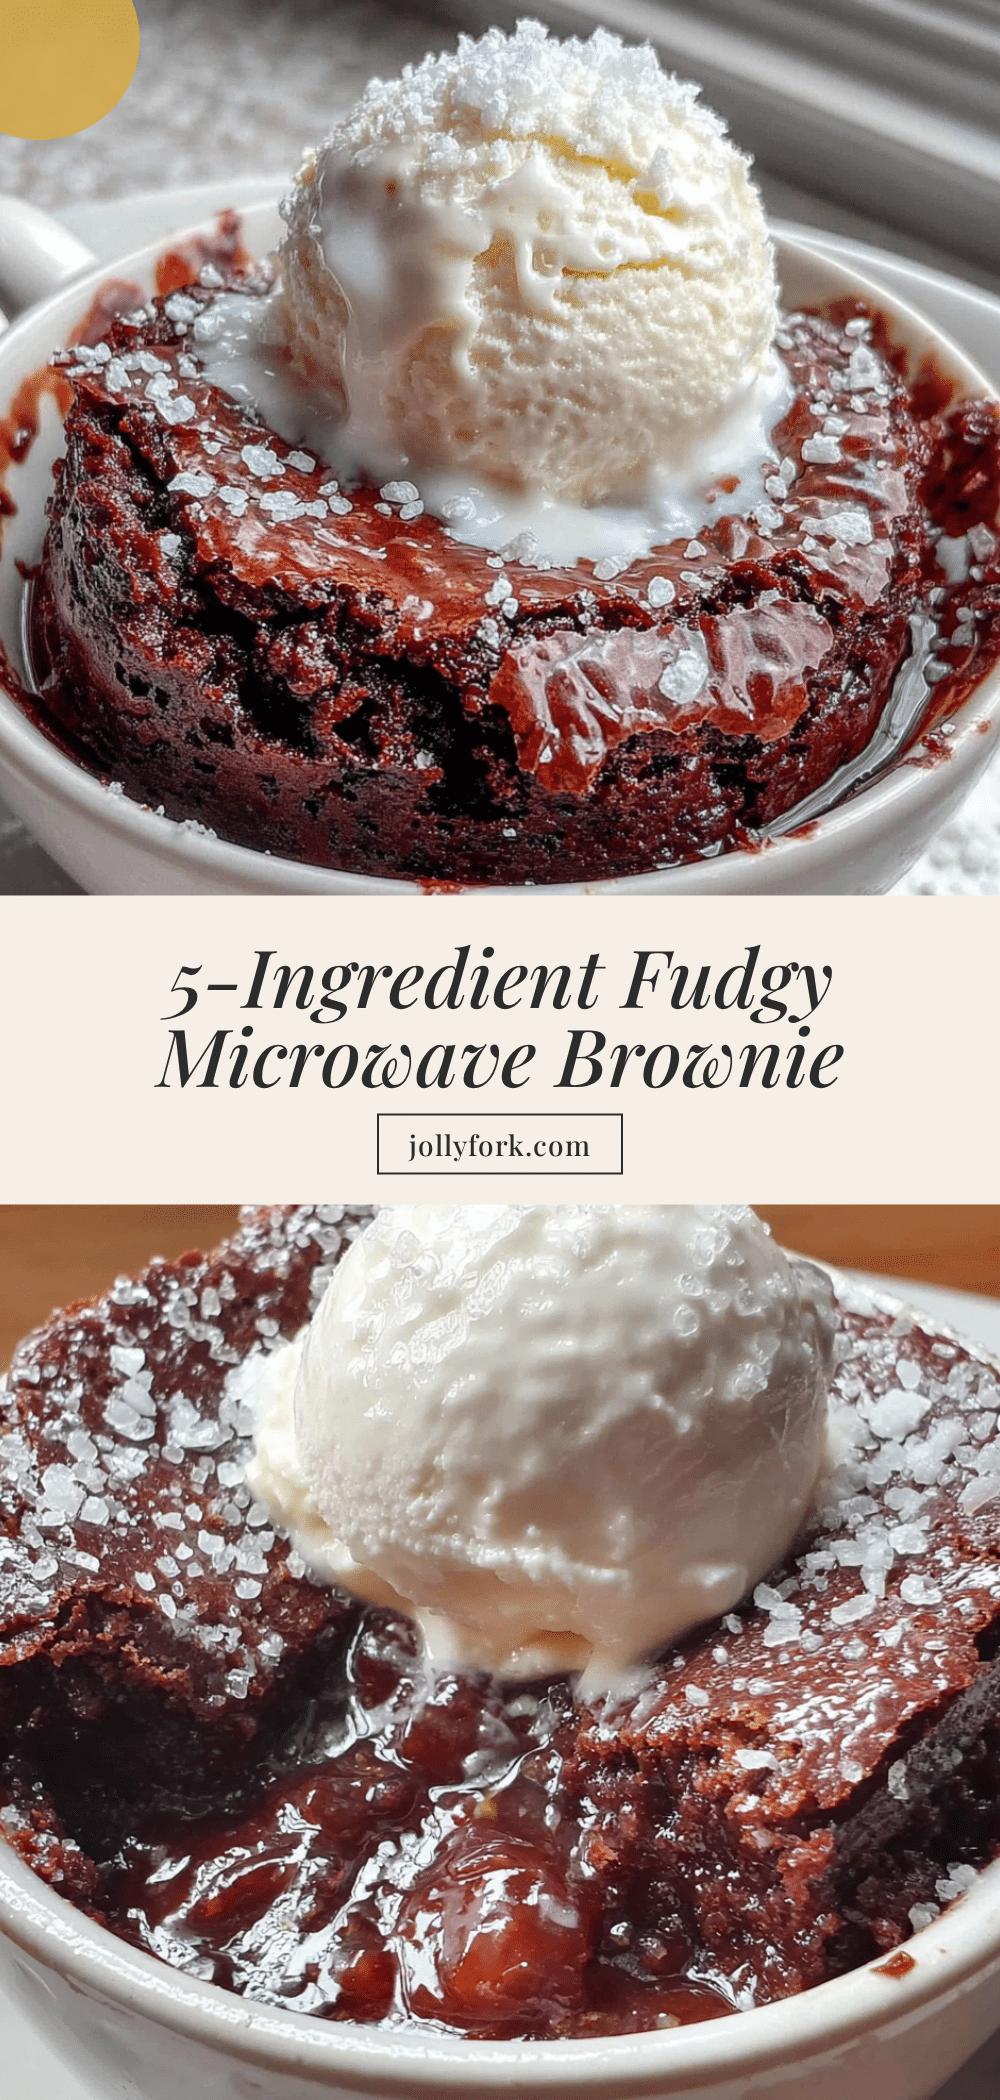
Easy 5-Ingredient Microwave Mug Brownie in 1 Minute

A rich, fudgy brownie made in a mug with just 5 simple ingredients and ready in 1 minute. Perfect for late-night cravings or a quick single-serving dessert.
- Prep Time: 2 minutes
- Cook Time: 1 minute
- Total Time: 3 minutes
- Yield: 1 serving 1x
- Category: Dessert
- Cuisine: American
Ingredients
- 3 tablespoons all-purpose flour (24g)
- 3 tablespoons granulated sugar (36g)
- 2 tablespoons unsweetened cocoa powder (12g)
- 2 tablespoons vegetable oil (30ml)
- 3 tablespoons water (45ml)
- Optional: pinch of salt
- Optional: 1/4 teaspoon vanilla extract
- Optional: chocolate chips or chopped nuts for topping
Instructions
- In a microwave-safe mug (12 oz / 350ml), combine 3 tablespoons all-purpose flour, 3 tablespoons granulated sugar, and 2 tablespoons unsweetened cocoa powder. Stir with a fork until evenly combined, breaking up any clumps.
- Add 2 tablespoons vegetable oil and 3 tablespoons water. Stir until smooth and thick, scraping the bottom and sides of the mug. Adjust consistency if needed (add a teaspoon of water if too thick, or a teaspoon of flour if too thin).
- If desired, stir in optional add-ins like chocolate chips, nuts, or a pinch of salt.
- Microwave on high for 45-60 seconds. Start checking at 45 seconds; the brownie should look set on top but slightly moist in the center. Cooking time varies by microwave wattage.
- Carefully remove the mug (it will be hot) and let it rest for 1-2 minutes to finish setting.
- Enjoy warm with a spoon. Optionally top with vanilla ice cream, whipped cream, or a drizzle of peanut butter.
Notes
Microwaves vary in power. Start checking at 40 seconds for high-wattage microwaves (1200W) and up to 60 seconds for lower wattage (700W). The brownie continues to cook from residual heat, so it’s better to undercook slightly than overcook. For a deeper chocolate flavor, substitute 1 tablespoon of water with milk or brewed coffee. Use a standard 12 oz mug with straight sides for even cooking.
Nutrition
- Serving Size: 1 mug brownie
- Calories: 310
- Sugar: 24
- Sodium: 5
- Fat: 15
- Saturated Fat: 2
- Carbohydrates: 44
- Fiber: 3
- Protein: 4
Keywords: mug brownie, microwave brownie, 5-ingredient brownie, single serving brownie, quick dessert, vegan brownie, gluten-free brownie option


