My daughter came home from school one October afternoon, dropped her backpack, and said, “We need to make something with candy corn.” Not a question, just a statement. She had been given a handful of the little triangles at a class party and apparently decided they were the most exciting thing she had ever tasted. I looked at the half-empty bag of marshmallows in my pantry, the box of Rice Krispies that was about to expire, and realized I had everything I needed to make something happen. No extra trip to the store required.
I had been looking for a fall treat that actually felt festive without taking up my whole afternoon. Something that looked like it took effort but really just asked for patience with melting butter. The candy corn Rice Krispie treats idea just clicked. It was one of those moments where you wonder why you hadn’t thought of it sooner. The colors were already there. The crunch was there. It just needed to be combined the right way.
The first batch came out a little too sticky. The second batch I pressed too hard and they turned into bricks. But the third batch? That was the one. The marshmallows melted just right, the candy corn stayed mostly intact, and the bars cut clean without falling apart. My daughter ate two before I could even get a photo. That is when I knew this recipe was going to stick around for every fall season from now on.
Sometimes the best recipes come from a kid’s random request and a pantry that is almost empty. These bars are proof of that.
Why You Will Love This Recipe
These Easy Candy Corn Rice Krispie Treats Bars are the kind of dessert that makes people smile before they even take a bite. The colors alone bring out the kid in everyone. But the taste? That is what keeps them coming back for more.
- Quick & Easy: From start to finish, you are looking at about 15 minutes of active time. No oven required. No complicated steps. Just a stovetop, a spatula, and a little patience.
- Simple Ingredients: You probably already have marshmallows and cereal in your pantry. The candy corn is the only thing you might need to grab, and honestly, you can find it everywhere during fall.
- Perfect for Fall Gatherings: These bars show up at Halloween parties, Thanksgiving dessert tables, and even classroom celebrations. They fit right in next to pumpkin dump cake on a buffet spread.
- Crowd-Pleaser: Kids love the candy corn. Adults love the nostalgia. Everyone loves that it is a no-bake dessert that actually holds together.
- Unbelievably Delicious: The combination of gooey marshmallow, crunchy cereal, and slightly chewy candy corn creates a texture that is hard to beat. It is sweet but not overwhelming, with just enough saltiness from the butter to balance everything out.
What makes this recipe different from other candy corn treats is the technique. Most recipes just dump everything together and hope for the best. I figured out the right moment to add the candy corn so it does not melt into a puddle of orange goo. The marshmallows stay soft, the cereal stays crunchy, and the candy corn stays recognizable. It is not just another version of a Rice Krispie treat. It is the best version.
Honestly, this is the kind of dessert that makes you close your eyes after the first bite. It is comfort food reimagined for the fall season. Faster than baking cookies, easier than making a pie, and way more fun than both.
What Ingredients You Will Need
This recipe uses simple, pantry-friendly ingredients to deliver that classic Rice Krispie treat texture with a festive fall twist. Nothing fancy here, just smart combinations.
- 6 tablespoons unsalted butter (I recommend using a good quality butter like Kerrygold for richer flavor. Salted butter works in a pinch, just reduce any added salt.)
- 10 ounces mini marshmallows (Standard bag size. Mini marshmallows melt faster and more evenly than the big ones. Jet-Puffed is my go-to brand for consistent results.)
- 6 cups Rice Krispies cereal (Generic brands work fine here, but the original stays crunchier longer. Measure loosely, do not pack the cup.)
- 1 cup candy corn (Look for fresh candy corn from this season. Stale candy corn gets hard and chewy in a bad way. Brach’s is the classic choice.)
- 1/4 teaspoon salt (Optional but recommended. A tiny pinch of flaky sea salt on top before they set really brings out the sweetness.)
- Non-stick cooking spray (For greasing your spatula and hands. Do not skip this or you will be picking marshmallow off your fingers for an hour.)
The beauty of these ingredients is that most of them are already in your kitchen during fall. The marshmallows and butter are staples for any Rice Krispie treat. The candy corn is the only seasonal ingredient you need to pick up, and it is everywhere from September through November. If you want to get creative, you can swap the candy corn for candy pumpkins or even chopped caramel candies for a different twist. But honestly, the candy corn gives these bars their signature look and that slightly waxy, sweet bite that makes them so nostalgic.
For best results, make sure your marshmallows are fresh. Stale marshmallows do not melt as smoothly and can leave you with lumpy spots. Same goes for the cereal. If your Rice Krispies have been sitting open for months, they might be a little stale and won’t give you that satisfying crunch. Fresh ingredients make a noticeable difference here.
Equipment Needed
You do not need a professional kitchen to pull these off. Just a few basic tools that most home cooks already own.
- Large pot or Dutch oven (You need something big enough to stir everything without spilling. A 5-quart pot works perfectly.)
- Silicone spatula (Heat-resistant silicone is best. Wooden spoons work too, but the marshmallow sticks to them more.)
- 9×13 inch baking dish (Standard size for thick bars. An 8×8 dish makes them taller and denser if you prefer that.)
- Parchment paper (Makes lifting the bars out so much easier. Wax paper can work but it is not as sturdy.)
- Sharp knife (A chef’s knife or a long serrated knife works best for clean cuts. Spray it with cooking spray to stop sticking.)
- Cutting board (For slicing the bars without scratching your counter.)
I have made these bars with a cheap pot and a flimsy spatula before. They still turned out fine. The parchment paper is the one thing I would not skip. It saves you from fighting with stuck-on marshmallow and makes cleanup almost nonexistent. If you do not have parchment, grease the dish really well with butter or cooking spray, but expect a little more effort getting them out.
Preparation Method
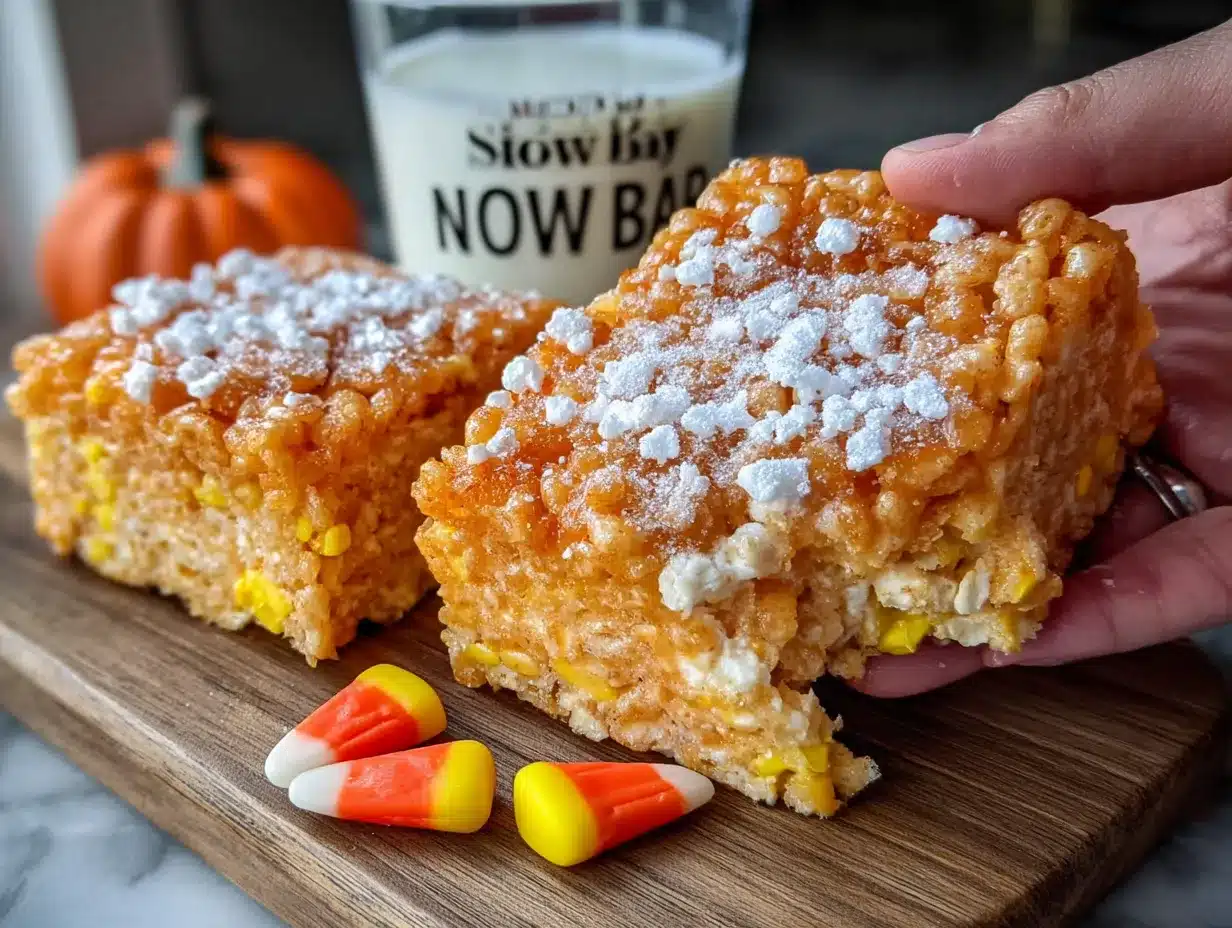
Follow these steps carefully, especially the timing on when to add the candy corn. That is the secret to perfect bars.
- Prepare your pan. Line a 9×13 inch baking dish with parchment paper, leaving some overhang on two sides. This creates handles for lifting the bars out later. Lightly spray the parchment with non-stick cooking spray. Set aside.
- Melt the butter. Place your large pot over medium-low heat. Add the 6 tablespoons of unsalted butter and let it melt slowly. Swirl the pot occasionally to help it melt evenly. Do not rush this step. High heat will burn the butter and ruin the flavor.
- Add the marshmallows. Once the butter is fully melted, pour in the entire 10 ounces of mini marshmallows. Stir constantly with your silicone spatula until the marshmallows are completely melted and smooth. This takes about 3 to 4 minutes. The mixture should be glossy and thick. Remove the pot from the heat immediately once everything is smooth.
- Stir in the cereal. Add the 6 cups of Rice Krispies cereal to the pot. Fold gently until all the cereal is coated in marshmallow mixture. Work quickly here because the mixture starts setting as it cools. Do not overmix or the cereal will crush into smaller pieces.
- Add the candy corn. Here is the important part. Let the mixture cool for about 1 minute before adding the candy corn. If you add it too soon, the heat will melt the candy corn into sticky orange streaks. Fold in 1 cup of candy corn gently. You want them distributed throughout but not smashed.
- Press into the pan. Transfer the mixture to your prepared baking dish. Spray your spatula or your hands with non-stick cooking spray. Press the mixture evenly into the pan. Do not press too hard or the bars will turn out dense and hard. Just gentle, even pressure until everything is flat and level.
- Let them set. Allow the bars to cool at room temperature for at least 30 minutes. Do not rush this by putting them in the fridge. The texture sets better at room temperature. The bars should feel firm but still slightly soft to the touch.
- Cut and serve. Lift the bars out using the parchment paper overhang. Place on a cutting board. Use a sharp knife sprayed with cooking spray to cut into squares. Wipe the knife clean between cuts for the neatest edges.
The first time I made these, I added the candy corn right away and watched it dissolve into a sticky mess. The bars looked like something from a horror movie. Learn from my mistake. Let the mixture cool just a bit before folding in the candy corn. That one minute of patience makes all the difference.
Cooking Tips & Techniques
After making these bars more times than I care to count, I have picked up a few tricks that make the process smoother and the results better.
Use low heat for melting. Medium-low heat is your friend here. High heat makes the marshmallows seize up and turn grainy. Low heat gives you that silky, smooth texture that coats every piece of cereal perfectly. I ruined my first batch by turning the heat up thinking it would go faster. It did not.
Grease everything. Spray your spatula, your hands, and your knife with cooking spray. Marshmallow mixture sticks to everything like glue. A light coating of oil saves you from frustration and keeps your bars looking neat. I keep a small spray bottle of oil next to my stove during fall just for this purpose.
Press gently. This is the most common mistake people make. Pressing too hard compresses the cereal and gives you rock-hard bars. You want them to hold together but still have some airiness. Use the palm of your hand with light pressure, or use a piece of parchment paper on top to press evenly without sticking.
Cut with confidence. Use a sharp knife and cut in one clean motion. Sawing back and forth crumbles the edges. Spray the knife between each cut for the cleanest squares. If the bars start sticking to the knife, rinse it with hot water and dry it before the next cut.
Timing matters. These bars are best within the first 24 hours. After that, the candy corn starts to harden and the cereal loses some crunch. They are still good, just not as perfect. If you need to make them ahead, prepare them the day before you plan to serve them.
Variations & Adaptations
One of the best things about this recipe is how easy it is to change up. Here are some variations I have tried and loved.
Chocolate Drizzle Version: After the bars set, melt about half a cup of chocolate chips with a teaspoon of coconut oil and drizzle it over the top. The chocolate pairs beautifully with the candy corn sweetness. Let the chocolate set before cutting. This version disappears fastest at parties.
Peanut Butter Twist: Add 2 tablespoons of creamy peanut butter to the marshmallow mixture while it melts. Stir until fully combined before adding the cereal. The peanut butter adds a savory note that balances the candy corn. If you have nut allergies, sunflower seed butter works the same way.
Gluten-Free Option: Rice Krispies are naturally gluten-free, but check the label to make sure your specific box is certified. Some generic brands use malt flavoring that contains gluten. The rest of the ingredients are already gluten-free, so this is an easy swap.
Halloween Mix-In: Replace half the candy corn with candy pumpkins or chopped Reese’s cups. The different textures and flavors make each bite a little surprise. I did this for a Halloween party last year and people could not stop grabbing them.
Less Sweet Version: If candy corn is too sweet for you, reduce it to half a cup and add a handful of salted peanuts or pretzel pieces instead. The salt cuts through the sweetness and adds a nice crunch. This version is my personal favorite for adult gatherings.
Serving & Storage Suggestions
These bars are best served at room temperature. The marshmallow stays soft and the candy corn has just the right amount of chewiness. If you refrigerate them, the candy corn gets hard and the texture changes. Leave them on the counter until you are ready to serve.
For presentation, arrange the bars on a platter with extra candy corn scattered around for color. They look great on a fall-themed plate with some mini pumpkins or autumn leaves. For Halloween parties, serve them alongside witch finger cookies for a fun spooky spread.
Storage Instructions: Store leftover bars in an airtight container at room temperature for up to 3 days. Layer them with parchment paper between each layer so they do not stick together. Do not store them in the refrigerator unless your kitchen is very warm. The cold air makes the candy corn hard and the cereal stale faster.
Freezer Instructions: You can freeze these bars for up to 2 months. Wrap each bar individually in plastic wrap, then place them in a freezer bag. Thaw at room temperature for about 30 minutes before serving. The texture will be slightly softer, but the flavor stays great.
Reheating: If your bars have been sitting for a day and feel a little firm, pop them in the microwave for 5 to 8 seconds. That is just enough to soften the marshmallow without melting the candy corn. Do not overheat or you will end up with a puddle.
The flavors actually mellow a bit after the first day. The candy corn sweetness blends more with the marshmallow, and the whole thing tastes more balanced. I actually prefer them on day two, but that might just be me.
Nutritional Information & Benefits
Let us be honest. These are a treat, not a health food. But here is the breakdown if you are curious.
Estimated per bar (makes 12 bars): Calories 280, Fat 8g, Carbohydrates 52g, Protein 2g, Sugar 34g, Sodium 180mg.
The butter provides a small amount of vitamin A, and the cereal is fortified with iron and B vitamins. The candy corn is mostly sugar, which is why these are best enjoyed in moderation. That said, there is something to be said for the mental health benefits of a nostalgic treat shared with loved ones. Sometimes that matters more than the numbers.
Dietary Considerations: This recipe is naturally nut-free (check your candy corn label to be safe) and can be made gluten-free with certified cereal. It is not vegan due to the butter and marshmallows. If you need a vegan version, use vegan butter and vegan marshmallows. The texture will be slightly different, but it works.
Potential Allergens: Dairy from the butter, and some candy corn brands may be processed in facilities that handle nuts. Always check labels if allergies are a concern.
I do not make these every week. They are a seasonal thing, and that makes them more special. When October rolls around, they feel like a celebration rather than just another dessert.
Conclusion
These Easy Candy Corn Rice Krispie Treats Bars are exactly what a fall dessert should be. Fun, simple, and full of nostalgic flavor. They come together in minutes, use ingredients you already have, and look festive enough for any gathering. Whether you are making them for a Halloween party, a Thanksgiving dessert table, or just a cozy afternoon with your kids, they deliver every time.
Do not be afraid to make these your own. Add chocolate. Throw in some pretzels. Use candy pumpkins instead of candy corn. The base recipe is forgiving and flexible. That is what makes it so reliable.
I make these bars every October now. My daughter reminds me the first week of the month, and I know it is officially fall when that happens. There is something special about a recipe that becomes part of your family’s rhythm. I hope these bars become part of yours too.
If you try this recipe, let me know how it goes. Drop a comment below or tag me in your photos. I love seeing how people make these their own. Happy fall baking!
Frequently Asked Questions
Can I use large marshmallows instead of mini marshmallows?
Yes, but mini marshmallows melt faster and more evenly. If you use large marshmallows, chop them into smaller pieces first and expect the melting time to be a few minutes longer. Stir constantly to prevent burning.
Why did my candy corn melt into the bars?
You added the candy corn too soon. Let the marshmallow mixture cool for about 1 minute off the heat before folding in the candy corn. If the mixture is still steaming hot, the candy corn will melt and turn into orange streaks.
Can I use a different cereal instead of Rice Krispies?
Absolutely. Crisp rice cereal works best, but you can use Cocoa Pebbles for a chocolate version, Fruity Pebbles for a colorful twist, or even crushed cornflakes for extra crunch. Just keep the total amount at 6 cups.
How do I keep the bars from getting too hard?
Do not press the mixture too firmly into the pan. Use gentle, even pressure to flatten the top. Pressing too hard compresses the cereal and gives you dense, hard bars. Also, store them in an airtight container at room temperature, not in the fridge.
Can I double this recipe for a larger crowd?
Yes, double all ingredients and use a half-sheet pan (18×13 inches) instead of a 9×13 dish. The cooking time stays the same. Just make sure your pot is big enough to hold everything. A 6-quart pot works for a double batch.
Pin This Recipe!
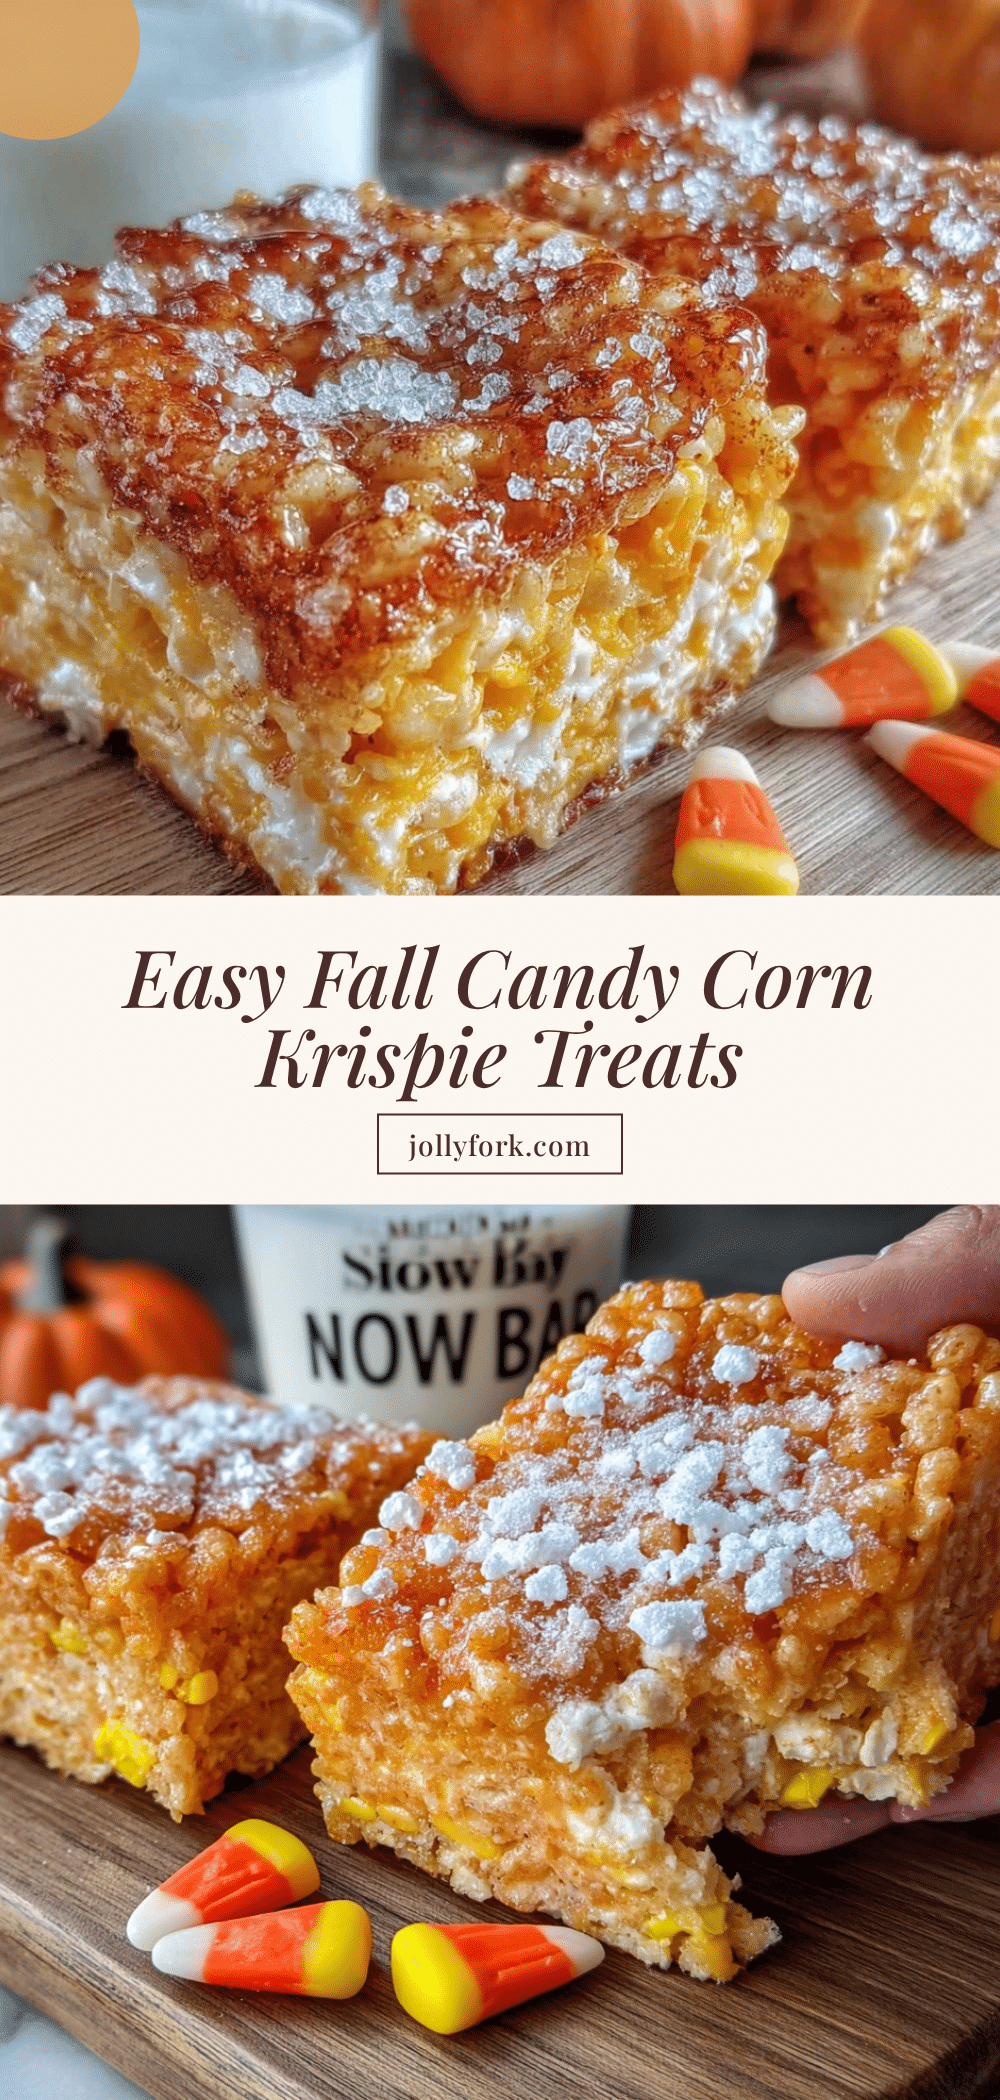
Easy Candy Corn Rice Krispie Treats: Best Fall Dessert

These Easy Candy Corn Rice Krispie Treats Bars are the kind of dessert that makes people smile before they even take a bite. The colors alone bring out the kid in everyone, and the taste keeps them coming back for more.
- Prep Time: 15 minutes
- Cook Time: 10 minutes
- Total Time: 55 minutes
- Yield: 12 servings 1x
- Category: Dessert
- Cuisine: American
Ingredients
- 6 tablespoons unsalted butter
- 10 ounces mini marshmallows
- 6 cups Rice Krispies cereal
- 1 cup candy corn
- 1/4 teaspoon salt (optional)
- Non-stick cooking spray
Instructions
- Prepare your pan. Line a 9×13 inch baking dish with parchment paper, leaving some overhang on two sides. Lightly spray the parchment with non-stick cooking spray. Set aside.
- Melt the butter. Place your large pot over medium-low heat. Add the 6 tablespoons of unsalted butter and let it melt slowly. Swirl the pot occasionally to help it melt evenly.
- Add the marshmallows. Once the butter is fully melted, pour in the entire 10 ounces of mini marshmallows. Stir constantly with your silicone spatula until the marshmallows are completely melted and smooth, about 3 to 4 minutes. Remove the pot from the heat immediately once everything is smooth.
- Stir in the cereal. Add the 6 cups of Rice Krispies cereal to the pot. Fold gently until all the cereal is coated in marshmallow mixture. Work quickly because the mixture starts setting as it cools.
- Add the candy corn. Let the mixture cool for about 1 minute before adding the candy corn. Fold in 1 cup of candy corn gently.
- Press into the pan. Transfer the mixture to your prepared baking dish. Spray your spatula or your hands with non-stick cooking spray. Press the mixture evenly into the pan with gentle, even pressure.
- Let them set. Allow the bars to cool at room temperature for at least 30 minutes.
- Cut and serve. Lift the bars out using the parchment paper overhang. Place on a cutting board. Use a sharp knife sprayed with cooking spray to cut into squares. Wipe the knife clean between cuts for the neatest edges.
Notes
Add candy corn after the mixture cools for about 1 minute to prevent melting. Press gently to avoid dense bars. Store in an airtight container at room temperature for up to 3 days. For best results, use fresh marshmallows and cereal.
Nutrition
- Serving Size: 1 bar
- Calories: 280
- Sugar: 34
- Sodium: 180
- Fat: 8
- Saturated Fat: 4
- Carbohydrates: 52
- Protein: 2
Keywords: candy corn, Rice Krispie treats, fall dessert, Halloween treats, no-bake dessert, easy dessert


