My neighbor Carol swore she hated squash. For fifteen years. “It’s that stringy, watery stuff people pretend to like in autumn,” she’d say every time I mentioned my latest soup experiment. I’d nod and change the subject, because honestly, what do you say to someone who’s that certain about something? Then last November, I made this roasted butternut squash soup with brown butter on a Tuesday. Just for myself. I was testing the recipe for a holiday gathering and Carol stopped by to borrow eggs. She walked in, stopped mid-sentence, and asked what smelled like a warm hug. I handed her a mug. She took a sip. Then another. And then she asked for the recipe without even looking up. Fifteen years of refusal, undone by one bowl of soup.
I think that’s the thing about this particular recipe, you know? It doesn’t try to convince you. The roasted squash gets all caramelized and sweet, and the brown butter adds this nutty, almost toffee-like depth that changes everything. I’ve made versions of butternut squash soup before, but this one feels different. It’s the kind of soup that makes you slow down. The kind where you catch yourself closing your eyes after the first spoonful, which is honestly a little embarrassing if someone’s watching.
Maybe you’ve been there too, with a food you thought you had figured out. Something you were sure you didn’t like, until someone handed you the right version. That’s what this soup is for me. It’s proof that sometimes we just haven’t met the right recipe yet. And now, every time I make it, I think about Carol standing in my kitchen with that mug, looking genuinely surprised at her own enjoyment. I keep making it because it reminds me that good food has a way of changing minds without even trying.
Why You’ll Love This Recipe
Let me tell you why this soup has earned a permanent spot in my fall and winter rotation. I’ve tested this recipe at least eight times across three different ovens, and I can promise you it works every single time.
- Comfort in a Bowl: This soup is pure warmth. The roasted butternut squash gets all sweet and caramelized, and the brown butter adds this nutty richness that makes everything feel special. It’s the kind of soup that makes a gray Tuesday feel cozier.
- Simple Ingredients: You need butternut squash, butter, onion, garlic, broth, and a few pantry spices. That’s it. No trips to specialty stores or weird ingredients you’ll never use again.
- Perfect for Meal Prep: This soup actually gets better after a day or two in the fridge. Make it on Sunday, and you’ve got lunches or quick dinners all week. It freezes beautifully too.
- Crowd-Pleaser: I’ve served this to everyone from picky toddlers to my uncle who claims he doesn’t like soup. It disappears every time. The brown butter drizzle on top makes it feel fancy without any extra work.
- Naturally Gluten-Free and Vegetarian: This recipe works for so many dietary needs without sacrificing flavor. Use vegetable broth to keep it vegetarian, and it’s already gluten-free.
What makes this recipe different from other butternut squash soups is the roasting method and the brown butter finish. Roasting the squash instead of boiling it concentrates the flavor and brings out natural sweetness. And the brown butter? That’s the secret. It adds a depth that makes people ask what’s in it, like you did something complicated when really you just let butter get a little toasty in a pan.
This isn’t just another soup recipe. It’s the one that converted my neighbor. It’s the one that makes me look forward to cold weather. And honestly, it’s the one I’d make for someone who needed a little warmth in their day.
What Ingredients You Will Need
This recipe uses simple, wholesome ingredients that work together to create something genuinely special. Most of these are pantry staples, which makes this soup perfect for those days when you need comfort without a grocery run.
- Butternut Squash (1 large, about 3 pounds): Look for one that feels heavy for its size with firm, unblemished skin. I prefer squash with a longer neck because it’s easier to peel and has less of the seedy bulb section. You’ll need about 4-5 cups of cubed squash after peeling.
- Unsalted Butter (4 tablespoons, divided): I use unsalted so I can control the salt level. You’ll use some for roasting the vegetables and the rest for the brown butter drizzle. I recommend Kerrygold or any European-style butter for richer flavor, but regular butter works great too.
- Yellow Onion (1 large): A sweet onion like Vidalia works beautifully here, but any yellow onion will do. The onion adds savory depth that balances the sweet squash.
- Garlic (4 cloves): Fresh garlic is non-negotiable here. Please don’t use the jarred stuff. Roasting the garlic with the squash mellows it out and adds sweetness.
- Vegetable or Chicken Broth (4 cups): Use a good quality broth since it’s a major flavor component. I like Pacific Foods or Imagine brand. If you’re using boxed broth, look for low-sodium so you can control the salt.
- Heavy Cream or Coconut Milk (1/2 cup): This adds richness and a silky texture. For a dairy-free version, full-fat coconut milk works beautifully and adds a subtle sweetness that complements the squash.
- Maple Syrup (1 tablespoon): Just a touch to enhance the natural sweetness of the roasted squash. Use real maple syrup, not pancake syrup. The flavor difference is noticeable.
- Ground Cinnamon (1/2 teaspoon): This adds warmth without being overpowering. It’s subtle but makes the soup feel cozier.
- Ground Nutmeg (1/4 teaspoon): Freshly grated if you have it, but pre-ground works fine. A little goes a long way.
- Salt and Black Pepper (to taste): I use kosher salt for cooking and fine sea salt for finishing. Freshly ground black pepper makes a difference here.
- Optional Toppings: Toasted pumpkin seeds, a drizzle of brown butter, fresh thyme, or a swirl of cream. These aren’t required but they make the soup feel special.
For the best texture, I recommend using a high-speed blender. A regular blender works too, just be careful with hot liquids. You can also use an immersion blender directly in the pot, which saves on cleanup but gives a slightly less silky texture.
Equipment Needed
You don’t need fancy equipment for this soup, which is part of why I make it so often. Here’s what you’ll need:
- Baking Sheet (1 large, rimmed): For roasting the squash and onions. A rimmed sheet prevents juices from spilling in your oven. I use a half-sheet pan, which is 18 by 13 inches.
- Large Pot or Dutch Oven (5-6 quart): For simmering the soup. A heavy-bottomed pot works best for even heating. My Le Creuset dutch oven is my favorite for this, but any large pot works.
- Blender or Immersion Blender: A high-speed blender like a Vitamix gives the silkiest texture. If you’re using a regular blender, blend in batches and leave the lid slightly open to let steam escape. An immersion blender is easier but won’t get quite as smooth.
- Chef’s Knife and Cutting Board: For prepping the squash. A sharp knife makes cutting through squash much safer and easier.
- Vegetable Peeler: For peeling the squash. A Y-shaped peeler works best for butternut squash.
- Small Skillet: For making the brown butter. A light-colored pan helps you see the butter change color.
- Measuring Cups and Spoons: For accurate measurements. I know some cooks eyeball things, but for consistent results, measure your broth and cream.
If you don’t have a blender, you can mash the roasted squash by hand and whisk it into the broth. The texture won’t be as smooth, but it’ll still taste delicious. I’ve done this when my blender was broken, and honestly, the rustic texture has its own charm.
Preparation Method
Let me walk you through this step by step. I’ve made this soup enough times to know where things can go wrong, so I’ll share those tips as we go.
Step 1: Preheat and Prep
Preheat your oven to 400°F (200°C). While it’s heating, peel your butternut squash. I find it easiest to cut off both ends first, then use a vegetable peeler to remove the skin. Cut the squash in half lengthwise and scoop out the seeds with a spoon. Cut the flesh into 1-inch cubes. Don’t worry about being perfect, but try to keep the pieces similar in size so they roast evenly.
Step 2: Roast the Vegetables
Place the cubed squash and the quartered onion on your baking sheet. Add 2 tablespoons of melted butter, the whole garlic cloves (skin on), and a generous pinch of salt and pepper. Toss everything together with your hands until coated. Spread in a single layer, making sure the pieces aren’t crowded. Roast for 35-40 minutes, flipping halfway through, until the squash is tender and caramelized around the edges. The garlic should be soft and fragrant. Let everything cool for a few minutes, then squeeze the garlic out of its skins.
Step 3: Make the Brown Butter
While the vegetables roast, make your brown butter. Add the remaining 2 tablespoons of butter to a small skillet over medium heat. Swirl the pan occasionally as the butter melts. It will start to foam, then the foam will subside, and you’ll see brown specks forming at the bottom. This happens quickly, so watch carefully. When the butter smells nutty and has turned a golden brown, remove it from the heat immediately. Pour it into a small bowl to stop the cooking. Set aside.
Step 4: Simmer the Soup
Transfer the roasted vegetables to your large pot. Add the broth, maple syrup, cinnamon, and nutmeg. Bring to a boil over medium-high heat, then reduce to a simmer. Let it cook for 10 minutes, stirring occasionally. This allows all the flavors to meld together.
Step 5: Blend Until Smooth
Remove the pot from heat. If using an immersion blender, blend directly in the pot until smooth. If using a regular blender, work in batches. Fill the blender no more than halfway with hot liquid, and remove the center cap from the lid to let steam escape. Cover the lid with a kitchen towel and blend until smooth. Pour each batch into a clean bowl or pot. Be careful here, hot soup expands when blended and can splatter.
Step 6: Finish and Season
Return the blended soup to the pot. Stir in the heavy cream or coconut milk and half of the brown butter. Taste and adjust seasoning with salt and pepper. If the soup is too thick, add more broth a little at a time until it reaches your preferred consistency. I like mine thick enough to coat the back of a spoon but still pourable.
Step 7: Serve
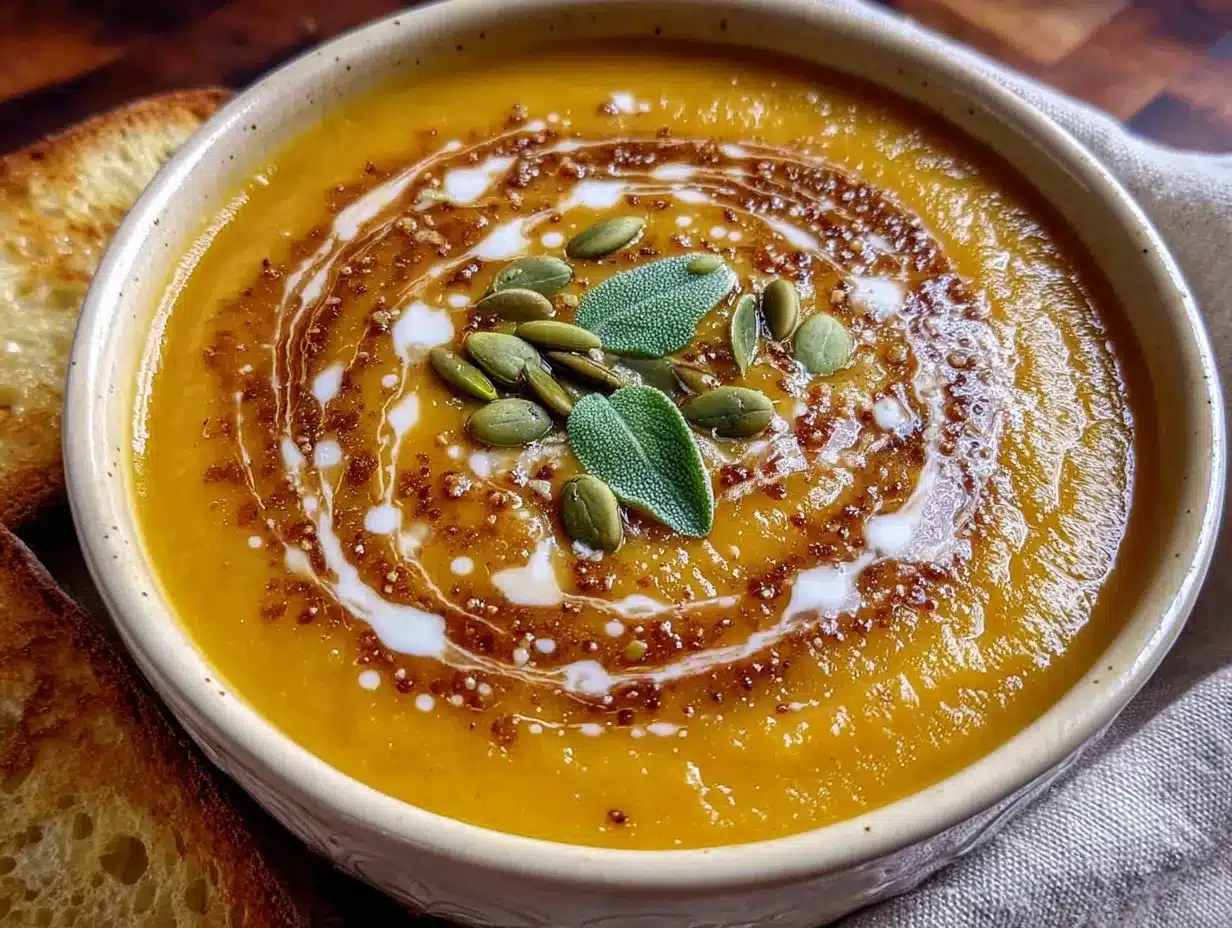
Ladle the soup into bowls. Drizzle the remaining brown butter over each serving. Add your favorite toppings, like toasted pumpkin seeds, a swirl of cream, or fresh thyme. Serve hot.
Cooking Tips & Techniques
I’ve learned a few things from making this soup more times than I can count. Here are the tips that make a real difference.
Don’t Skip the Roasting
I know it’s tempting to just boil the squash to save time, but roasting is non-negotiable here. It concentrates the flavor, caramelizes the natural sugars, and adds depth you simply can’t get any other way. I learned this the hard way when I was in a rush and made boiled squash soup. It was watery and bland. Never again.
Watch That Brown Butter
Brown butter goes from perfect to burnt in about 30 seconds. The first time I made it, I looked away for a moment and ended up with black butter that smelled bitter. Now I never walk away from the pan. As soon as you see golden brown specks and smell that nutty aroma, pull it off the heat. Pour it into a cool bowl immediately to stop the cooking.
Blend with Caution
Hot soup in a blender is dangerous. The steam builds up pressure and can blow the lid off. Always remove the center cap from the blender lid and cover with a towel. Start on low speed and gradually increase. If you’re nervous about it, let the soup cool for 10 minutes before blending.
Season in Layers
Add salt at every stage. A pinch when roasting the vegetables, a little more when simmering, and a final adjustment after blending. Seasoning in layers builds more complex flavor than adding it all at the end.
Make It Ahead
This soup actually tastes better the next day. The flavors have time to meld and deepen. I often make it a day ahead of when I plan to serve it. Just reheat gently on the stove, adding a splash of broth if it’s thickened too much.
Texture Troubleshooting
If your soup isn’t as smooth as you’d like, strain it through a fine-mesh sieve after blending. This removes any fibrous bits from the squash. It’s an extra step, but it gives that velvety restaurant-quality texture.
Variations & Adaptations
This recipe is flexible, and I’ve tried several variations over the years. Here are some that work well.
Vegan Version:
Use coconut oil instead of butter for roasting, and full-fat coconut milk instead of heavy cream. For the brown butter drizzle, use a vegan butter that browns well, like Miyoko’s. The coconut milk adds a subtle sweetness that pairs beautifully with the squash.
Spicy Version:
Add a pinch of cayenne pepper or red pepper flakes along with the cinnamon and nutmeg. I made this version for a friend who loves heat, and it was surprisingly good. The warmth of the spices complements the sweet squash without overpowering it.
Apple Butternut Squash Soup:
Add one peeled and chopped apple to the roasting pan with the squash. A Honeycrisp or Fuji works well. The apple adds a bright, fruity note that lightens the soup. I tried this on a whim when I had extra apples, and it’s become one of my favorite variations.
Curried Version:
Replace the cinnamon and nutmeg with 1 tablespoon of curry powder and 1 teaspoon of garam masala. Add a can of coconut milk instead of cream. This version is warming and aromatic, perfect for cold days when you want something with a little more complexity.
Roasted Garlic Version:
Double the garlic cloves when roasting. The roasted garlic becomes sweet and mellow, adding another layer of savory flavor. I do this when I’m feeling under the weather and want something extra comforting.
For a different cooking method, you can make this in a slow cooker. Roast the squash and onions as directed, then add everything except the cream to the slow cooker. Cook on low for 4 hours, then blend and finish with cream and brown butter. It’s not quite as flavorful as the stovetop version, but it’s great for busy days.
Serving & Storage Suggestions
This soup is versatile when it comes to serving. Here’s how I like to serve and store it.
Serving:
Serve this soup hot, not boiling. I let it sit for a few minutes after ladling into bowls so it’s at that perfect sipping temperature. For presentation, I drizzle the remaining brown butter in a swirl on top, add a sprinkle of flaky sea salt, and finish with fresh thyme leaves. Toasted pumpkin seeds add a nice crunch. A crusty piece of sourdough bread is my favorite accompaniment for dipping.
What to Serve With It:
This soup pairs beautifully with a simple green salad with vinaigrette to cut the richness. A grilled cheese sandwich is the classic pairing, and for good reason. I also love it with a side of roasted Brussels sprouts or a warm kale salad. For drinks, a dry cider or a crisp white wine like Sauvignon Blanc works well.
Storage:
Store leftover soup in an airtight container in the refrigerator for up to 5 days. The flavors actually deepen and improve after a day or two. I often make a double batch specifically for leftovers throughout the week.
Freezing:
This soup freezes beautifully. Let it cool completely, then transfer to freezer-safe containers or zip-top bags. Leave about an inch of headspace for expansion. It will keep for up to 3 months. Thaw overnight in the refrigerator before reheating.
Reheating:
Reheat gently on the stovetop over medium-low heat, stirring occasionally. Add a splash of broth or water if the soup has thickened too much. You can also reheat individual portions in the microwave, but the texture won’t be quite as nice. Don’t let it boil, or the cream might separate.
One thing I’ve noticed is that the brown butter drizzle is best added fresh. If you’re reheating leftovers, make a fresh batch of brown butter for the topping. It takes just a few minutes and makes a big difference.
Nutritional Information & Benefits
This soup is as nutritious as it is delicious. Here’s what you’re getting in each serving.
Estimated Nutritional Values (per serving, serves 6):
Calories: 285
Fat: 18g
Carbohydrates: 32g
Fiber: 6g
Protein: 4g
Sugar: 12g (naturally occurring)
Sodium: 480mg (varies with broth and added salt)
Vitamin A: 457% DV
Vitamin C: 52% DV
Potassium: 15% DV
Health Benefits:
Butternut squash is packed with vitamin A, which supports eye health and immune function. It’s also rich in fiber, which aids digestion and keeps you feeling full. The antioxidants in squash, particularly beta-carotene, help reduce inflammation. Garlic and onions provide immune-boosting compounds, and the healthy fats from the butter and cream help your body absorb the fat-soluble vitamins in the squash.
Dietary Considerations:
This recipe is naturally gluten-free. To make it dairy-free, use coconut oil for roasting, coconut milk instead of cream, and a vegan butter that browns well. For a lower-fat version, skip the brown butter drizzle and use a lighter cream or extra broth. The soup is vegetarian as written, and with vegetable broth, it’s vegan-friendly with the substitutions mentioned above.
Potential Allergens:
This recipe contains dairy from the butter and cream. The coconut milk variation contains tree nuts. Always check your broth labels for any hidden allergens.
I love that this soup feels indulgent while actually being really good for you. It’s the kind of meal that nourishes your body and your soul at the same time.
Conclusion
This roasted butternut squash soup with brown butter has become my go-to for fall and winter cooking. It’s the recipe I turn to when I need comfort, when I want to impress someone without stress, or when I just want to fill my kitchen with that warm, nutty aroma that makes everything feel right. The roasted squash gives it sweetness, the brown butter adds depth, and the whole thing comes together with ingredients you probably already have.
I hope you’ll make this soup and make it your own. Add extra spice if that’s your thing, skip the cream if you prefer it lighter, or pile on the toppings until it looks like a work of art. The beauty of this recipe is that it’s forgiving and flexible, just like good cooking should be.
When you make it, I’d love to hear how it turns out. Drop a comment below and let me know if you tried any variations, or if you had a moment like Carol did where a food you thought you hated surprised you. Share a photo if you’re feeling proud, because you should be. And remember, sometimes the best recipes are the ones that change someone’s mind without even trying.
Now go roast some squash. Your kitchen is about to smell amazing.
Frequently Asked Questions
Can I use frozen butternut squash for this soup?
You can, but I don’t recommend it. Frozen squash has a higher water content, which means it won’t caramelize as well during roasting. The soup will still taste good, but you’ll lose some of that deep, sweet flavor that makes this recipe special. If you’re in a pinch, thaw the frozen squash first and pat it dry before roasting.
How do I know when the brown butter is done?
Watch for three signs. First, the butter will start to foam. Second, the foam will subside and you’ll see tiny brown specks forming at the bottom of the pan. Third, you’ll smell a nutty, toasty aroma. As soon as you see those brown specks and smell that nuttiness, pull it off the heat immediately. It happens fast, so don’t walk away.
Can I make this soup ahead of time for a party?
Absolutely. In fact, I prefer making it a day ahead. The flavors meld and deepen overnight. Make the soup completely, including blending, then refrigerate it in an airtight container. Reheat gently on the stovetop when you’re ready to serve. Make the brown butter fresh right before serving for the best flavor and appearance.
How can I make this soup thicker or thinner?
For a thicker soup, use less broth or add an extra cup of roasted squash. For a thinner soup, add more broth a little at a time until it reaches your desired consistency. Keep in mind that the soup will thicken slightly as it cools and more as it sits in the refrigerator. I always reserve a little extra broth to adjust the consistency when reheating leftovers.
Is this soup freezer-friendly?
Yes, it freezes beautifully. Let the soup cool completely, then transfer to freezer-safe containers or zip-top bags. Leave about an inch of headspace for expansion. It will keep for up to 3 months. Thaw overnight in the refrigerator and reheat gently on the stovetop. I recommend making the brown butter fresh after thawing for the best flavor.
Pin This Recipe!
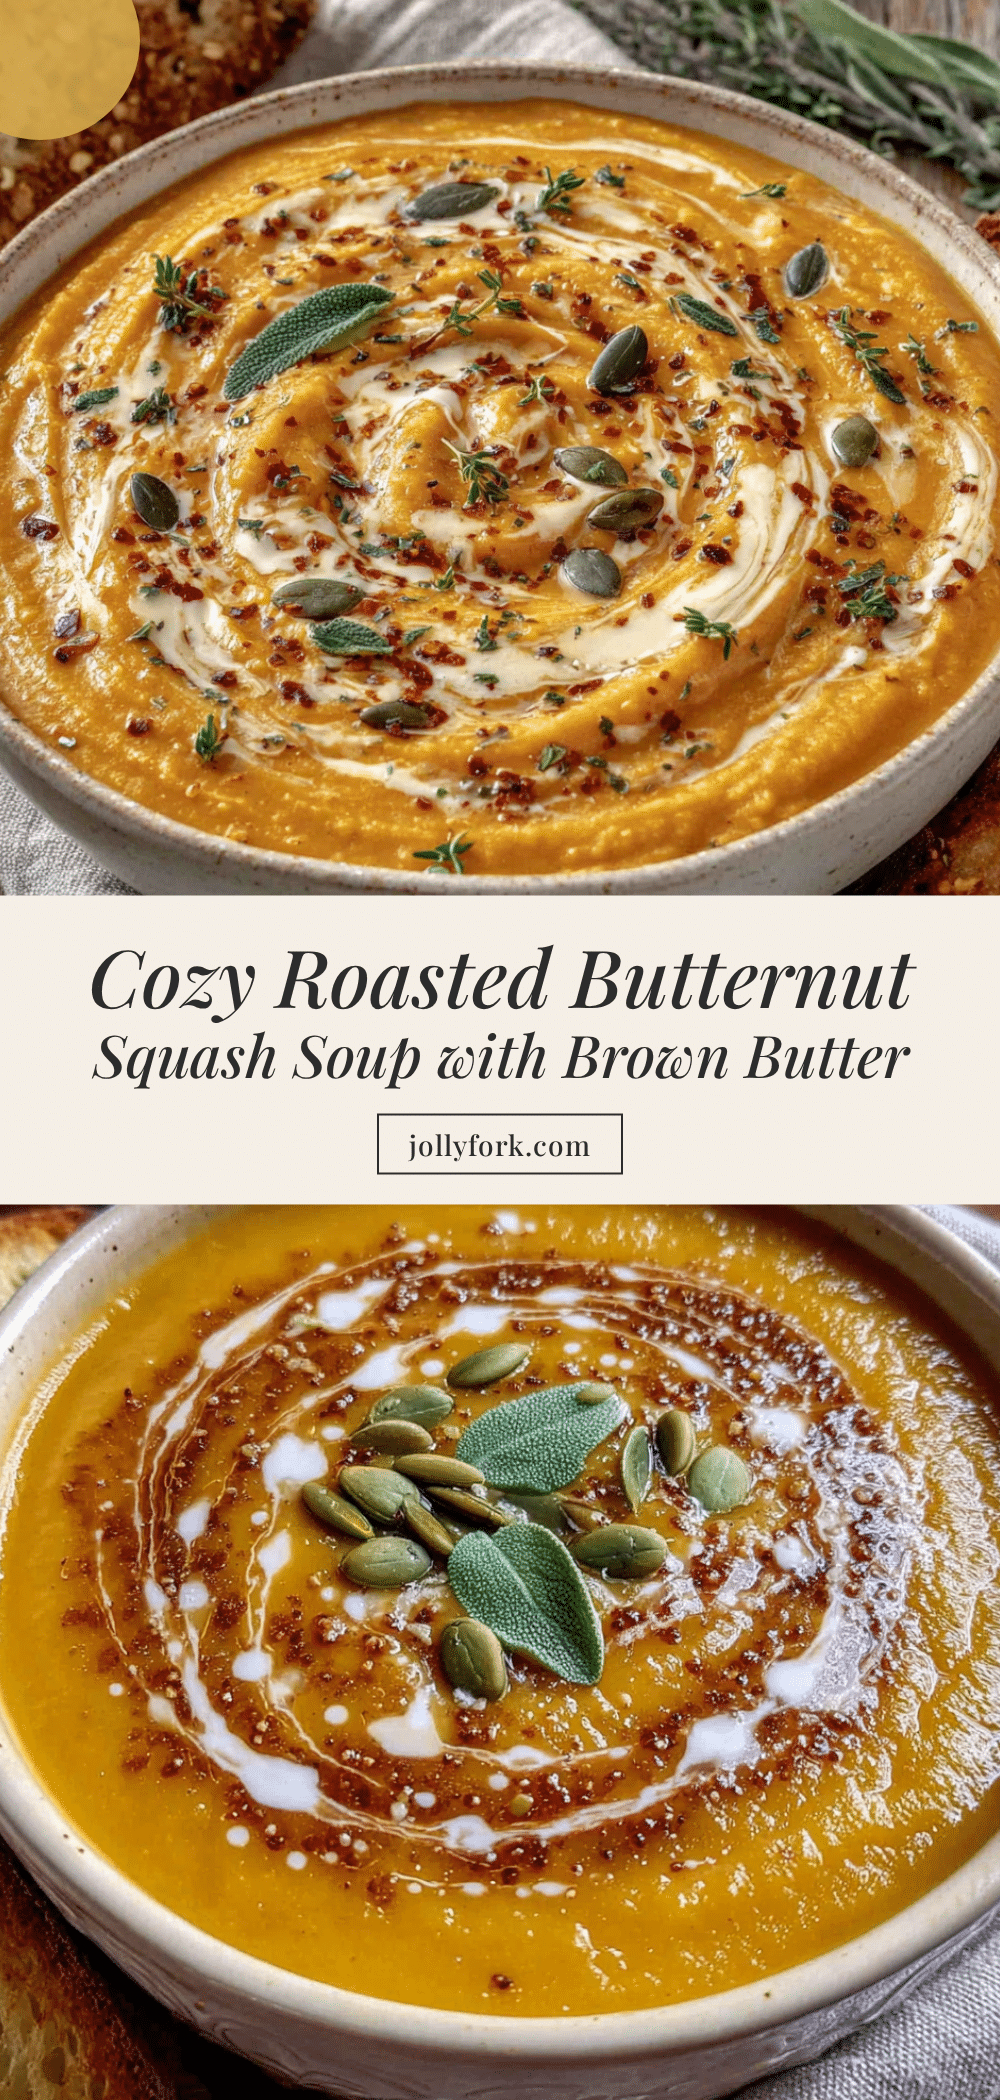
Easy Cozy Roasted Butternut Squash Soup with Brown Butter

This roasted butternut squash soup with brown butter is pure comfort in a bowl. The roasted squash gets caramelized and sweet, while the nutty brown butter adds a depth that makes this soup unforgettable.
- Prep Time: 15 minutes
- Cook Time: 40 minutes
- Total Time: 55 minutes
- Yield: 6 servings 1x
- Category: Soup
- Cuisine: American
Ingredients
- 1 large butternut squash (about 3 pounds), peeled and cubed
- 4 tablespoons unsalted butter, divided
- 1 large yellow onion, quartered
- 4 cloves garlic, whole
- 4 cups vegetable or chicken broth (low-sodium recommended)
- 1/2 cup heavy cream or full-fat coconut milk
- 1 tablespoon maple syrup
- 1/2 teaspoon ground cinnamon
- 1/4 teaspoon ground nutmeg
- Salt and black pepper to taste
- Optional toppings: toasted pumpkin seeds, fresh thyme, flaky sea salt
Instructions
- Preheat oven to 400°F (200°C). Peel butternut squash, cut in half lengthwise, remove seeds, and cut into 1-inch cubes.
- Place cubed squash and quartered onion on a rimmed baking sheet. Add 2 tablespoons melted butter, whole garlic cloves (skin on), and a generous pinch of salt and pepper. Toss to coat and spread in a single layer.
- Roast for 35-40 minutes, flipping halfway, until squash is tender and caramelized. Let cool slightly, then squeeze garlic from skins.
- While vegetables roast, make brown butter: Add remaining 2 tablespoons butter to a small skillet over medium heat. Swirl occasionally until butter foams, then foam subsides and brown specks form. When nutty aroma develops, remove from heat immediately and pour into a small bowl.
- Transfer roasted vegetables to a large pot. Add broth, maple syrup, cinnamon, and nutmeg. Bring to a boil, then reduce to a simmer. Cook for 10 minutes, stirring occasionally.
- Remove from heat. Blend using an immersion blender directly in the pot, or in batches in a regular blender (fill no more than halfway, remove center cap, cover with towel, and blend until smooth).
- Return blended soup to pot. Stir in heavy cream or coconut milk and half of the brown butter. Season with salt and pepper to taste. Adjust consistency with additional broth if needed.
- Ladle into bowls, drizzle with remaining brown butter, and add desired toppings. Serve hot.
Notes
Don’t skip roasting the squash—it concentrates flavor and adds depth. Watch brown butter carefully as it can burn in seconds. For safety when blending hot soup, remove blender lid center cap and cover with a towel. Soup tastes even better the next day. Freezes well for up to 3 months.
Nutrition
- Serving Size: 1 serving (about 1.5
- Calories: 285
- Sugar: 12
- Sodium: 480
- Fat: 18
- Saturated Fat: 10
- Carbohydrates: 32
- Fiber: 6
- Protein: 4
Keywords: butternut squash soup, roasted butternut squash soup, brown butter soup, fall soup, winter soup, gluten-free soup, vegetarian soup, easy soup recipe