Introduction
My neighbor wasn’t trying to impress anyone. I’d stopped by to borrow a ladder—our fence had blown over in a storm—and the smell of vanilla hit me before I even got to her porch. It was a Thursday afternoon in early October, not a holiday, not a party, just a regular day. She had a cooling rack covered in little white ghosts sitting on her kitchen counter, and I honestly stood there staring like an idiot.
“Oh, those,” she said, waving her hand like it was nothing. “Just some cupcakes my kid wanted for the school bake sale.”
Just some cupcakes. Let me tell you, there was nothing “just” about them. They were these adorable little ghost faces peeking up from swirls of buttercream, and they looked like something you’d pay fifteen bucks for at a fancy bakery. She was wearing an old t-shirt with a coffee stain on the sleeve, and she’d made these perfect little ghosts like it was the most normal thing in the world. I think that’s what got me—the casualness of it all. She wasn’t trying to be Martha Stewart. She was just making her kid happy.
I asked for the recipe, and she scribbled it on the back of an envelope while I held her ladder. Maybe you’ve been there—that moment when you realize the best recipes come from people who don’t think they’re doing anything special. These easy ghost cupcakes are exactly that. Simple, fast, and somehow magical. I’ve been making them every Halloween since, and they never fail to make people smile.
Why You’ll Love This Recipe
Look, I know what you’re thinking. Another Halloween recipe that takes three hours and leaves your kitchen looking like a flour bomb went off. Not these. These ghost cupcakes are the kind of recipe you actually want to make on a Tuesday night when you’re tired and the kids have been asking about Halloween decorations for three weeks straight.
Here’s what makes them different:
- Quick & Easy: From start to finish, you’re looking at about 45 minutes. That includes cooling time. I timed it. Twice.
- Simple Ingredients: Butter, sugar, eggs, flour, vanilla—stuff you probably already have in your pantry. No weird specialty items that cost fifteen dollars and then sit in your cupboard for two years.
- Perfect for Halloween: Whether it’s a school party, a family gathering, or just a fun weekend project with the kids, these ghosts fit right in.
- Crowd-Pleaser: I’ve brought these to three different Halloween parties, and they disappear faster than anything else on the dessert table. Kids love them. Adults love them. Even my neighbor who “doesn’t do sweets” ate two.
- Unbelievably Delicious: The vanilla buttercream is the real star here. It’s light, it’s creamy, and it has that perfect vanilla flavor that reminds you of birthday parties from when you were a kid.
This isn’t just another Halloween cupcake recipe. It’s the one you’ll come back to year after year because it actually works. The ghosts look cute without requiring any artistic talent—I promise you, if I can pipe a ghost, anyone can. And the buttercream? It’s the kind that makes you close your eyes after the first bite. Comfort food reimagined for spooky season, faster and simpler than you’d ever expect.
What Ingredients You Will Need
This recipe uses simple, wholesome ingredients that come together to create something genuinely special. No fancy extracts, no hard-to-find decorations. Just good, honest baking ingredients that do exactly what they’re supposed to do.
For the Cupcakes:
- 1 ½ cups all-purpose flour (I use Gold Medal—it’s reliable and gives a nice tender crumb)
- 1 ½ teaspoons baking powder
- ½ teaspoon salt
- ½ cup unsalted butter, softened (room temperature is important here—cold butter won’t cream properly)
- 1 cup granulated sugar
- 2 large eggs, room temperature
- 2 teaspoons vanilla extract (use the good stuff, not imitation—it makes a real difference)
- ½ cup whole milk (you can use 2% if that’s what you have, but whole milk gives a richer texture)
For the Vanilla Buttercream:
- 1 cup unsalted butter, softened (yes, another stick—this is not a low-fat recipe, and that’s okay)
- 3 ½ cups powdered sugar, sifted (sifting prevents lumps—I learned this the hard way)
- 2 teaspoons vanilla extract
- 2-3 tablespoons heavy cream (or milk, if that’s what you have on hand)
- Pinch of salt (to balance the sweetness)
For the Ghost Decorations:
- 1 cup white chocolate melting wafers (I prefer Ghirardelli—they melt smoothly and set up nicely)
- Mini chocolate chips (for the ghost eyes—about 24-30 chips depending on how many ghosts you make)
- Black gel food coloring (for piping the ghost mouths—Wilton brand works great)
Substitution Notes: If you need a dairy-free option, you can substitute the butter with a good-quality vegan butter stick (not the spreadable kind) and use almond milk instead of whole milk. The texture will be slightly different, but it still works. For gluten-free, use a 1:1 gluten-free baking flour blend—I’ve had good results with Bob’s Red Mill.
Equipment Needed
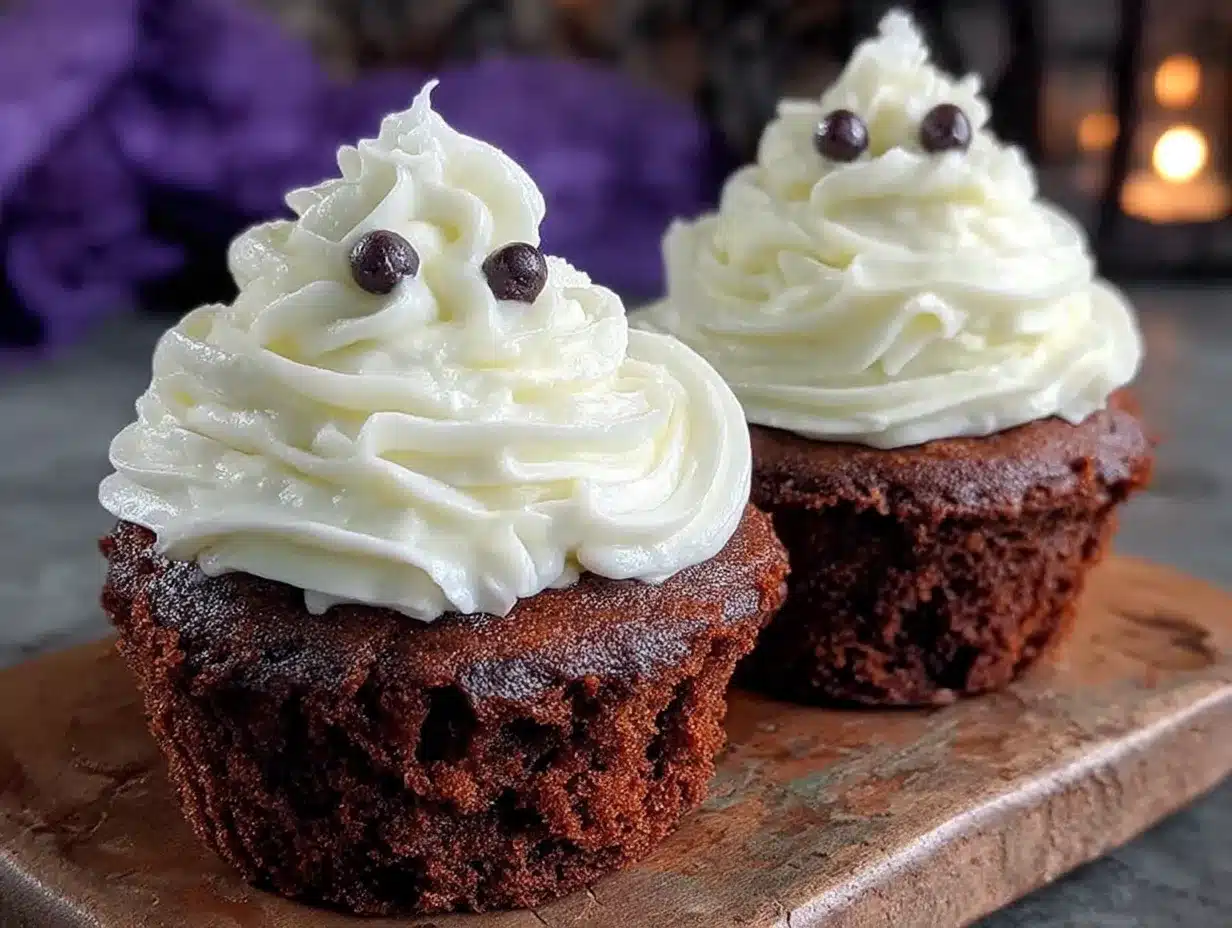
You don’t need a professional bakery setup for these ghost cupcakes. Here’s what you’ll actually use:
- Standard 12-cup muffin tin (the non-stick kind works best)
- Paper cupcake liners (white ones look best for the ghost theme, but any color works)
- Mixing bowls (one large, one medium)
- Electric hand mixer or stand mixer (you can do this by hand, but your arm will get tired—trust me)
- Rubber spatula (for scraping the bowl—don’t waste that buttercream)
- Piping bag with a large round tip (Wilton 1A or similar—this is key for the ghost shape)
- Parchment paper (for the ghost decorations)
- Microwave-safe bowl (for melting the white chocolate)
- Small piping bag or zip-top bag (for the black gel icing)
If you don’t have a piping bag, you can use a sturdy zip-top bag with the corner snipped off. It won’t be as precise, but it’ll get the job done. I’ve done it that way more times than I’d like to admit.
Preparation Method
Let’s get to the good stuff. Here’s how to make these easy ghost cupcakes, step by step.
Step 1: Preheat and Prep
Preheat your oven to 350°F (175°C). Line your muffin tin with paper liners. This seems obvious, but I’ve forgotten to do it before and spent ten minutes trying to pry cupcakes out of a hot pan. Don’t be like me.
Step 2: Mix the Dry Ingredients
In a medium bowl, whisk together the flour, baking powder, and salt. Set this aside. Whisking aerates the flour and makes sure the baking powder is evenly distributed—no one wants a cupcake that’s flat on one side and puffy on the other.
Step 3: Cream the Butter and Sugar
In a large bowl, beat the softened butter and sugar together until light and fluffy. This takes about 3-4 minutes with an electric mixer. You’re looking for a pale, creamy texture. Scrape down the sides of the bowl halfway through. I’ve skipped this step when I was in a hurry, and the cupcakes came out dense and sad. Don’t rush the creaming.
Step 4: Add Eggs and Vanilla
Add the eggs one at a time, beating well after each addition. Then add the vanilla extract and beat until combined. The mixture might look a little curdled at this point—that’s normal. It’ll come together when you add the flour.
Step 5: Alternate Dry and Wet Ingredients
Add the flour mixture in three parts, alternating with the milk. Start and end with the flour. So: flour, half the milk, flour, rest of the milk, flour. Mix just until combined after each addition. Overmixing develops gluten and makes tough cupcakes. Stop as soon as you don’t see any more streaks of flour.
Step 6: Fill and Bake
Divide the batter evenly among the 12 cupcake liners. Fill each about ⅔ full—any more and they’ll overflow. Bake for 18-20 minutes, or until a toothpick inserted in the center comes out clean. The tops should be lightly golden and spring back when you touch them. Let them cool in the pan for 5 minutes, then transfer to a wire rack to cool completely. And I mean completely—warm cupcakes will melt your buttercream into a sad, soupy mess.
Step 7: Make the Buttercream
While the cupcakes are cooling, make the buttercream. Beat the softened butter until smooth and creamy, about 2 minutes. Add the powdered sugar one cup at a time, beating on low speed to prevent a sugar cloud from covering your entire kitchen. Add the vanilla extract, salt, and 2 tablespoons of heavy cream. Beat on medium-high speed for 3-4 minutes until light and fluffy. If the buttercream is too thick, add the remaining tablespoon of cream. If it’s too thin, add a little more powdered sugar.
Step 8: Make the Ghost Decorations
Melt the white chocolate wafers according to package directions—usually 30-second intervals in the microwave, stirring between each. Spoon the melted chocolate onto a parchment-lined baking sheet in small dollops, about the size of a quarter. You want them to be about 1 inch wide. While the chocolate is still wet, press two mini chocolate chips into each dollop for the eyes. Let them set completely, about 15-20 minutes at room temperature, or 5 minutes in the fridge.
Step 9: Pipe the Ghosts
Once the cupcakes are completely cool, pipe a swirl of vanilla buttercream on each one. Start from the outside and work your way in, creating a tall swirl. The taller the swirl, the more room you have for the ghost. Gently press one white chocolate ghost face into the center of each buttercream swirl. Using the black gel food coloring, pipe a small “o” shape for the ghost’s mouth just below the chocolate chips.
Step 10: Serve or Store
Serve immediately, or store in an airtight container in the refrigerator for up to 3 days. Let them sit at room temperature for about 15 minutes before serving—cold buttercream isn’t as creamy.
Cooking Tips & Techniques
I’ve made these ghost cupcakes about a dozen times now, and I’ve learned a few things the hard way. Let me save you some trouble.
Room Temperature Ingredients Matter
I know, I know—every recipe says this, and it feels like a hassle. But cold butter doesn’t cream properly, and cold eggs can make your batter curdle. Take everything out of the fridge 30 minutes before you start. Set a timer. I’ve forgotten and ended up with lumpy batter more times than I’d like to admit.
Don’t Overfill the Liners
I once thought “well, a little extra won’t hurt” and filled the liners about ¾ full. The cupcakes overflowed and stuck together, and I spent twenty minutes trying to separate them without destroying the tops. Two-thirds full. No more.
The Buttercream Consistency Trick
If your buttercream seems too soft, pop it in the fridge for 10 minutes before piping. If it’s too stiff, add a splash more cream. The perfect consistency is when it holds its shape but still feels soft and spreadable. You want it to look like soft-serve ice cream.
Ghost Placement
Press the ghost gently into the buttercream—too hard and it’ll sink, too soft and it’ll fall off. You want it just nestled in there, like it’s peeking out from behind the frosting. This is the kind of detail that makes people say “oh, that’s so cute!” without knowing exactly why.
Make Ahead
You can bake the cupcakes a day ahead and store them in an airtight container. Make the buttercream and ghosts the day you’re serving them for best results. The ghosts can be made up to a week ahead and stored in an airtight container at room temperature—just don’t stack them or the chocolate chips might fall off.
Variations & Adaptations
One of the best things about this recipe is how easy it is to adapt. Here are a few variations I’ve tried:
Chocolate Ghost Cupcakes: Replace ¼ cup of the flour with unsweetened cocoa powder for a chocolate base. The dark cupcake makes the white ghost really pop visually. I did this for a Halloween party last year, and they were gone in twenty minutes.
Gluten-Free Version: Use a 1:1 gluten-free baking flour blend. I’ve tested this with Bob’s Red Mill, and the texture is slightly more delicate but still delicious. Add an extra tablespoon of milk to compensate for the drier flour blend.
Dairy-Free Version: Substitute the butter with vegan butter sticks and use almond milk instead of whole milk. The buttercream won’t be quite as fluffy, but it still tastes great. I made these for a friend with dairy allergies, and she said they were the best cupcakes she’d had in years.
Pumpkin Spice Ghost Cupcakes: Add 1 teaspoon of pumpkin pie spice to the dry ingredients and replace the milk with canned pumpkin puree. The warm spices pair beautifully with the vanilla buttercream. This is my personal favorite fall variation.
Mini Ghost Cupcakes: Use a mini muffin tin and reduce the baking time to 10-12 minutes. Make the ghosts smaller by using smaller dollops of white chocolate and single chocolate chips for the eyes. Perfect for classroom parties where you need a lot of little treats.
Serving & Storage Suggestions
These ghost cupcakes are best served at room temperature. If you’ve stored them in the fridge, let them sit out for about 15-20 minutes before serving. The buttercream softens up and becomes perfectly creamy again.
For presentation, arrange them on a white or black platter to make the ghosts stand out. I like to add a few candy corn or orange sprinkles around the edges for a pop of color. If you’re serving them at a Halloween party, a few fake spiderwebs on the table add to the spooky vibe without being over the top.
These pair beautifully with a warm apple cider or a pumpkin spice latte. For a kid-friendly option, serve them with a glass of cold milk. The vanilla flavor is classic and comforting—it goes with just about everything.
Storage: Store leftover cupcakes in an airtight container in the refrigerator for up to 3 days. The buttercream will firm up in the fridge, but it softens again at room temperature. Do not freeze the decorated cupcakes—the white chocolate ghosts can develop condensation and get sticky. If you want to freeze them, freeze the undecorated cupcakes and add the buttercream and ghosts after thawing.
The flavors actually develop a bit overnight—the vanilla becomes more pronounced, and the buttercream gets even creamier. Honestly, I sometimes think they taste even better the next day.
Nutritional Information & Benefits
Let’s be real here—these are cupcakes, not health food. But here’s the approximate nutritional information per cupcake (based on 12 servings):
| Nutrient | Amount per Cupcake |
|---|---|
| Calories | 385 |
| Total Fat | 22g |
| Saturated Fat | 14g |
| Cholesterol | 85mg |
| Sodium | 180mg |
| Total Carbohydrates | 45g |
| Sugar | 35g |
| Protein | 3g |
That said, there are a few redeeming qualities. The butter provides a small amount of vitamin A, and the eggs add protein. If you use the dairy-free or gluten-free variations, you can accommodate dietary restrictions without sacrificing taste. And honestly? Sometimes you just need a treat. These cupcakes are about joy and celebration and making memories with the people you love. That has its own kind of nutritional value.
If you’re watching your sugar intake, you can reduce the sugar in the cupcake batter to ¾ cup—the texture will be slightly less tender, but they’ll still taste great. The buttercream needs the full amount of powdered sugar for the right consistency, though. Don’t skimp there.
Conclusion
These easy ghost cupcakes have become a Halloween tradition in my house, and I think they’ll become one in yours too. They’re simple enough to make on a busy weeknight, cute enough to impress at a party, and delicious enough that people will ask for the recipe. And honestly? That’s the sweet spot for any recipe.
I love that they came from such an ordinary moment—a neighbor, a ladder, a Thursday afternoon. It reminds me that the best things often come from the most unexpected places. You don’t need fancy equipment or professional training to make something that brings people joy. You just need good ingredients, a little patience, and the willingness to try.
So go ahead and make these. Customize them however you like—add sprinkles, change the flavor, make them gluten-free. The ghosts are forgiving, and the buttercream is always a hit. And when someone asks where you got the recipe, you can smile and say “oh, just something I picked up from a neighbor.”
I’d love to hear how yours turn out! Drop a comment below and let me know if you tried any variations, or tag me in your photos on social media. Happy Halloween, and happy baking!
Frequently Asked Questions
Can I make these ghost cupcakes ahead of time?
Yes! Bake the cupcakes up to a day ahead and store them in an airtight container. Make the buttercream and ghosts the day you plan to serve them for the best texture and appearance.
How do I get the ghost shape right?
The key is using a large round piping tip (Wilton 1A or similar) and piping a tall swirl. Start from the outside and work your way up in a spiral. The taller the swirl, the more room you have for the ghost face.
Can I use store-bought frosting instead?
You can, but the homemade buttercream really makes a difference. Store-bought frosting is often too sweet and doesn’t hold its shape as well for piping. If you’re short on time, look for a canned frosting that says “whipped” or “creamy”—it’ll pipe better than the regular kind.
What if my white chocolate ghosts don’t set properly?
Make sure you’re using real white chocolate melting wafers, not white candy coating. Candy coating can be oily and won’t set as firmly. If your chocolate seems too thick, add a teaspoon of coconut oil to thin it out.
Can I freeze these cupcakes?
Freeze the undecorated cupcakes only—the white chocolate ghosts can get sticky from condensation. Wrap each cupcake tightly in plastic wrap and store in a freezer bag for up to 2 months. Thaw at room temperature, then add the buttercream and ghost decorations fresh.
Pin This Recipe!
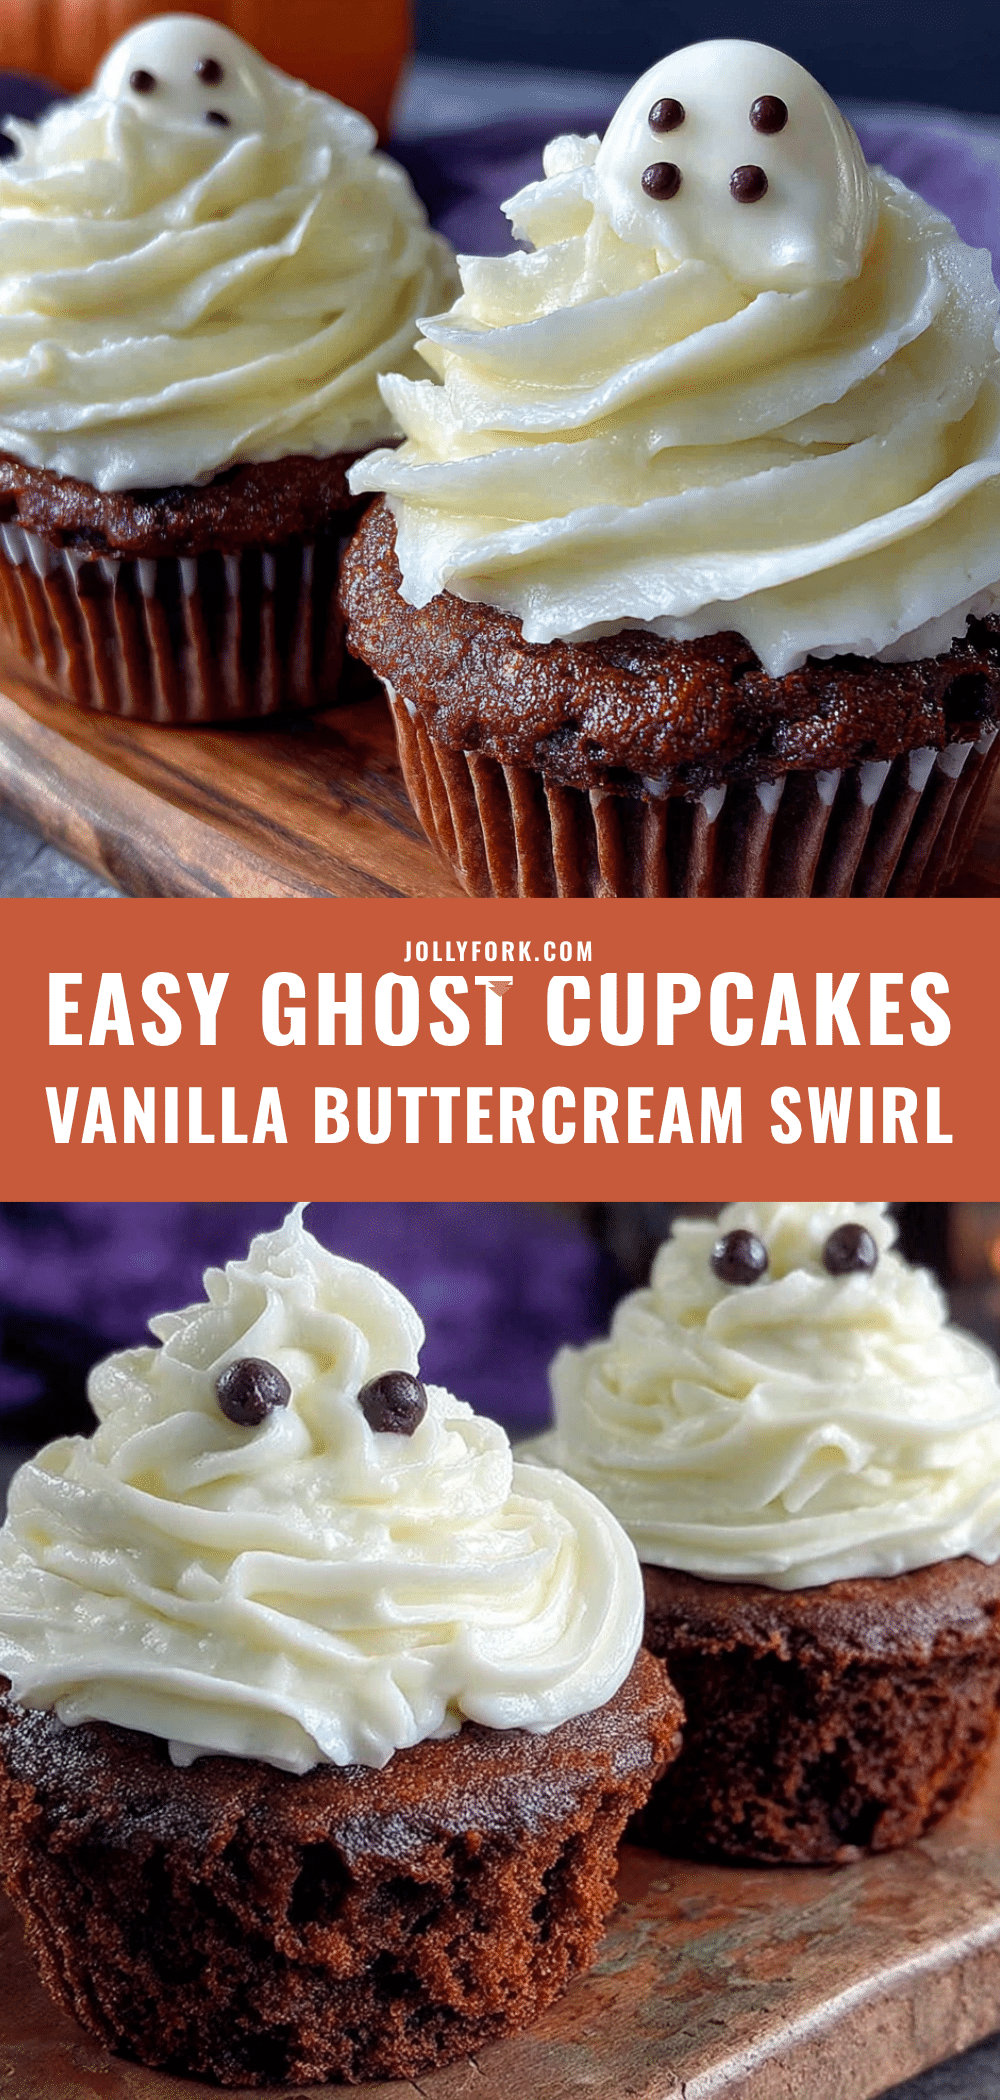
Easy Ghost Cupcakes: Best Vanilla Buttercream Swirl Recipe
These easy ghost cupcakes are simple, fast, and magical—perfect for Halloween. With a tender vanilla cupcake, creamy buttercream, and adorable white chocolate ghost faces, they’re a crowd-pleaser that comes together in about 45 minutes.
- Prep Time: 15 minutes
- Cook Time: 20 minutes
- Total Time: 45 minutes
- Yield: 12 cupcakes 1x
- Category: Dessert
- Cuisine: American
Ingredients
- 1 ½ cups all-purpose flour
- 1 ½ teaspoons baking powder
- ½ teaspoon salt
- ½ cup unsalted butter, softened
- 1 cup granulated sugar
- 2 large eggs, room temperature
- 2 teaspoons vanilla extract
- ½ cup whole milk
- 1 cup unsalted butter, softened (for buttercream)
- 3 ½ cups powdered sugar, sifted
- 2 teaspoons vanilla extract (for buttercream)
- 2–3 tablespoons heavy cream
- Pinch of salt
- 1 cup white chocolate melting wafers
- Mini chocolate chips (about 24-30)
- Black gel food coloring
Instructions
- Preheat oven to 350°F (175°C). Line a 12-cup muffin tin with paper liners.
- In a medium bowl, whisk together flour, baking powder, and salt. Set aside.
- In a large bowl, beat softened butter and sugar together until light and fluffy, about 3-4 minutes.
- Add eggs one at a time, beating well after each addition. Add vanilla extract and beat until combined.
- Add flour mixture in three parts, alternating with milk, starting and ending with flour. Mix just until combined.
- Divide batter evenly among liners, filling each about ⅔ full. Bake for 18-20 minutes, or until a toothpick inserted in the center comes out clean. Cool in pan for 5 minutes, then transfer to a wire rack to cool completely.
- For buttercream: Beat softened butter until smooth, about 2 minutes. Add powdered sugar one cup at a time, beating on low. Add vanilla, salt, and 2 tablespoons heavy cream. Beat on medium-high for 3-4 minutes until light and fluffy. Adjust consistency with remaining cream if needed.
- For ghost decorations: Melt white chocolate wafers in 30-second intervals in the microwave, stirring between each. Spoon small dollops (about 1 inch wide) onto parchment-lined baking sheet. Press two mini chocolate chips into each dollop for eyes. Let set for 15-20 minutes at room temperature or 5 minutes in the fridge.
- Once cupcakes are completely cool, pipe a tall swirl of buttercream on each using a large round tip. Gently press a white chocolate ghost face into the center. Use black gel food coloring to pipe a small ‘o’ mouth below the eyes.
- Serve immediately or store in an airtight container in the refrigerator for up to 3 days. Let sit at room temperature for 15 minutes before serving.
Notes
Room temperature ingredients are crucial for proper creaming and texture. Do not overfill liners—fill only ⅔ full. For best results, make ghosts up to a week ahead and store in an airtight container at room temperature. Freeze undecorated cupcakes only.
Nutrition
- Serving Size: 1 cupcake
- Calories: 385
- Sugar: 35
- Sodium: 180
- Fat: 22
- Saturated Fat: 14
- Carbohydrates: 45
- Protein: 3
Keywords: ghost cupcakes, Halloween cupcakes, vanilla buttercream, easy Halloween recipe, ghost decorations, spooky cupcakes


