I burned chocolate chip cookie bars three times before I figured out why they kept turning into hockey pucks. Not slightly overdone, not a little crispy around the edges—I mean inedible, toss-them-in-the-trash-and-pretend-it-never-happened burned. The worst part? I was trying to take the easy route. No mixer, one bowl, minimal effort. And somehow I still managed to mess it up. Turns out, the problem wasn’t the recipe itself—it was my impatience with oven temperature and my complete disregard for pan size. I wanted cookie bars in twenty minutes and I wanted them now.
So I scrapped everything and started over. I tested this one-bowl chocolate chip cookie bar recipe six times in two weeks. My coworkers started bringing Tupperware to work preemptively. My neighbor knocked on my door asking if everything was okay (she smelled butter and wanted in). By round four, I had something good. By round six, I had something I actually wanted to share with people I respect.
Here’s the thing about these bars—they’re not trying to be fancy. They’re not trying to reinvent the chocolate chip cookie. They’re just trying to be exactly what you want when you need a pan of something sweet, warm, and buttery without pulling out a mixer or dirtying every bowl you own. And honestly? They deliver. The edges are chewy, the center is soft, and the whole thing comes together in one bowl with a spatula. No stand mixer. No hand mixer. Just you, a bowl, and some serious chocolate cravings.
Why You’ll Love This Recipe
I’ve tested a lot of cookie bar recipes over the years, and most of them fall into one of two camps—dry and crumbly or greasy and dense. These bars hit that sweet spot in the middle, and I think that’s because the technique is actually smarter than most recipes give it credit for.
- No mixer required. You can make these by hand in one bowl. That means less cleanup, less noise, and less fuss. Perfect for late-night baking sessions or when your stand mixer is buried somewhere in the back of the cabinet.
- Simple pantry ingredients. Butter, sugar, eggs, flour, baking soda, salt, vanilla, and chocolate chips. That’s it. No weird specialty items, no trips to three different stores.
- Ready in under 30 minutes. From bowl to oven in about 10 minutes, then 18-20 minutes to bake. You can have warm cookie bars before your oven even finishes preheating if you’re quick about it.
- Perfect for sharing. These bars cut cleanly into squares, which makes them ideal for potlucks, bake sales, or just bringing to work so people stop asking about the burned ones from last month.
- Customizable. Swap in white chocolate, dark chocolate, peanut butter chips, or nuts. The base is forgiving enough to handle whatever you throw at it.
What really sets these apart from other cookie bar recipes is the melted butter method. Instead of creaming butter and sugar together (which requires a mixer), you melt the butter and stir everything by hand. This gives the bars a denser, chewier texture that I actually prefer over traditional cookies. Plus, the one-bowl approach means you’re not washing a mixer bowl, paddle attachment, and separate mixing bowls. Just one bowl and a spatula.
These are the kind of bars that make you close your eyes after the first bite. Not because they’re fancy or complicated, but because they taste like the chocolate chip cookies you grew up eating—except better, because they’re warm and gooey and cut into perfect squares. And you made them in one bowl with zero fuss.
What Ingredients You Will Need
This recipe keeps things simple. You probably have most of these ingredients in your kitchen right now. If you don’t, a quick trip to the grocery store will set you up for success.
- Unsalted butter – 10 tablespoons (1 ¼ sticks), melted and slightly cooled. I use unsalted so I can control the salt level. If you only have salted butter, reduce the added salt to ¼ teaspoon.
- Light brown sugar – 1 cup, packed. Brown sugar gives these bars their chewy texture and deep caramel flavor. Don’t skip it—white sugar alone won’t give you the same result.
- Granulated sugar – ¼ cup. Just enough to balance the brown sugar and add a little crispness to the edges.
- Large egg – 1, at room temperature. Cold eggs can seize up the melted butter, so let yours sit on the counter for 15-20 minutes before starting.
- Vanilla extract – 2 teaspoons. Use real vanilla if you have it. Imitation works in a pinch, but real vanilla adds a warmth you can taste.
- All-purpose flour – 1 ¾ cups, spooned and leveled. Don’t scoop directly from the bag—that packs the flour and gives you too much, resulting in dry bars.
- Baking soda – ½ teaspoon. Helps the bars spread and rise just enough.
- Salt – ½ teaspoon. Balances the sweetness and enhances the chocolate flavor.
- Semi-sweet chocolate chips – 1 ½ cups. I prefer Ghirardelli or Guittard for consistent melting. You can use milk chocolate, dark chocolate, or a mix—just keep the total amount the same.
For the flaky salt finish (optional but highly recommended):
- Flaky sea salt – A pinch sprinkled on top right after baking. Maldon or any flaky salt works beautifully here.
Ingredient notes: If you want to go gluten-free, swap the all-purpose flour for a 1:1 gluten-free baking flour blend. I’ve tested this with Bob’s Red Mill 1:1 and it works great—just add an extra tablespoon of flour to compensate for the different absorption rate. For a dairy-free version, use vegan butter sticks (not tub margarine) and dairy-free chocolate chips.
I’ve tried this recipe with coconut oil instead of butter, and honestly, it’s not the same. The butter gives these bars their signature chewy edges and rich flavor. Save the coconut oil for something else.
Equipment Needed
The beauty of this recipe is how little equipment you actually need. Here’s what you’ll want on hand:
- Large mixing bowl – Any medium-to-large bowl will work. Glass, ceramic, or stainless steel—doesn’t matter.
- Wooden spoon or silicone spatula – For mixing everything together. A rubber spatula works too, just make sure it’s sturdy enough to handle the thick dough.
- 8×8-inch square baking pan – This is the sweet spot for thick, chewy bars. A 9×9-inch pan will give you thinner bars that bake faster, so adjust the time accordingly.
- Parchment paper – Line the pan with parchment, leaving overhang on two sides. This makes lifting the bars out so much easier—trust me, I’ve learned the hard way.
- Measuring cups and spoons – For accurate ingredient measurements.
- Small saucepan or microwave-safe bowl – For melting the butter. I use a small saucepan on low heat, but the microwave works fine too.
- Cooling rack – Optional but helpful for even cooling.
If you don’t have an 8×8 pan, you can use a 9×9 pan and reduce the baking time by 2-3 minutes. Just keep an eye on the edges—they should be golden brown when done.
I’ve made these bars in a disposable foil pan before (for camping, yes, I brought cookie bars camping) and they turned out fine. The edges were slightly darker, but the texture was still good. So don’t let missing equipment stop you.
Preparation Method
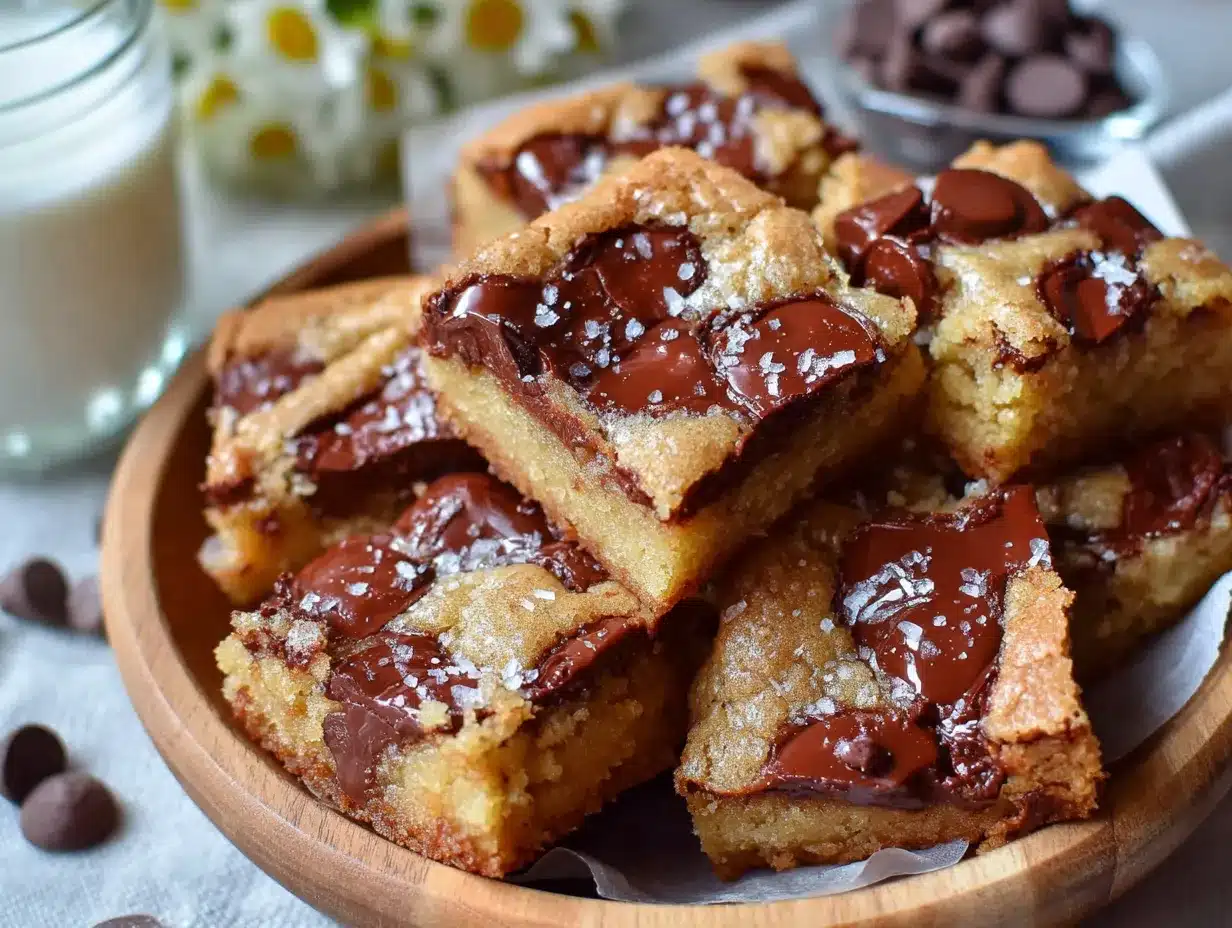
Preheat your oven to 350°F (175°C). Line an 8×8-inch baking pan with parchment paper, leaving about 2 inches of overhang on two opposite sides. This parchment sling is your best friend—it lets you lift the entire block of bars out cleanly for easy cutting.
Step 1: Melt the butter. Place 10 tablespoons of unsalted butter in a small saucepan over low heat. Stir occasionally until completely melted. Alternatively, microwave in a microwave-safe bowl in 30-second bursts, stirring between each, until just melted. Set aside to cool for 2-3 minutes. You want it warm, not hot—if it’s too hot, it can cook the egg when you add it later.
Step 2: Mix the sugars and butter. In your large mixing bowl, combine the melted butter, 1 cup packed light brown sugar, and ¼ cup granulated sugar. Stir with your wooden spoon or spatula until well combined. The mixture will look like wet sand—that’s exactly right. Don’t worry if it looks slightly grainy; the sugars will dissolve during baking.
Step 3: Add the egg and vanilla. Crack the room-temperature egg into the bowl and add 2 teaspoons of vanilla extract. Stir vigorously until the mixture is smooth and glossy, about 30 seconds. The batter should look thick and cohesive at this point. If it looks separated, keep stirring—it’ll come together.
Step 4: Add the dry ingredients. Sprinkle 1 ¾ cups all-purpose flour, ½ teaspoon baking soda, and ½ teaspoon salt over the wet mixture. Stir gently at first to avoid a flour explosion, then increase to a steady fold. Mix just until no streaks of flour remain. Overmixing at this stage can develop gluten and make the bars tough. You want a soft, slightly sticky dough.
Step 5: Fold in the chocolate chips. Add 1 ½ cups semi-sweet chocolate chips to the bowl. Fold them in with your spatula until evenly distributed. The dough will be thick and a little stiff—that’s normal. If it feels too dry, add a tablespoon of milk or water. If it feels too wet, add a tablespoon of flour. But honestly, it should be just right as written.
Step 6: Press into the pan. Transfer the dough to your prepared baking pan. Use your spatula or lightly greased fingers to press it evenly into the corners and edges. The dough is thick, so take your time here. You want an even layer for consistent baking. I find it easiest to press the dough into the pan with the back of a spoon, then smooth the top with my fingertips.
Step 7: Bake. Place the pan on the center rack of your preheated oven. Bake for 18-20 minutes, or until the edges are golden brown and the center looks set but still slightly soft. A toothpick inserted into the center should come out with a few moist crumbs—not wet batter, but not completely clean either. The bars will continue to set as they cool.
Step 8: Cool and cut. Remove the pan from the oven and place it on a cooling rack. If you’re using flaky salt, sprinkle a pinch over the top while the bars are still warm. Let them cool in the pan for at least 15 minutes before lifting out using the parchment overhang. Transfer to a cutting board and cut into 9 or 16 squares, depending on how generous you’re feeling.
Sensory cues: When the bars are done, the kitchen should smell like toasted butter and vanilla. The edges will be a deep golden brown, and the center will look slightly puffed and matte. If you gently press the center, it should spring back slightly—if it feels jiggly, give it another 2 minutes.
Cooking Tips & Techniques
I learned most of these tips the hard way—through burned bars, dry bars, and bars that fell apart when I tried to cut them. Here’s what I wish someone had told me:
Don’t overbake. This is the number one mistake I made. Cookie bars continue to bake from residual heat after they come out of the oven. If they look perfectly done in the oven, they’ll be overdone by the time they cool. Pull them out when the edges are golden and the center is just set. A slight jiggle in the very middle is okay—it’ll firm up.
Use room-temperature egg. I know it’s tempting to use a cold egg straight from the fridge, but cold egg can cause the melted butter to seize up, creating a greasy, separated batter. Let your egg sit on the counter for 15-20 minutes. If you’re in a hurry, place the egg in a bowl of warm water for 5 minutes.
Measure flour correctly. Spoon the flour into your measuring cup, then level it off with a knife. Scooping directly from the bag packs the flour and gives you up to 25% more than you need. That extra flour will make your bars dry and crumbly.
Let them cool before cutting. I know it’s hard to wait, but cutting warm bars is a recipe for disaster. The chocolate chips will smear, the bars will crumble, and you’ll end up with a pan of cookie rubble. Let them cool for at least 15 minutes in the pan, then another 10 minutes on the cutting board. Trust me on this one.
Line your pan properly. Parchment paper with overhang makes all the difference. Without it, you’ll be scraping bars out of the pan and losing half of them to the bottom. If you don’t have parchment, grease the pan thoroughly with butter or nonstick spray, but be prepared for some sticking.
One more thing—if you want extra-chewy edges, press the dough slightly higher at the edges of the pan. The exposed edges will bake faster and get that perfect caramelized crunch. I started doing this on accident and now I do it on purpose.
Variations & Adaptations
This base recipe is incredibly forgiving, which makes it perfect for experimenting. Here are a few variations I’ve tried and loved:
Double Chocolate Chip Cookie Bars: Replace ¼ cup of the all-purpose flour with ¼ cup unsweetened cocoa powder. Use dark chocolate chips instead of semi-sweet. The result is a rich, fudgy bar that tastes like a brownie-cookie hybrid. I made these for a friend’s birthday and they disappeared in minutes.
Peanut Butter Chocolate Chip Bars: Reduce the butter to 8 tablespoons and add ¼ cup creamy peanut butter. Melt them together, then proceed with the recipe. Use peanut butter chips along with chocolate chips for double the peanut flavor. These are dangerously good—I can’t keep them in my house.
Gluten-Free Version: Swap the all-purpose flour for a 1:1 gluten-free baking flour blend. I’ve tested this with Bob’s Red Mill 1:1 and King Arthur Measure for Measure, both work well. Add an extra tablespoon of flour to compensate for the different absorption rate. The texture will be slightly more tender, but still delicious.
Vegan Version: Use vegan butter sticks (like Earth Balance) and a flax egg (1 tablespoon ground flaxseed mixed with 3 tablespoons water, let sit for 5 minutes). Use dairy-free chocolate chips. The texture will be slightly less chewy, but the flavor is still spot-on.
Add-in Ideas: Try white chocolate chips and dried cranberries, butterscotch chips and toasted pecans, or mini M&Ms for a colorful twist. You can also add ½ cup of shredded coconut or ¼ cup of chopped nuts. Just keep the total add-ins to about 1 ¾ cups to avoid overwhelming the dough.
If you love this kind of adaptable baking, you might also enjoy these chewy brown butter apple cider snickerdoodle cookies—they’re similarly easy to customize and come together with minimal fuss.
Serving & Storage Suggestions
These cookie bars are best served warm, when the chocolate chips are still melty and the edges are slightly crisp. Let them cool for about 15 minutes after baking, then cut and serve. If you want to go all out, serve them with a scoop of vanilla ice cream or a drizzle of warm caramel sauce.
For a more casual presentation, cut them into 16 smaller squares and arrange on a platter. They’re perfect for parties, potlucks, or just a Tuesday afternoon snack. I’ve also been known to eat one for breakfast with a cup of coffee—no judgment here.
Storage: Store leftover bars in an airtight container at room temperature for up to 5 days. Layer them with parchment paper to prevent sticking. They’ll stay soft and chewy for the first 2-3 days, then gradually become more cake-like.
Freezing: These bars freeze beautifully. Wrap individual bars in plastic wrap, then place them in a freezer-safe bag or container. Freeze for up to 3 months. To thaw, let them sit at room temperature for about 30 minutes, or microwave for 15-20 seconds for that just-baked warmth.
Reheating: Pop a bar in the microwave for 10-15 seconds to revive the melty chocolate. Or warm them in a 300°F oven for 5 minutes if you’re reheating a whole batch. The texture comes back remarkably well—almost like fresh from the oven.
If you’re looking for another dessert that stores well and satisfies a crowd, check out these cozy zucchini bars with brown butter cream cheese frosting—they’re a completely different flavor profile but just as crowd-pleasing.
Nutritional Information & Benefits
Let’s be real—these are dessert bars, not health food. But here’s what you’re looking at per bar (based on 16 servings):
- Calories: Approximately 280
- Fat: 14g
- Saturated Fat: 8g
- Carbohydrates: 38g
- Sugar: 24g
- Protein: 3g
- Fiber: 1g
- Sodium: 180mg
These numbers will vary based on the specific brands and ingredients you use. If you’re watching your sugar intake, you can reduce the granulated sugar to 2 tablespoons and increase the vanilla extract to balance the sweetness.
The dark chocolate chips do offer some antioxidants, and the butter provides a small amount of vitamin A. But honestly, these bars are about enjoyment, not nutrition. They’re a treat, and there’s nothing wrong with that. I believe in balance—eat your vegetables, and then have a cookie bar. Or two.
For a lighter option that still satisfies a sweet craving, try these fresh strawberry Greek yogurt parfait cups—they’re a completely different kind of treat but equally delicious.
Conclusion
These easy one-bowl chocolate chip cookie bars have become my go-to dessert for pretty much every occasion. They’re simple enough for a last-minute craving, but impressive enough to bring to a party. No mixer, no fuss, no burned edges (finally).
I love that this recipe proves you don’t need fancy equipment or complicated techniques to make something genuinely delicious. Just a bowl, a spatula, and a little patience with the oven temperature. The first time I made these successfully, I actually let out a little cheer in my kitchen. My cat looked at me like I was crazy, but I didn’t care.
I’d love to hear how yours turn out. Did you try any variations? Add anything fun? Burn them like I did the first three times? Drop a comment below and let me know—I read every single one. And if you share a photo on social media, tag me so I can see your beautiful bars. Happy baking, friends.
Frequently Asked Questions
Can I use salted butter instead of unsalted?
Yes, you can. Just reduce the added salt in the recipe to ¼ teaspoon to avoid overly salty bars. The flavor will still be great.
Why did my cookie bars turn out dry?
Most likely, you overbaked them or used too much flour. Pull the bars out when the center is just set—a slight jiggle is okay. And always spoon and level your flour for accurate measurement.
Can I double this recipe?
Absolutely. Double all ingredients and bake in a 9×13-inch pan. Increase the baking time to 25-28 minutes, checking for doneness with a toothpick. You may need to add 2-3 minutes depending on your oven.
How do I get clean cuts without crumbling?
Let the bars cool completely before cutting. Use a sharp chef’s knife and wipe it clean between cuts. For extra clean edges, chill the bars in the refrigerator for 20 minutes before slicing.
Can I make these ahead of time?
Yes. You can prepare the dough, press it into the pan, cover with plastic wrap, and refrigerate for up to 24 hours before baking. Let the pan sit at room temperature for 15 minutes while the oven preheats, then bake as directed.
Pin This Recipe!
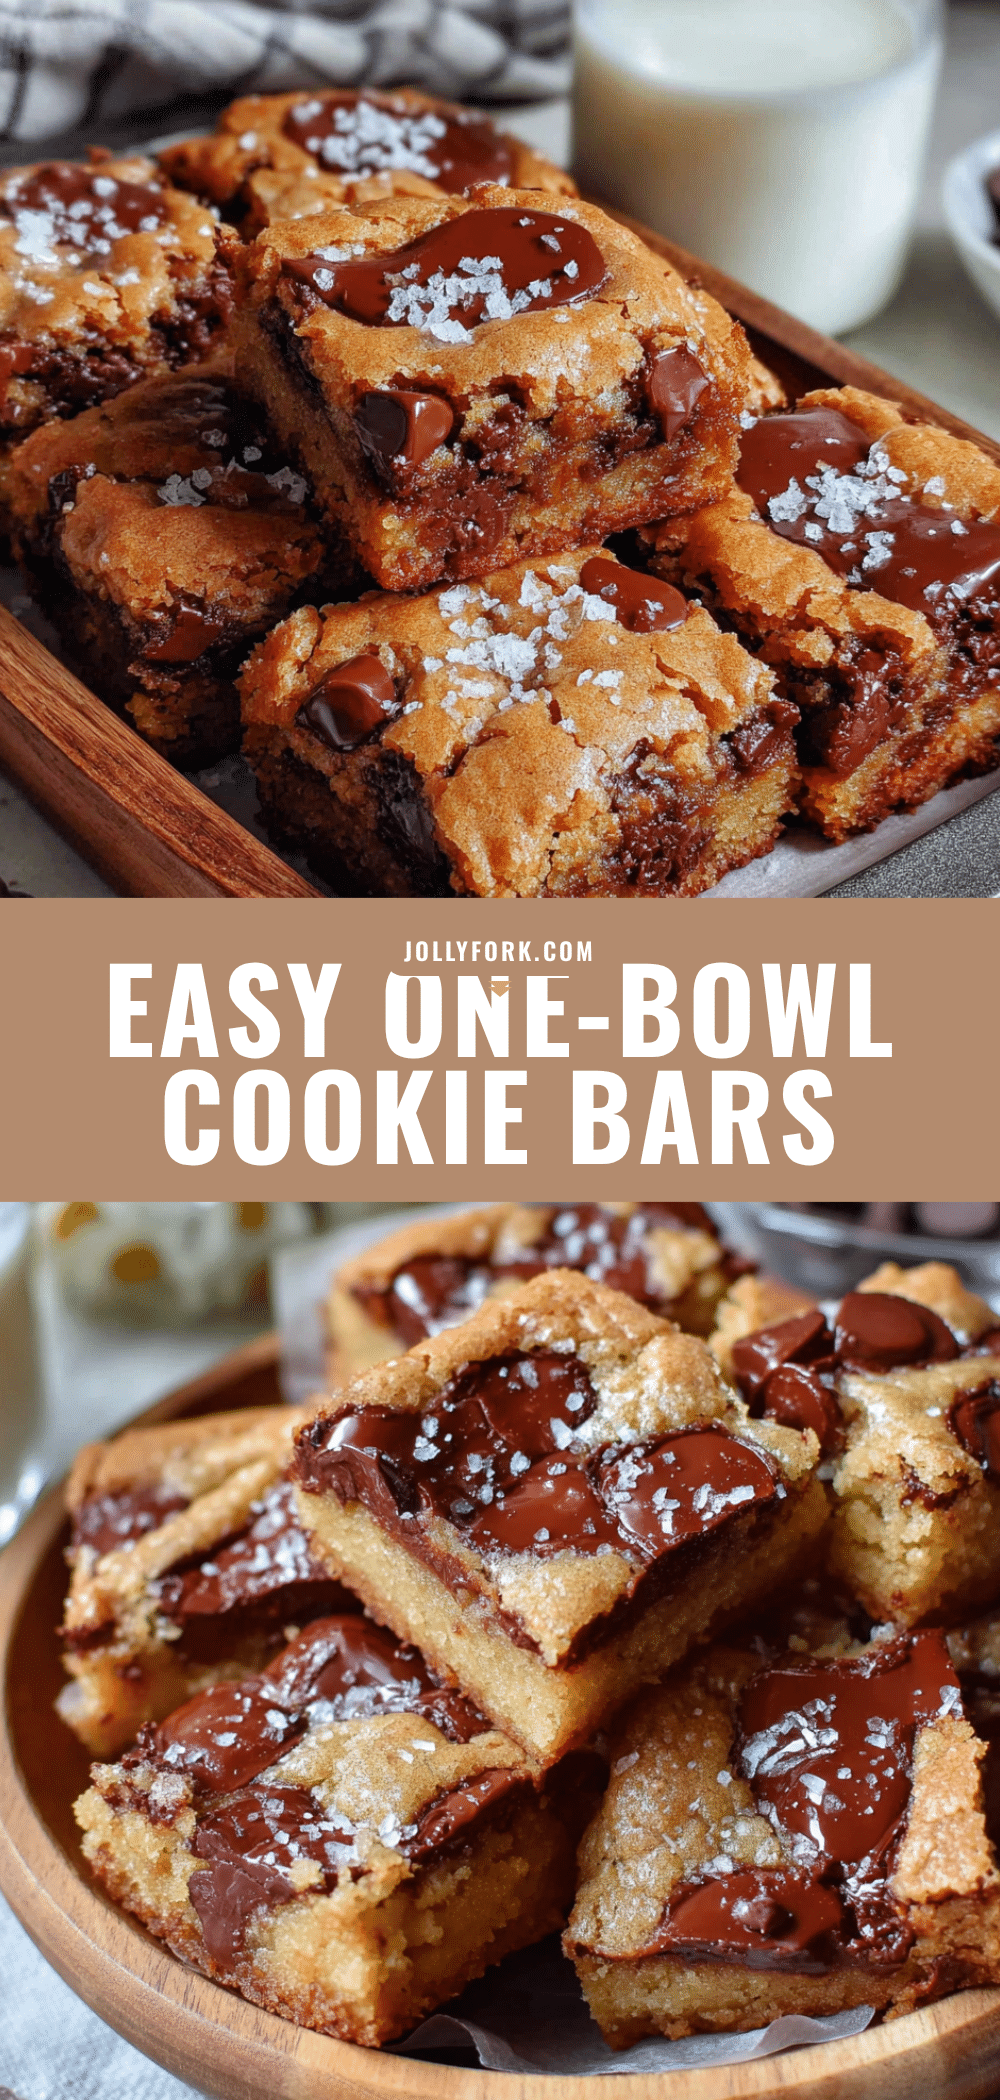
Easy One-Bowl Chocolate Chip Cookie Bars (No Mixer)
These easy one-bowl chocolate chip cookie bars come together in under 30 minutes with no mixer required. Made with simple pantry ingredients, they have chewy edges, a soft center, and are perfect for sharing at potlucks, bake sales, or anytime you need a warm, buttery treat.
- Prep Time: 10 minutes
- Cook Time: 18-20 minutes
- Total Time: 28-30 minutes
- Yield: 16 servings 1x
- Category: Dessert
- Cuisine: American
Ingredients
- 10 tablespoons unsalted butter (1 ¼ sticks), melted and slightly cooled
- 1 cup light brown sugar, packed
- ¼ cup granulated sugar
- 1 large egg, at room temperature
- 2 teaspoons vanilla extract
- 1 ¾ cups all-purpose flour, spooned and leveled
- ½ teaspoon baking soda
- ½ teaspoon salt
- 1 ½ cups semi-sweet chocolate chips
- Flaky sea salt (optional, for finishing)
Instructions
- Preheat your oven to 350°F (175°C). Line an 8×8-inch baking pan with parchment paper, leaving about 2 inches of overhang on two opposite sides.
- Melt the butter: Place 10 tablespoons of unsalted butter in a small saucepan over low heat, stirring occasionally until completely melted. Alternatively, microwave in a microwave-safe bowl in 30-second bursts, stirring between each, until just melted. Set aside to cool for 2-3 minutes.
- Mix the sugars and butter: In a large mixing bowl, combine the melted butter, 1 cup packed light brown sugar, and ¼ cup granulated sugar. Stir with a wooden spoon or silicone spatula until well combined (mixture will look like wet sand).
- Add the egg and vanilla: Crack the room-temperature egg into the bowl and add 2 teaspoons of vanilla extract. Stir vigorously until the mixture is smooth and glossy, about 30 seconds.
- Add the dry ingredients: Sprinkle 1 ¾ cups all-purpose flour, ½ teaspoon baking soda, and ½ teaspoon salt over the wet mixture. Stir gently at first, then increase to a steady fold. Mix just until no streaks of flour remain.
- Fold in the chocolate chips: Add 1 ½ cups semi-sweet chocolate chips to the bowl. Fold them in with your spatula until evenly distributed.
- Press into the pan: Transfer the dough to the prepared baking pan. Use your spatula or lightly greased fingers to press it evenly into the corners and edges.
- Bake: Place the pan on the center rack of your preheated oven. Bake for 18-20 minutes, or until the edges are golden brown and the center looks set but still slightly soft. A toothpick inserted into the center should come out with a few moist crumbs.
- Cool and cut: Remove the pan from the oven and place it on a cooling rack. If using flaky salt, sprinkle a pinch over the top while the bars are still warm. Let them cool in the pan for at least 15 minutes before lifting out using the parchment overhang. Transfer to a cutting board and cut into 9 or 16 squares.
Notes
Don’t overbake—cookie bars continue to bake from residual heat after coming out of the oven. Pull them out when edges are golden and center is just set. Use room-temperature egg to prevent melted butter from seizing. Measure flour correctly by spooning and leveling. Let bars cool completely before cutting for clean slices. For extra-chewy edges, press dough slightly higher at the edges of the pan.
Nutrition
- Serving Size: 1 bar (based on 16 s
- Calories: 280
- Sugar: 24
- Sodium: 180
- Fat: 14
- Saturated Fat: 8
- Carbohydrates: 38
- Fiber: 1
- Protein: 3
Keywords: chocolate chip cookie bars, one bowl, no mixer, easy dessert, chewy cookie bars, chocolate chip bars, simple baking


