Barely a half-inch of brine left in the jar and a bag of jalapeños threatening to go soft on the counter. That’s how this whole thing started. Not with a plan, not with a recipe book open on the counter—just a quiet panic and a fridge full of peppers that I’d bought on sale without thinking ahead. I needed something that didn’t require a water bath canner, didn’t take all afternoon, and could sit in the fridge waiting for me. These easy small-batch refrigerator canned jalapeños were born from that exact moment of kitchen desperation.
Honestly, I wasn’t even sure it would work. I’d made pickles before—quick ones, the kind you eat within a week—but I wanted these to last. I wanted that crisp pop and slow-building heat you get from store-bought jars, but without the preservatives and with way more garlic. So I just… experimented. Poured hot brine over sliced peppers, stuffed in some garlic cloves, crossed my fingers, and shoved the jar in the fridge. Three weeks later, I opened it expecting the worst, and instead got the best accidental condiment I’d ever made. They were spicy, tangy, still crunchy, and absolutely perfect on tacos.
What I love most about this small-batch approach is that it doesn’t feel like a project. It feels like a favor to your future self—future you, standing at the fridge at 6 p.m. on a Tuesday, wondering what to put on that quesadilla. You know that feeling. These little jars have saved my dinner routine more times than I can count. No boiling water baths, no complicated sterilization steps, just a simple brine and a little patience. If you’ve been wanting to try canning but felt intimidated, this is your starting point. Trust me, it’s easier than you think.
Why You’ll Love This Recipe
I’ve tested this method about a dozen times now, tweaking the vinegar ratio and salt levels until I found the perfect balance. Here’s what makes these easy small-batch refrigerator canned jalapeños stand out from every other recipe I’ve tried:
- No Canning Experience Needed : This is a refrigerator method, so there’s no water bath, no pressure canner, and no complicated sterilization. If you can boil water and slice peppers, you can make this.
- Ready in 24 Hours : The flavors start developing immediately, but give them a full day, and they’re already incredible. They get even better after a week.
- Perfectly Balanced Heat : Not too mild, not blow-your-head-off spicy. The brine mellows the jalapeños just enough to make them addictive without being punishing.
- Customizable Spice Level : Leave the seeds in for extra heat, or remove them for a gentler kick. You’re in control.
- Lasts for Months : Stored properly in the fridge, these stay crisp and flavorful for up to 3 months. I’ve pushed it to 4 and still had great results.
- Budget-Friendly : Jalapeños are cheap, especially in season. A single batch costs less than a fancy jar at the store, and tastes way better.
This isn’t just another pickled pepper recipe. The trick is in the brine ratio—equal parts vinegar and water with just the right amount of salt and sugar to balance the acidity. It’s the same technique I use for my crispy garlic dill refrigerator pickles, and it works beautifully here. The first time I made these, I ate half the jar standing over the sink. No regrets.
These jalapeños are the kind of condiment that makes everything better. Tacos, nachos, burgers, salads, sandwiches, eggs—you name it. They add brightness, crunch, and that slow-building warmth that makes you take another bite. And honestly, there’s something deeply satisfying about opening your fridge and seeing a jar of something you made yourself, knowing it’s going to make your next meal better.
What Ingredients You Will Need
This recipe uses simple, everyday ingredients that you probably already have in your pantry. The magic is in how they come together. Here’s what you’ll need:
For the Brine
- 1 cup distilled white vinegar (5% acidity) — This is important. Don’t use cleaning vinegar or fancy artisan vinegar. Standard white vinegar gives the cleanest, most reliable pickling result.
- 1 cup water — Filtered or tap is fine. If your tap water has a strong chlorine taste, use filtered for a cleaner brine.
- 1 tablespoon kosher salt — I use Diamond Crystal. If you’re using table salt, reduce to 2 teaspoons because it’s more dense. The salt is crucial for texture and preservation, so don’t skip it.
- 1 tablespoon granulated sugar — Just a touch to balance the acidity. It doesn’t make them sweet, it just rounds out the sharpness.
For the Jalapeños
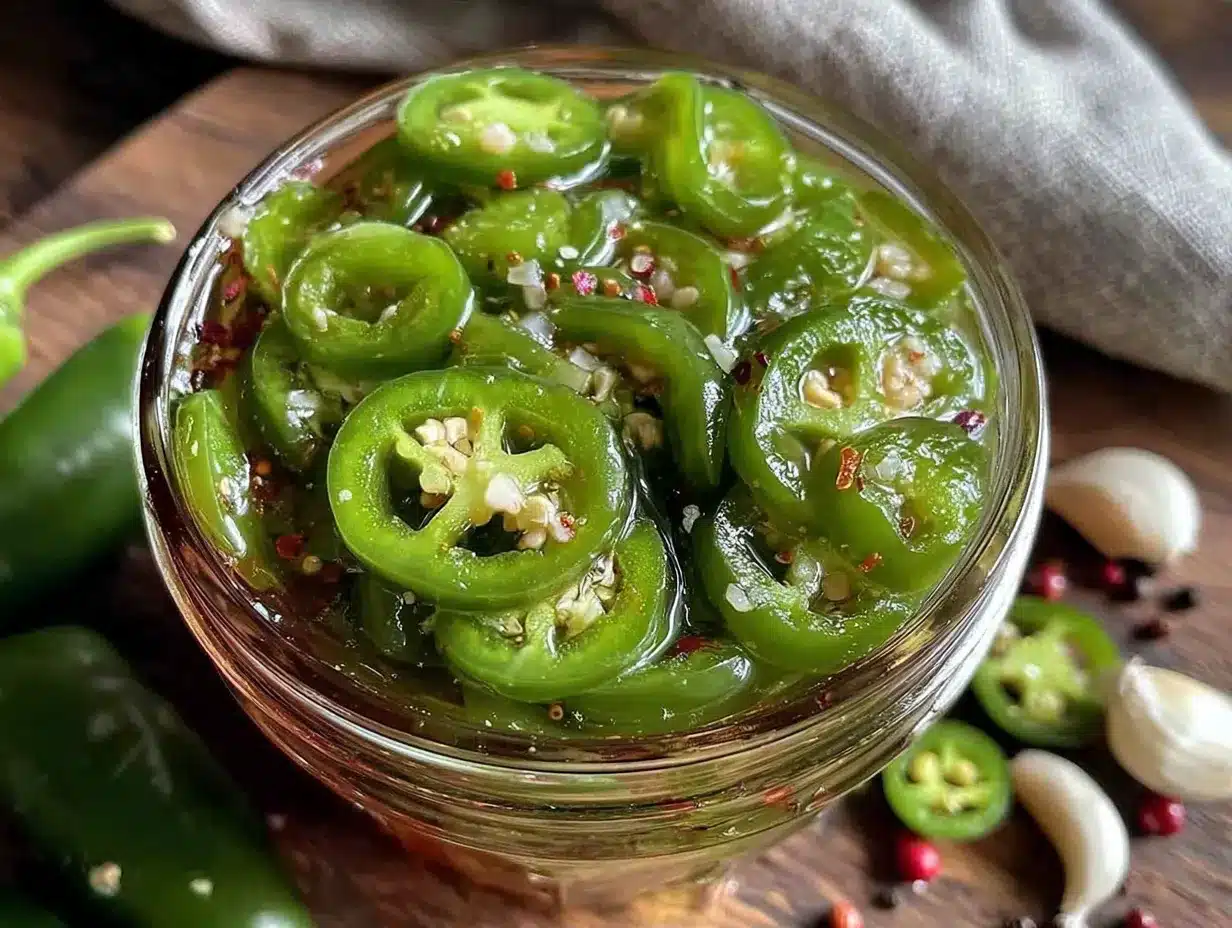
- 8-10 fresh jalapeños — Look for firm, bright green peppers with smooth skin. Avoid any that are soft or have wrinkled spots. I prefer medium-sized ones because they have a good balance of heat and flesh.
- 4-5 garlic cloves — Smashed gently with the flat side of your knife. Whole cloves look beautiful in the jar and infuse the brine with a mellow garlic flavor.
- 1 teaspoon black peppercorns — Optional, but I love the subtle warmth they add.
- 1 bay leaf — Adds an earthy, slightly floral note.
Ingredient Selection Tips: If you want a milder pepper, look for jalapeños with smooth skin and no stretch marks—those are usually younger and less spicy. The little white lines (called corking) indicate the pepper was stressed while growing, which often means more heat. I personally go for a mix of both in one batch for complexity. Also, red jalapeños are just fully ripe green ones, and they’re sweeter and slightly less spicy. If you find them, grab some for a beautiful color contrast in your jar.
Substitution Guidance: You can swap white vinegar with apple cider vinegar for a fruitier flavor, but the color of the brine will be darker. Rice vinegar also works but is milder, so use a 1.5:1 ratio of vinegar to water instead. If you’re watching your sodium, you can reduce the salt to 2 teaspoons, but the texture won’t be quite as crisp. For a sugar-free version, omit the sugar entirely—it won’t affect preservation, just the flavor balance.
One thing I’ve learned from making quick sweet and spicy pickled jalapeños in the past is that the garlic really matters. Use fresh garlic, not pre-minced from a jar. The flavor is completely different, and fresh cloves stay firm and flavorful in the brine for weeks. Trust me on this one.
Equipment Needed
You don’t need fancy canning equipment for this recipe. Here’s what you’ll need:
- 1 pint-sized glass jar with a tight-fitting lid — A wide-mouth mason jar works perfectly. Make sure it’s clean and dry. I reuse pasta sauce jars all the time—just wash them thoroughly.
- Small saucepan — For heating the brine. Any small pot works.
- Cutting board and sharp knife — A sharp knife makes clean slices and prevents crushing the peppers.
- Measuring cups and spoons — For precise brine ratios.
- Funnel (optional but helpful) — Makes pouring the brine into the jar much less messy. I use a small stainless steel one.
- Kitchen towel — For handling the hot jar when pouring brine.
If you don’t have a funnel, just pour slowly and carefully. I’ve definitely spilled hot brine on my counter before—it’s not fun to clean up, and the smell lingers. A funnel is a few dollars and worth every penny. Also, if you’re making a double batch, use a quart-sized jar instead of two pints. The brine recipe doubles easily, and the larger jar looks gorgeous on your fridge shelf.
One tip: don’t use a jar with a rusted lid or a lid that doesn’t seal well. The brine is acidic and will react with exposed metal. Ball or Kerr mason jars are my go-to, but any glass jar with a plastic-coated lid works fine.
Preparation Method
This whole process takes about 15 minutes of active time. The rest is just waiting. Here’s how to do it:
- Wash and dry your jar and lid — Make sure they’re completely clean. I run mine through the dishwasher, but hand washing with hot soapy water works too. Dry them with a clean towel.
- Prepare the jalapeños — Rinse the peppers under cool water and pat them dry. Slice off the stems. Now decide: do you want rings or whole slices? For rings, slice the jalapeños crosswise into ¼-inch thick rounds. For a more dramatic look, slice them lengthwise into strips. I usually do rings because they’re easier to layer on tacos and sandwiches. If you want milder peppers, use a small spoon to scrape out the seeds and white membranes before slicing. If you want maximum heat, leave them in.
- Pack the jar — Layer the sliced jalapeños, smashed garlic cloves, peppercorns, and bay leaf into the jar. Don’t cram them in too tightly—you want the brine to be able to flow around every piece. Leave about ½ inch of headspace at the top. I like to tuck the bay leaf against the side of the jar where it can be seen.
- Make the brine — In a small saucepan, combine the vinegar, water, salt, and sugar. Bring to a boil over medium-high heat, stirring occasionally to dissolve the salt and sugar. Once it’s boiling, let it bubble for 30 seconds, then remove from heat.
- Pour the brine — Using your funnel (or carefully without one), pour the hot brine over the jalapeños in the jar. Fill it all the way to the top, covering all the peppers completely. Tap the jar gently on the counter to release any air bubbles. If needed, add a little more brine to fill any gaps.
- Seal and cool — Wipe the rim of the jar clean with a damp towel, then screw on the lid tightly. Let the jar cool on the counter for about 30 minutes. You’ll hear the lid pop as it seals slightly—that’s normal.
- Refrigerate — Once the jar is cool enough to handle, place it in the refrigerator. Wait at least 24 hours before opening. I know it’s hard, but the flavors need time to develop. After 48 hours, they’re even better. After a week? Absolutely perfect.
Sensory cues to watch for: When you pour the hot brine over the peppers, you’ll see the color brighten almost immediately. The green becomes more vibrant, and the garlic cloves turn slightly translucent. After a few hours in the fridge, the brine will take on a faint greenish tint from the peppers. That’s a good sign—it means the flavors are mingling. When you finally open the jar, you should smell a sharp, clean vinegar scent with warm garlic undertones and a hint of pepper heat. The jalapeños should look firm, not mushy, and the brine should be clear.
Troubleshooting tip: If your jalapeños float above the brine line, they might discolor slightly. That’s okay—they’re still safe to eat, but the exposed parts won’t be as flavorful. To prevent this, use a smaller jar so the peppers are packed more snugly, or weigh them down with a clean glass fermentation weight. I’ve also used a small cabbage leaf on top to keep everything submerged, just like I do with my refrigerator pickles.
Cooking Tips & Techniques
After making batch after batch of these, I’ve picked up a few tricks that make a real difference. Here’s what I wish someone had told me from the start:
Use a sharp knife. Dull knives crush the jalapeños instead of slicing them cleanly. Crushed peppers release more moisture into the brine, which can make it cloudy and affect the texture. A sharp blade gives you clean, even rings that stay crisp longer.
Don’t boil the brine too long. You only need to bring it to a boil and let it go for about 30 seconds. Over-boiling evaporates too much water and concentrates the vinegar, making the final product too sharp. I’ve done this before and ended up with jalapeños that were almost sour-punch levels of acidic. Not great.
Let the brine cool slightly before pouring. This is a controversial tip, but I’ve found that pouring boiling hot brine directly onto the peppers can make them slightly softer. If you let the brine cool for 2-3 minutes after boiling—just until it stops bubbling aggressively—the peppers stay crunchier. The trade-off is that the brine won’t create as strong a vacuum seal, but since these are refrigerator pickles, that doesn’t matter.
Label your jars. I cannot stress this enough. I once had a jar of these jalapeños and a jar of pickled banana peppers sitting next to each other in the fridge. Without labels, it was a guessing game. Now I use a piece of masking tape and a permanent marker with the date. It takes 10 seconds and saves so much confusion.
Timing tip: Make these on a day when you’re already cooking something else. The active time is so short that you can easily fit it into a morning routine or while waiting for pasta water to boil. I often make a batch while my morning coffee is brewing—it’s that quick.
One mistake I made early on: I used iodized salt instead of kosher salt. The iodine gave the brine a slightly metallic taste that I couldn’t ignore. It wasn’t terrible, but it was noticeable. Kosher salt or pickling salt is the way to go. Also, don’t use sea salt with large crystals—it won’t dissolve properly in the cold brine later.
Variations & Adaptations
This recipe is incredibly flexible. Here are some ways I’ve adapted it over the years:
Spicy Garlic Version: Add 2-3 whole dried chiles de árbol to the jar along with the jalapeños. The heat builds over time, and after a month, these are seriously fiery. I made this version for a taco night with friends, and two of them asked for the recipe before they even left.
Smoky Chipotle Twist: Replace half the jalapeños with sliced chipotle peppers in adobo sauce (the canned ones). The smoky flavor combined with the pickling brine is incredible on burgers and grilled meats. Just be aware that the brine will turn a deep red-brown color and the heat level will be significantly higher.
Sweet and Tangy: Increase the sugar to 2 tablespoons and add ½ teaspoon of celery seeds and ½ teaspoon of turmeric to the brine. This gives you a flavor profile similar to bread-and-butter pickles, but with jalapeños. I love these on hot dogs and in tuna salad for a spicy-sweet crunch.
Low-Sodium Option: Reduce the salt to 1 teaspoon. The texture won’t be as crisp, but the flavor will still be great. If you’re watching your sodium for health reasons, this is a solid compromise. Just know that these won’t last quite as long—aim to use them within 6 weeks.
Mixed Pepper Medley: Use a combination of jalapeños, serranos, and bell peppers. The bell peppers add sweetness and color contrast, while the serranos bring a sharper, more immediate heat. This is my go-to for summer cookouts because it looks so pretty in the jar.
I’ve also tried adding a sprig of fresh dill or a small piece of cinnamon stick to the jar. The dill version tastes like a spicy dill pickle, which is fantastic on sandwiches. The cinnamon version is… interesting. It’s not bad, but it’s definitely an acquired taste. I’d say stick with the dill unless you’re feeling adventurous.
Serving & Storage Suggestions
These jalapeños are incredibly versatile. Here’s how I use them:
Serving temperature: I prefer them straight from the fridge—cold and crisp. The cold temperature mutes the heat slightly, making them more approachable. If you want more of a punch, let them sit at room temperature for 10 minutes before serving.
Ways to use them: Pile them on tacos (any kind—beef, chicken, fish, veggie), layer them on burgers and hot dogs, fold them into quesadillas, scatter them over nachos, toss them into salads for a vinegary kick, or just eat them straight from the jar as a snack. My personal favorite? On a crispy smash burger with melted cheddar. The tangy heat cuts through the richness perfectly.
Storage: Keep the jar tightly sealed in the refrigerator at all times. These are not shelf-stable—they must stay refrigerated. Properly stored, they’ll last 2-3 months, sometimes longer. I’ve had jars that were still crunchy and flavorful after 4 months, but the texture does gradually soften over time.
Reheating: You don’t need to reheat these. They’re meant to be eaten cold or at room temperature. If you’re adding them to a hot dish like nachos or a baked potato, just scatter them on top—the residual heat from the dish will warm them slightly.
Flavor development: The flavor changes over time. In the first week, the jalapeños are bright, fresh, and still quite spicy. After two weeks, the heat mellows and the vinegar and garlic flavors become more pronounced. After a month, they’re deeply infused and almost sweet-spicy. I actually prefer them after about 3 weeks—that’s the sweet spot for me. If you like a stronger vinegar punch, eat them sooner. If you want a more rounded, mellow flavor, let them sit longer.
Pro tip: Don’t throw away the leftover brine when the jar is empty. Use it as a marinade for chicken or pork, add a splash to salad dressings, or use it to pickle a new batch of vegetables. I’ve reused brine for a second batch of jalapeños, and while the flavor is weaker, it still works well.
Nutritional Information & Benefits
These jalapeños are naturally low in calories and fat-free. Here’s an approximate breakdown for a 1-ounce serving (about 6-8 rings):
| Nutrient | Amount |
|---|---|
| Calories | 5-8 |
| Total Fat | 0g |
| Sodium | 180-220mg |
| Total Carbohydrates | 1-2g |
| Dietary Fiber | 0.5g |
| Sugars | 0.5g |
| Protein | 0.2g |
Health benefits: Jalapeños are packed with vitamin C—just one pepper provides about 65% of your daily recommended intake. They also contain capsaicin, the compound responsible for their heat, which has been linked to boosting metabolism and reducing inflammation. The garlic in this recipe adds allicin, a compound with natural antimicrobial properties. And the vinegar? Some studies suggest that consuming vinegar with meals can help stabilize blood sugar levels. So these little guys are more than just tasty—they’re actually good for you.
Dietary considerations: This recipe is naturally gluten-free, vegan, dairy-free, and low-carb. The only potential allergen is the garlic, but that’s rare. If you’re on a low-sodium diet, just reduce the salt as mentioned in the variations section.
From a personal perspective, I love that these jalapeños let me add big flavor to my meals without adding a lot of calories or processed ingredients. They’re a clean, whole-food condiment that makes healthy eating feel indulgent. That’s a win in my book.
Conclusion
These easy small-batch refrigerator canned jalapeños have become a staple in my kitchen, and I have a feeling they’ll become one in yours too. They’re simple to make, require almost no special equipment, and deliver a payoff that far exceeds the effort involved. Whether you’re a seasoned home cook or someone who’s never pickled anything in your life, this recipe is for you.
What I love most is how personal this recipe feels. You can adjust the heat, the garlic, the spices—make it your own. That’s the beauty of small-batch cooking. It’s not about following rules; it’s about creating something that fits your taste and your life. Maybe you’ll discover you love them with extra garlic. Maybe you’ll add a pinch of oregano and make them your go-to for Italian subs. The possibilities are endless.
So grab a bag of jalapeños, dig out a clean jar, and give this a try. In 24 hours, you’ll have a jar of something special waiting for you in the fridge. And when you take that first bite—crisp, tangy, warm with heat—you’ll wonder why you didn’t start making these sooner.
I’d love to hear how yours turn out! Drop a comment below and tell me what variations you tried, or tag me in your photos if you share them online. Happy pickling!
Frequently Asked Questions
Can I use other types of peppers for this recipe?
Absolutely! Serranos, banana peppers, or even thinly sliced habaneros work great. Just adjust the heat level to your preference. Keep in mind that hotter peppers may need a slightly longer brine time to mellow out.
Do I need to sterilize the jar before using it?
For refrigerator pickles, a thorough wash with hot soapy water or a run through the dishwasher is sufficient. You don’t need to boil the jars like you would for water bath canning. Just make sure they’re clean and dry before you start.
Why did my jalapeños turn brown or mushy?
This usually happens if the peppers weren’t fresh to begin with, or if they weren’t fully submerged in the brine. Always use firm, bright green peppers, and make sure the brine covers them completely. If they float, use a smaller jar or add a clean weight.
Can I double this recipe?
Yes! Simply double all the ingredients and use a quart-sized jar instead of a pint. The brine recipe scales perfectly. Just make sure your jar is large enough to hold everything with about ½ inch of headspace.
How do I know if they’ve gone bad?
Trust your senses. If the brine turns cloudy (beyond the normal slight tinting), if you see mold growing on the surface, or if the smell is off-putting (like rotten eggs or yeast), toss them. Properly refrigerated, these should stay good for 2-3 months without any issues.
Pin This Recipe!
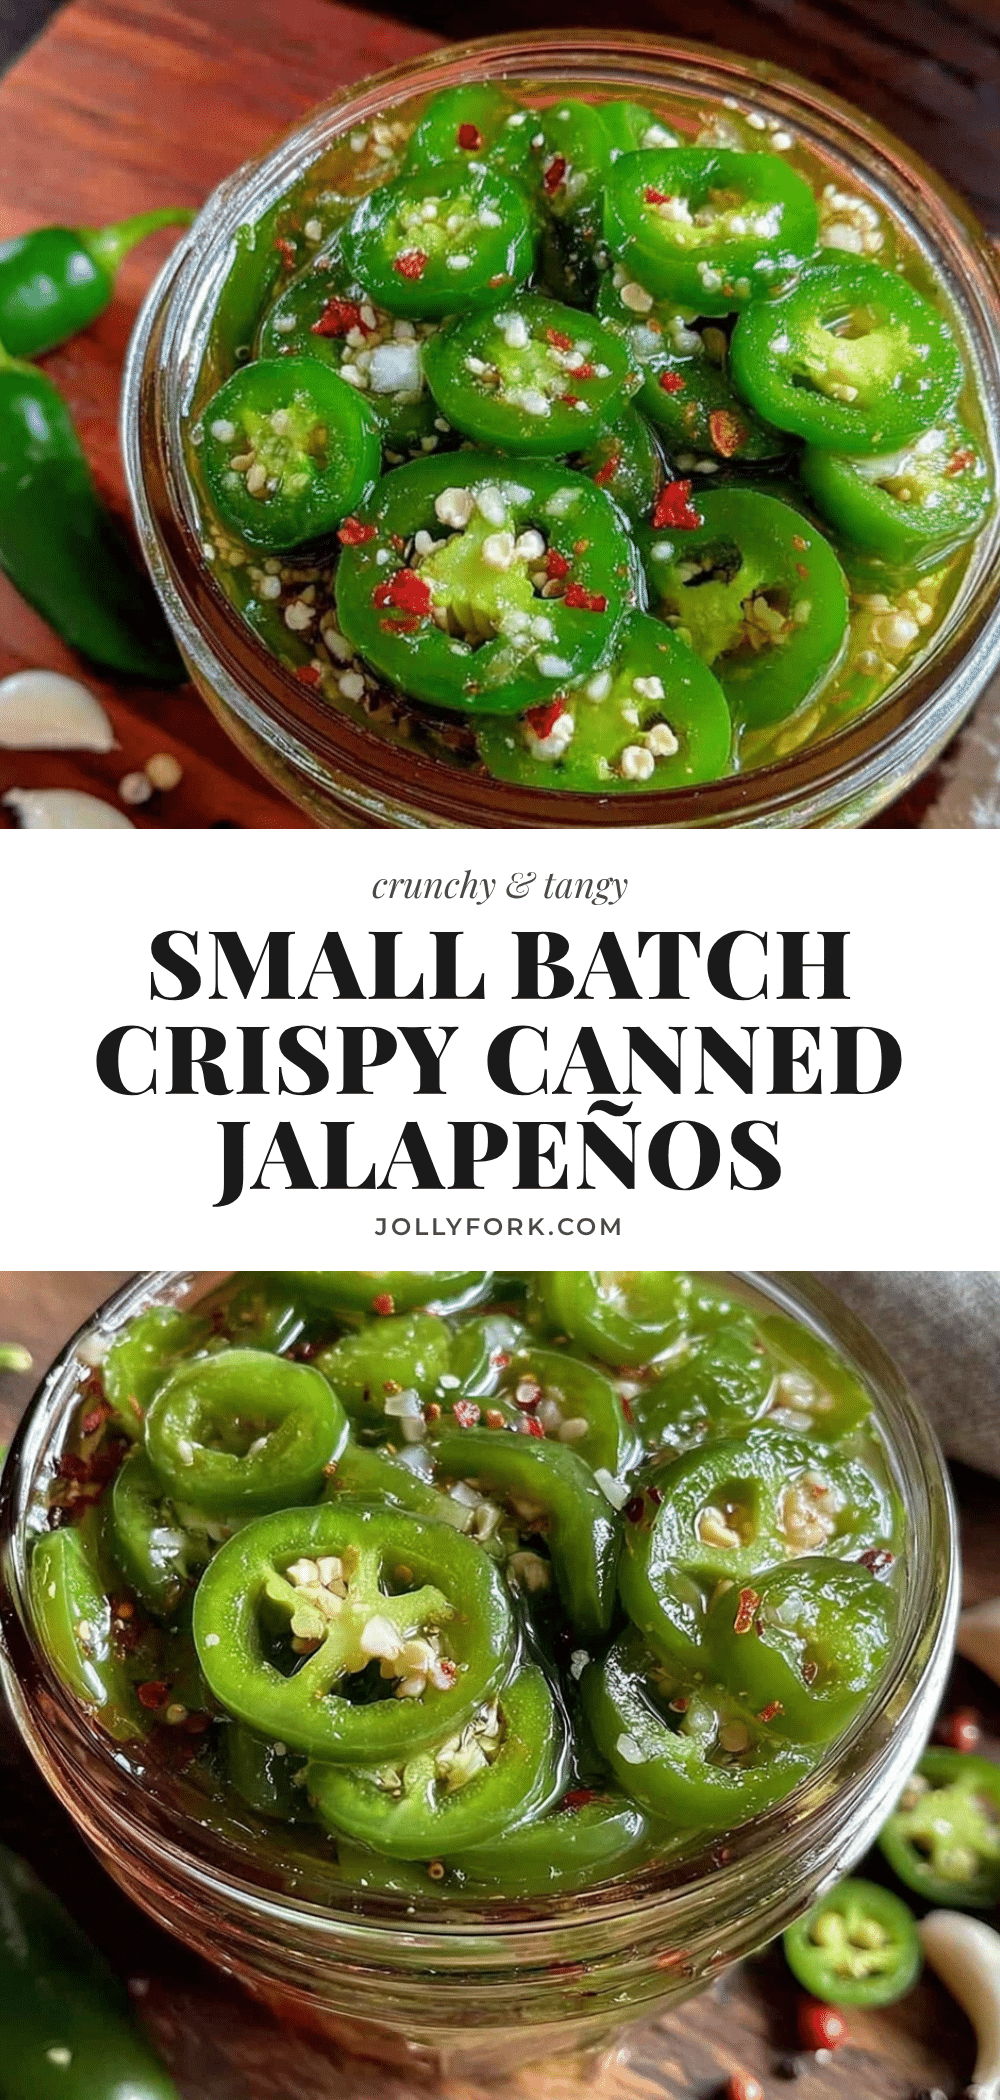
Easy Small-Batch Canned Jalapenos Refrigerator Recipe
A simple, no-canning-experience-needed recipe for refrigerator pickled jalapeños that are crisp, tangy, and perfectly balanced in heat. Ready in 24 hours and lasts for months in the fridge.
- Prep Time: 15 minutes
- Cook Time: 5 minutes
- Total Time: 20 minutes (plus 24 hours refrigeration)
- Yield: 1 pint (about 8-10 servings) 1x
- Category: Condiment
- Cuisine: American
Ingredients
- 1 cup distilled white vinegar (5% acidity)
- 1 cup water
- 1 tablespoon kosher salt (Diamond Crystal recommended; reduce to 2 teaspoons if using table salt)
- 1 tablespoon granulated sugar
- 8–10 fresh jalapeños (firm, bright green)
- 4–5 garlic cloves (smashed)
- 1 teaspoon black peppercorns (optional)
- 1 bay leaf
Instructions
- Wash and dry your jar and lid thoroughly.
- Rinse jalapeños, pat dry, and slice off stems. Slice crosswise into ¼-inch rings (or lengthwise strips). For milder heat, remove seeds and membranes; for maximum heat, leave them in.
- Layer sliced jalapeños, smashed garlic cloves, peppercorns, and bay leaf into the jar. Leave about ½ inch of headspace.
- In a small saucepan, combine vinegar, water, salt, and sugar. Bring to a boil over medium-high heat, stirring to dissolve salt and sugar. Boil for 30 seconds, then remove from heat.
- Pour hot brine over jalapeños in the jar, covering completely. Tap jar gently to release air bubbles; add more brine if needed.
- Wipe rim clean, screw on lid tightly, and let cool on counter for about 30 minutes.
- Refrigerate. Wait at least 24 hours before opening for best flavor. Flavors improve after 48 hours and are perfect after a week.
Notes
For crunchier peppers, let brine cool 2-3 minutes before pouring. Use kosher or pickling salt to avoid metallic taste. Label jars with date. Leftover brine can be reused as marinade or for pickling other vegetables.
Nutrition
- Serving Size: 1 ounce (about 6-8 r
- Calories: 58
- Sugar: 0.5
- Sodium: 180220
- Carbohydrates: 12
- Fiber: 0.5
- Protein: 0.2
Keywords: refrigerator pickled jalapeños, small batch, easy pickling, homemade jalapeños, no canning, quick pickles, spicy condiment


