The school year was three weeks old, and I’d already lost track of how many lunchboxes came back with that sad, half-eaten sandwich. You know the one—the bread gets soggy, the fillings slide around, and by noon, it’s just a squished mess. I was standing in my kitchen at 6:15 AM, staring at a block of cheddar and a box of elbow pasta, and I just thought, what if I made it warm? Not soup, not leftovers, but something familiar and cozy that would actually hold its temperature until lunch. That’s when the idea for this easy thermos mac and cheese for kids lunchbox hit me like a little lightning bolt.
I’d been packing cold stuff—crackers, cheese sticks, apple slices—and my kid was coming home hungry. Honestly, I was tired of the waste. So I grabbed my smallest thermos (the one I’d bought for soup and never used), made a quick stovetop cheese sauce, and poured it over some al dente pasta. I packed it with a spoon and a nervous hope. That afternoon, the thermos came back empty. Completely empty. And my kid said, “Can you make that again tomorrow?”
This isn’t a fancy recipe. It’s not a five-cheese, truffle-oil situation. It’s a practical, creamy, stick-to-your-ribs thermos mac and cheese that stays warm for hours and makes lunch feel like a hug. No reheating required, no complicated steps—just a little bit of planning and a good thermos. And honestly? It changed our lunchbox game completely.
Why You’ll Love This Recipe
I’ve tested this recipe more times than I care to admit. I’ve tried different pastas, different cheese blends, different ways to keep it from turning into a gluey mess by noon. What I’m sharing with you is the version that works every single time. Here’s why it stands out.
- Quick & Easy: From stovetop to thermos in under 20 minutes. Yes, really. This is faster than making a sandwich if you know what you’re doing.
- Simple Ingredients: You probably already have everything in your kitchen. Butter, flour, milk, cheese, pasta. That’s it. No cream cheese, no Velveeta, no weird powdered packets.
- Perfect for School Lunches: This easy thermos mac and cheese for kids lunchbox stays warm for 4-5 hours in a good insulated thermos. That means a hot, comforting lunch at noon—not cold, rubbery pasta.
- Crowd-Pleaser: I’ve packed this for picky eaters, adventurous eaters, and even grown-ups who steal a bite. It gets rave reviews across the board.
- Unbelievably Delicious: The texture is creamy but not runny, and the cheese flavor is sharp and satisfying. It’s the kind of mac and cheese that makes you close your eyes after the first bite—even if you’re eating it standing over the sink.
What makes this recipe different from all the others? It’s the technique. Most homemade mac and cheese gets thick and gummy when it cools, but I’ve tweaked the sauce-to-pasta ratio and added a little extra milk to compensate for the time it sits in the thermos. It’s a small adjustment, but it makes all the difference. This isn’t just another version—it’s the one that actually works for packed lunches.
What Ingredients You Will Need
This recipe uses simple, wholesome ingredients to deliver bold flavor and satisfying texture without the fuss. Most of these are pantry staples, and you can easily swap things based on what you have on hand.
- Elbow macaroni (8 ounces / 225 grams) — The classic choice. Small pasta shapes hold the sauce well and fit nicely in a thermos. You can use shells, ditalini, or even small rotini if that’s what you’ve got.
- Unsalted butter (3 tablespoons / 42 grams) — This is the base of your roux. I prefer unsalted so I can control the salt level, but salted butter works fine—just reduce the added salt later.
- All-purpose flour (3 tablespoons / 24 grams) — This thickens the cheese sauce. No need for anything fancy here. If you need a gluten-free option, use a 1:1 gluten-free flour blend.
- Whole milk (2 ½ cups / 600 ml) — Whole milk gives you the creamiest sauce. I’ve tested this with 2% and it works, but the sauce is thinner. Avoid skim milk—it can make the sauce watery and prone to separating.
- Sharp cheddar cheese (2 cups / 200 grams, freshly shredded) — Sharp cheddar gives the most flavor. Pre-shredded cheese has anti-caking agents that prevent smooth melting, so please shred your own. I recommend Tillamook or Cabot for consistent results.
- Salt (½ teaspoon / 3 grams) — For seasoning the pasta water and the sauce.
- Ground mustard (¼ teaspoon / 0.5 grams) — This is my secret ingredient. It doesn’t make the mac taste like mustard; it just enhances the cheese flavor. Trust me on this one.
- Garlic powder (¼ teaspoon / 0.5 grams) — Optional, but I love the subtle savory note it adds.
- Black pepper (⅛ teaspoon / 0.3 grams) — Just a pinch for balance.
Substitution Notes: If you’re dairy-free, you can use a good quality oat milk (barista blend works best) and vegan cheddar shreds. The texture won’t be quite as creamy, but it’s still delicious. For a gluten-free version, use gluten-free pasta and a 1:1 gluten-free flour blend. Just be careful not to overcook the pasta—gluten-free varieties get mushy fast.
Equipment Needed
You don’t need much for this recipe, which is part of the beauty of it. Here’s what you’ll need:
- Large pot (4-5 quart / 4-5 liter) — For boiling pasta. I use my trusty stainless steel pot, but any large pot works.
- Medium saucepan (2-3 quart / 2-3 liter) — For making the cheese sauce. A heavy-bottomed saucepan is ideal because it distributes heat evenly and prevents scorching.
- Whisk — Essential for a smooth, lump-free roux. A silicone whisk is my favorite because it doesn’t scratch the pan.
- Wooden spoon or spatula — For stirring the pasta and folding in the sauce.
- Box grater or microplane — For shredding the cheese. Please don’t use pre-shredded cheese—it really does make a difference in how smoothly the sauce melts.
- Measuring cups and spoons — Accuracy matters here, especially with the flour and milk ratios.
- Insulated thermos (10-12 ounce / 300-350 ml capacity) — This is the star of the show. I use a Thermos brand stainless steel food jar, but any good quality insulated container works. Pre-heat it with hot water for 5 minutes before filling to keep the mac and cheese warm longer.
- Small funnel (optional) — Makes filling the thermos much less messy. I found mine for a dollar at a kitchen supply store.
Budget-Friendly Tip: You don’t need an expensive thermos. I’ve used a $10 one from a discount store and it worked fine for about 4 hours. Just pre-heat it thoroughly and fill it as full as possible to retain heat.
Preparation Method
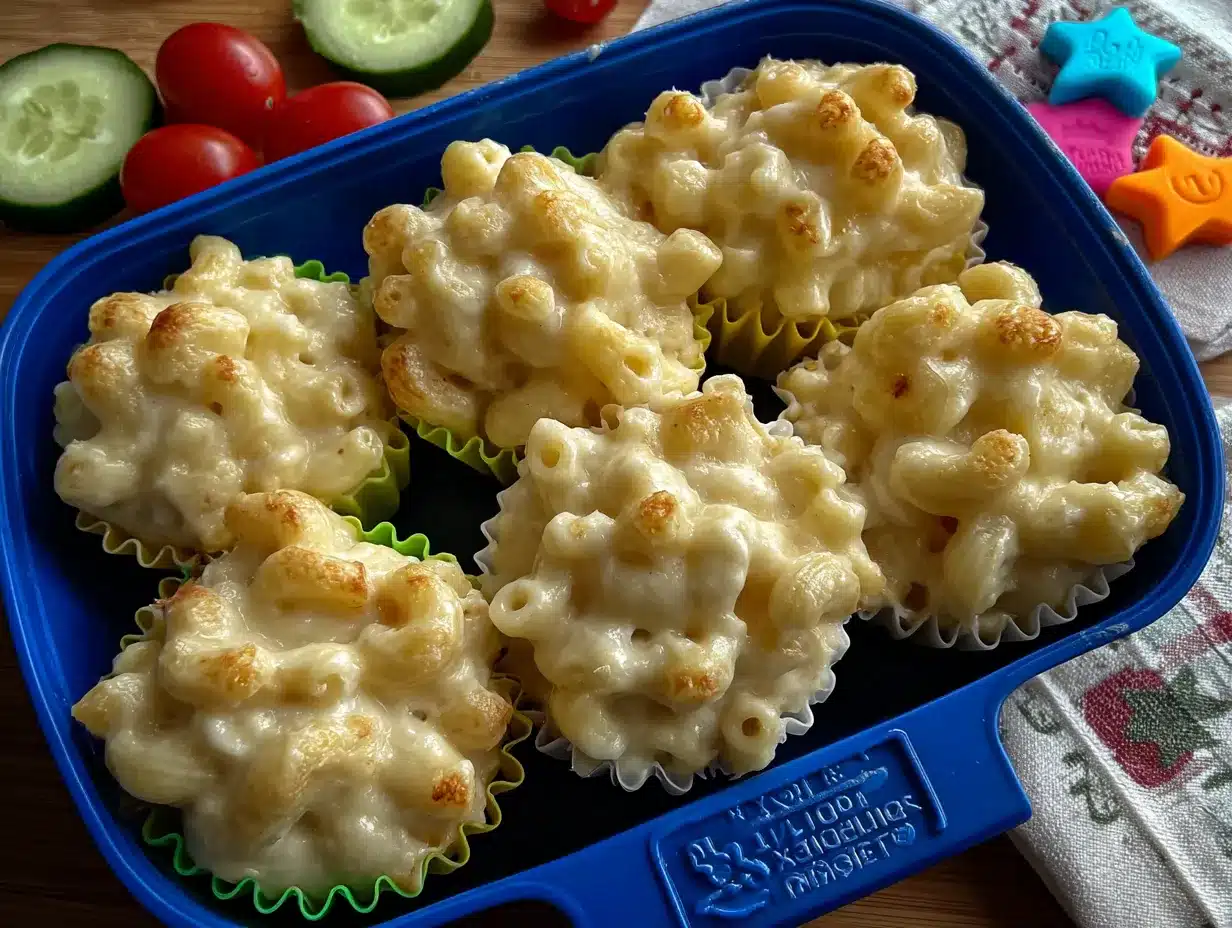
Let’s get cooking. This easy thermos mac and cheese for kids lunchbox comes together in about 15 minutes of active time. I’ll walk you through every step.
- Pre-heat your thermos. Fill your thermos with boiling water, screw the lid on, and set it aside while you cook. This step is crucial—it warms up the walls of the thermos so the mac and cheese stays hot for hours.
- Boil the pasta. Fill your large pot with water (about 3 quarts / 3 liters) and add a generous pinch of salt. Bring it to a rolling boil over high heat. Add the elbow macaroni and cook according to package directions, but reduce the cooking time by 1 minute. You want the pasta al dente—firm to the bite—because it will continue to soften slightly in the hot sauce and while sitting in the thermos. Overcooked pasta turns into mush by lunchtime.
- Drain and reserve pasta water. Once the pasta is cooked, drain it in a colander. Don’t rinse it—you want the starch to help the sauce cling. Reserve about ¼ cup (60 ml) of the pasta water before draining. You probably won’t need it, but it’s a nice safety net if your sauce gets too thick.
- Start the roux. While the pasta is boiling, melt the butter in your medium saucepan over medium heat. Once it’s fully melted and bubbling, add the flour. Whisk constantly for 1-2 minutes until the mixture turns a pale golden color and smells slightly nutty. This cooks out the raw flour taste and ensures a smooth sauce.
- Add the milk slowly. Gradually pour in the milk while whisking continuously. Start with a thin stream—if you dump it all in at once, you’ll get lumps. Keep whisking until the mixture is smooth and starts to thicken, about 3-4 minutes. It should coat the back of a spoon. If it looks too thick, add a splash of the reserved pasta water.
- Season the sauce. Add the salt, ground mustard, garlic powder (if using), and black pepper. Whisk to combine. Taste it—it should be well-seasoned because the pasta will dilute it slightly.
- Melt the cheese. Reduce the heat to low. Add the shredded cheddar cheese in handfuls, stirring gently after each addition until fully melted. Don’t rush this step. If the heat is too high, the cheese can seize up and turn grainy. Keep stirring until the sauce is smooth, glossy, and velvety.
- Combine pasta and sauce. Add the drained pasta to the saucepan with the cheese sauce. Stir gently with a wooden spoon until every piece of pasta is coated. The sauce should be a little looser than you think it should be—it will thicken as it cools in the thermos. If it looks too thick at this stage, stir in a tablespoon or two of milk.
- Fill the thermos. Empty the hot water from your pre-heated thermos. Use a small funnel or a spoon to carefully transfer the mac and cheese into the thermos. Fill it as full as possible—less air means less heat loss. Screw the lid on tightly.
- Pack and go. That’s it. Your easy thermos mac and cheese for kids lunchbox is ready. Pack it in the lunchbox with a spoon and maybe a small napkin. It will stay warm for 4-5 hours.
Visual Cue: When the sauce is ready, it should coat the back of a spoon and hold a line when you run your finger through it. If it runs off like water, cook it another minute. If it’s too thick to stir, add a splash of milk.
Cooking Tips & Techniques
I’ve made this recipe about a dozen times now, and I’ve learned a few things the hard way. Here are my best tips for getting it right every time.
Don’t overthink the roux. I used to be scared of making a roux—I thought it was this fancy French technique that required a culinary degree. It’s not. It’s just butter and flour cooked together. The key is whisking constantly and not walking away. If you get distracted, it can burn in seconds. I learned this the hard way when I had to start over because my roux smelled like burnt toast.
Shred your own cheese. I know, I know, it’s an extra step. But pre-shredded cheese is coated with potato starch and cellulose to prevent clumping, and those additives also prevent smooth melting. Your sauce will be gritty instead of silky. Freshly shredded cheese melts like a dream. I usually shred a block of cheddar while the pasta water is coming to a boil—it takes less than two minutes.
Undercook the pasta slightly. This is the most important tip for thermos mac and cheese. If you cook the pasta to full tenderness, it will continue to cook in the hot sauce and turn into a mushy mess by lunchtime. Cook it one minute less than the package directions. The pasta will finish cooking in the thermos, and it will be perfectly tender by noon.
Pre-heat your thermos every time. I’ve tested this side by side—a pre-heated thermos keeps the mac and cheese hot for about an hour longer than a cold one. It’s a small step that makes a huge difference. Just fill it with boiling water while you cook, and dump it out right before filling.
Don’t skimp on the milk. The sauce should be slightly looser than you think is right. As the mac and cheese sits in the thermos, the pasta absorbs some of the liquid and the sauce thickens. If you make it the perfect consistency on the stovetop, it will be too thick by lunchtime. Add an extra 2-3 tablespoons of milk to be safe.
Variations & Adaptations
This easy thermos mac and cheese for kids lunchbox is a great base recipe, but it’s also incredibly flexible. Here are some ways to change it up.
- Add protein: Stir in ½ cup of cooked, crumbled bacon, diced ham, or shredded rotisserie chicken before filling the thermos. It makes the lunch more filling and adds a savory note. My kid loves it with little bits of ham—it feels like a treat.
- Vegetable boost: Steam some broccoli florets or peas and fold them into the mac and cheese. The cheese sauce hides the veggies pretty well, which is a win for picky eaters. I’ve also added finely grated zucchini (squeezed dry) and nobody noticed.
- Different cheese blends: Swap half the cheddar for Monterey Jack, Gouda, or even a little smoked cheddar for a deeper flavor. Just avoid soft cheeses like mozzarella—they can make the sauce stringy and weird in the thermos.
- Spicy kick: Add a pinch of cayenne pepper or a few dashes of hot sauce to the cheese sauce. It doesn’t make it actually spicy, just adds warmth and depth. My friend swears by adding a little smoked paprika.
- Gluten-free version: Use gluten-free pasta and a 1:1 gluten-free flour blend. Cook the pasta a minute less than the package directions—gluten-free pasta goes from al dente to mush very quickly. The sauce will be slightly thinner, so add an extra tablespoon of flour if needed.
Personal Variation: I once made this with a mix of sharp cheddar and a little bit of cream cheese (about 2 ounces). It made the sauce extra creamy and tangy. My kid called it “fancy mac” and asked for it every day for a week. Just be careful—cream cheese can make the sauce a little thicker, so add an extra splash of milk.
Serving & Storage Suggestions
This recipe is designed for packed lunches, but it works for so much more. Here’s how to serve and store it.
Serving Temperature: Serve the mac and cheese warm, straight from the stovetop into the thermos. If you’re packing it for later, pre-heat the thermos and fill it as full as possible. It will stay warm for 4-5 hours. For a lunchbox, pack it with a spoon and maybe a small fruit cup on the side for a complete meal.
Complementary Dishes: This mac and cheese pairs beautifully with a side of apple slices, carrot sticks, or a simple side salad. If you’re packing for an adult lunch, try it alongside some fresh turkey cream cheese pinwheel roll-ups for a protein boost. For a cozy dinner, serve it with a side of honey garlic baked chicken thighs for a complete meal the whole family will love.
Storage Instructions: If you have leftovers (unlikely, but possible), let the mac and cheese cool completely, then transfer it to an airtight container. It will keep in the refrigerator for up to 3 days. To reheat, add a splash of milk and microwave in 30-second bursts, stirring between each, until warmed through. You can also reheat it on the stovetop over low heat with a little extra milk.
Freezer Instructions: This recipe freezes surprisingly well. Portion it into freezer-safe containers and freeze for up to 2 months. Thaw overnight in the refrigerator and reheat as directed. The texture will be slightly softer, but it’s still delicious.
Flavor Development: Honestly, the mac and cheese tastes even better the next day. The flavors meld together overnight, and the sauce gets even creamier. If you’re meal prepping, you can make this a day ahead and reheat it in the morning before filling the thermos. Just add a little extra milk when reheating.
Nutritional Information & Benefits
Here’s the estimated nutritional breakdown for one serving (about 1 cup / 250 grams) of this easy thermos mac and cheese for kids lunchbox. Values are approximate and will vary based on specific ingredients and portion sizes.
| Nutrient | Amount Per Serving |
|---|---|
| Calories | 420 |
| Total Fat | 22g |
| Saturated Fat | 13g |
| Cholesterol | 65mg |
| Sodium | 520mg |
| Total Carbohydrates | 38g |
| Dietary Fiber | 2g |
| Sugars | 6g |
| Protein | 18g |
| Calcium | 350mg (35% DV) |
Health Benefits: This recipe provides a good source of calcium from the cheese and milk, which is essential for growing bones and teeth. The protein from the dairy and pasta helps keep kids full and focused throughout the school day. If you use whole wheat pasta, you’ll also get a nice boost of fiber.
Dietary Considerations: This recipe is vegetarian. For a gluten-free option, use gluten-free pasta and flour blend. For a lower-fat version, use 2% milk and reduced-fat cheddar, though the sauce won’t be as creamy. Please note that this recipe contains dairy and gluten (unless modified).
Personal Wellness Perspective: I love that this recipe gives me control over what goes into my kid’s lunch. No preservatives, no artificial colors, no weird ingredients I can’t pronounce. It’s real food, made with love, and packed in a way that stays warm and comforting. That feels good.
Conclusion
This easy thermos mac and cheese for kids lunchbox has honestly been a game-changer in our house. No more sad, uneaten sandwiches. No more hungry kids coming home from school. Just warm, creamy, comforting mac and cheese that tastes like a hug at noon. It’s simple enough for a busy weekday morning, but special enough that my kid asks for it by name.
I’d love for you to try this recipe and make it your own. Add your favorite mix-ins, swap the cheese, or double the batch for the whole family. The beauty of this recipe is that it’s forgiving and flexible—it works with whatever you have on hand. And if your kid is anything like mine, you’ll be packing this thermos every single week.
Have you tried this recipe? Did you add any fun mix-ins? I’d love to hear about it in the comments below. Share your own tips and variations—we’re all in this lunch-packing journey together. And if you’re looking for more lunchbox-friendly ideas, check out these no-bake peanut butter chocolate energy balls for a sweet treat that packs perfectly alongside this mac and cheese. Happy packing!
Frequently Asked Questions
Can I use a different type of pasta for this recipe?
Absolutely. While elbow macaroni is the classic choice, you can use any small pasta shape. Shells, ditalini, small rotini, or even orzo work well. Just make sure the pieces are small enough to fit easily in a thermos and eat with a spoon. Larger pasta shapes like penne or rigatoni might be harder to eat from a thermos.
How long will the mac and cheese stay warm in the thermos?
With a good quality insulated thermos that has been pre-heated with hot water, your mac and cheese will stay warm for 4-5 hours. If you’re using a cheaper thermos or skip the pre-heating step, it might only stay warm for 2-3 hours. For best results, fill the thermos as full as possible and screw the lid on tightly.
Can I make this recipe ahead of time and reheat it in the morning?
Yes! You can make the mac and cheese the night before, let it cool completely, and store it in the refrigerator. In the morning, reheat it on the stovetop over low heat with a splash of extra milk until warmed through, then fill your pre-heated thermos. The flavor actually gets better overnight as the ingredients meld together.
Why did my cheese sauce turn out grainy?
Grainy cheese sauce usually happens for one of two reasons: the heat was too high when you added the cheese, or you used pre-shredded cheese. Always melt cheese over low heat, and shred your own cheese from a block. Pre-shredded cheese contains anti-caking agents that prevent smooth melting. If your sauce does turn grainy, you can try whisking in a teaspoon of lemon juice or a splash of milk to help smooth it out.
Can I freeze this thermos mac and cheese?
Yes, this recipe freezes well for up to 2 months. Portion it into freezer-safe containers and thaw overnight in the refrigerator before reheating. The texture will be slightly softer after freezing, so add a splash of milk when reheating to restore some creaminess. I like to make a double batch and freeze half for busy mornings.
Pin This Recipe!
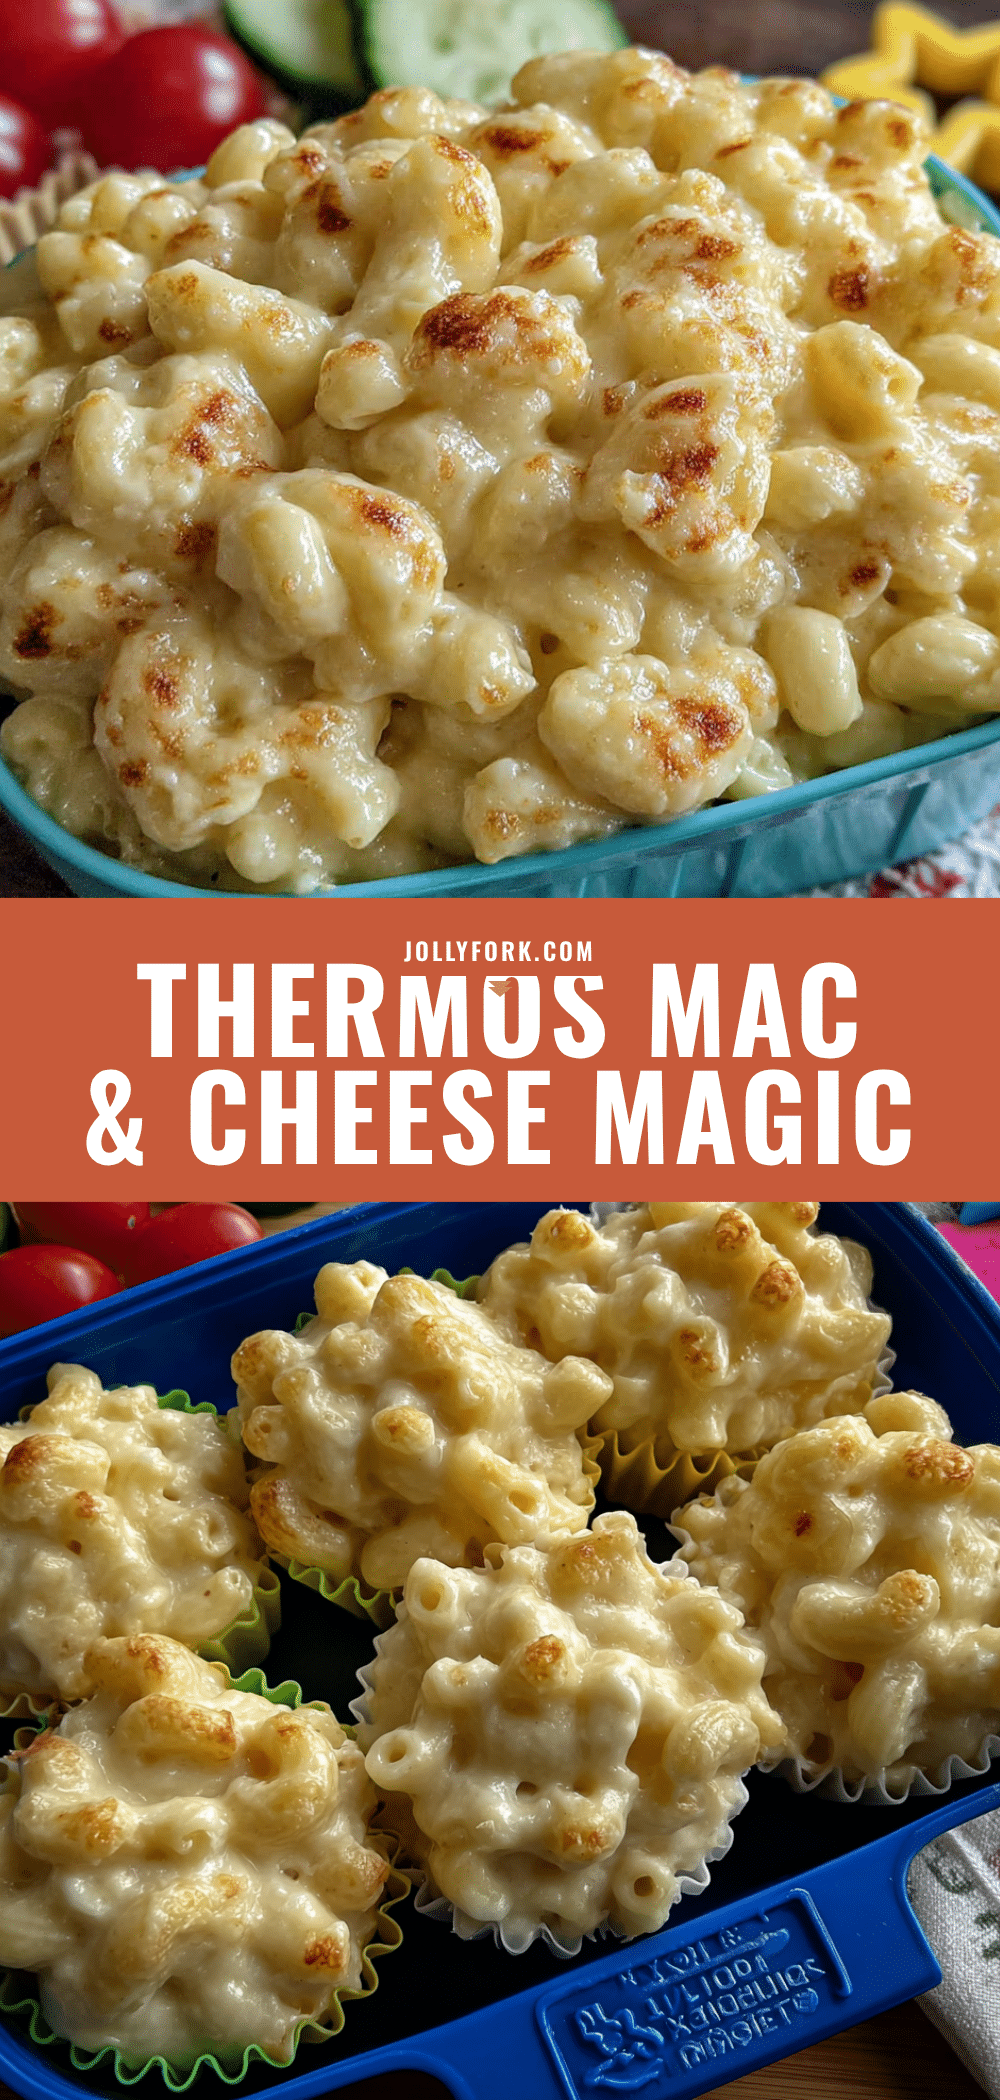
Easy Thermos Mac and Cheese: Best Kids Lunchbox Idea

A practical, creamy, stick-to-your-ribs thermos mac and cheese that stays warm for hours and makes lunch feel like a hug. No reheating required, no complicated steps—just a little bit of planning and a good thermos.
- Prep Time: 10 minutes
- Cook Time: 10 minutes
- Total Time: 20 minutes
- Yield: 4 servings 1x
- Category: Main Course
- Cuisine: American
Ingredients
- 8 ounces (225 grams) elbow macaroni
- 3 tablespoons (42 grams) unsalted butter
- 3 tablespoons (24 grams) all-purpose flour
- 2 ½ cups (600 ml) whole milk
- 2 cups (200 grams) sharp cheddar cheese, freshly shredded
- ½ teaspoon (3 grams) salt
- ¼ teaspoon (0.5 grams) ground mustard
- ¼ teaspoon (0.5 grams) garlic powder (optional)
- ⅛ teaspoon (0.3 grams) black pepper
Instructions
- Pre-heat your thermos: Fill your thermos with boiling water, screw the lid on, and set it aside while you cook.
- Boil the pasta: Fill your large pot with water (about 3 quarts / 3 liters) and add a generous pinch of salt. Bring it to a rolling boil over high heat. Add the elbow macaroni and cook according to package directions, but reduce the cooking time by 1 minute. You want the pasta al dente.
- Drain and reserve pasta water: Once the pasta is cooked, drain it in a colander. Don’t rinse it. Reserve about ¼ cup (60 ml) of the pasta water before draining.
- Start the roux: While the pasta is boiling, melt the butter in your medium saucepan over medium heat. Once it’s fully melted and bubbling, add the flour. Whisk constantly for 1-2 minutes until the mixture turns a pale golden color and smells slightly nutty.
- Add the milk slowly: Gradually pour in the milk while whisking continuously. Keep whisking until the mixture is smooth and starts to thicken, about 3-4 minutes. It should coat the back of a spoon.
- Season the sauce: Add the salt, ground mustard, garlic powder (if using), and black pepper. Whisk to combine.
- Melt the cheese: Reduce the heat to low. Add the shredded cheddar cheese in handfuls, stirring gently after each addition until fully melted. Keep stirring until the sauce is smooth, glossy, and velvety.
- Combine pasta and sauce: Add the drained pasta to the saucepan with the cheese sauce. Stir gently with a wooden spoon until every piece of pasta is coated. The sauce should be a little looser than you think it should be.
- Fill the thermos: Empty the hot water from your pre-heated thermos. Use a small funnel or a spoon to carefully transfer the mac and cheese into the thermos. Fill it as full as possible. Screw the lid on tightly.
- Pack and go: Your easy thermos mac and cheese for kids lunchbox is ready. Pack it in the lunchbox with a spoon and maybe a small napkin. It will stay warm for 4-5 hours.
Notes
Pre-heat your thermos every time for best heat retention. Undercook the pasta slightly (1 minute less than package directions) to prevent mushiness. Shred your own cheese for a smooth sauce. The sauce should be slightly looser than you think it should be; it will thicken as it sits in the thermos.
Nutrition
- Serving Size: 1 cup (250 grams)
- Calories: 420
- Sugar: 6
- Sodium: 520
- Fat: 22
- Saturated Fat: 13
- Carbohydrates: 38
- Fiber: 2
- Protein: 18
Keywords: thermos mac and cheese, kids lunchbox, easy mac and cheese, homemade mac and cheese, school lunch, warm lunch, thermos recipe