I was at the hardware store, of all places, last November. Not exactly where you expect to find a life-changing green bean casserole recipe, right? I was there picking up a new drill bit—don’t ask, it was a whole thing with a curtain rod—when the cashier, a guy named Dave with sawdust on his flannel shirt, started talking about Thanksgiving sides while ringing up my purchase.
“You gotta brown the butter,” he said, not even looking up from the register. “My grandma showed me. It’s the only way the kids actually eat the green beans.”
Honestly, I almost laughed. I mean, Dave from the hardware store? The man who just helped me find the right size lag bolt? But there was something about the way he said it—like he was sharing a secret that actually mattered. So I listened. He scribbled the basics on the back of a receipt, and I shoved it in my pocket, fully expecting to toss it later.
But that night, I couldn’t stop thinking about it. Brown butter in a green bean casserole? It made sense, you know? That nutty, almost caramel flavor cutting through the creamy mushroom soup and the crispy onions on top. I tried it the next weekend for a family dinner, and let me tell you—my kids, who usually pick around the green beans, asked for seconds. Seconds! My husband even asked what I did differently, and I just smiled and said, “Oh, just a little trick I picked up.”
That crumpled receipt is still in my kitchen drawer, by the way. A little piece of paper that changed how I make one of the most classic comfort dishes. And now, I’m passing it on to you. Because sometimes the best recipes come from the most unexpected places—and this one? It’s the kind that sticks.
Why You Will Love This Recipe
This isn’t your grandma’s green bean casserole—well, okay, it kind of is, but with a serious upgrade. And the best part? It’s still just as easy and budget-friendly as the original. Here’s why this version will become your new go-to:
- Kid-Approved Magic: The brown butter adds a subtle sweetness that even picky eaters love. My own kids went from pushing green beans around their plate to asking for the “special beans.”
- Simple, Affordable Ingredients: No fancy truffle oil or imported cheese here. You probably have most of these items in your pantry right now. It’s all about making smart use of what you already have.
- Perfect for Busy Weeknights and Holidays: This dish comes together in about 40 minutes, but it tastes like you spent all day on it. It’s fancy enough for Thanksgiving dinner but simple enough for a Tuesday night.
- Leftovers That Actually Reheat Well: This is a big deal in my house. The casserole stays creamy and delicious the next day, which means lunch is sorted.
- Crowd-Pleaser Guaranteed: I have brought this to three different potlucks, and I have yet to bring home leftovers. People always ask for the recipe, and I always smile and say, “It’s a secret from the hardware store.”
What really sets this recipe apart is the technique. Browning the butter is a simple step, but it transforms the entire dish. It adds a deep, nutty, almost toasty flavor that you just can’t get from plain butter or canned soup. It’s the same comfort food you grew up with, but with a layer of richness that makes everyone stop and take notice. Trust me, once you try it, you won’t go back.
What Ingredients You Will Need
This recipe uses simple, wholesome ingredients to deliver big flavor without the fuss. Most of these are pantry staples, which is exactly what I look for when feeding my family on a budget.
For the Green Bean Casserole
- 1 ½ pounds fresh green beans, trimmed and cut into 2-inch pieces (frozen works too, but fresh gives the best texture—look for bright, crisp beans at the store)
- 4 tablespoons unsalted butter (this is the star of the show, so use a good quality butter like Kerrygold or Land O’Lakes)
- 1 medium yellow onion, finely chopped (about 1 cup)
- 8 ounces cremini mushrooms, sliced (white mushrooms work fine, but cremini have a deeper, earthier flavor)
- 3 cloves garlic, minced (fresh is best, but jarred minced garlic works in a pinch)
- 3 tablespoons all-purpose flour (use a gluten-free blend if needed)
- 1 ½ cups whole milk (2% or even oat milk works, but whole milk makes the creamiest sauce)
- 1 cup low-sodium chicken or vegetable broth (I prefer low-sodium so I can control the salt level)
- 1 teaspoon kosher salt, plus more to taste
- ½ teaspoon black pepper
- ¼ teaspoon ground nutmeg (optional, but it adds a lovely warmth that complements the brown butter)
For the Topping
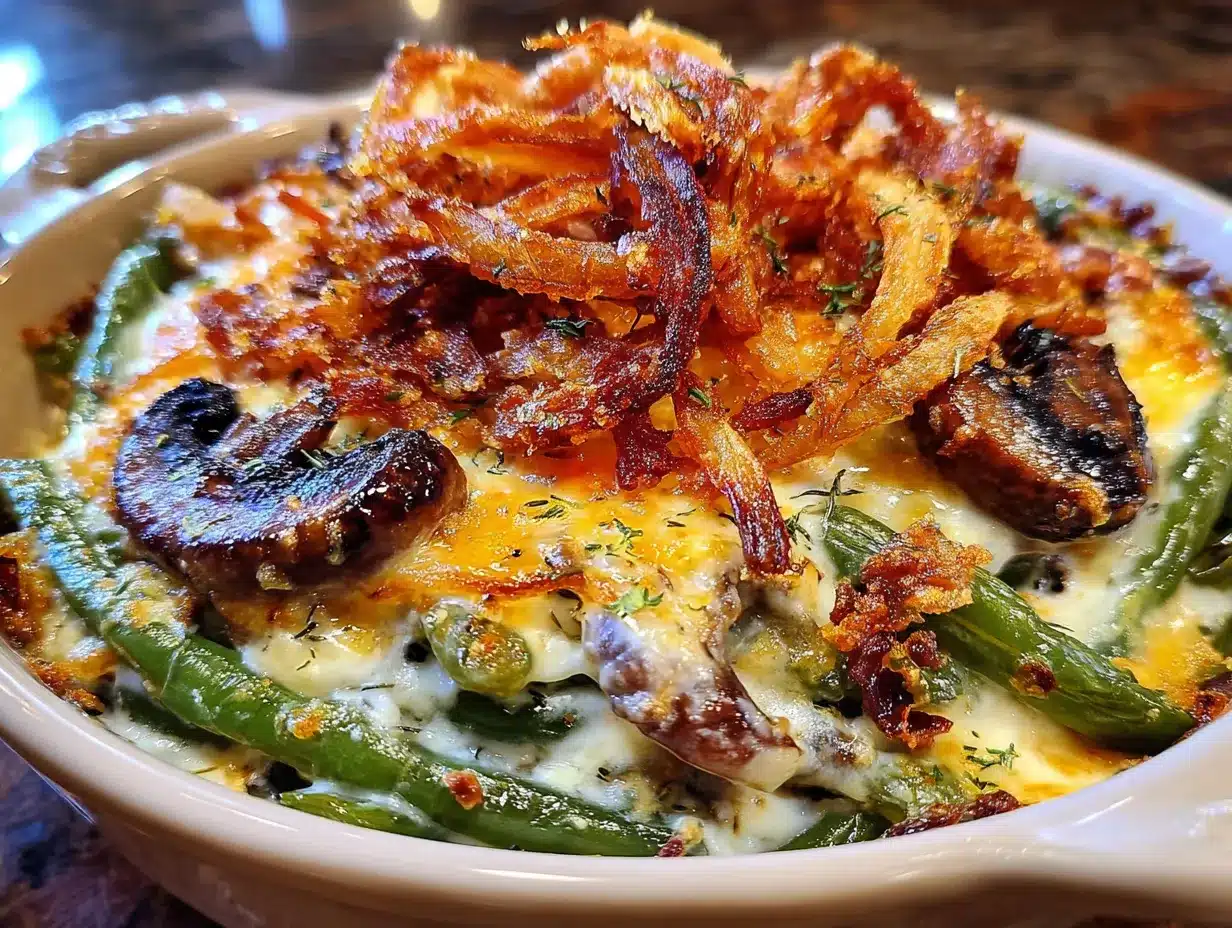
- 1 ½ cups crispy fried onions (store-bought is fine, but if you are feeling ambitious, homemade are incredible)
- ½ cup panko breadcrumbs (adds an extra crunch that regular breadcrumbs just can’t match)
- 2 tablespoons grated Parmesan cheese (optional, but it adds a salty, savory kick to the topping)
Ingredient Tips from My Kitchen: When I am buying green beans, I always look for ones that snap when I bend them. That is a sign of freshness. For the mushrooms, don’t wash them under running water—they soak up moisture like a sponge. Just wipe them clean with a damp paper towel. And for the butter, please don’t skimp. I know it is tempting to use margarine or a cheap brand, but the brown butter is the heart of this dish. You want a butter that will foam and turn that beautiful golden amber color without burning.
If you are feeding a crowd or want leftovers, you can easily double this recipe. Just use a larger baking dish—a 9×13-inch works perfectly for a double batch.
Equipment Needed
You do not need a fancy kitchen to pull this off. Here is what you will need:
- Large pot for blanching the green beans (any 4-5 quart pot will do)
- Large skillet or sauté pan (a heavy-bottomed pan is best for browning butter evenly—I use my trusty cast iron skillet)
- Medium saucepan for making the sauce (if you don’t have a large skillet)
- Colander for draining the beans
- Large bowl filled with ice water (for shocking the beans)
- 9×9-inch or 8×8-inch baking dish (a 9×13-inch for a double batch)
- Wooden spoon or silicone spatula for stirring
- Chef’s knife and cutting board
- Measuring cups and spoons
Budget-Friendly Alternatives: If you don’t have a cast iron skillet, any heavy-bottomed stainless steel or nonstick pan works fine. Just keep a close eye on the butter—thin pans heat unevenly and can burn it faster. And if you don’t have a baking dish, a 9-inch pie plate works in a pinch. I have done it before when my dish was in the sink, and it turned out just fine.
Preparation Method
Let’s get cooking! This recipe moves quickly once you start, so I like to have everything prepped and ready to go before I turn on the stove. Trust me, it makes the whole process so much smoother.
- Preheat your oven to 375°F (190°C). This gives it time to come to temperature while you work. Lightly grease your baking dish with a little butter or cooking spray.
- Blanch the green beans. Bring a large pot of salted water to a rolling boil. Add the trimmed green beans and cook for exactly 3 minutes. You want them bright green and tender-crisp—not mushy. While they cook, fill a large bowl with ice water. When the timer goes off, use a slotted spoon or tongs to transfer the beans to the ice water bath. This stops the cooking immediately and locks in that gorgeous green color. Let them sit for 2-3 minutes, then drain thoroughly and set aside. Pat them dry with a clean kitchen towel if they are still wet.
- Brown the butter. In your large skillet or sauté pan, melt the 4 tablespoons of butter over medium heat. Swirl the pan occasionally. The butter will start to foam and sputter—that is normal. Keep cooking, watching closely. After 3-5 minutes, the foam will subside, and you will see small golden brown specks forming at the bottom of the pan. The butter will smell nutty and amazing. As soon as it turns a light amber color, remove the pan from the heat. Do not walk away from this step—burnt butter happens in seconds, and there is no coming back from it.
- Sauté the aromatics. Add the chopped onion to the pan with the brown butter. Return the pan to medium heat and cook for 4-5 minutes, stirring occasionally, until the onion is soft and translucent. Add the sliced mushrooms and cook for another 5-6 minutes, until they have released their liquid and started to brown. Stir in the minced garlic and cook for 30 seconds until fragrant. Your kitchen is going to smell incredible right now.
- Make the creamy sauce. Sprinkle the flour over the onion and mushroom mixture. Stir constantly for 1-2 minutes to cook out the raw flour taste. Slowly pour in the milk while whisking continuously to prevent lumps. Then add the broth, salt, pepper, and nutmeg if using. Keep stirring until the sauce thickens, about 3-4 minutes. It should be thick enough to coat the back of a spoon. Taste and adjust seasoning if needed.
- Combine everything. Add the blanched green beans to the skillet with the sauce. Stir gently until every bean is coated in that creamy, brown butter goodness. Pour the entire mixture into your prepared baking dish and spread it into an even layer.
- Add the topping. In a small bowl, mix together the crispy fried onions, panko breadcrumbs, and Parmesan cheese if using. Sprinkle this mixture evenly over the top of the casserole. Don’t press it down—you want it to stay light and crunchy.
- Bake to perfection. Place the dish in the preheated oven and bake for 20-25 minutes, until the sauce is bubbly around the edges and the topping is golden brown and crispy. If you want an extra-crunchy top, you can broil it for the last 1-2 minutes, but watch it carefully so it doesn’t burn.
- Rest before serving. Let the casserole sit for 5 minutes after you take it out of the oven. This allows the sauce to set slightly, making it easier to serve. It also gives you a moment to set the table and call everyone to dinner.
Cooking Tips & Techniques
I have made this casserole at least a dozen times now, and I have learned a few things the hard way. Let me save you some trouble.
The Number One Mistake: Burning the Butter. I did it. I was distracted by a phone call, and suddenly my beautiful butter turned black and acrid. It smelled like a campfire in the worst way. Start over if that happens. There is no salvaging burnt butter. Keep the heat at medium, not high, and watch it like a hawk. The moment you see those brown specks and smell that nutty aroma, pull it off the heat.
Don’t Overcook the Beans. The blanching step is crucial, but do not leave them in the boiling water too long. Three minutes is perfect. They will continue to cook in the oven, so you want them to start with a bit of a crunch. Nobody likes mushy green beans.
Make-Ahead Magic. This casserole is perfect for holidays because you can assemble it a day ahead. Just follow the recipe through step 6, cover the dish with plastic wrap or foil, and refrigerate. The next day, let it sit on the counter for 20 minutes to take the chill off, then add the topping and bake. You might need to add 5-10 minutes to the baking time since it is starting from cold.
Timing and Multitasking. While the beans are blanching, you can start chopping the onion and slicing the mushrooms. While the sauce is thickening, you can mix the topping. A little bit of planning goes a long way in making this feel effortless.
Consistency is Key. If your sauce seems too thick after baking, don’t panic. It will loosen up as it sits. If it is too thin, you probably didn’t cook the flour long enough. Next time, give it an extra minute or two on the stove before adding the milk.
Variations & Adaptations
One of the best things about this recipe is how flexible it is. Here are a few ways to make it your own:
- Make it Gluten-Free: Use a gluten-free all-purpose flour blend for the sauce and gluten-free panko breadcrumbs for the topping. The rest of the ingredients are naturally gluten-free, so this is an easy swap.
- Add Some Protein: I have added shredded rotisserie chicken to this casserole before, and it turned it into a complete one-dish meal. Just stir in about 1 ½ cups of cooked, shredded chicken along with the green beans. It is perfect for using up leftovers.
- Go Dairy-Free: Use a high-quality vegan butter for browning (Miyoko’s works beautifully) and unsweetened oat milk or full-fat coconut milk for the sauce. The texture will be slightly different, but the flavor is still fantastic.
- Spice It Up: Add a pinch of red pepper flakes along with the garlic for a little heat. Or stir in a teaspoon of fresh thyme or rosemary for an herby twist. I tried it with thyme last Christmas, and it was a huge hit.
- Different Mushrooms: If you are feeling fancy, try using a mix of wild mushrooms like shiitake and oyster mushrooms. They add an even deeper, earthier flavor. Just be prepared to pay a bit more at the store.
Serving & Storage Suggestions
This casserole is a star on any table. Here is how to serve and store it like a pro.
Serving Temperature and Presentation: Serve it hot, straight from the oven. I like to use a nice oven-to-table baking dish so I can bring it right to the table without transferring it. Garnish with a sprinkle of fresh parsley or extra crispy onions on top for a pop of color.
What to Serve With It: This is the perfect side dish for any protein. It pairs beautifully with a juicy roast chicken, a holiday turkey, or even a simple pan-seared pork chop. For a full Thanksgiving-style spread, serve it alongside mashed potatoes and cranberry sauce. On a busy weeknight, I have even served it with a fried egg on top for a quick and satisfying dinner.
Storage Instructions: Leftovers can be stored in an airtight container in the refrigerator for up to 4 days. The topping will lose some of its crunch, but the flavor will still be amazing. I actually think the flavors meld together even more overnight.
Reheating Methods: The best way to reheat this is in the oven at 350°F (175°C) for about 15-20 minutes, covered with foil. This helps the sauce warm through without drying out the topping. You can also reheat individual portions in the microwave in 30-second bursts, but the topping will be soft. If you want to restore some crunch, sprinkle a few fresh crispy onions on top after reheating.
Freezer Instructions: You can freeze this casserole before baking. Assemble it completely, but do not add the topping. Cover it tightly with plastic wrap and then foil, and freeze for up to 3 months. When you are ready to bake, thaw it overnight in the refrigerator, add the topping, and bake as directed, adding about 10 minutes to the cooking time.
Nutritional Information & Benefits
While this is comfort food at its finest, it does have some redeeming qualities. Here is a rough estimate per serving (based on 6 servings):
- Calories: ~280
- Fat: 16g
- Carbohydrates: 28g
- Fiber: 4g
- Protein: 8g
- Sodium: 520mg
Health Benefits of Key Ingredients: Green beans are a great source of vitamins A, C, and K, as well as fiber. They are low in calories but high in nutrients. Mushrooms are one of the few natural food sources of vitamin D, and they also provide B vitamins and antioxidants. By using fresh ingredients and controlling the salt, you are already making a healthier version than the classic canned soup casserole.
Dietary Considerations: This recipe can be made gluten-free and dairy-free with simple substitutions (see the variations section). It is naturally vegetarian. To make it vegan, use vegan butter, plant-based milk, and skip the Parmesan cheese in the topping.
My Personal Wellness Perspective: I believe in balance. This casserole is not a health food, and it does not need to be. It is a dish made with real, whole ingredients that nourish your body and your soul. When I serve this to my family, I feel good knowing exactly what went into it—no mystery ingredients or preservatives. And the joy on their faces when they take that first bite? That is the real nutrition.
Conclusion
So there you have it—a green bean casserole that starts with a tip from a hardware store cashier and ends up as the star of your dinner table. It is proof that the best recipes don’t come from fancy cookbooks or celebrity chefs. Sometimes they come from a guy named Dave who just happens to know his way around a skillet.
I hope you give this recipe a try. I hope you brown the butter and watch it turn that gorgeous amber color. I hope your kids ask for seconds, and I hope you feel that little spark of pride when someone asks, “What did you do differently?” Because honestly, that never gets old.
And when you make it—because I know you will—come back and let me know how it went. Did you add your own twist? Did your family love it? Share your experience in the comments below. I read every single one, and I love hearing how these recipes become part of your own family traditions. Happy cooking, friends!
Frequently Asked Questions
Can I use frozen green beans instead of fresh?
Absolutely! Frozen green beans work great in this recipe. Just skip the blanching step. Thaw them first, pat them dry, and add them directly to the sauce. They will cook perfectly in the oven.
Why did my brown butter burn?
Burning butter happens fast. The key is to keep the heat at medium and watch it closely. Once the foam subsides and you see brown specks, remove it from the heat immediately. If it smells burnt or looks black, start over.
Can I make this casserole ahead of time?
Yes! You can assemble the casserole a day ahead, refrigerate it without the topping, and add the topping just before baking. You may need to add 5-10 minutes to the baking time.
How do I make the topping extra crunchy?
For maximum crunch, broil the casserole for the last 1-2 minutes of baking. Keep a close eye on it so it doesn’t burn. You can also add an extra layer of crispy fried onions halfway through baking.
What can I use instead of cream of mushroom soup?
This recipe does not use canned soup at all! The creamy sauce is made from scratch with brown butter, flour, milk, and broth. It is richer and more flavorful than any canned version.
Pin This Recipe!
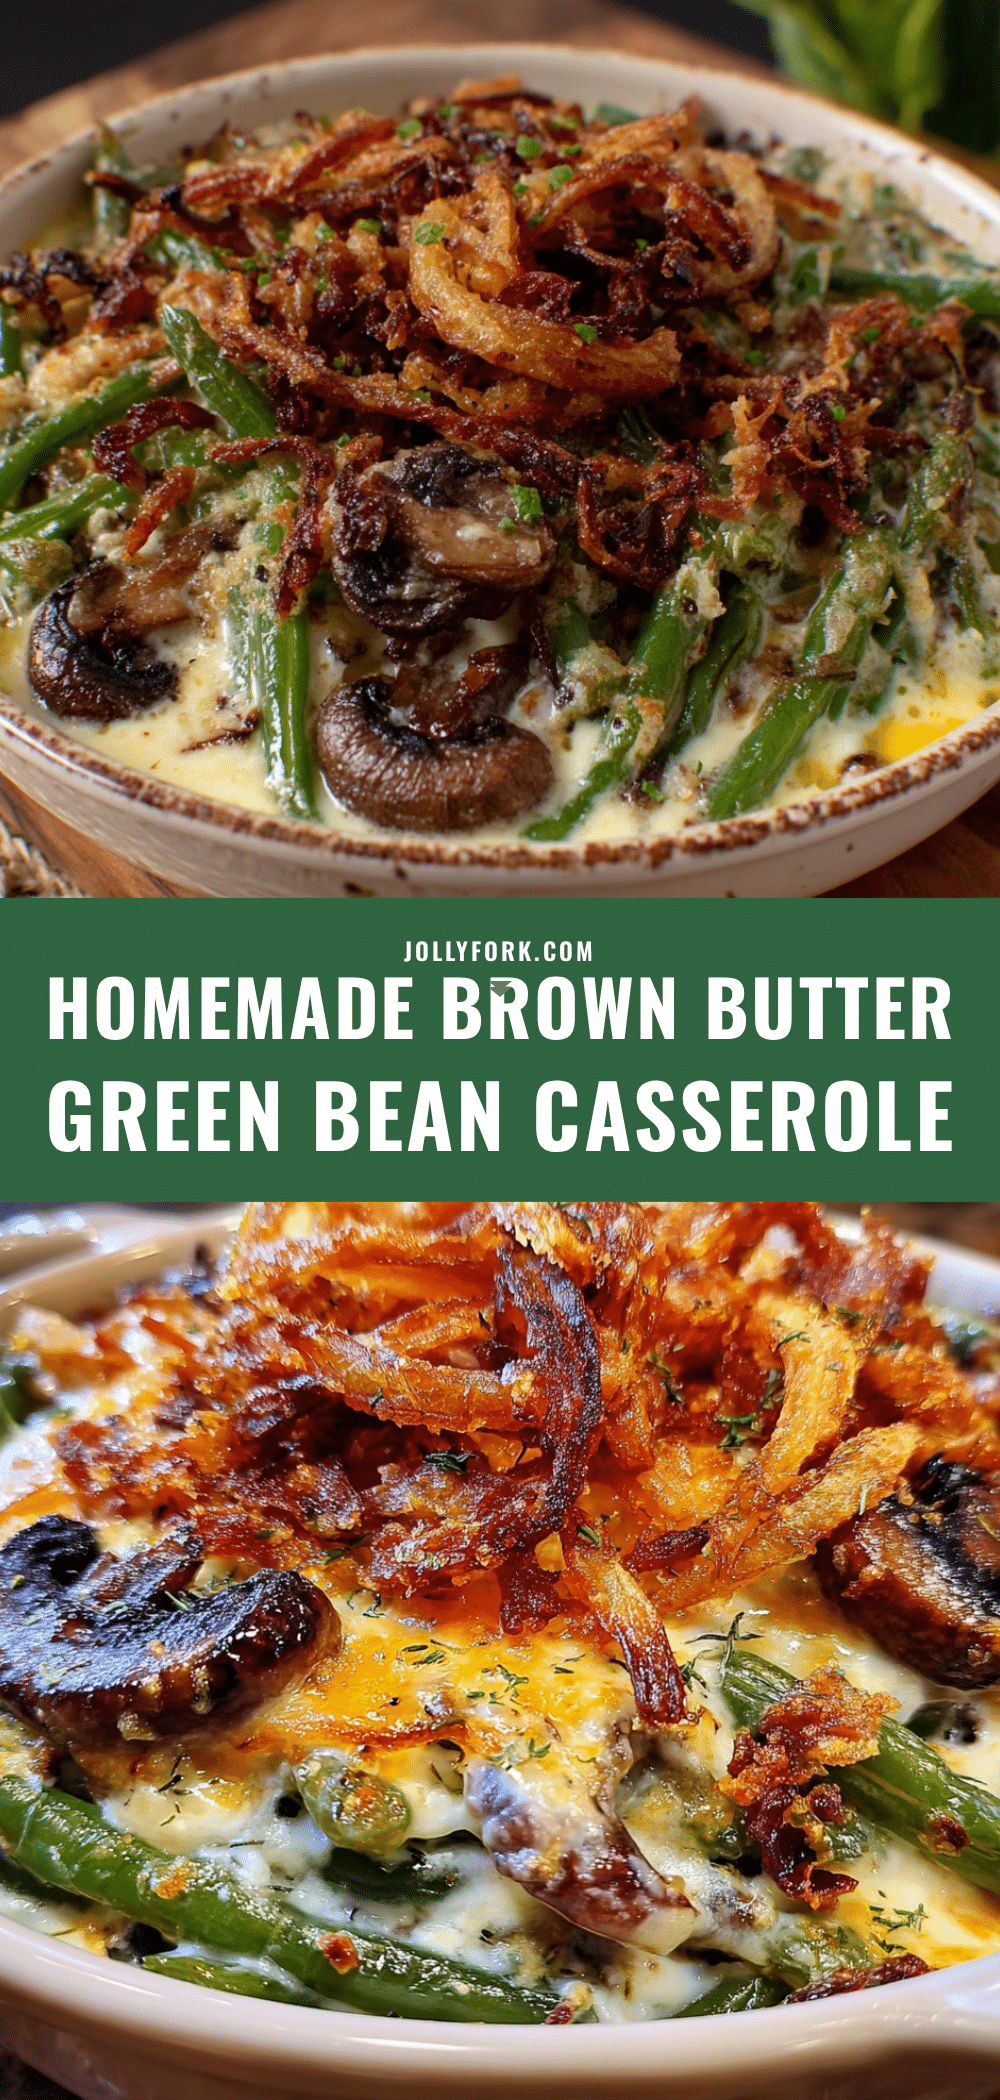
Homemade Brown Butter Green Bean Casserole – Best Easy Recipe

This isn’t your grandma’s green bean casserole—it’s a serious upgrade with brown butter that adds a nutty, caramel flavor. Easy, budget-friendly, and kid-approved, this dish comes together in about 40 minutes and is perfect for holidays or busy weeknights.
- Prep Time: 15 minutes
- Cook Time: 30 minutes
- Total Time: 45 minutes
- Yield: 6 servings 1x
- Category: Side Dish
- Cuisine: American
Ingredients
- 1 ½ pounds fresh green beans, trimmed and cut into 2-inch pieces
- 4 tablespoons unsalted butter
- 1 medium yellow onion, finely chopped (about 1 cup)
- 8 ounces cremini mushrooms, sliced
- 3 cloves garlic, minced
- 3 tablespoons all-purpose flour
- 1 ½ cups whole milk
- 1 cup low-sodium chicken or vegetable broth
- 1 teaspoon kosher salt, plus more to taste
- ½ teaspoon black pepper
- ¼ teaspoon ground nutmeg (optional)
- 1 ½ cups crispy fried onions
- ½ cup panko breadcrumbs
- 2 tablespoons grated Parmesan cheese (optional)
Instructions
- Preheat your oven to 375°F (190°C). Lightly grease your baking dish with a little butter or cooking spray.
- Blanch the green beans: Bring a large pot of salted water to a rolling boil. Add the trimmed green beans and cook for exactly 3 minutes. While they cook, fill a large bowl with ice water. When the timer goes off, use a slotted spoon or tongs to transfer the beans to the ice water bath. Let them sit for 2-3 minutes, then drain thoroughly and set aside. Pat them dry if still wet.
- Brown the butter: In a large skillet or sauté pan, melt the 4 tablespoons of butter over medium heat. Swirl the pan occasionally. The butter will start to foam and sputter. Keep cooking, watching closely. After 3-5 minutes, the foam will subside, and you will see small golden brown specks forming at the bottom of the pan. The butter will smell nutty. As soon as it turns a light amber color, remove the pan from the heat.
- Sauté the aromatics: Add the chopped onion to the pan with the brown butter. Return the pan to medium heat and cook for 4-5 minutes, stirring occasionally, until the onion is soft and translucent. Add the sliced mushrooms and cook for another 5-6 minutes, until they have released their liquid and started to brown. Stir in the minced garlic and cook for 30 seconds until fragrant.
- Make the creamy sauce: Sprinkle the flour over the onion and mushroom mixture. Stir constantly for 1-2 minutes to cook out the raw flour taste. Slowly pour in the milk while whisking continuously to prevent lumps. Then add the broth, salt, pepper, and nutmeg if using. Keep stirring until the sauce thickens, about 3-4 minutes. It should be thick enough to coat the back of a spoon. Taste and adjust seasoning if needed.
- Combine everything: Add the blanched green beans to the skillet with the sauce. Stir gently until every bean is coated. Pour the entire mixture into your prepared baking dish and spread it into an even layer.
- Add the topping: In a small bowl, mix together the crispy fried onions, panko breadcrumbs, and Parmesan cheese if using. Sprinkle this mixture evenly over the top of the casserole. Don’t press it down.
- Bake to perfection: Place the dish in the preheated oven and bake for 20-25 minutes, until the sauce is bubbly around the edges and the topping is golden brown and crispy. If you want an extra-crunchy top, you can broil it for the last 1-2 minutes, but watch it carefully.
- Rest before serving: Let the casserole sit for 5 minutes after you take it out of the oven. This allows the sauce to set slightly, making it easier to serve.
Notes
The number one mistake is burning the butter. Keep heat at medium and watch it like a hawk. Don’t overcook the beans during blanching—3 minutes is perfect. This casserole can be assembled a day ahead (through step 6), refrigerated, then add topping and bake the next day, adding 5-10 minutes to baking time. For extra crunchy topping, broil for the last 1-2 minutes. Leftovers can be stored in an airtight container in the refrigerator for up to 4 days. To freeze, assemble without topping, wrap tightly, and freeze for up to 3 months.
Nutrition
- Serving Size: 1 serving (1/6 of re
- Calories: 280
- Sugar: 6
- Sodium: 520
- Fat: 16
- Saturated Fat: 8
- Carbohydrates: 28
- Fiber: 4
- Protein: 8
Keywords: green bean casserole, brown butter, Thanksgiving side dish, easy casserole, holiday recipe, comfort food, homemade green bean casserole