I’m not supposed to play favorites with recipes, but my youngest daughter swore she hated pumpkin bread for six years. Six years. Every fall, when the pumpkin craze would hit, she’d wrinkle her nose and say, “Mom, that’s not for me.” I’d nod and make my loaf anyway, secretly hoping she’d come around. Then last October, I pulled a version out of the oven that smelled different—nutty, warm, almost like toasted caramel from the brown butter. I set it on the counter to cool and walked away to answer the phone. When I came back ten minutes later, there she was, standing at the kitchen island with a fork in one hand and a slice in the other, caught mid-bite. “This isn’t pumpkin bread,” she said, mouth half full. “This is something else.”
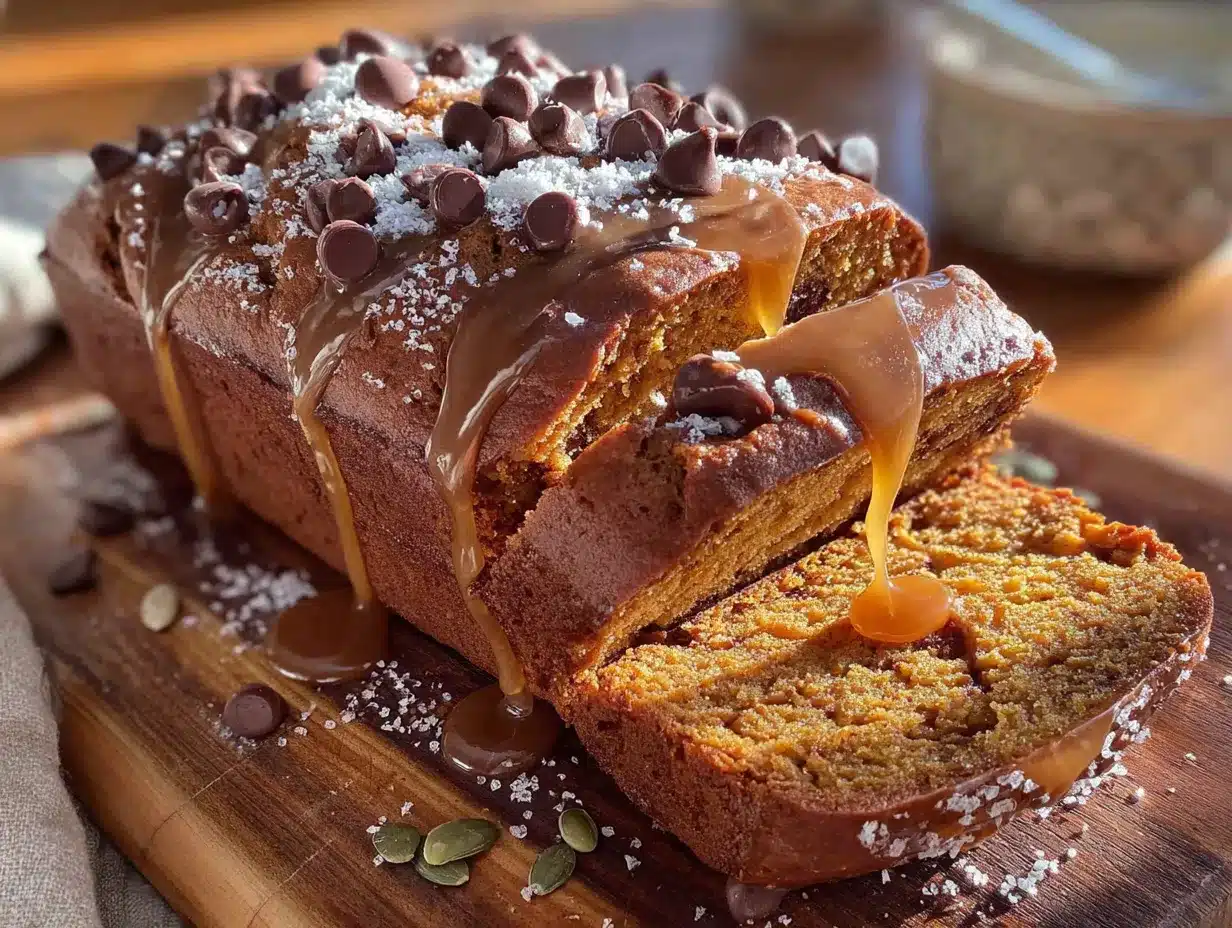
That moment—the caught-red-handed, fork-in-hand confession—stuck with me. Because honestly, she was right. This isn’t your standard pumpkin loaf. The brown butter changes everything. It adds this deep, almost butterscotch-like richness that makes the pumpkin flavor feel more like a backdrop than the main event. And the chocolate chips? They melt into little pockets of sweetness that keep even the most skeptical eaters coming back for another slice. I’ve made it four times since that afternoon, and each time, she’s the first one hovering by the oven.
Maybe you’ve been there too—trying to get a picky eater to try something seasonal without it turning into a negotiation. I get it. That’s why this recipe works. It doesn’t scream “pumpkin.” It whispers “buttery, chocolatey, slightly spiced comfort,” and somehow, that makes all the difference. Let me show you how to make it.
Why You’ll Love This Recipe
This Kid-Approved Brown Butter Pumpkin Chocolate Chip Bread isn’t just another pumpkin loaf. It’s the one that gets requested for school bake sales, holiday brunches, and random Tuesday afternoons. Here’s why it stands out:
- Quick & Easy: From start to oven in about 20 minutes. No stand mixer required, and the brown butter takes just 5 minutes on the stove.
- Simple Ingredients: You probably already have pumpkin puree, flour, sugar, eggs, and chocolate chips in your pantry. The only “special” ingredient is butter, and you’re browning that anyway.
- Perfect for Fall Gatherings: Great for Thanksgiving morning, Halloween parties, or cozy weekend baking with the kids.
- Crowd-Pleaser: Kids love the chocolate chips, adults love the nutty brown butter depth. It disappears fast.
- Unbelievably Delicious: The brown butter adds a toasty, caramelized flavor that makes this loaf taste way more complicated than it actually is.
What makes this recipe different from the rest? It’s the technique of browning the butter first. Most pumpkin bread recipes just melt the butter and call it a day. Taking those extra five minutes to brown it unlocks a whole new layer of flavor—nutty, warm, and slightly smoky—that complements the pumpkin and cinnamon perfectly. Plus, the chocolate chips aren’t an afterthought; they’re folded in generously so every slice has a few melty pockets.
This isn’t just good—it’s the kind of bread that makes you close your eyes after the first bite. It’s comfort food reimagined: faster than traditional quick breads, but with the same soul-soothing satisfaction. Perfect for impressing guests without stress, or turning a simple afternoon snack into something memorable.
What Ingredients You Will Need
This recipe uses simple, wholesome ingredients to deliver bold flavor and satisfying texture without the fuss. Most of these are pantry staples, and the few that aren’t are easy to find at any grocery store.
For the Brown Butter
- Unsalted butter – ½ cup (1 stick or 113g). I prefer unsalted so I can control the salt level. Land O’Lakes or Kerrygold work beautifully here.
- (Brown butter is just butter that’s been cooked until the milk solids toast—it takes about 5 minutes and changes everything.)
For the Bread
- All-purpose flour – 1¾ cups (220g). Spoon and level it into your measuring cup for accuracy.
- Baking soda – 1 teaspoon. Make sure it’s fresh—test it by dropping a pinch into vinegar; it should fizz.
- Ground cinnamon – 1½ teaspoons. This is the backbone of the spice profile.
- Ground nutmeg – ½ teaspoon. Freshly grated if you have it, but pre-ground works fine.
- Ground ginger – ¼ teaspoon. Adds a little warmth without being spicy.
- Salt – ½ teaspoon. Balances the sweetness and enhances the brown butter flavor.
- Granulated sugar – ¾ cup (150g). Regular white sugar keeps the texture light.
- Light brown sugar – ½ cup (100g), packed. Adds moisture and a hint of molasses that pairs perfectly with the brown butter.
- Large eggs – 2, at room temperature. Cold eggs can seize the brown butter, so let them sit out for 20 minutes first.
- Pumpkin puree – 1 cup (245g). Not pumpkin pie filling—make sure it’s 100% pure pumpkin. Libby’s is my go-to brand.
- Vanilla extract – 1 teaspoon. Pure vanilla, not imitation, for the best flavor.
- Semi-sweet chocolate chips – 1 cup (175g). I prefer Ghirardelli or Toll House. Milk chocolate works too if your kids prefer it sweeter.
- (Optional: ¼ cup chopped pecans or walnuts for texture, but my kids prefer it without.)
Equipment Needed
You don’t need a fancy kitchen to make this bread. Here’s what you’ll need:
- 9×5-inch loaf pan – The standard size. If you use an 8×4 pan, you’ll need to bake it a few minutes longer.
- Parchment paper – For lining the pan. Makes cleanup so much easier.
- Small saucepan – For browning the butter. Light-colored stainless steel works best so you can see the color change.
- Large mixing bowl – For the wet ingredients.
- Medium mixing bowl – For the dry ingredients.
- Whisk – For combining dry ingredients smoothly.
- Rubber spatula – For folding in the chocolate chips without overmixing.
- Cooling rack – Lets air circulate so the bottom doesn’t get soggy.
- Toothpick or skewer – For testing doneness.
If you don’t have a cooling rack, you can use the wire rack from your oven—just make sure it’s clean. And if you don’t have parchment paper, grease the pan well with butter and dust it with flour. I’ve done it both ways, and parchment is definitely easier.
Preparation Method
Step 1: Brown the Butter
Place the ½ cup of unsalted butter in a small saucepan over medium heat. Let it melt completely, then swirl the pan occasionally. After about 3-4 minutes, you’ll notice the butter starting to foam and turn golden. Watch carefully—it can go from perfect to burnt in seconds. When you see small brown specks forming at the bottom and it smells nutty and toasty (like toasted hazelnuts), remove it from the heat immediately. Pour it into a heatproof bowl to stop the cooking. Let it cool for 10 minutes while you prep the other ingredients.
Step 2: Preheat and Prep
Preheat your oven to 350°F (175°C). Line your 9×5-inch loaf pan with parchment paper, leaving some overhang on the long sides—this will help you lift the bread out later. If you don’t have parchment, grease the pan thoroughly with butter and dust it with flour.
Step 3: Mix the Dry Ingredients
In a medium mixing bowl, whisk together the 1¾ cups all-purpose flour, 1 teaspoon baking soda, 1½ teaspoons cinnamon, ½ teaspoon nutmeg, ¼ teaspoon ginger, and ½ teaspoon salt. Whisk for about 15 seconds to make sure everything is evenly distributed. Set aside.
Step 4: Combine the Wet Ingredients
In a large mixing bowl, whisk together the ¾ cup granulated sugar and ½ cup packed light brown sugar. Add the 2 room-temperature eggs and whisk until smooth and slightly pale, about 1 minute. Add the 1 cup pumpkin puree and 1 teaspoon vanilla extract, and whisk until fully combined. Slowly drizzle in the cooled brown butter while whisking continuously—this helps it incorporate smoothly instead of separating.
Step 5: Combine Wet and Dry
Pour the dry ingredients into the wet ingredients. Use a rubber spatula to fold them together gently. Stop as soon as you no longer see streaks of flour—overmixing will make the bread tough. A few small lumps are totally fine.
Step 6: Fold in the Chocolate Chips
Add the 1 cup semi-sweet chocolate chips to the batter. Fold them in with the spatula using just 5-6 strokes. Reserve about 2 tablespoons of chips to sprinkle on top of the batter once it’s in the pan—this makes the top look pretty and gives each slice a chocolatey crown.
Step 7: Bake
Pour the batter into the prepared loaf pan and spread it evenly. Sprinkle the reserved chocolate chips on top. Bake at 350°F (175°C) for 50-60 minutes. At the 45-minute mark, check it—if the top is browning too quickly, tent it loosely with aluminum foil. The bread is done when a toothpick inserted into the center comes out clean or with just a few moist crumbs (not wet batter).
Step 8: Cool and Serve
Let the bread cool in the pan on a wire rack for 15 minutes. Then lift it out using the parchment overhang and let it cool completely on the rack—about 1 hour. I know it’s tempting to slice it warm, but it will crumble if you cut it too soon. Trust me, I’ve learned this the hard way.
Cooking Tips & Techniques
Over the years, I’ve made this bread more times than I can count, and I’ve picked up a few tricks along the way. Here are the ones that make the biggest difference:
- Don’t rush the brown butter. The first time I made this, I got distracted and let the butter go too dark. It tasted bitter and smoky—not in a good way. Watch for that nutty aroma and golden-brown specks, then pull it off the heat immediately. If you see black specks, you’ve gone too far.
- Room temperature eggs matter. Cold eggs can cause the brown butter to seize up and become grainy. Set your eggs out on the counter 20 minutes before you start. In a pinch, place them in a bowl of warm water for 5 minutes.
- Measure your flour correctly. Scooping flour directly from the bag with your measuring cup packs it down and gives you too much. Instead, spoon the flour into the cup and level it off with a knife. This simple trick keeps your bread from turning out dry.
- Don’t overmix the batter. Once you add the dry ingredients to the wet, stop mixing as soon as the flour disappears. Overmixing develops gluten, which makes the bread dense and rubbery instead of tender.
- Use the toothpick test. Ovens vary, so don’t rely solely on the timer. Insert a toothpick into the center of the loaf. If it comes out clean or with a few crumbs, it’s done. If it’s wet, give it 5 more minutes and check again.
- Let it cool completely. I know it’s hard, but cutting into warm bread will give you a crumbly mess. The texture sets as it cools, and the flavors meld together. Patience pays off here.
Variations & Adaptations
One of the best things about this bread is how flexible it is. Here are some ways to make it your own:
Gluten-Free Version
Swap the all-purpose flour with a 1:1 gluten-free baking blend (I like Bob’s Red Mill). Add 1 teaspoon of xanthan gum if your blend doesn’t already include it. The texture will be slightly more tender, but it’s still delicious.
Dairy-Free Version
Use a high-quality vegan butter for browning—Miyoko’s or Country Crock Plant Butter work well. The brown butter flavor won’t be quite as intense, but it’s still good. Use dairy-free chocolate chips like Enjoy Life or Pascha.
Less Sugar Option
Reduce the granulated sugar to ½ cup and keep the brown sugar at ½ cup. The bread will be less sweet, but the chocolate chips still provide plenty of sweetness. My sister makes it this way and swears by it.
Spice It Up
Add ¼ teaspoon of cloves or allspice for a warmer, more complex spice profile. Or swap the cinnamon for pumpkin pie spice if you have it on hand. I’ve done this when I ran out of cinnamon, and it worked great.
Add Mix-Ins
Fold in ½ cup of toasted pecans or walnuts along with the chocolate chips for some crunch. My husband loves this version. You can also add ¼ cup of dried cranberries for a tart contrast to the sweet chocolate.
Serving & Storage Suggestions
This bread is incredibly versatile when it comes to serving. Here’s how I like to enjoy it:
- Serving Temperature: At room temperature is best. The flavors are most balanced, and the texture is tender. If you want it warm, pop a slice in the microwave for 10-15 seconds.
- Presentation: Slice it thick—about 1 inch wide. Serve on a wooden board or a simple plate. A dusting of powdered sugar makes it look extra special for guests.
- Pairings: A cup of coffee or chai tea is perfect alongside. For a treat, spread a little salted butter or cream cheese on a warm slice. My kids like it with a glass of cold milk.
- Storage: Store the bread in an airtight container at room temperature for up to 4 days. The flavors actually get better on day two as the brown butter melds with the pumpkin.
- Freezing: Wrap the cooled loaf tightly in plastic wrap, then in aluminum foil. Freeze for up to 3 months. To thaw, leave it on the counter overnight. You can also freeze individual slices for quick snacks.
- Reheating: For a just-baked feel, warm slices in a 300°F oven for 5-7 minutes. Or use the toaster oven for a slightly crisp edge.
Nutritional Information & Benefits
Here’s the approximate nutritional breakdown per slice (based on 10 slices):
- Calories: 320
- Fat: 16g
- Carbohydrates: 42g
- Fiber: 2g
- Sugar: 26g
- Protein: 5g
While this is definitely a treat, it does have some redeeming qualities. Pumpkin is packed with vitamin A and fiber, which supports eye health and digestion. The brown butter adds a small amount of vitamin A and healthy fats. And the dark chocolate chips provide antioxidants—so there’s that.
If you’re watching your sugar intake, you can reduce the sugar as mentioned in the variations. This bread also works well for vegetarians. For those with allergies, note that it contains gluten, dairy, and eggs. The gluten-free and dairy-free variations above are good alternatives.
I believe in balance—this bread is about joy and comfort, not perfection. One slice with your morning coffee or as an after-school snack is a beautiful thing.
Frequently Asked Questions
Can I use canned pumpkin pie filling instead of pumpkin puree?
No, I wouldn’t recommend it. Pumpkin pie filling is pre-sweetened and spiced, so it will throw off the sugar and spice balance in this recipe. Stick with 100% pure pumpkin puree for the best results.
Why did my bread sink in the middle?
This usually happens if the bread is underbaked or if you opened the oven door too early. Make sure your oven is fully preheated and resist the urge to peek until the 45-minute mark. Also, check that your baking soda is fresh—old baking soda won’t provide enough lift.
Can I make this into muffins instead?
Absolutely! Grease a 12-cup muffin tin or line it with paper liners. Divide the batter evenly among the cups and bake at 350°F for 18-22 minutes, or until a toothpick comes out clean. You’ll get about 12-14 muffins.
How do I know when the brown butter is done?
Watch for three signs: the butter will foam up, then subside; it will turn a golden-amber color; and you’ll smell a nutty, toasty aroma. You’ll also see small brown specks settling at the bottom of the pan. As soon as you see and smell these, pull it off the heat.
Can I skip the brown butter and just use melted butter?
You can, but you’ll lose a lot of flavor. The brown butter is what makes this bread special—it adds a deep, nutty richness that plain melted butter just can’t match. If you’re short on time, go ahead, but I promise the extra 5 minutes are worth it.
Conclusion
This Kid-Approved Brown Butter Pumpkin Chocolate Chip Bread is more than just a recipe—it’s the one that turned my pumpkin-hater into a pumpkin lover. It’s the bread that gets requested for every fall gathering, the one that makes the kitchen smell like a cozy bakery, and the one that disappears faster than I can slice it. The brown butter is the secret weapon here, adding a warmth and depth that makes this loaf feel special without any complicated techniques.
I’d love for you to try it and make it your own. Maybe add extra chocolate chips, swap in some pecans, or serve it warm with a pat of butter. Whatever you do, let me know how it turns out. Drop a comment below, share a photo, or tell me how your family reacted. Did you have a picky eater who finally came around? I’d love to hear your story.
Happy baking, friend. Here’s to warm slices, full bellies, and the simple joy of a really good loaf of bread.
Pin This Recipe!
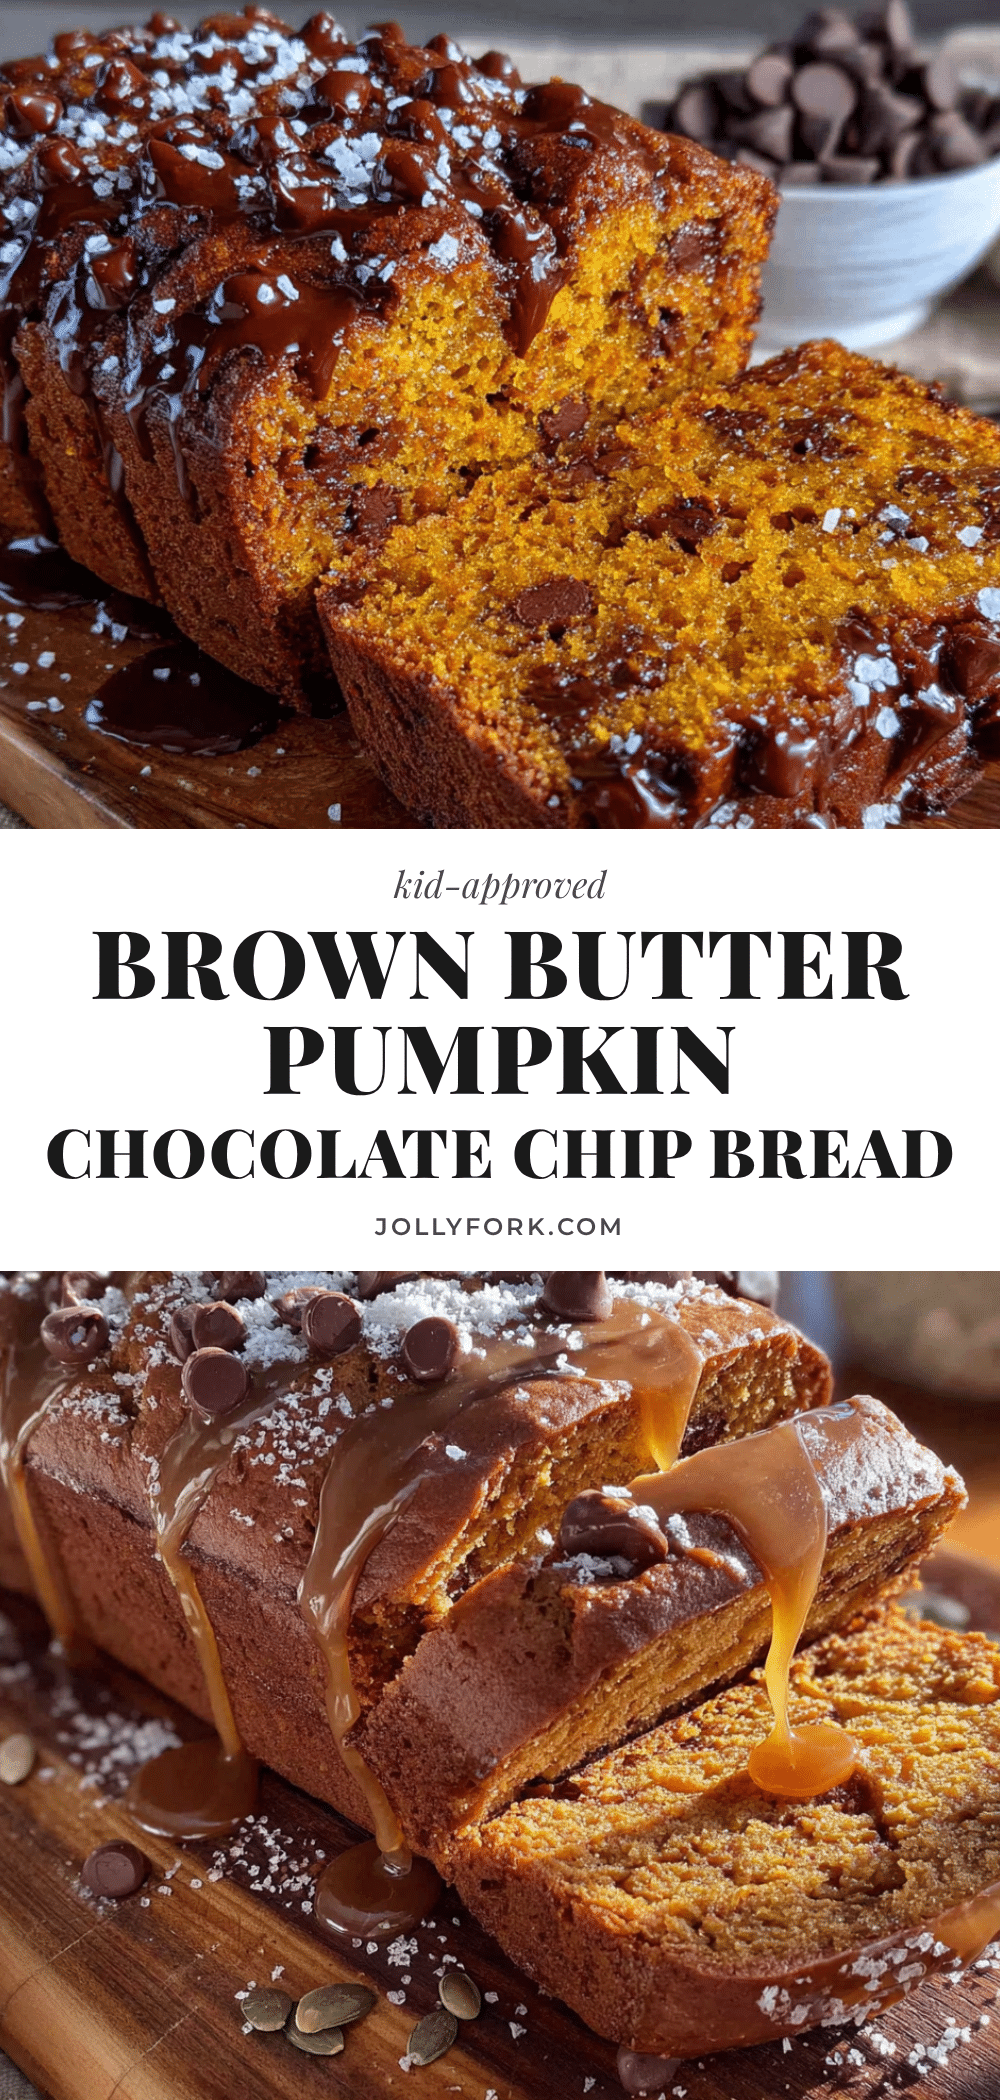
Kid-Approved Brown Butter Pumpkin Chocolate Chip Bread
This isn’t your standard pumpkin loaf. The brown butter adds a deep, almost butterscotch-like richness that makes the pumpkin flavor feel more like a backdrop than the main event. With melty chocolate chips in every slice, it’s the perfect fall treat that even picky eaters will love.
- Prep Time: 20 minutes
- Cook Time: 55 minutes
- Total Time: 1 hour 15 minutes
- Yield: 10 servings 1x
- Category: Dessert
- Cuisine: American
Ingredients
- ½ cup (1 stick or 113g) unsalted butter
- 1¾ cups (220g) all-purpose flour
- 1 teaspoon baking soda
- 1½ teaspoons ground cinnamon
- ½ teaspoon ground nutmeg
- ¼ teaspoon ground ginger
- ½ teaspoon salt
- ¾ cup (150g) granulated sugar
- ½ cup (100g) packed light brown sugar
- 2 large eggs, at room temperature
- 1 cup (245g) pumpkin puree (100% pure pumpkin, not pie filling)
- 1 teaspoon vanilla extract
- 1 cup (175g) semi-sweet chocolate chips
Instructions
- Brown the butter: Place ½ cup unsalted butter in a small saucepan over medium heat. Melt completely, then swirl occasionally. After 3-4 minutes, butter will foam and turn golden with small brown specks at the bottom and a nutty aroma. Remove from heat immediately and pour into a heatproof bowl. Let cool for 10 minutes.
- Preheat oven to 350°F (175°C). Line a 9×5-inch loaf pan with parchment paper, leaving overhang on the long sides. Alternatively, grease and flour the pan.
- Mix dry ingredients: In a medium bowl, whisk together 1¾ cups flour, 1 teaspoon baking soda, 1½ teaspoons cinnamon, ½ teaspoon nutmeg, ¼ teaspoon ginger, and ½ teaspoon salt for about 15 seconds. Set aside.
- Combine wet ingredients: In a large bowl, whisk together ¾ cup granulated sugar and ½ cup packed brown sugar. Add 2 room-temperature eggs and whisk until smooth and slightly pale, about 1 minute. Add 1 cup pumpkin puree and 1 teaspoon vanilla extract, whisk until combined. Slowly drizzle in cooled brown butter while whisking continuously.
- Combine wet and dry: Pour dry ingredients into wet ingredients. Fold gently with a rubber spatula until just combined—do not overmix. A few small lumps are fine.
- Fold in chocolate chips: Add 1 cup semi-sweet chocolate chips to batter. Fold with 5-6 strokes. Reserve 2 tablespoons of chips to sprinkle on top.
- Bake: Pour batter into prepared loaf pan and spread evenly. Sprinkle reserved chocolate chips on top. Bake at 350°F (175°C) for 50-60 minutes. At 45 minutes, check if top is browning too quickly; tent with foil if needed. Bread is done when a toothpick inserted in center comes out clean or with a few moist crumbs.
- Cool: Let bread cool in pan on a wire rack for 15 minutes. Lift out using parchment overhang and cool completely on rack, about 1 hour, before slicing.
Notes
Don’t rush the brown butter—watch for nutty aroma and golden-brown specks. Room temperature eggs prevent the brown butter from seizing. Measure flour by spooning and leveling. Don’t overmix the batter. Let bread cool completely before slicing to avoid crumbling. Store in an airtight container at room temperature for up to 4 days. Freeze wrapped tightly for up to 3 months.
Nutrition
- Serving Size: 1 slice (1/10 of loa
- Calories: 320
- Sugar: 26
- Sodium: 280
- Fat: 16
- Saturated Fat: 9
- Carbohydrates: 42
- Fiber: 2
- Protein: 5
Keywords: pumpkin bread, brown butter, chocolate chip bread, fall baking, kid-friendly, easy pumpkin recipe


