It was 10:47 PM on a random Tuesday in mid-October, and I had a very specific craving for something that felt like childhood mischief. I didn’t have any fancy cake mixes or those expensive store-bought pudding cups my kids beg for, but I had a box of instant chocolate pudding, a sleeve of Oreos I was hiding from my husband, and this ridiculous idea that maybe—just maybe—I could make something that would make my kids lose their minds.
Honestly, I was tired. The kind of tired where you’re standing in the kitchen in your pajamas, and the dishwasher needs unloading, but your brain has already clocked out. But that craving? It wouldn’t let go. I started crushing cookies in a ziplock bag with a rolling pin—which, let me tell you, is not a quiet activity at 11 PM—and suddenly my youngest appeared like a little ghost asking what I was doing.
“Making a graveyard,” I whispered, and her eyes got huge.
That night, we made the first batch of these Kid-Approved Graveyard Dirt Pudding Cups with Gummy Worms together, standing at the counter in our socks, giggling about how the gummy worms looked like they were crawling out of the dirt. It was messy, it was silly, and honestly? It was perfect. I’ve been making them every Halloween since, and they’ve become the thing my kids ask for even before they ask what we’re dressing up as.
You know that feeling when a recipe just clicks—when it’s so simple you almost feel guilty calling it a recipe, but the payoff is ridiculous? That’s this one. Maybe you’ve been there, staring into your pantry at 10 PM, wanting to make something fun without a trip to the store. Well, friend, this one’s for you.
Why You’ll Love This Recipe
Let me be straight with you—I’ve tested a lot of “dirt” desserts over the years, and most of them are either too complicated or taste like you’re eating a chemistry experiment. These Kid-Approved Graveyard Dirt Pudding Cups with Gummy Worms are different. They’re the real deal, and here’s why they’ll become your go-to Halloween dessert.
- Quick & Easy: We’re talking 15 minutes of active prep time. Seriously. The hardest part is crushing the cookies, and you can let your kids do that part (just maybe not at 11 PM like I did).
- Simple Ingredients: Chocolate instant pudding, cold milk, Oreos or chocolate sandwich cookies, cream cheese, whipped topping, and gummy worms. That’s it. No weird specialty items, no expensive baking chocolate, nothing you can’t find at any grocery store.
- Perfect for Halloween Parties: These little graveyard cups are the star of any classroom party, trunk-or-treat event, or family gathering. They’re portable, individual-sized, and kids absolutely lose their minds over them.
- Crowd-Pleaser: I’ve brought these to three different Halloween parties now, and every single time, the adults are sneaking extras. There’s something about that creamy pudding with the crunchy cookie “dirt” that hits different.
- Unbelievably Delicious: The texture combo is next-level. Smooth, creamy pudding meets crunchy, chocolatey cookie crumbs, with a tangy cream cheese layer that keeps it from being too sweet. And those gummy worms? Pure nostalgic joy.
What makes this recipe different from every other dirt dessert out there is the cream cheese layer. Most recipes just do pudding and crushed cookies, which is fine, but it’s one-note. Adding that cream cheese and whipped topping mixture gives it a lightness and a tang that balances the chocolate perfectly. It’s like a chocolate cheesecake pudding hybrid, and honestly, it’s genius.
This isn’t just a recipe—it’s the kind that makes you close your eyes after the first bite. It’s Halloween comfort food, reimagined as something you can throw together in the time it takes your kid to decide on a costume. Perfect for impressing without stress, or turning a regular Tuesday night into something memorable.
What Ingredients You Will Need
This recipe uses simple, budget-friendly ingredients to deliver that nostalgic Halloween dessert experience without the fuss. Most of these are pantry staples or easy to find at any grocery store, which is exactly what you need when you’re feeding a family on a sensible budget.
For the Pudding Layer
- 1 box (3.9 oz or 113g) instant chocolate pudding mix (I recommend Jell-O brand for consistent results, but store brands work fine too)
- 2 cups (480ml) cold whole milk (adds richness; 2% works but won’t be as creamy)
For the Cream Cheese Layer
- 4 oz (113g) cream cheese, softened to room temperature (use full-fat for best texture; low-fat makes it runny)
- 1/4 cup (50g) granulated sugar
- 1 teaspoon vanilla extract
- 1 cup (240ml) frozen whipped topping, thawed (like Cool Whip; or make your own with heavy cream if you’re feeling fancy)
For the “Dirt” and Decoration
- 20-24 chocolate sandwich cookies (Oreos are classic, but any brand works—I’ve used store brands and they’re fine)
- 1 cup (about 12-15) gummy worms (I recommend Trolli or Black Forest for the best texture; avoid the really cheap ones that get rock-hard)
- Optional: 4-6 gummy tombstone candies or candy pumpkins for decoration
Ingredient Tips: For the best texture, make sure your cream cheese is truly softened—not just out of the fridge. I’ve made the mistake of using cold cream cheese before, and you end up with lumpy pudding cups. Not the end of the world, but not as smooth. Also, use cold milk for the pudding mix. If your milk is even slightly warm, the pudding won’t set properly and you’ll get soupy “dirt.” Learned that one the hard way during a pre-party rush.
Substitution Guidance: Need a dairy-free version? Use coconut cream instead of cream cheese, and a plant-based whipped topping. For the pudding, there are dairy-free instant pudding options, or you can make a quick stovetop pudding with almond milk and cornstarch. Gluten-free? Use gluten-free chocolate sandwich cookies—they exist and they taste great. Just check the pudding mix label too.
Equipment Needed
You don’t need any fancy equipment for these Kid-Approved Graveyard Dirt Pudding Cups with Gummy Worms, which is part of their charm. Here’s what you’ll need:
- 6-8 small cups or glasses (clear plastic cups are perfect for showing off the layers; I use 8-ounce disposable cups for parties, but mason jars or small glass bowls work great too)
- Large mixing bowl (for the pudding)
- Medium mixing bowl (for the cream cheese mixture)
- Hand mixer or stand mixer (you can whisk by hand, but a mixer makes the cream cheese layer silky smooth)
- Ziplock bag or food processor (for crushing the cookies—a rolling pin and a bag is the budget-friendly option and honestly more fun with kids)
- Measuring cups and spoons
- Spatula (for scraping every last bit of that cream cheese goodness)
Budget-Friendly Tip: Don’t have a hand mixer? No problem. Let your cream cheese soften completely (like, leave it out for an hour), then mash it with a fork before stirring in the sugar and vanilla. It won’t be as fluffy, but it’ll still taste amazing. I’ve done this more times than I care to admit.
Preparation Method
Alright, let’s make some graveyard dirt pudding cups. I’ve broken this down step by step so even if you’re making these with a kitchen full of excited kids, you won’t miss a beat.
- Crush the cookies. Place your chocolate sandwich cookies in a large ziplock bag and seal it tight. Use a rolling pin to crush them into fine crumbs. You want a mix of fine “dirt” and a few slightly larger pieces for texture. If you’re using a food processor, pulse 5-6 times until you get that same consistency. Set the crumbs aside. (Pro tip: let the kids do this part—they love it, and it keeps them busy for a solid 5 minutes.)
- Make the pudding. In your large mixing bowl, whisk together the instant chocolate pudding mix and 2 cups of cold milk. Whisk for about 2 minutes until it starts to thicken. It should look glossy and smooth. Let it sit for 5 minutes to set up completely. (Sensory cue: you’ll feel it getting thicker as you whisk—that’s the magic happening.)
- Make the cream cheese layer. In your medium mixing bowl, beat the softened cream cheese with the sugar and vanilla extract until it’s smooth and fluffy. This takes about 2-3 minutes with a hand mixer. Scrape down the sides of the bowl with your spatula. Gently fold in the thawed whipped topping until everything is combined. It should look like a light, airy cheesecake filling.
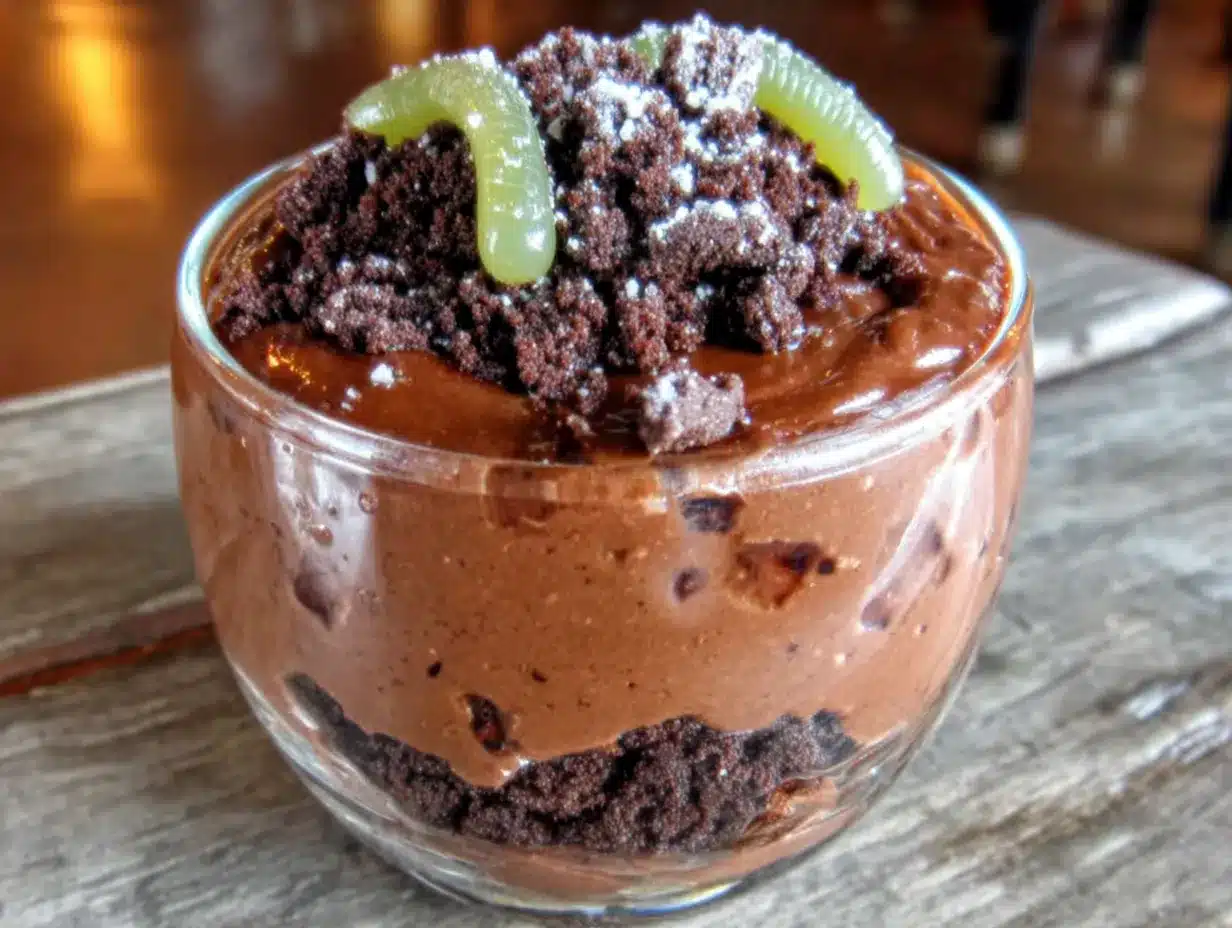
- Layer it up. Now for the fun part. Spoon about 2 tablespoons of the chocolate pudding into the bottom of each cup. Add a layer of the cream cheese mixture on top—about 2 tablespoons as well. Then sprinkle a generous layer of cookie crumbs over the cream cheese. Repeat: another layer of pudding, another layer of cream cheese mixture, and finish with a thick layer of cookie crumbs on top. You want the “dirt” to be the star of the show on top.
- Add the worms. Here’s where it gets creepy-crawly. Gently poke 2-3 gummy worms into each cup so they look like they’re crawling out of the dirt. Some can be halfway buried, some can be fully visible. Get creative with it—I like to have one worm “escaping” over the edge of the cup.
- Chill. Place the cups in the refrigerator for at least 2 hours. This is crucial—the layers need time to set and meld together. If you try to eat them right away, it’ll be more like pudding soup with cookie dust. Trust me on this one. (I’ve made that mistake before a party, and let’s just say we had to serve them with spoons and a lot of apologies.)
- Decorate and serve. Right before serving, add any extra decorations like candy pumpkins or gummy tombstones. If you’re feeling extra festive, you can add a few more cookie crumbs on top to cover any gaps. Serve cold and watch everyone freak out.
Time Estimate: Active prep time is about 15-20 minutes. Plus 2 hours of chilling time. Total time: about 2 hours 20 minutes.
Cooking Tips & Techniques
After making these Kid-Approved Graveyard Dirt Pudding Cups with Gummy Worms at least a dozen times (and messing them up plenty), I’ve learned a few things that make all the difference.
Don’t skip the cream cheese softening. I know it’s tempting to microwave it for 10 seconds when you’re in a rush, but be careful—microwaved cream cheese can get grainy and weird. If you’re short on time, cut it into small cubes and let it sit on the counter while you crush the cookies. That usually does the trick.
Crush cookies in batches. If you’re making a double batch (which you probably will because these disappear fast), don’t try to crush all the cookies at once in one bag. The bag will burst. I learned this the hard way when I had cookie crumbs all over my kitchen floor at 10 PM. Do two batches, it’s worth it.
Make ahead tip: These actually taste better the next day. The flavors meld together, the pudding gets even creamier, and the cookie crumbs soften just slightly into a cake-like texture. I often make them the night before a party, add the gummy worms and decorations right before serving, and they’re perfect.
The gummy worm trick: If your gummy worms are really stiff (some brands are harder than others), let them sit at room temperature for 15 minutes before you add them to the cups. They’ll be more pliable and look more natural “crawling” out of the dirt. Also, don’t push them all the way in—leave about half of the worm exposed for the best visual effect.
Consistency check: If your pudding isn’t setting up, it might be because your milk wasn’t cold enough, or you used a different type of milk (like almond milk) that doesn’t set as well. Stick with whole cow’s milk for the most reliable results. If you’re in a pinch and your pudding is still runny after 5 minutes, pop it in the freezer for 10 minutes to speed things along.
Variations & Adaptations
One of the best things about this recipe is how easy it is to make it your own. Here are some variations I’ve tried and loved.
Dairy-Free Version
Use coconut cream instead of cream cheese, and a dairy-free whipped topping. For the pudding, look for a vegan instant pudding mix (they exist, and they work well). Use your favorite dairy-free milk—I’ve had good luck with oat milk, but almond milk works too. The texture will be slightly different, but still delicious.
Spooky Spider Variation
Instead of gummy worms, use gummy spiders or add chocolate-covered raisins on top for “beetles.” You can also pipe melted white chocolate into spiderweb patterns on top of the dirt layer. My kids went absolutely nuts for this version last year.
Pumpkin Patch Version
Swap the chocolate pudding for vanilla or butterscotch pudding, and use crushed graham crackers instead of chocolate cookies for “sand.” Add candy pumpkins on top instead of worms. This is perfect for a fall-themed party that’s not specifically Halloween.
Healthier-ish Version
Use sugar-free pudding mix and sugar-free whipped topping. Use low-fat cream cheese. You can also use dark chocolate cookies for a slightly less sugary option. It won’t be health food, but it’ll be better than the original while still satisfying that Halloween craving.
Serving & Storage Suggestions
These Kid-Approved Graveyard Dirt Pudding Cups with Gummy Worms are best served cold, straight from the refrigerator. The contrast between the creamy layers and the crunchy “dirt” is at its peak when they’re well-chilled.
Serving Presentation: Clear cups are non-negotiable for the full effect. You want everyone to see those layers of pudding, cream cheese, and cookie crumbs. I like to serve them on a platter with a few extra gummy worms scattered around for a creepy-crawly vibe. For a Halloween party, you can even put them on a tray with fake spiderwebs and plastic spiders.
Storage: These keep beautifully in the refrigerator for up to 3 days. Just cover them with plastic wrap or put the lids on if you’re using disposable cups. The cookie crumbs will soften over time, which actually makes them taste more like a cake-like dessert—not a bad thing at all.
Freezer Instructions: You can freeze these! Make them without the gummy worms (worms get weird when frozen), wrap each cup tightly in plastic wrap, and freeze for up to 2 months. Thaw in the refrigerator overnight, then add fresh gummy worms before serving. I’ve done this for Halloween parties when I wanted to prep ahead, and they turned out perfectly.
Reheating? Nope, these are meant to be served cold. Don’t even think about microwaving them—you’ll end up with a sad, soupy mess.
Nutritional Information & Benefits
Let’s be real—these are a treat, not a health food. But here’s the approximate nutritional breakdown per serving (based on 8 servings):
- Calories: 320-350
- Fat: 14g
- Carbohydrates: 48g
- Protein: 6g
- Sugar: 32g
Health Benefits: The cream cheese provides a small amount of calcium and protein. The chocolate pudding contains a bit of iron. The gummy worms? Well, they make your kids happy, and that counts for something, right?
Dietary Considerations: This recipe contains dairy and gluten. For a gluten-free version, use gluten-free chocolate sandwich cookies and check your pudding mix label. For a dairy-free version, see the variations section above.
My Take: Look, I’m not here to pretend these are nutritious. But as a mom feeding a family on a budget, I know that treats are part of a balanced life. These use real ingredients—no artificial flavors, no preservatives, nothing weird. They’re homemade, made with love, and that’s worth more than any nutritional label can measure.
Conclusion
These Kid-Approved Graveyard Dirt Pudding Cups with Gummy Worms are everything a Halloween dessert should be—fun, easy, and absolutely delicious. They come together in minutes with ingredients you probably already have, and they’re guaranteed to be the hit of any Halloween party.
What I love most about this recipe is how it brings people together. I’ve made these with my kids on a cozy October evening, brought them to school parties where they disappeared in minutes, and even made them for a grown-up Halloween gathering where the adults were sneaking seconds. There’s something about digging into a cup of “dirt” that brings out the kid in everyone.
So go ahead—grab your ingredients, get the kids involved, and make some memories. Don’t forget to customize it to your family’s taste. Swap the worms for spiders, use different pudding flavors, or add some candy pumpkins on top. Make it yours.
I’d love to hear how yours turn out! Drop a comment below and tell me about your Halloween traditions, or share a photo of your graveyard cups. And if you’ve got a variation I haven’t tried, I’m all ears—I’m always looking for new ways to make these even better.
Happy Halloween, friends. Now go make some dirt.
Frequently Asked Questions
Can I make these graveyard dirt pudding cups ahead of time?
Absolutely! These are actually better when made a day ahead. The flavors meld together and the texture gets even creamier. Just add the gummy worms and any decorations right before serving so they stay fresh and look their best.
Can I use homemade pudding instead of instant?
Yes, you can use homemade chocolate pudding. Just make sure it’s fully cooled and thickened before layering. Homemade pudding can be slightly thinner than instant, so you might want to add a little extra cornstarch to help it set.
How do I keep the gummy worms from getting hard?
Gummy worms can get hard if they’re exposed to air for too long or if they’re stored in the refrigerator uncovered. Keep your cups covered with plastic wrap or lids, and don’t add the worms until you’re ready to serve. If they do get hard, let them sit at room temperature for 10-15 minutes.
Can I use different types of cookies for the dirt?
Definitely! Oreos are classic, but you can use any chocolate sandwich cookie. For a different flavor, try using chocolate graham crackers, chocolate wafer cookies, or even crushed chocolate chip cookies. Just make sure they’re finely crushed for that “dirt” texture.
How long do these last in the refrigerator?
These will keep well in the refrigerator for up to 3 days. The cookie crumbs will soften over time, which some people actually prefer. If you want to keep them longer, freeze them without the gummy worms and add fresh ones when you’re ready to serve.
Pin This Recipe!
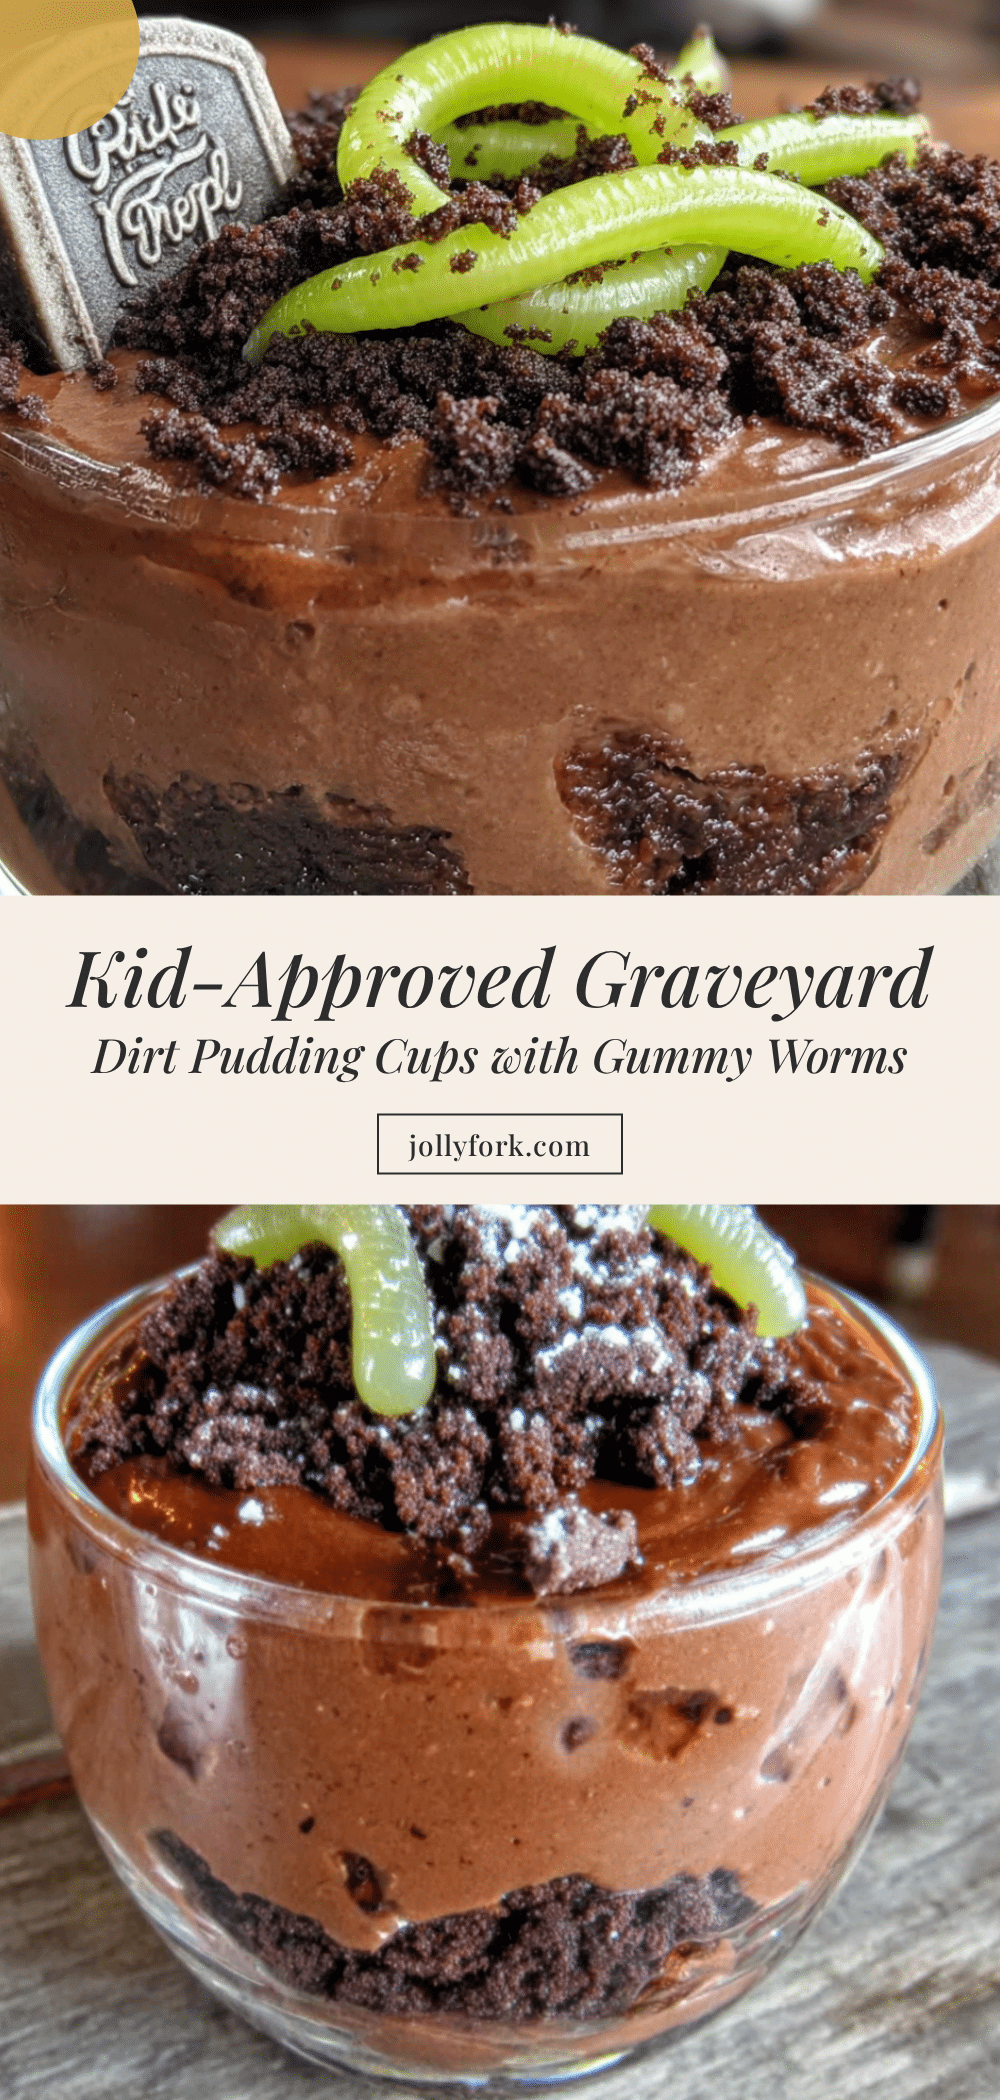
Kid-Approved Graveyard Dirt Pudding Cups with Gummy Worms: Easy Halloween Dessert
These Kid-Approved Graveyard Dirt Pudding Cups with Gummy Worms are a fun, easy Halloween dessert made with simple ingredients like chocolate pudding, Oreos, cream cheese, and gummy worms. They come together in minutes and are perfect for parties, guaranteed to be a hit with kids and adults alike.
- Prep Time: 15 minutes
- Cook Time: 0 minutes
- Total Time: 2 hours 20 minutes
- Yield: 8 servings 1x
- Category: Dessert
- Cuisine: American
Ingredients
- 1 box (3.9 oz or 113g) instant chocolate pudding mix
- 2 cups (480ml) cold whole milk
- 4 oz (113g) cream cheese, softened to room temperature
- 1/4 cup (50g) granulated sugar
- 1 teaspoon vanilla extract
- 1 cup (240ml) frozen whipped topping, thawed
- 20–24 chocolate sandwich cookies (e.g., Oreos)
- 1 cup (about 12-15) gummy worms
- Optional: 4-6 gummy tombstone candies or candy pumpkins for decoration
Instructions
- Crush the cookies: Place chocolate sandwich cookies in a large ziplock bag and crush with a rolling pin into fine crumbs with some larger pieces. Set aside.
- Make the pudding: In a large mixing bowl, whisk together instant chocolate pudding mix and 2 cups cold milk for about 2 minutes until thickened. Let sit for 5 minutes to set.
- Make the cream cheese layer: In a medium mixing bowl, beat softened cream cheese with sugar and vanilla extract until smooth and fluffy (2-3 minutes). Gently fold in thawed whipped topping until combined.
- Layer it up: Spoon about 2 tablespoons of chocolate pudding into the bottom of each cup. Add about 2 tablespoons of cream cheese mixture. Sprinkle a generous layer of cookie crumbs. Repeat layers: pudding, cream cheese mixture, and finish with a thick layer of cookie crumbs on top.
- Add the worms: Gently poke 2-3 gummy worms into each cup so they look like they’re crawling out of the dirt. Some can be halfway buried.
- Chill: Refrigerate for at least 2 hours to allow layers to set.
- Decorate and serve: Right before serving, add extra decorations like candy pumpkins or gummy tombstones. Serve cold.
Notes
For best results, ensure cream cheese is fully softened to avoid lumps. Use cold milk for pudding to set properly. These taste even better the next day as flavors meld. Add gummy worms just before serving to keep them from getting hard. For a dairy-free version, use coconut cream and dairy-free whipped topping. For gluten-free, use gluten-free chocolate sandwich cookies.
Nutrition
- Serving Size: 1 cup
- Calories: 335
- Sugar: 32
- Sodium: 380
- Fat: 14
- Saturated Fat: 8
- Carbohydrates: 48
- Fiber: 1
- Protein: 6
Keywords: Halloween dessert, dirt pudding cups, gummy worms, easy dessert, kid-friendly, no-bake, chocolate pudding, Oreo dirt


