It was 10:47 PM on a random Wednesday in October, and I had a very specific craving for something I couldn’t quite name. Not candy, not chips—something silly. Something that would make my kids laugh when they woke up. I didn’t have any fancy cookie cutters or themed sprinkles, but I had a pack of hot dogs in the fridge and a can of crescent rolls that was about to expire. That’s when the idea arrived—wrapping those hot dogs like little mummies with ketchup for eyes. Honestly, it felt a bit ridiculous at the time, like something I’d try at 2 AM and regret by morning. But let me tell you, when those golden, flaky little guys came out of the oven, I knew I was onto something. My youngest walked into the kitchen half-asleep the next morning, saw them on the counter, and just froze. Then came the giggling. Then came the grabbing. And that, right there, is why this recipe stuck with me. Maybe you’ve been there—needing a last-minute idea that feels special without being stressful. These mummy hot dogs are exactly that.
Why You’ll Love This Recipe
This isn’t just another hot dog recipe. After testing these about six times (yes, my family was thrilled), I can tell you exactly why they work so well. I’ve spent years cooking for picky eaters on a budget, and these mummy hot dogs hit every single note perfectly.
- Quick & Easy: Comes together in under 20 minutes, perfect for busy weeknights or last-minute Halloween parties.
- Simple Ingredients: No fancy grocery trips needed; you likely already have everything in your kitchen.
- Perfect for Halloween: Great for classroom parties, spooky dinners, or just a fun surprise after school.
- Crowd-Pleaser: Always gets rave reviews from kids and adults alike—I’ve seen grown-ups grab two.
- Unbelievably Delicious: The flaky, buttery crescent dough wrapped around a juicy hot dog is pure comfort food magic.
What makes this recipe different from the rest is the technique. I learned the hard way that wrapping the dough too tight makes the mummy look sad and flat. You need that little bit of space between the strips so the hot dog peeks through like a real mummy. It’s a small detail, but it makes all the difference. This recipe isn’t just good—it is the kind that makes you close your eyes after the first bite. It’s comfort food reimagined: playful, fast, but with the same soul-soothing satisfaction. Perfect for impressing your kids without spending hours in the kitchen.
What Ingredients You Will Need
This recipe uses simple, affordable ingredients to deliver big flavor and fun without the fuss. Most of these are pantry staples you probably already have on hand.
- 1 package (8 count) hot dogs — I recommend using beef or turkey hot dogs for the best flavor. Look for ones without artificial colors if you can. (Budget tip: store brand works perfectly fine.)
- 1 can (8 oz) refrigerated crescent roll dough — Pillsbury is my go-to brand for consistent flakiness. You can also find store brands that work well for less.
- Ketchup — For the mummy eyes. A squeeze bottle makes this much easier, but a spoon works too. (Use organic ketchup if you prefer no high-fructose corn syrup.)
- Mustard (optional) — For extra mummy details like bandages or mouths. Yellow mustard works best for contrast.
- Cooking spray or melted butter — For greasing the baking sheet and brushing on top for extra golden color. (I prefer melted butter for taste, but spray is fine.)
That’s it. Seriously. No weird ingredients, no trips to a specialty store. If you want to get fancy, you can add a sprinkle of everything bagel seasoning or sesame seeds before baking, but it’s totally optional. For a gluten-free version, use gluten-free crescent dough or puff pastry sheets cut into strips. Just note that gluten-free dough may brown faster, so keep an eye on it.
Equipment Needed
You don’t need much for this recipe, which is part of the beauty. Here’s what you’ll need:
- Baking sheet — A standard half-sheet pan works great. Line it with parchment paper for easy cleanup.
- Sharp knife or pizza cutter — For cutting the crescent dough into strips. A pizza cutter makes this super fast.
- Pastry brush (optional) — For brushing melted butter on top. A paper towel works in a pinch.
- Small bowl — For the ketchup if you’re not using a squeeze bottle.
- Toothpicks — For adding the ketchup eyes after baking. (Skip these if you’re serving very young children.)
If you don’t have a pizza cutter, a sharp knife does the job perfectly. I’ve also used kitchen shears in a pinch—just make sure they’re clean. My favorite baking sheet for these is a cheap one I got at a discount store, and it works better than my expensive one. Go figure.
Preparation Method
- Preheat your oven to 375°F (190°C). Line a baking sheet with parchment paper or lightly grease it with cooking spray. This step is important because the crescent dough can stick if you’re not careful.
- Unroll the crescent dough onto a clean cutting board. Press the perforated seams together gently with your fingers so you have one solid sheet of dough. Don’t worry if it’s not perfect—mummies are supposed to look a little rough.
- Cut the dough into strips using a sharp knife or pizza cutter. You want each strip to be about 1/2 inch wide and 4-5 inches long. You should get about 12-16 strips from one can of dough. (If the strips are too thin, they’ll break when wrapping. Too thick, and the mummy looks like a blob.)
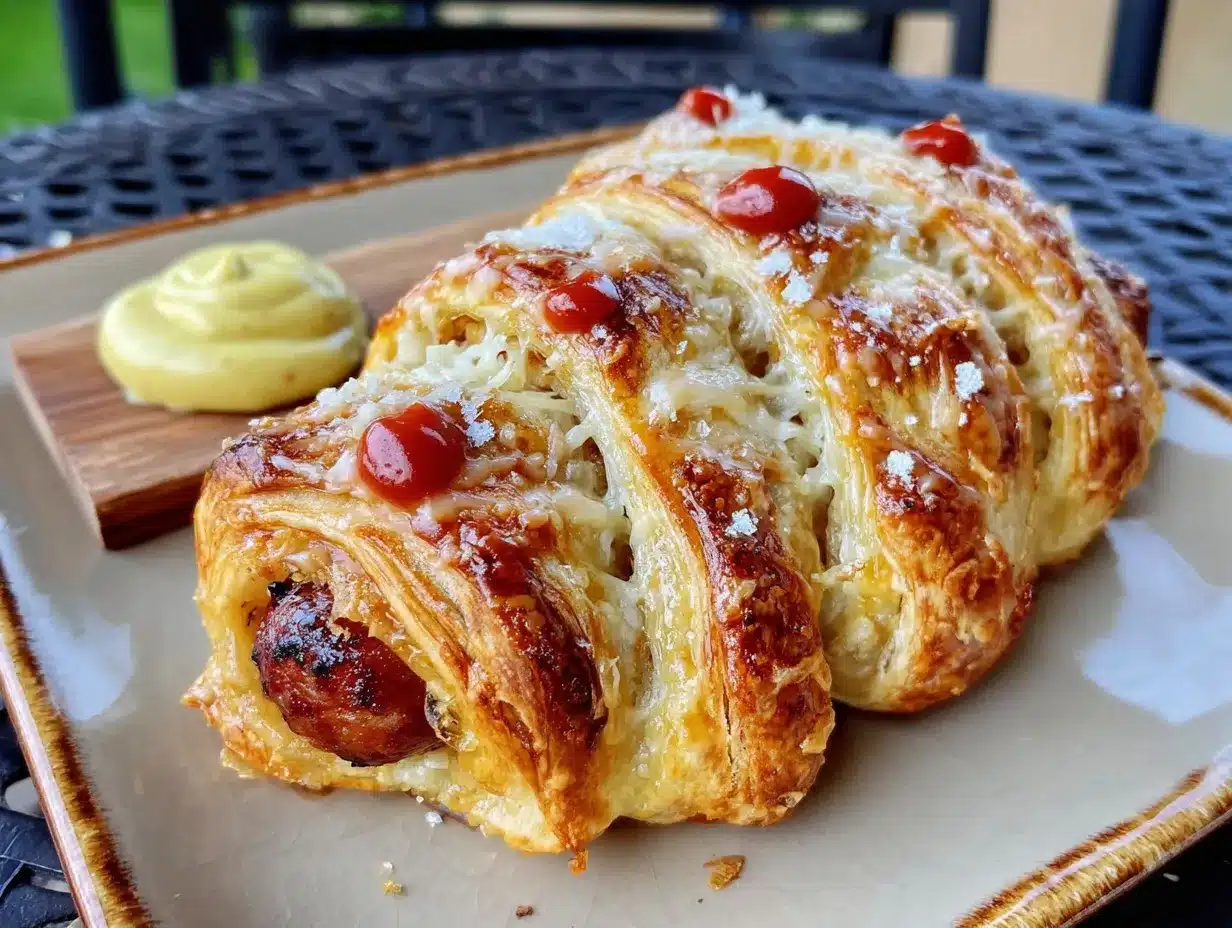
- Take one hot dog and start wrapping a strip of dough around it. Leave a small gap at the top for the mummy’s face—about 1 inch of exposed hot dog. Wrap the strip diagonally, overlapping slightly, until you reach the bottom. Leave about 1/2 inch of hot dog exposed at the bottom too. Don’t wrap too tightly, or the dough will tear as it bakes. You want it snug but not strangling the hot dog.
- Repeat with the remaining hot dogs. Place each wrapped mummy on the prepared baking sheet, leaving about 1 inch of space between them. They don’t spread much, but they need a little breathing room.
- Brush the tops with melted butter (or spray with cooking spray) for a golden, shiny finish. This step makes them look bakery-worthy. If you’re using butter, a light hand is better—too much and the dough gets soggy.
- Bake for 10-12 minutes, or until the dough is golden brown and the hot dogs are heated through. The dough should be puffed and flaky. If the edges start browning too fast, tent the baking sheet loosely with foil.
- Let them cool for 2-3 minutes on the baking sheet. This is crucial—the dough is very hot and the ketchup eyes will slide off if you add them too soon. Trust me, I learned this the hard way.
- Add the ketchup eyes using a squeeze bottle or a toothpick dipped in ketchup. Place two small dots on the exposed hot dog at the top of each mummy. You can also add a mustard mouth or bandages if you want to get creative. (For very young kids, skip the toothpick and just use the squeeze bottle directly.)
- Serve immediately while they’re warm and flaky. These are best fresh out of the oven, but they’re still good at room temperature for about an hour.
Cooking Tips & Techniques
After making these mummy hot dogs about a dozen times (my kids are very demanding taste testers), I’ve picked up a few tricks that make a real difference.
Don’t overwork the dough. Crescent dough is delicate, and if you handle it too much, it becomes tough. Use a light touch when pressing the seams together and when wrapping. If the dough tears, just press it back together—it’ll still bake up fine.
Space the strips evenly. I used to wrap randomly, and the mummies looked like they’d been through a tornado. Now I aim for about 4-5 wraps per hot dog, leaving small gaps so the hot dog shows through. It looks more like actual mummy bandages.
Watch the oven like a hawk. The difference between perfect golden mummies and burnt ones is about 90 seconds. Check at the 10-minute mark, and if they’re not done, check every 30 seconds after that. Every oven runs differently—mine runs hot, so I start checking at 9 minutes.
Let them rest. I know it’s tempting to dig in right away, but that 2-3 minute rest is non-negotiable. The dough continues cooking from residual heat, and the ketchup will stay put instead of sliding off. Plus, nobody wants a burned mouth on Halloween night.
Make extras. These disappear fast. I always make at least one and a half batches, and they’re still gone within 20 minutes. If you’re serving a crowd, double the recipe and use two baking sheets.
Variations & Adaptations
One of the best things about this recipe is how easy it is to customize. Here are some variations I’ve tried with great success:
- Cheesy Mummies: Before wrapping, cut a slit lengthwise in the hot dog and stuff it with a thin strip of cheddar or mozzarella cheese. The cheese melts out slightly and looks like mummy guts. My kids went absolutely wild for this version.
- Spicy Mummies: Use spicy chicken or beef hot dogs and add a tiny dot of sriracha to the ketchup eyes. This one’s more for the grown-ups, but my oldest (who thinks ketchup is too mild) loved it.
- Veggie Mummies: Swap the hot dogs for vegetarian or vegan sausages. I’ve tried this with plant-based bratwurst-style sausages, and they work beautifully. Just check the cooking time on the package—some need a few extra minutes.
- Breakfast Mummies: Use breakfast sausage links instead of hot dogs and serve with maple syrup for dipping. I made these for a Halloween morning breakfast, and they were a huge hit. The sweet-savory combo is surprisingly good.
- Puff Pastry Mummies: If you have puff pastry sheets instead of crescent rolls, cut them into strips and use those. The texture is flakier and more buttery, but the baking time stays about the same. Just make sure the pastry is thawed but still cold.
My personal favorite variation is the cheesy mummy. I tried it one night when I had leftover cheese sticks from a party, and honestly, it’s ruined regular mummy hot dogs for me. The melted cheese adds this gooey factor that takes everything to another level.
Serving & Storage Suggestions
These mummy hot dogs are best served warm, right after the ketchup eyes go on. The contrast between the flaky, warm dough and the cool ketchup is part of the magic. I like to arrange them on a platter with a small bowl of extra ketchup for dipping, plus some mustard if anyone wants it. They pair beautifully with a simple side of potato chips, apple slices, or carrot sticks for a balanced plate.
For a Halloween party spread, serve them alongside spider web dip and ghost-shaped pizzas for a full themed menu. The kids will lose their minds, I promise.
Storage: If you have leftovers (unlikely, but possible), store them in an airtight container in the refrigerator for up to 3 days. The dough will soften slightly, but they’re still tasty. To reheat, pop them in a 350°F (175°C) oven for 5-7 minutes, or until warmed through. Avoid the microwave—it makes the dough soggy and sad.
Freezing: You can freeze the unbaked mummies on a baking sheet until solid, then transfer them to a freezer bag. Bake from frozen, adding 3-5 minutes to the cooking time. I’ve done this for last-minute Halloween parties, and it works like a charm. Just don’t add the ketchup eyes until after baking.
Nutritional Information & Benefits
Each mummy hot dog (using standard ingredients) contains approximately 180-220 calories, 12g fat, 16g carbohydrates, and 7g protein. The exact numbers depend on your hot dog and dough brands, but this gives you a solid estimate.
While these are definitely a treat, they’re not as bad as you might think. Hot dogs provide a decent amount of protein, and the crescent dough offers quick energy. If you use turkey or chicken hot dogs, you’ll cut the fat and calories significantly. For a slightly healthier version, try whole-wheat crescent dough and low-sodium hot dogs.
These mummy hot dogs are not gluten-free unless you use gluten-free dough, and they contain dairy if you use butter. If you have allergies, check your hot dog labels carefully—some contain dairy or soy. For a dairy-free version, skip the butter brush and use olive oil spray instead.
Conclusion
These kid-approved mummy hot dogs with ketchup eyes are proof that the best recipes don’t need to be complicated. They’re fun, affordable, and come together in under 20 minutes with ingredients you probably already have. Whether you’re throwing a Halloween party, looking for a silly weeknight dinner, or just want to make your kids giggle, these little guys deliver every single time.
I love this recipe because it reminds me that cooking doesn’t always have to be serious. Sometimes the best moments happen when you’re just playing around in the kitchen, trying something ridiculous that ends up being brilliant. My kids still ask for these year-round, not just at Halloween. That’s the highest compliment they can give.
So go ahead—grab that pack of hot dogs and that can of crescent dough, and make some mummies. And when your kids start laughing at the ketchup eyes, send me a comment and let me know how it went. I’d love to hear about your mummy-making adventures. Happy Halloween, and happy cooking!
Frequently Asked Questions
Can I make these mummy hot dogs ahead of time?
Yes! You can assemble them up to 24 hours in advance and keep them covered in the refrigerator. Just add the ketchup eyes after baking, not before. If you’re freezing them, freeze unbaked on a baking sheet, then transfer to a freezer bag. Bake from frozen, adding a few extra minutes.
What if I don’t have crescent roll dough?
No problem! You can use puff pastry sheets, refrigerated pizza dough, or even homemade pie crust. Just cut whatever dough you have into thin strips and wrap the same way. The baking time might vary slightly, so keep an eye on the oven.
How do I keep the ketchup eyes from sliding off?
The key is letting the mummies cool for 2-3 minutes before adding the ketchup. If the hot dog is still piping hot, the ketchup will just run off. You can also use a toothpick to dab on small dots instead of squeezing directly from the bottle.
Can I use something other than ketchup for the eyes?
Absolutely! Mustard works great for yellow eyes, or you can use sriracha for spicy red eyes. For a milder option, try barbecue sauce or even a tiny dot of cream cheese mixed with food coloring. Get creative—mummies can have any color eyes you want.
Are these safe for very young children?
Yes, with a few modifications. Skip the toothpick and use a squeeze bottle directly for the eyes. Make sure the mummies are cooled to a safe temperature before serving. You can also cut the hot dogs into smaller pieces before wrapping if you’re worried about choking hazards. Always supervise young kids while eating.
Pin This Recipe!
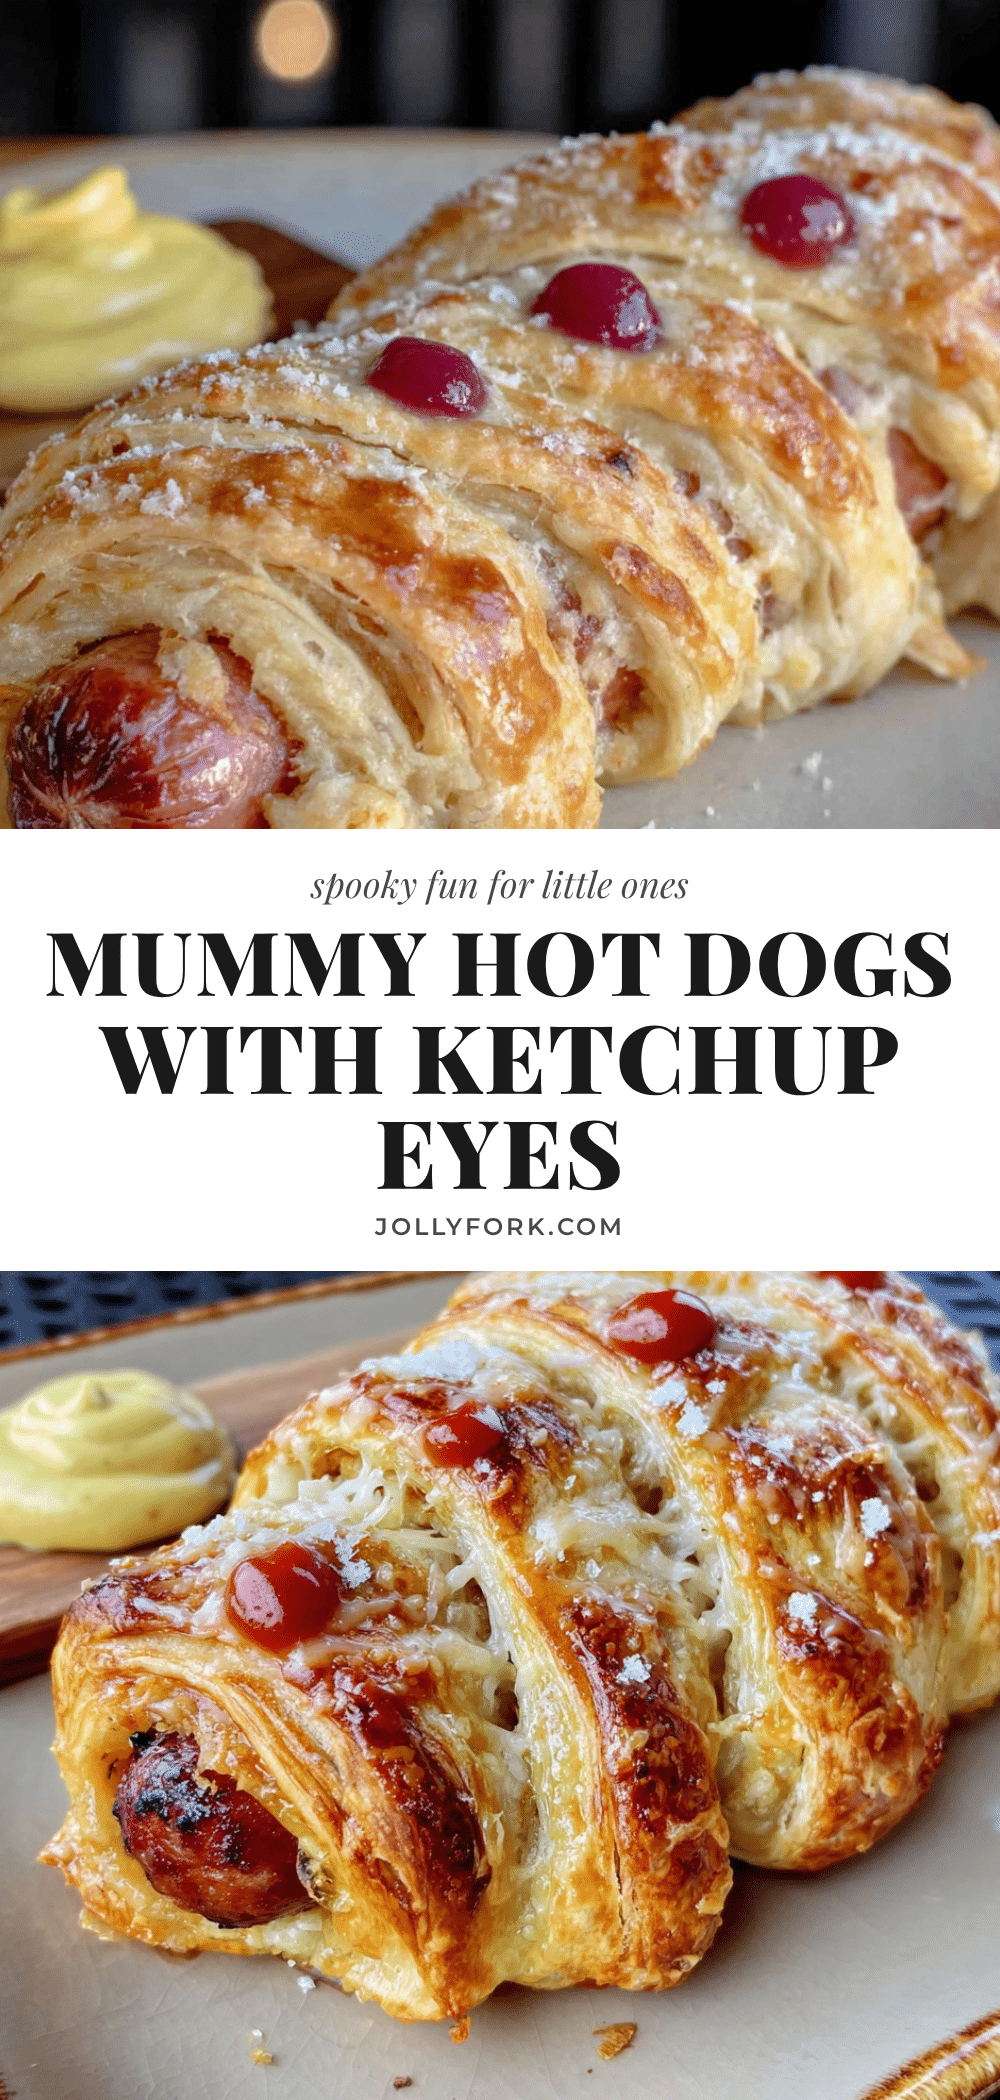
Kid-Approved Mummy Hot Dogs: Best Easy Halloween Recipe
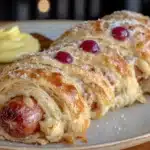
These mummy hot dogs are a fun, quick, and easy Halloween treat made with hot dogs wrapped in crescent roll dough, baked until golden, and topped with ketchup eyes. Perfect for busy weeknights or last-minute parties, they’re a crowd-pleaser that kids and adults love.
- Prep Time: 10 minutes
- Cook Time: 12 minutes
- Total Time: 22 minutes
- Yield: 8 servings 1x
- Category: Appetizer
- Cuisine: American
Ingredients
- 1 package (8 count) hot dogs (beef or turkey recommended)
- 1 can (8 oz) refrigerated crescent roll dough (e.g., Pillsbury)
- Ketchup (for mummy eyes)
- Mustard (optional, for extra details)
- Cooking spray or melted butter (for greasing and brushing)
Instructions
- Preheat your oven to 375°F (190°C). Line a baking sheet with parchment paper or lightly grease it with cooking spray.
- Unroll the crescent dough onto a clean cutting board. Press the perforated seams together gently with your fingers to form one solid sheet.
- Cut the dough into strips about 1/2 inch wide and 4-5 inches long using a sharp knife or pizza cutter. You should get about 12-16 strips.
- Take one hot dog and start wrapping a strip of dough around it diagonally, leaving about 1 inch of exposed hot dog at the top for the face and about 1/2 inch at the bottom. Wrap snugly but not too tight, overlapping slightly.
- Repeat with the remaining hot dogs. Place each wrapped mummy on the prepared baking sheet, leaving about 1 inch of space between them.
- Brush the tops with melted butter or spray with cooking spray for a golden finish.
- Bake for 10-12 minutes, or until the dough is golden brown and the hot dogs are heated through. Check at 10 minutes and monitor closely to avoid burning.
- Let them cool on the baking sheet for 2-3 minutes before adding the ketchup eyes.
- Add the ketchup eyes using a squeeze bottle or a toothpick dipped in ketchup. Place two small dots on the exposed hot dog at the top of each mummy. Optionally, add a mustard mouth or bandages.
- Serve immediately while warm and flaky.
Notes
Don’t wrap the dough too tight to allow the hot dog to peek through like a real mummy. Let the mummies cool for 2-3 minutes before adding ketchup eyes to prevent them from sliding off. For a gluten-free version, use gluten-free crescent dough or puff pastry sheets. For a dairy-free version, skip the butter and use olive oil spray. Store leftovers in an airtight container in the refrigerator for up to 3 days; reheat in a 350°F oven for 5-7 minutes. Freeze unbaked mummies on a baking sheet, then transfer to a freezer bag; bake from frozen, adding 3-5 minutes.
Nutrition
- Serving Size: 1 mummy hot dog
- Calories: 200
- Sugar: 4
- Sodium: 500
- Fat: 12
- Saturated Fat: 4
- Carbohydrates: 16
- Protein: 7
Keywords: mummy hot dogs, Halloween recipe, easy Halloween snack, kid-friendly, crescent roll hot dogs, spooky dinner