My neighbor, a woman named Patty who gardens in old sneakers and never seems to rush, wasn’t trying to impress anyone that Tuesday. I’d stopped by to return a set of hedge clippers I’d borrowed, and the smell hit me before I even got to her back door. It wasn’t a typical dinner smell—more like something warm, sweet, and savory all at once. I stood there on her porch for a second, just breathing it in, trying to figure out what it was. When she opened the door and saw me, she just laughed and said, “Oh, that’s just the squash I’m wrestling with for the kids.” Just the squash. Honestly, I thought she was being modest until I saw it.
There on her stovetop were these perfect little acorn squash halves, each one stuffed with what looked like a tiny, delicious party. Ground meat, rice, a little cheese on top—it was basically a whole meal packed into a bowl that you could eat. Her two boys were already at the table, forks in hand, not complaining about vegetables. I mean, you know that feeling when you see a kid actually excited about dinner? It’s like spotting a unicorn. I asked her what she put in them, and she just shrugged and said, “Whatever was in the fridge, honestly.” She made it sound like nothing, but I knew right then I’d be making this myself.
Maybe you’ve been there—staring at a pile of acorn squash at the store, thinking they look pretty but having no clue what to do with them. Or maybe you’ve tried to serve them and gotten the dreaded “what is this?” from your kids. I get it. But this recipe is different. It’s not fancy. It’s not fussy. It’s the kind of dinner that makes you look like a hero without actually trying that hard. Since that afternoon on Patty’s porch, I’ve made these squash bowls more times than I can count. They’ve become my go-to for those nights when I need something that feels special but costs next to nothing.
Why You’ll Love This Recipe
Let me tell you why this recipe has earned a permanent spot in my weekly rotation. It’s not just another stuffed squash recipe—it’s the one that actually works for real families with real budgets and real picky eaters.
- Budget-Friendly: Acorn squash is usually one of the cheapest winter squashes out there. I’ve snagged them for as little as 99 cents each at my local grocery store. The filling uses simple pantry staples like rice and ground meat, so you’re not breaking the bank.
- Kid-Approved: This is the big one. The natural sweetness of the roasted squash pairs perfectly with savory, seasoned meat and rice. My own kids, who normally side-eye anything green or orange, actually ask for seconds. The key is making it feel like a fun “bowl” they can eat out of.
- Picky Eater Friendly: You can totally customize the filling based on what your family likes. Don’t like ground beef? Use turkey or chicken. Got a kid who hates onions? Leave them out or grate them so fine they disappear. The squash itself is so mild and sweet, it’s a great vehicle for almost any filling.
- Perfect for Busy Weeknights: The hands-on time is about 20 minutes. The oven does the rest of the work. You can even prep the squash and filling a day ahead, then just bake when you’re ready. That’s a win in my book.
- Great for Leftovers: These squash bowls reheat beautifully. The flavors actually get better overnight as the filling and squash meld together. I often double the recipe so we have lunch for the next day.
What makes this recipe different from all the other stuffed squash recipes out there? It’s the balance. The filling isn’t too dry or too wet. The squash is roasted just until tender but not mushy. And the whole thing comes together with ingredients you probably already have in your pantry. It’s comfort food that feels wholesome without being preachy. Honestly, it’s the kind of dinner that makes you close your eyes after the first bite, not because it’s fancy, but because it’s just so satisfying.
What Ingredients You Will Need
This recipe uses simple, wholesome ingredients to deliver big flavor and satisfying texture without any fuss. Most of these are pantry staples or easy to find at any grocery store. Here’s what you’ll need:
For the Squash Bowls
- 2 medium acorn squash (about 1 to 1.5 pounds each) – Look for squash that feels heavy for its size and has a deep green color with some orange patches. That orange means it’s ripe and sweet.
- 1 tablespoon olive oil – For brushing the squash halves before roasting. It helps them caramelize and get tender. You can use avocado oil if you prefer.
- Salt and black pepper – A good pinch of each for seasoning the squash.
For the Savory Filling
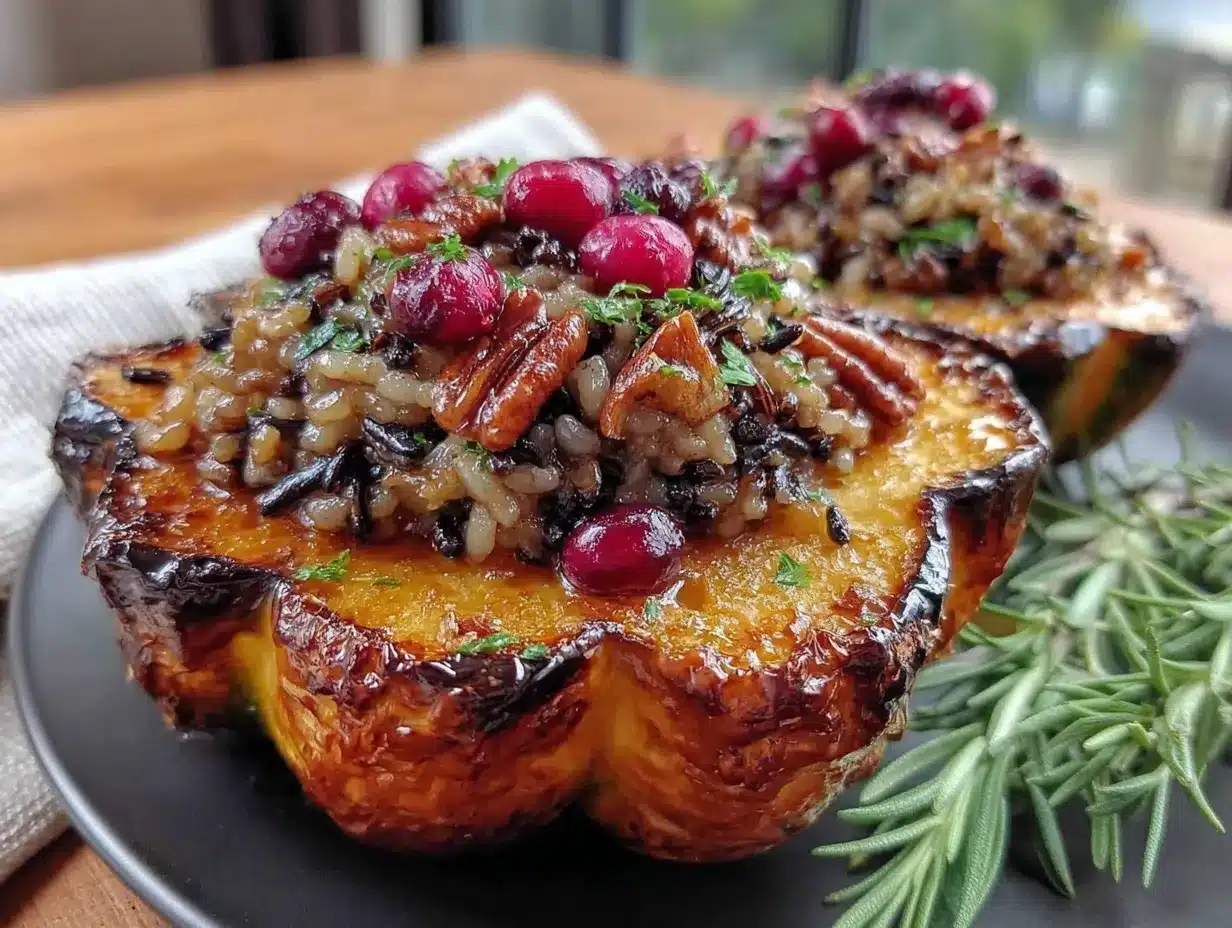
- 1 tablespoon olive oil – For sautéing the aromatics.
- 1/2 cup finely chopped yellow onion (about 1 small onion) – I like to chop it really fine so it almost melts into the filling. This is a great trick for picky eaters.
- 2 cloves garlic, minced – Fresh garlic is best, but you can use 1/2 teaspoon garlic powder in a pinch.
- 1 pound ground beef (80/20) – I use 80/20 because it has enough fat to stay juicy. You can use ground turkey, chicken, or even plant-based crumbles. (I’ve tried ground turkey and it works great, just add a little extra olive oil so it doesn’t dry out.)
- 1 cup cooked rice (white or brown) – Leftover rice works perfectly here. It’s a great way to use up what you have. Quinoa or farro would also work.
- 1 cup crushed tomatoes or tomato sauce – I prefer crushed tomatoes for a little more texture. If you only have tomato sauce, that’s fine too.
- 1 teaspoon dried oregano – Adds that warm, Italian-ish flavor that kids tend to love.
- 1/2 teaspoon ground cumin – This is my little secret. It adds a subtle warmth that makes the filling taste more complex without being spicy.
- 1/2 teaspoon salt – Adjust to taste depending on your broth or tomatoes.
- 1/4 teaspoon black pepper – Freshly ground is always nice, but pre-ground works.
- 1/2 cup shredded cheddar or mozzarella cheese (optional but highly recommended) – For topping the squash before the final bake. It gets all melty and golden. Use dairy-free cheese if needed.
For Garnish (Optional)
- Fresh parsley or chives, chopped – A little green makes it look pretty, but honestly, I skip this half the time.
- Sour cream or Greek yogurt – A dollop on top is really nice, especially if you like a little tang.
Ingredient Tip: I’ve tried this recipe with ground pork and it was delicious. Also, if you’re short on time, you can use a packet of pre-cooked rice from the freezer section. Just make sure to fluff it well before mixing it in.
Equipment Needed
You don’t need any fancy gadgets for this recipe, which is part of why I love it. Here’s what you’ll need:
- Sharp chef’s knife: Acorn squash can be tough to cut. A sharp, heavy knife makes it much safer and easier. I’ve learned the hard way that a dull knife is a recipe for a trip to the ER.
- Cutting board: A sturdy one that won’t slide around.
- Large baking sheet or roasting pan: Big enough to hold the squash halves without crowding. I line mine with parchment paper for easy cleanup.
- Large skillet or sauté pan: For cooking the filling. A 12-inch skillet is perfect.
- Mixing spoon or spatula: For stirring the filling.
- Small bowl: For mixing the filling ingredients if you want to get organized.
- Measuring spoons and cups: For accuracy, though I often eyeb it after making this a few times.
- Pastry brush (optional): For brushing the oil onto the squash. You can also just use your fingers or a paper towel.
- Aluminum foil: For tenting the squash if they start to brown too quickly.
Budget-Friendly Tip: If you don’t have a pastry brush, just drizzle the oil over the squash and rub it in with your hands. It works just as well and saves you from buying another gadget.
Preparation Method
Alright, let’s get cooking. This recipe comes together in a few simple stages. I’ll walk you through each step so you feel confident even if it’s your first time working with acorn squash.
- Preheat your oven to 400°F (200°C). This is the sweet spot for roasting squash—hot enough to caramelize the natural sugars but not so hot that it burns before it’s tender.
- Prep the squash. Using a sharp knife, carefully cut each acorn squash in half from stem to tip. Scoop out the seeds and stringy pulp with a spoon. I use a metal spoon, but a grapefruit spoon works even better if you have one. Don’t throw away the seeds! You can roast them like pumpkin seeds for a crunchy snack.
- Season the squash. Brush the cut sides and the cavity of each squash half with the 1 tablespoon of olive oil. Sprinkle lightly with salt and pepper. Place the squash halves cut-side down on your baking sheet. This helps them steam and get tender without drying out.
- Roast the squash. Roast for 25 to 30 minutes, until the flesh is fork-tender but still holds its shape. You want it to be soft enough to scoop into but firm enough to act as a bowl. While the squash roasts, make the filling.
- Make the filling. While the squash is in the oven, heat 1 tablespoon of olive oil in a large skillet over medium heat. Add the finely chopped onion and cook for 3 to 4 minutes, until it’s soft and translucent. Add the minced garlic and cook for another 30 seconds until fragrant. Don’t let the garlic burn—it gets bitter.
- Brown the meat. Add the ground beef to the skillet. Break it up with a spoon and cook until it’s browned all the way through, about 5 to 7 minutes. If there’s a lot of excess fat, you can drain it off, but I usually leave a little for flavor.
- Add the remaining filling ingredients. Stir in the cooked rice, crushed tomatoes, dried oregano, ground cumin, salt, and pepper. Let it simmer for 2 to 3 minutes, stirring occasionally, so the flavors meld together. Taste it and adjust the seasoning if needed. I often add a little more salt at this point.
- Assemble the squash bowls. Once the squash is tender, carefully flip each half over using tongs or a spatula. They’ll be hot, so be careful. Spoon the filling evenly into each squash cavity, mounding it up a little. If you’re using cheese, sprinkle it on top now.
- Final bake. Return the stuffed squash to the oven and bake for another 10 to 15 minutes, until the filling is heated through and the cheese is melted and bubbly. If you want the cheese extra golden, switch the oven to broil for the last 2 minutes, but watch it closely so it doesn’t burn.
- Rest and serve. Let the squash bowls rest for 5 minutes before serving. This helps the filling set and makes them easier to handle. Garnish with fresh parsley or a dollop of sour cream if you like.
Prep Note: You can make the filling up to two days ahead and store it in the fridge. When you’re ready to eat, just stuff the pre-roasted squash and bake. It’s a lifesaver on busy nights.
Cooking Tips & Techniques
I’ve made this recipe maybe two dozen times now, and I’ve learned a few things the hard way. Here are my best tips to make sure your squash bowls turn out perfect every time.
Cutting the squash safely. Acorn squash is round and tough. To make cutting it safer, I microwave the whole squash for 2 minutes to soften it slightly. You can also poke it a few times with a fork and microwave it. Let it cool for a minute, then slice. The knife glides through much easier. I once tried to cut a cold squash with a dull knife and nearly lost a finger. Not recommended.
Don’t over-roast the squash. The first time I made this, I roasted the squash for 40 minutes before stuffing it. It was so soft it fell apart when I tried to fill it. Aim for fork-tender but still firm. The squash will continue to cook a little during the final bake, so err on the side of under-done.
Season the squash well. Don’t skimp on the salt and pepper for the squash itself. Acorn squash has a mild, sweet flavor that really benefits from a good pinch of salt. It brings out the natural sweetness and balances the savory filling.
Make the filling ahead. This is my favorite time-saving trick. I often make a double batch of the filling and use half for these squash bowls and half for stuffed bell peppers later in the week. The filling freezes really well, too.
Keep the filling moist. If your filling seems dry after adding the rice, add a splash of water or extra tomato sauce. The rice will absorb some liquid as it bakes, so a slightly wetter filling is better than a dry one.
Multitask like a pro. While the squash is in its first roast, I prep the filling and set the table. By the time the squash is done, the filling is ready to go. It’s a great rhythm for a weeknight dinner.
Variations & Adaptations
One of the best things about this recipe is how flexible it is. Here are some of my favorite ways to change it up.
Vegetarian Version: Swap the ground beef for a can of black beans or lentils. I’ve used cooked brown lentils and they work beautifully. Just make sure to season them well with cumin and oregano. You can also add a handful of corn kernels for sweetness and texture.
Mexican-Inspired Twist: Use ground turkey or chicken and season the filling with chili powder, cumin, and a little smoked paprika. Stir in a can of diced green chiles and top with pepper jack cheese. Serve with a spoonful of salsa and a dollop of Greek yogurt. My family goes crazy for this version.
Italian-Style: Use ground Italian sausage (mild or sweet) instead of beef. Add a teaspoon of fennel seeds to the filling and use mozzarella and Parmesan for the topping. A sprinkle of red pepper flakes is nice if your kids can handle a little heat.
Add More Veggies: Finely dice a carrot or a zucchini and sauté it with the onion. It’s a great way to sneak in extra vegetables. I’ve also added a handful of chopped spinach at the end of cooking the filling, just until it wilts.
Grain-Free Option: Replace the rice with cauliflower rice. Just sauté the cauliflower rice in the skillet for a few minutes before adding the tomatoes and meat. It’s a lighter option that still works perfectly.
Cheese-Free: If you’re dairy-free or just out of cheese, skip the topping. The filling is still delicious without it. I’ve also used nutritional yeast sprinkled on top for a cheesy flavor without the dairy.
Serving & Storage Suggestions
These squash bowls are a complete meal on their own, but they pair beautifully with a few simple sides.
Serving Suggestions: I like to serve these with a simple green salad dressed with lemon vinaigrette. The acidity cuts through the richness of the squash and filling. A side of steamed broccoli or roasted green beans also works well. For a heartier meal, serve with a slice of crusty bread to soak up any extra sauce.
Storage: Leftover stuffed squash bowls keep well in the refrigerator for up to 4 days. Store them in an airtight container. The flavors actually get better as they sit, so don’t be afraid to make them ahead.
Reheating: The best way to reheat these is in the oven. Preheat to 350°F (175°C) and bake for 15 to 20 minutes, until heated through. You can also microwave them for 2 to 3 minutes, but the squash will be softer. If you’re in a hurry, I’ve even reheated them in an air fryer at 350°F for about 8 minutes. It works great and the edges get a little crispy.
Freezing: You can freeze the assembled but unbaked squash bowls. Wrap each one tightly in plastic wrap and then in foil. Freeze for up to 3 months. To bake from frozen, add about 20 minutes to the final bake time, covering with foil if the top browns too quickly.
Flavor Development: Honestly, I think these taste even better the next day. The squash absorbs some of the sauce from the filling, and everything melds together into one perfect bite. It’s the kind of leftovers you actually look forward to.
Nutritional Information & Benefits
Here’s a rough estimate of the nutritional breakdown for one stuffed squash half (using 80/20 ground beef and cheddar cheese). Keep in mind this will vary based on your exact ingredients and portion sizes.
- Calories: Approximately 450-500 calories per serving
- Protein: 25-30 grams
- Carbohydrates: 35-40 grams
- Fiber: 6-8 grams
- Fat: 20-25 grams
- Vitamin A: High (from the squash)
- Vitamin C: Good source (from the squash and tomatoes)
- Iron: Good source (from the beef)
Health Benefits: Acorn squash is packed with fiber, which helps keep everyone full and satisfied. It’s also rich in vitamin A for healthy eyes and immune function. The ground beef provides high-quality protein and iron, while the tomatoes add lycopene, a powerful antioxidant. This meal is naturally gluten-free if you use certified gluten-free ingredients, and it’s easy to make dairy-free by skipping the cheese.
Dietary Considerations: This recipe is naturally nut-free and egg-free. For a lower-carb option, use cauliflower rice. For a lower-fat option, use ground turkey or chicken and skip the cheese. It’s a very adaptable meal for different dietary needs.
I love that this dinner feels indulgent but is actually packed with good-for-you ingredients. It’s the kind of meal that makes me feel good about what I’m feeding my family, without them feeling like they’re eating “health food.”
Conclusion
If you’ve never tried stuffing an acorn squash before, I hope this recipe gives you the confidence to give it a shot. It’s one of those dinners that looks impressive but is secretly simple, affordable, and totally forgiving. The combination of sweet, tender squash with savory, satisfying filling is just perfect for fall, but honestly, I make it all year round.
What I love most about this recipe is how customizable it is. You can make it your own based on what you have in the fridge or what your family craves. Don’t be afraid to experiment with different fillings, spices, or toppings. That’s where the real magic happens.
I’d love to hear how yours turn out! Did your kids gobble them up? Did you try a fun variation? Drop a comment below and let me know. And if you found this helpful, please share it with a friend who’s looking for easy, budget-friendly dinner ideas. Happy cooking, friend!
Frequently Asked Questions
Can I use a different type of squash?
Absolutely! Butternut squash or small sugar pumpkins work well. Just adjust the roasting time since they can be denser. For butternut, I usually cut it in half lengthwise and scoop out the seeds, then roast for about 35 to 40 minutes before stuffing.
Can I make this recipe ahead of time?
Yes! You can roast the squash and make the filling up to two days ahead. Store them separately in the fridge. When you’re ready to eat, stuff the squash and bake as directed. You may need to add 5 to 10 minutes to the final bake time since everything will be cold.
How do I get my kids to eat the squash skin?
Honestly, you don’t have to! The skin of acorn squash is edible after roasting, but it can be a little tough. I usually just tell my kids to scoop out the flesh with a spoon and leave the skin on the plate. No pressure. They eventually started eating the skin too, but it took a few tries.
Can I freeze the stuffed squash bowls?
Yes, you can freeze them either before or after baking. To freeze unbaked, assemble the squash bowls, wrap tightly in plastic wrap and foil, and freeze for up to 3 months. Bake from frozen, adding about 20 minutes to the cooking time. To freeze baked leftovers, let them cool completely, then wrap and freeze. Reheat in the oven or microwave.
What can I use instead of ground beef?
So many options! Ground turkey, chicken, pork, or Italian sausage all work great. For a vegetarian option, try cooked lentils, black beans, or crumbled tofu. I’ve even used leftover chili as the filling, and it was amazing. Just make sure whatever you use is well-seasoned.
Pin This Recipe!
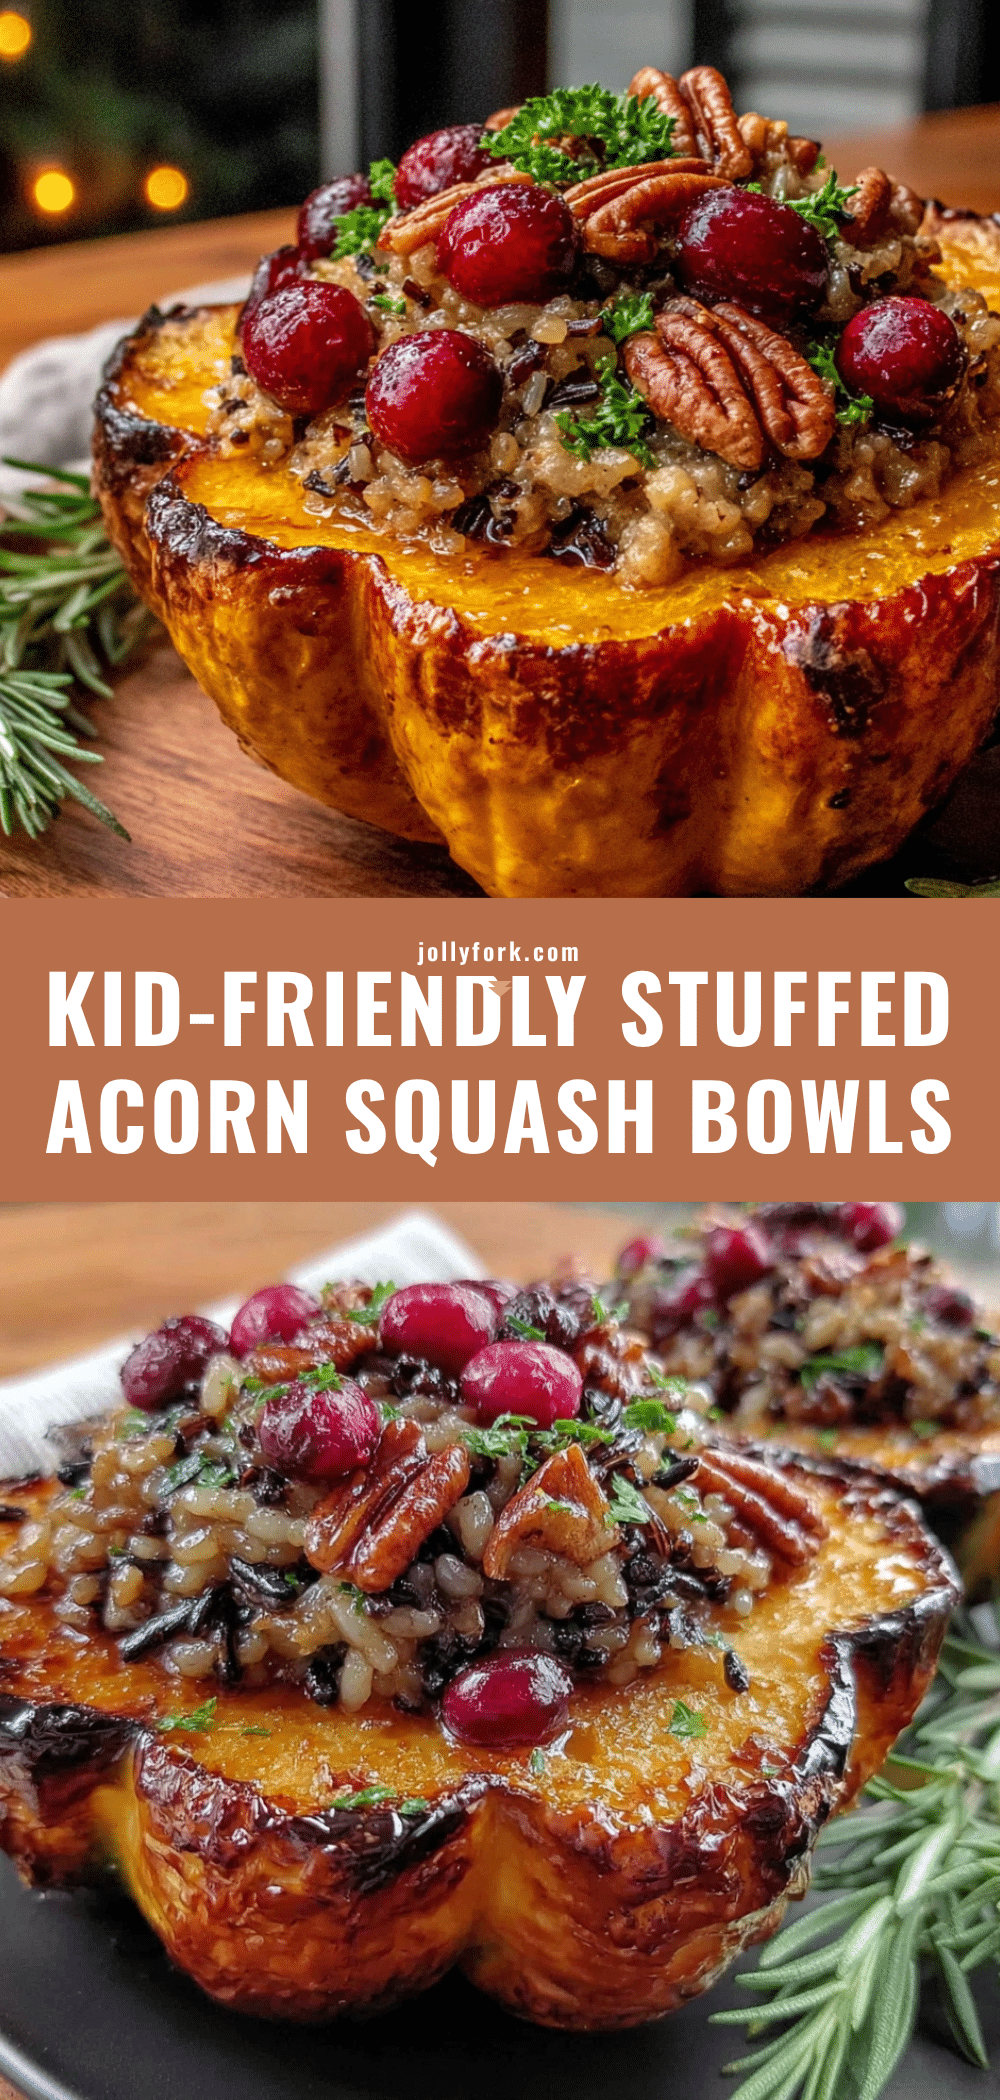
Kid-Friendly Stuffed Acorn Squash Bowls – Easy Budget Dinner

These stuffed acorn squash bowls are a budget-friendly, kid-approved dinner that combines sweet roasted squash with a savory ground beef and rice filling. Perfect for busy weeknights, this customizable recipe is easy to make ahead and reheats beautifully.
- Prep Time: 20 minutes
- Cook Time: 45 minutes
- Total Time: 1 hour 5 minutes
- Yield: 4 servings 1x
- Category: Main Course
- Cuisine: American
Ingredients
- 2 medium acorn squash (about 1 to 1.5 pounds each)
- 2 tablespoons olive oil, divided
- Salt and black pepper, to taste
- 1/2 cup finely chopped yellow onion (about 1 small onion)
- 2 cloves garlic, minced
- 1 pound ground beef (80/20)
- 1 cup cooked rice (white or brown)
- 1 cup crushed tomatoes or tomato sauce
- 1 teaspoon dried oregano
- 1/2 teaspoon ground cumin
- 1/2 teaspoon salt
- 1/4 teaspoon black pepper
- 1/2 cup shredded cheddar or mozzarella cheese (optional)
- Fresh parsley or chives, chopped (for garnish, optional)
- Sour cream or Greek yogurt (for serving, optional)
Instructions
- Preheat your oven to 400°F (200°C).
- Carefully cut each acorn squash in half from stem to tip. Scoop out the seeds and stringy pulp with a spoon.
- Brush the cut sides and cavity of each squash half with 1 tablespoon of olive oil. Sprinkle lightly with salt and pepper. Place the squash halves cut-side down on a baking sheet.
- Roast the squash for 25 to 30 minutes, until fork-tender but still holding its shape.
- While the squash roasts, heat 1 tablespoon of olive oil in a large skillet over medium heat. Add the finely chopped onion and cook for 3 to 4 minutes until soft and translucent. Add the minced garlic and cook for another 30 seconds until fragrant.
- Add the ground beef to the skillet. Break it up with a spoon and cook until browned all the way through, about 5 to 7 minutes. Drain excess fat if desired.
- Stir in the cooked rice, crushed tomatoes, dried oregano, ground cumin, salt, and pepper. Let it simmer for 2 to 3 minutes, stirring occasionally. Adjust seasoning to taste.
- Once the squash is tender, carefully flip each half over using tongs or a spatula. Spoon the filling evenly into each squash cavity, mounding it up. If using cheese, sprinkle it on top.
- Return the stuffed squash to the oven and bake for another 10 to 15 minutes, until the filling is heated through and the cheese is melted and bubbly. For extra golden cheese, broil for the last 2 minutes, watching closely.
- Let the squash bowls rest for 5 minutes before serving. Garnish with fresh parsley or a dollop of sour cream if desired.
Notes
You can make the filling up to two days ahead and store it in the fridge. To make cutting the squash safer, microwave the whole squash for 2 minutes to soften it slightly. Don’t over-roast the squash; aim for fork-tender but still firm. If the filling seems dry, add a splash of water or extra tomato sauce. Leftovers keep well in the refrigerator for up to 4 days and reheat beautifully in the oven or microwave.
Nutrition
- Serving Size: 1 stuffed squash hal
- Calories: 475
- Sugar: 6
- Sodium: 580
- Fat: 22
- Saturated Fat: 8
- Carbohydrates: 38
- Fiber: 7
- Protein: 28
Keywords: stuffed acorn squash, kid-friendly dinner, budget dinner, ground beef recipe, fall recipe, weeknight dinner, healthy dinner