My grandmother handed me a stained index card with “Honey Cake” scrawled across the top, and honestly, I didn’t open it for three years. I had tasted her version at every Rosh Hashanah dinner—dense, dark, and somehow both dry and sticky at the same time. It felt like obligation, not celebration. So when my aunt whispered that the secret was cold coffee and burnt sugar, I nodded politely and kept my distance.
Then my neighbor Rachel showed up at our break-fast with a cake that made everyone stop mid-sentence. She called it honey apple cake, and the slice she handed me was tender, fragrant with cinnamon, with little pockets of softened apple that practically melted on my tongue. The honey was there—not cloying, just warm and present—and the whole thing felt like a hug you didn’t know you needed.
I asked for the recipe, but Rachel laughed. “There’s no real recipe,” she said. “I just started adding apples to my honey cake one year when I was out of prunes, and it worked.” That was the moment I realized honey cake didn’t have to be a chore. It could be something you actually looked forward to. So I spent the next few months testing, tweaking, and burning a few batches before I landed on this version.
Now this Perfect Honey Apple Cake for Rosh Hashanah is the one I bring to every holiday meal. It’s moist without being heavy, sweet without being cloying, and the apples keep it honest. No one ever reaches for the second slice out of politeness. They reach for it because they actually want to.
Why You’ll Love This Recipe
This isn’t just another honey cake recipe. After testing over a dozen versions in my own kitchen, I can tell you this one hits different. Here’s what makes it worth your time:
- Quick & Easy : Comes together in under an hour, with just 15 minutes of active prep. No stand mixer required, and you don’t need to cream butter or whip egg whites until stiff peaks form. It’s a straightforward, forgiving recipe that works every time.
- Simple Ingredients : You likely have most of these in your pantry right now. No obscure spices, no specialty flours, no trips to three different stores. The honey does the heavy lifting.
- Perfect for the Holiday Table : This cake is designed specifically for Rosh Hashanah, but honestly, it works for any fall gathering. The combination of honey and apple is timeless, and the cake keeps beautifully for days.
- Crowd-Pleaser : I’ve brought this to potlucks, Shabbat dinners, and casual brunches. It gets devoured every single time. Even people who swear they don’t like honey cake ask for seconds.
- Unbelievably Delicious : The texture is what gets people. It’s tender and moist, with a slight crumb that holds together perfectly. The apples soften into jammy pockets, and the honey flavor is warm without being overpowering.
What really sets this recipe apart is the technique. Instead of dumping everything in one bowl, you whisk the wet ingredients separately and fold them into the dry. It sounds basic, but it makes a real difference in the final texture. The cake comes out lighter, more tender, and the apples stay suspended throughout instead of sinking to the bottom.
This is the kind of cake that makes you close your eyes after the first bite. It’s comfort food reimagined—familiar but fresh, simple but special. Perfect for impressing guests without stress, or turning a simple holiday meal into something memorable.
What Ingredients You Will Need
This recipe uses simple, wholesome ingredients to deliver bold flavor and satisfying texture without the fuss. Most of these are pantry staples, which means you can whip this up even when you’re short on time.
- All-purpose flour — 2 cups (240g). I use King Arthur Flour for consistent results. Spoon and level your flour, don’t scoop directly from the bag or you’ll end up with a dry cake.
- Baking powder — 1½ teaspoons. Make sure it’s fresh. If it doesn’t bubble when you drop it in water, toss it and buy new.
- Baking soda — ½ teaspoon. Same deal—check the expiration date.
- Ground cinnamon — 2 teaspoons. This is non-negotiable for the warm, spiced flavor. I prefer Saigon cinnamon for its intensity.
- Ground ginger — ½ teaspoon. Adds a subtle warmth that plays beautifully with the honey.
- Ground cloves — ¼ teaspoon. Just a pinch. Cloves are potent, and you want them in the background, not taking over.
- Salt — ½ teaspoon. Fine sea salt works best.
- Honey — 1 cup (340g). Use a good-quality honey here. I like wildflower or orange blossom for their floral notes. Avoid honey that’s too dark or strongly flavored, as it can overpower the cake.
- Vegetable oil — ½ cup (120ml). Canola or grapeseed oil works well. The oil keeps the cake moist without adding dairy.
- Eggs — 3 large, at room temperature. Room-temperature eggs incorporate more easily and create a better emulsion.
- Vanilla extract — 2 teaspoons. Pure vanilla, not imitation. It makes a difference.
- Brewed coffee — ½ cup (120ml), cooled. This is my secret ingredient. The coffee doesn’t make the cake taste like coffee—it deepens the honey flavor and adds complexity. Use decaf if you’re serving this to kids or sensitive folks.
- Apples — 2 medium, peeled and diced. I use Honeycrisp or Fuji for their sweetness and firm texture. Granny Smith works too if you prefer a tarter contrast. Dice them into ½-inch cubes so they soften during baking but don’t disappear.
- Lemon juice — 1 tablespoon. Toss with the diced apples to prevent browning and add a touch of brightness.
If you’re looking for a gluten-free option, you can substitute a 1:1 gluten-free baking flour blend. I’ve tested this with Bob’s Red Mill and it works well. For a dairy-free version, you’re already set since this recipe doesn’t use butter or milk. Just make sure your honey is pure and not blended with any dairy-based additives.
Equipment Needed
You don’t need a fancy kitchen to make this cake. Here’s what you’ll need:
- 9-inch round cake pan — A standard metal or glass pan works. If you’re using glass, reduce the oven temperature by 25°F to prevent over-browning.
- Parchment paper — Cut a circle for the bottom of the pan. This guarantees your cake releases cleanly every time.
- Large mixing bowl — For the dry ingredients.
- Medium mixing bowl — For the wet ingredients.
- Whisk — A sturdy balloon whisk is ideal.
- Spatula — Silicone is best for folding the batter.
- Measuring cups and spoons — Accurate measurements matter here. Use dry measuring cups for flour and liquid measuring cups for honey and oil.
- Cooling rack — Wire rack for even cooling.
If you don’t have a 9-inch round pan, an 8-inch square pan works too. Just increase the baking time by 5-10 minutes and check for doneness with a toothpick. I’ve also made this in a loaf pan (9×5) and it works beautifully—just bake for about 55-60 minutes. My first attempt at this recipe was in a too-small pan, and the batter overflowed onto the oven floor. Learn from my mistake and use the right size!
Preparation Method
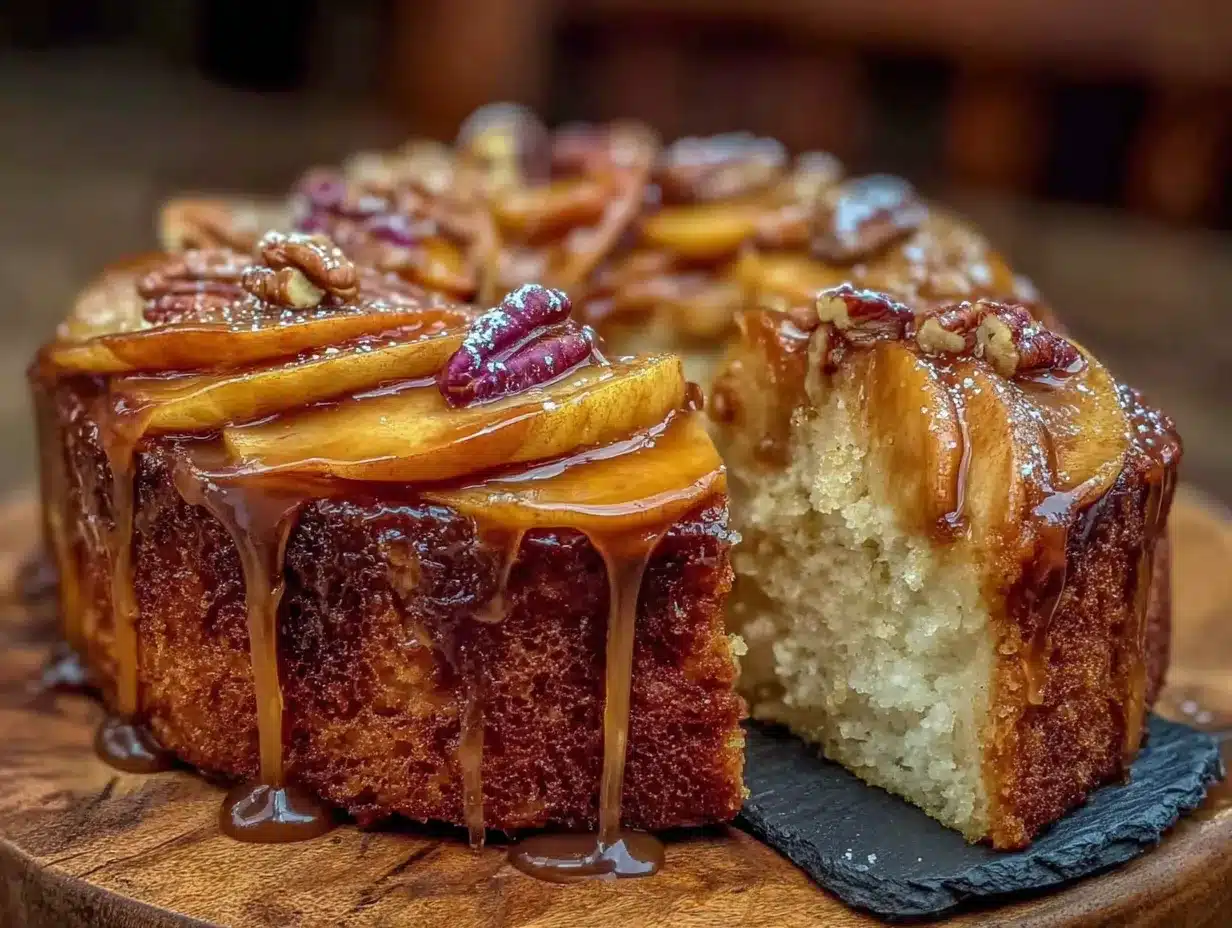
Let’s bake this cake. I’ll walk you through every step so you feel confident.
- Preheat your oven to 350°F (175°C). Position the rack in the center of the oven. While it heats, grease your 9-inch round cake pan with butter or non-stick spray, then line the bottom with a circle of parchment paper. This is the insurance policy against stuck cake.
- Peel and dice your apples. Cut them into ½-inch cubes—small enough to soften during baking but large enough to leave visible pockets of fruit. Toss them in a small bowl with 1 tablespoon of lemon juice to prevent browning and set aside.
- Whisk the dry ingredients together. In a large bowl, combine 2 cups (240g) all-purpose flour, 1½ teaspoons baking powder, ½ teaspoon baking soda, 2 teaspoons ground cinnamon, ½ teaspoon ground ginger, ¼ teaspoon ground cloves, and ½ teaspoon salt. Whisk thoroughly so the spices are evenly distributed. This takes about 30 seconds.
- Mix the wet ingredients. In a separate medium bowl, whisk together 1 cup (340g) honey, ½ cup (120ml) vegetable oil, 3 large eggs (room temperature), and 2 teaspoons vanilla extract. Whisk until the mixture is smooth and slightly thickened, about 1 minute. The honey will make it thick—that’s normal.
- Add the coffee. Pour in ½ cup (120ml) cooled brewed coffee and whisk until fully incorporated. The mixture will thin out. Don’t worry if it looks a little separated—it will come together once you add the flour.
- Combine wet and dry. Pour the wet ingredients into the bowl of dry ingredients. Use a spatula to fold gently, scraping the bottom and sides of the bowl. Mix just until no streaks of flour remain—overmixing will make the cake tough. A few small lumps are fine.
- Fold in the apples. Add the diced apples to the batter and fold gently with the spatula until they’re evenly distributed. The batter will be thick, so take your time. Make sure every apple piece is coated.
- Pour into the prepared pan. Scrape the batter into your greased and lined cake pan. Use the spatula to spread it evenly to the edges. Give the pan a gentle tap on the counter to release any air bubbles.
- Bake for 40-45 minutes. Start checking at 40 minutes. Insert a toothpick into the center—if it comes out clean or with just a few moist crumbs, it’s done. If it’s still wet, bake for another 3-5 minutes and check again. The top should be deep golden brown and the edges should pull slightly away from the pan.
- Cool in the pan. Place the pan on a wire rack and let the cake cool for 15 minutes. Then run a knife around the edges, invert onto the rack, peel off the parchment, and let it cool completely. Don’t try to slice it while it’s warm—it will crumble. Patience pays off here.
One thing I learned the hard way: if your apples are very juicy, they can make the cake soggy. Pat them dry with a paper towel after tossing them in lemon juice if they seem especially wet. Also, if you’re using a dark non-stick pan, reduce the oven temperature to 325°F (160°C) to prevent the bottom from over-browning before the center is done.
Cooking Tips & Techniques
After making this cake more times than I can count, here are the things I wish someone had told me from the start.
Use room-temperature eggs. This is one of those rules that actually matters. Cold eggs can cause the batter to seize up, making the cake denser. Set your eggs out on the counter 30 minutes before you start baking. If you forget, place them in a bowl of warm water for 5 minutes.
Don’t overmix the batter. I know I said this already, but it’s worth repeating. Once you combine the wet and dry ingredients, stop mixing as soon as the flour disappears. Overmixing develops gluten, which gives you a tough, rubbery cake instead of a tender one. A few lumps are your friends.
Toast your spices. This is optional but transformative. If you have an extra minute, toast the cinnamon, ginger, and cloves in a dry skillet over medium heat for about 30 seconds until fragrant. It wakes up the oils and makes the spices taste more vibrant. I started doing this after a batch came out tasting flat, and I’ve never gone back.
Let the cake cool completely before slicing. I know it’s tempting to cut into it while it’s warm, especially when your kitchen smells like honey and cinnamon. But warm cake is fragile, and the apples need time to set. I once served a warm slice to my husband and it basically collapsed into a pile of crumbs. Delicious crumbs, sure, but not the presentation I was going for.
Make it ahead of time. This cake actually gets better after a day. The flavors meld and deepen, and the texture becomes even more moist. Bake it the day before you plan to serve it, wrap it tightly in plastic wrap, and let it sit at room temperature overnight. Your future self will thank you.
Variations & Adaptations
This recipe is forgiving, so feel free to make it your own. Here are a few variations I’ve tried and loved:
Gluten-Free Version: Substitute the all-purpose flour with a 1:1 gluten-free baking flour blend. I’ve had good results with Bob’s Red Mill. Add 1 teaspoon of xanthan gum if your blend doesn’t already include it. The texture will be slightly more delicate, so handle the cake gently when removing it from the pan.
Vegan Version: Replace the eggs with 3 flax eggs (3 tablespoons ground flaxseed mixed with 9 tablespoons water, let sit for 5 minutes). Use maple syrup instead of honey if you want to keep it fully plant-based, though it will change the flavor profile. The cake will be a bit denser but still delicious.
Spiced Apple Cake: Add ½ teaspoon of cardamom and ¼ teaspoon of nutmeg to the spice mix. This gives the cake a more complex, warming flavor that’s perfect for fall. I tried this variation for Thanksgiving one year and it was a hit.
Nutty Twist: Fold in ½ cup of chopped walnuts or pecans along with the apples. Toast the nuts first for extra flavor. The crunch adds a nice contrast to the tender cake.
Bundt Cake Version: Grease a 10-cup bundt pan thoroughly and pour in the batter. Bake at 350°F for 45-50 minutes. The baking time will be slightly longer, so start checking at 45 minutes. This version looks especially beautiful dusted with powdered sugar.
If you’re feeling adventurous, try swapping half the apples for diced pears. The combination is lovely, and pears hold up well during baking. I did this once when I had a surplus of pears from my neighbor’s tree, and it turned out wonderfully.
Serving & Storage Suggestions
This cake is versatile when it comes to serving. Here’s how I like to do it:
Serving Temperature: Serve at room temperature for the best texture and flavor. If you’ve refrigerated the cake, let it sit on the counter for 30 minutes before slicing. A slightly warm slice is also lovely, especially with a dollop of whipped cream or a scoop of vanilla ice cream.
Presentation: Dust the top with powdered sugar just before serving. For Rosh Hashanah, I like to drizzle a little extra honey over the top and sprinkle with a pinch of flaky sea salt. The salt cuts through the sweetness and makes the honey flavor pop. You can also garnish with thin apple slices or a few fresh thyme sprigs for a rustic look.
Complementary Dishes: This cake pairs beautifully with a cup of hot tea or coffee. For a dessert spread, serve it alongside a fresh honey ricotta crostini with figs for a beautiful contrast of textures. It also works well with a cozy spiced peach butter spread on the side for an extra layer of fall flavor.
Storage Instructions: Store the cake in an airtight container at room temperature for up to 3 days. If your kitchen is warm, refrigerate it—it will keep for up to 5 days. The cake actually gets more moist and flavorful after a day or two, so don’t worry about it drying out.
Freezing: This cake freezes beautifully. Wrap the cooled cake (whole or in slices) tightly in plastic wrap, then in a layer of aluminum foil. Freeze for up to 3 months. To thaw, remove the foil and let it sit at room temperature for 2-3 hours. I always keep a few slices in the freezer for unexpected guests or late-night cravings.
Reheating: If you want to serve it warm, microwave individual slices for 15-20 seconds. For a whole cake, wrap it in foil and warm it in a 300°F oven for 10-15 minutes. The aroma will fill your kitchen and make everyone hungry.
Nutritional Information & Benefits
Here’s the nutritional breakdown for one slice (based on 10 servings):
| Nutrient | Amount per Serving |
|---|---|
| Calories | 320 |
| Total Fat | 12g |
| Saturated Fat | 1.5g |
| Cholesterol | 55mg |
| Sodium | 210mg |
| Total Carbohydrates | 52g |
| Dietary Fiber | 2g |
| Sugars | 35g |
| Protein | 4g |
This cake offers more than just empty calories. Honey is rich in antioxidants and has antibacterial properties. Apples provide dietary fiber and vitamin C, and the cinnamon helps regulate blood sugar levels. While this is still a dessert, it’s made with real, whole ingredients that offer some nutritional value.
For those with dietary restrictions, this recipe is naturally dairy-free and nut-free (unless you add nuts). It can be made gluten-free and vegan with the substitutions mentioned above. The cake contains eggs and wheat, so it’s not suitable for those with celiac disease or egg allergies without modifications.
I personally love that this cake feels indulgent without being overly heavy. It’s the kind of dessert that satisfies your sweet tooth without leaving you feeling sluggish. A slice with a cup of tea is my idea of a perfect afternoon treat.
Conclusion
This Perfect Honey Apple Cake for Rosh Hashanah has become my go-to recipe for the holiday, and I think it will become yours too. It’s simple enough for a weekday baking project but special enough for a celebration. The combination of honey and apples is timeless, and the cake itself is forgiving—it doesn’t demand perfection, just a little love and patience.
I love that this recipe brings people together. Every time I make it, I think about my grandmother’s index card and how far I’ve come from that dense, dry cake I used to avoid. Now I look forward to Rosh Hashanah not just for the traditions, but for the moment when I pull this cake out of the oven and the whole house smells like honey and cinnamon.
I’d love to hear how yours turns out. Did you try any of the variations? Did you add your own twist? Leave a comment below and let me know. And if you’re looking for more holiday inspiration, check out this honey peach cobbler for another sweet treat that celebrates the season’s best flavors.
Happy baking, and Shanah Tovah!
Frequently Asked Questions
Can I make this cake ahead of time?
Absolutely. In fact, this cake tastes even better the next day. Bake it a day in advance, wrap it tightly in plastic wrap, and store it at room temperature. The flavors meld and deepen overnight.
Can I use a different type of honey?
Yes, but choose wisely. Wildflower, orange blossom, or clover honey work best. Avoid dark, strongly flavored honeys like buckwheat, which can overpower the cake. Lighter honeys let the apple and spice flavors shine.
Why did my cake sink in the middle?
This usually happens for one of three reasons: the oven door was opened too early, the baking powder/soda is expired, or the batter was overmixed. Check your leavening agents before starting, resist the urge to peek at the cake during the first 30 minutes of baking, and mix just until combined.
Can I freeze this cake?
Yes, it freezes beautifully. Cool the cake completely, wrap it tightly in plastic wrap and then foil, and freeze for up to 3 months. Thaw at room temperature for 2-3 hours before serving. I like to freeze individual slices for easy portion control.
What apples work best for this recipe?
Honeycrisp, Fuji, or Gala are my top choices. They hold their shape during baking and provide natural sweetness. Granny Smith apples work well too if you want a tarter contrast to the honey. Avoid soft varieties like McIntosh, which can turn mushy.
Pin This Recipe!
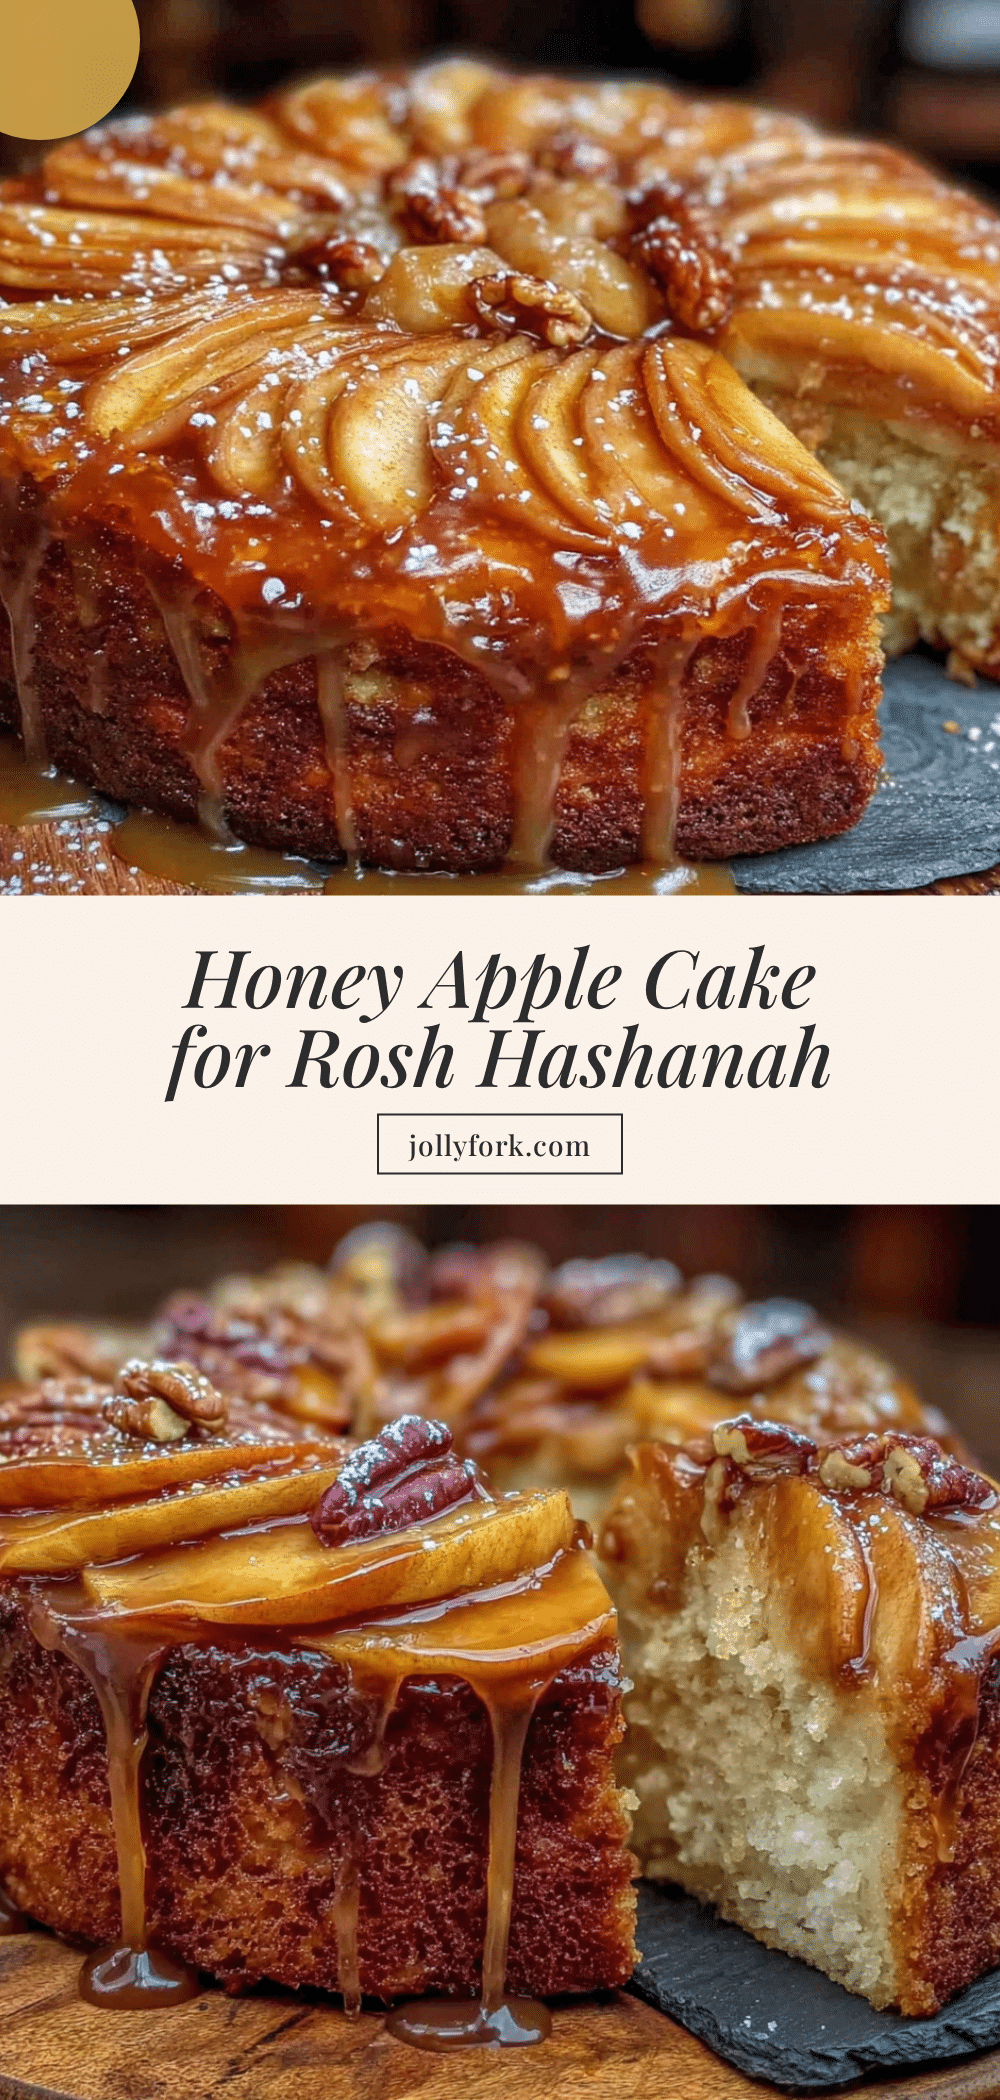
Perfect Honey Apple Cake for Rosh Hashanah
A tender, moist honey apple cake with warm cinnamon spice and pockets of softened apple, perfect for Rosh Hashanah or any fall gathering. This easy recipe comes together in under an hour with simple pantry ingredients.
- Prep Time: 15 minutes
- Cook Time: 40-45 minutes
- Total Time: 55-60 minutes
- Yield: 10 servings 1x
- Category: Dessert
- Cuisine: Jewish
Ingredients
- 2 cups (240g) all-purpose flour
- 1½ teaspoons baking powder
- ½ teaspoon baking soda
- 2 teaspoons ground cinnamon
- ½ teaspoon ground ginger
- ¼ teaspoon ground cloves
- ½ teaspoon fine sea salt
- 1 cup (340g) honey (wildflower or orange blossom)
- ½ cup (120ml) vegetable oil (canola or grapeseed)
- 3 large eggs, at room temperature
- 2 teaspoons pure vanilla extract
- ½ cup (120ml) brewed coffee, cooled
- 2 medium apples (Honeycrisp or Fuji), peeled and diced into ½-inch cubes
- 1 tablespoon lemon juice
Instructions
- Preheat your oven to 350°F (175°C). Grease a 9-inch round cake pan and line the bottom with parchment paper.
- Peel and dice the apples into ½-inch cubes. Toss with 1 tablespoon lemon juice to prevent browning and set aside.
- In a large bowl, whisk together the flour, baking powder, baking soda, cinnamon, ginger, cloves, and salt until evenly distributed.
- In a separate medium bowl, whisk together the honey, vegetable oil, eggs, and vanilla extract until smooth and slightly thickened, about 1 minute.
- Pour in the cooled coffee and whisk until fully incorporated.
- Pour the wet ingredients into the dry ingredients. Fold gently with a spatula until just combined—do not overmix. A few small lumps are fine.
- Fold in the diced apples until evenly distributed.
- Pour the batter into the prepared pan and spread evenly. Tap the pan gently on the counter to release air bubbles.
- Bake for 40-45 minutes, until a toothpick inserted in the center comes out clean or with a few moist crumbs.
- Cool in the pan on a wire rack for 15 minutes. Run a knife around the edges, invert onto the rack, peel off parchment, and cool completely before slicing.
Notes
Use room-temperature eggs for best results. Do not overmix the batter. The cake tastes even better the next day. For a gluten-free version, use a 1:1 gluten-free baking flour blend. For a vegan version, replace eggs with flax eggs and use maple syrup instead of honey. Toast spices for extra flavor. If using a dark non-stick pan, reduce oven temperature to 325°F.
Nutrition
- Serving Size: 1 slice
- Calories: 320
- Sugar: 35
- Sodium: 210
- Fat: 12
- Saturated Fat: 1.5
- Carbohydrates: 52
- Fiber: 2
- Protein: 4
Keywords: honey cake, apple cake, Rosh Hashanah, honey apple cake, fall dessert, Jewish holiday cake, dairy-free cake


