The way the cheese stretches when you lift a loaded chip from the tray — that’s the whole point. Not the touchdown on the screen, not the roar of the crowd, but that single, elastic moment of melted perfection connecting you to the person next to you. I built this ultimate loaded nacho bar for tailgate parties around that exact feeling.
It started during a particularly rainy November game day. I was tired of watching everyone hover around a sad, congealed tray of nachos from the concession stand. You know the ones — limp chips, barely-there cheese, and a few canned jalapeños that tasted more like metal than pepper. I wanted something that felt like a real meal, something that made people stop talking about the game for a second and actually look at the food.
So I grabbed every oven-safe dish I owned, raided the pantry, and started layering. Honestly, the first attempt was a disaster — too much liquid, soggy chips by halftime. But I learned. The second time? People started asking for the recipe before the fourth quarter. Now, this spread has become my tailgate signature. It’s not just snack food; it’s a communal activity. Everyone builds their own, and somehow, that makes it taste better.
There’s a quiet satisfaction in watching someone discover their perfect bite — the one with just the right amount of heat, the crunch of fresh toppings, and that gooey cheese pull. That’s why this recipe stuck with me. It’s not complicated, but it’s intentional. And that makes all the difference.
Why You’ll Love This Recipe
This isn’t just another nacho recipe you find online. I’ve tested this setup through rain, wind, and one particularly brutal cold snap where the grill almost froze over. It holds up. Here’s why you’ll keep coming back to it.
- Build-Your-Own Fun: Everyone gets to be the chef. It’s interactive, which makes it perfect for groups where people have different tastes.
- Crowd-Controlled Heat: Serve the spicy stuff on the side. Your spice-loving friends can pile on the jalapeños, while the kids can keep it mild with just cheese and beans.
- Make-Ahead Friendly: Most of the components can be prepped the night before. On game day, you’re just assembling and heating.
- Seriously Satisfying: This isn’t a snack. With seasoned meat, hearty beans, and loads of cheese, it’s a full meal that keeps people full through the fourth quarter.
- Always a Hit: In my experience, nachos are the first thing to disappear at any party. They’re just… happy food.
What sets this version apart is the layering strategy. I use a double-layer method — a base of chips and cheese, then another round of chips and toppings — so every bite is loaded, not just the top ones. It’s a small tweak, but it changes everything. No more sad, naked chips at the bottom of the tray.
This recipe is for the person who wants to feed people well without stress. It’s the kind of spread that makes you look like a hero, even though you spent most of the game just watching with a plate in your hand. And honestly, isn’t that the best kind of hosting?
Ingredients Needed
This recipe uses a mix of fresh and pantry staples to build layers of flavor and texture. Don’t overthink the list — almost everything is flexible. The key is to have a good balance of creamy, crunchy, spicy, and fresh.
For the Base Layer
- 1 large bag (13-16 oz) restaurant-style tortilla chips – Look for sturdy chips that can hold up to toppings. I prefer the thick, scooped kind for maximum loading.
- 2 cups shredded Mexican blend cheese – This melts beautifully. You can also use a mix of Monterey Jack and sharp cheddar.
- 1 cup shredded Pepper Jack cheese – Adds a gentle kick without overwhelming the dish.
For the Meat (Optional but Recommended)
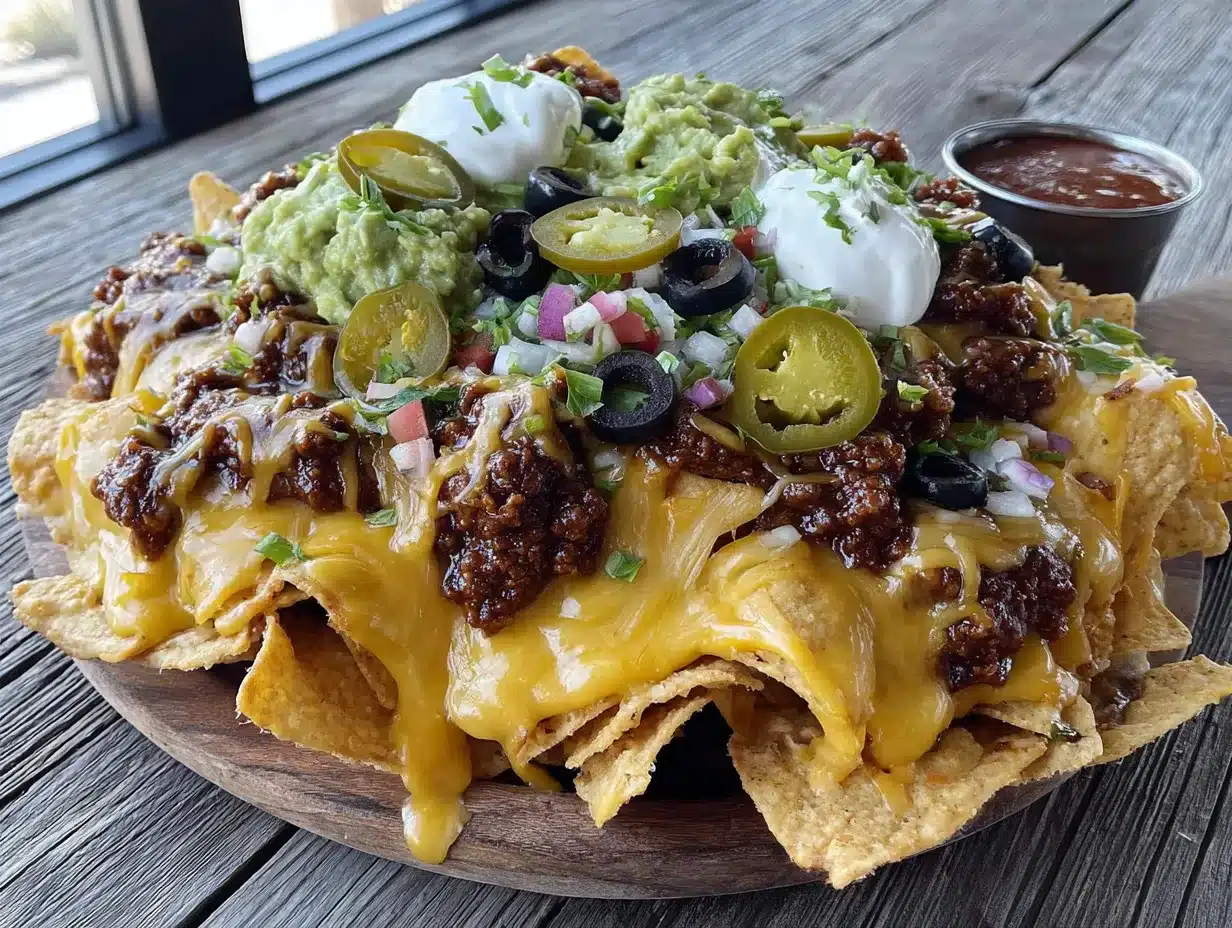
- 1 lb ground beef (80/20) – The fat keeps the meat juicy. You can also use ground turkey or chorizo.
- 1 packet taco seasoning – I like the Ortega or Siete brands for clean flavor. Or use 2 tablespoons of your own blend (cumin, chili powder, garlic powder, smoked paprika).
- 1/4 cup water – Helps the seasoning bloom and coat the meat evenly.
For the Refried Beans
- 1 can (16 oz) refried beans – Traditional or vegetarian both work. I warm them with a little cumin and water to make them spreadable.
- 1/4 teaspoon cumin – A small addition that makes a big difference in flavor.
For the Loaded Toppings
- 1 cup black beans, drained and rinsed – Adds fiber and a nice pop of color.
- 1 cup corn kernels – Frozen and thawed, or canned and drained. Fire-roasted corn adds a smoky note.
- 1/2 cup pickled jalapeños – For heat. Serve extra on the side for the brave souls.
- 1/2 cup sliced black olives – Optional, but my family loves them.
- 1 cup diced tomatoes – Fresh, not canned. Remove some seeds to avoid sogginess.
- 1/2 cup chopped green onions – For a fresh, sharp finish.
- 1/2 cup fresh cilantro, chopped – Adds brightness.
- 1 cup sour cream – For drizzling or dolloping.
- 1 cup guacamole or sliced fresh avocado – Creamy richness that balances the spice.
- 1/2 cup salsa or pico de gallo – Adds acidity and freshness.
I always recommend tasting your ingredients before you start. Some salsas are sweeter, some jalapeños are hotter. Adjust as you go. And if you’re feeding a crowd with different heat tolerances, keep the spicy toppings separate and let people customize their own plates.
Equipment Needed
You don’t need anything fancy for this recipe, which is part of the beauty. Here’s what I use:
- Large rimmed baking sheet or disposable aluminum pan – A rimmed sheet keeps everything contained. I use a 13×18 inch pan for a full batch.
- Skillet or frying pan – For browning the meat.
- Small saucepan – For warming the refried beans.
- Chef’s knife and cutting board – For prepping fresh toppings.
- Oven – Set to 375°F for melting the cheese. A grill works too if you’re tailgating.
- Aluminum foil – For tenting the nachos if they need to stay warm before serving.
If you’re cooking at an actual tailgate, a portable gas grill with a baking stone or a cast iron skillet works perfectly. I’ve even made these in a slow cooker on warm mode for a party — not as crispy, but still delicious.
Preparation Method
Let’s get into the nitty-gritty. This method ensures every chip gets its fair share of toppings.
- Preheat your oven to 375°F. If you’re using a grill, set it up for indirect heat at around 375°F.
- Cook the meat. In a skillet over medium-high heat, brown the ground beef, breaking it apart with a spoon. This takes about 5-7 minutes. Drain excess fat if needed, then add the taco seasoning and water. Stir and let it simmer until the liquid thickens, about 2 minutes. Set aside.
- Warm the refried beans. In a small saucepan over low heat, combine the refried beans with a splash of water and the cumin. Stir until smooth and heated through. You want a spreadable consistency, not a paste.
- Prep your fresh toppings. Dice the tomatoes, chop the green onions and cilantro, slice the avocado (or make guacamole). Set everything in small bowls so it’s ready to go.
- Build the first layer. Spread a single, even layer of tortilla chips on your baking sheet. Don’t overlap them too much — you want each chip to have a chance at toppings. Drizzle the refried beans in small spoonfuls over the chips. Sprinkle half of the Mexican blend cheese and half of the Pepper Jack cheese over the beans.
- Add the second layer. Place another layer of chips on top, trying to cover any bare spots from the first layer. Spread the cooked ground beef evenly over the chips. Sprinkle the black beans and corn over the meat. Top with the remaining cheese.
- Bake until bubbly. Place the baking sheet in the oven and bake for 10-12 minutes, or until the cheese is fully melted and starting to bubble at the edges. Keep an eye on it — every oven is different.
- Add fresh toppings. As soon as the nachos come out of the oven, sprinkle the diced tomatoes, green onions, cilantro, and pickled jalapeños over the top. The heat will slightly warm the fresh toppings without wilting them.
- Finish with cold toppings. Dollop sour cream, guacamole, and salsa over the hot nachos. Add the black olives if you’re using them.
- Serve immediately. The magic window for perfect nachos is about 10 minutes. After that, the chips start to soften. Set out extra bowls of toppings so people can add more to their individual plates.
Pro tip: If you’re making a huge batch for a crowd, consider using two smaller trays instead of one giant one. It’s easier to handle, and the cheese melts more evenly.
Cooking Tips & Techniques
I’ve made a lot of mistakes with nachos over the years. Here’s what I’ve learned so you don’t have to repeat them.
Don’t overload the chips. It’s tempting to pile everything on, but too many wet toppings will turn your chips into sad, soggy mush. Keep the wet stuff (salsa, sour cream, guacamole) for the end, and use a light hand with the beans and meat.
Layer strategically. The double-layer method I mentioned is non-negotiable in my kitchen. It ensures that the chips on the bottom still get some love from the cheese and beans, while the top layer gets the full treatment. No one fights over the middle of the tray anymore.
Watch your oven time. Cheese melts fast, but chips burn fast too. Check your nachos at the 8-minute mark. You want bubbly cheese, not brown edges on the chips. If the cheese isn’t fully melted at 10 minutes, give it another 2 minutes, but stay nearby.
Use room temperature ingredients. Cold sour cream on hot nachos is a textural delight — it creates a cool, creamy contrast. But cold meat or cold beans will cool down the whole tray. Make sure your meat and beans are hot when you layer them.
Prep in advance. Cook the meat and warm the beans the night before. Chop all your veggies and store them in separate containers. On game day, you’re just assembling and baking. This is the secret to being a relaxed host.
Variations & Adaptations
This recipe is a template, not a rulebook. Here are some of my favorite twists.
Vegetarian Version. Skip the ground beef and double up on the black beans and corn. Add some roasted bell peppers or sautéed mushrooms for extra heartiness. I’ve also used crumbled tofu seasoned with taco spices — it works surprisingly well.
Chicken Nachos. Swap the ground beef for shredded rotisserie chicken tossed in taco seasoning. It’s quicker and feels a little lighter. I love this version for summer tailgates when the weather is warm.
Breakfast Nachos. This is my personal favorite for early morning game days. Use the same base, but top with scrambled eggs, crumbled bacon, and a drizzle of hot sauce. It’s ridiculous and wonderful.
Low-Carb Option. Replace the tortilla chips with pork rinds or baked cheese crisps. The toppings stay the same, and you get all the flavor without the carbs. My keto friends devour this version.
Spicy Upgrade. If you’re cooking for a crowd that loves heat, add diced fresh habanero to the meat, use spicy chorizo instead of beef, and drizzle with a chipotle crema (mix sour cream with adobo sauce from canned chipotles).
Serving & Storage Suggestions
Nachos are best served immediately, but here’s how to handle leftovers and make-ahead plans.
Serving temperature: Serve hot out of the oven. The contrast between the warm, melted cheese and the cool, fresh toppings is what makes this dish sing. If you’re serving buffet-style, keep the tray in a warm oven (200°F) and pull it out just before guests grab their plates.
What to serve with it: These nachos are a meal on their own, but they pair beautifully with a tangy buttermilk coleslaw for crunch and acidity. For a full tailgate spread, add some mini corn dog muffins and a big pitcher of margaritas.
Storage: Nachos don’t store well once assembled — the chips get soft. But you can store the components separately. Keep the cooked meat, beans, and cheese in airtight containers in the fridge for up to 4 days. Fresh toppings like tomatoes and cilantro should be stored separately and used within 2 days.
Reheating: If you have leftover assembled nachos (unlikely, but possible), reheat them on a baking sheet in a 350°F oven for 5-7 minutes. The microwave will turn them into a sad, chewy mess. Add fresh toppings after reheating.
Make-ahead tip: Assemble the entire tray (minus the fresh toppings) up to 2 hours before baking. Cover with foil and refrigerate. When you’re ready, bake as directed, adding 5 minutes to the cooking time since the tray will be cold.
Nutritional Information & Benefits
Let’s be real — this isn’t a health food. But it does have some redeeming qualities. Here’s a rough estimate per serving (about 1/8 of the tray).
| Nutrient | Amount |
|---|---|
| Calories | ~450 |
| Protein | 22g |
| Fat | 28g |
| Carbohydrates | 35g |
| Fiber | 6g |
| Sodium | ~900mg |
The black beans and corn add fiber and antioxidants. The avocado provides healthy fats and potassium. And the tomatoes and jalapeños are packed with vitamin C. If you use lean ground turkey and reduced-fat cheese, you can cut the calories and fat significantly.
For those with dietary restrictions, this recipe is easily adaptable. Use gluten-free taco seasoning and certified gluten-free chips for a gluten-free version. Swap the cheese for a dairy-free alternative (I like the Violife brand) and use vegan sour cream for a dairy-free option.
I personally love that this recipe feels indulgent but still has some nutritional value. It’s the kind of food that fills you up without weighing you down — perfect for a long day of cheering and snacking.
Conclusion
This ultimate loaded nacho bar for tailgate parties is more than just a recipe. It’s a system for feeding a crowd with minimal stress and maximum flavor. The double-layer method, the balance of hot and cold toppings, and the make-ahead components all work together to create something that feels special without being complicated.
I love that this recipe invites people to play with their food. Everyone builds their own perfect bite, and that small act of creation makes the meal more memorable. It’s the kind of dish that turns a regular game day into a gathering people talk about for weeks.
So go ahead — customize it, experiment with toppings, make it your own. And when you do, I’d love to hear about it. Drop a comment below with your favorite nacho topping combination, or tag me in your tailgate photos. Let’s keep this tradition alive, one loaded chip at a time.
Frequently Asked Questions
Can I make these nachos in a slow cooker?
Yes, but they won’t be as crispy. Layer the chips, cheese, and toppings in the slow cooker, cover, and cook on low for 1-2 hours. The chips will soften, but the flavor will still be great. Perfect for a potluck where you can’t use an oven.
How do I keep the chips from getting soggy?
Layer strategically. Put wet toppings like beans and meat in the middle layers, and save wet toppings like salsa and sour cream for after baking. Also, use sturdy chips — thin ones will break and get soggy fast.
Can I use a different type of cheese?
Absolutely. A mix of Monterey Jack, sharp cheddar, and Pepper Jack is my go-to. You can also use queso fresco crumbled on top after baking for a different texture. Avoid pre-shredded cheese if you can — it has anti-caking agents that prevent smooth melting.
What’s the best way to reheat leftover nachos?
Spread them on a baking sheet and reheat in a 350°F oven for 5-7 minutes. The oven crisps the chips back up better than a microwave. Add fresh toppings after reheating for the best texture.
Can I make this recipe vegetarian or vegan?
Yes! Skip the meat and double up on black beans, corn, and roasted veggies. For vegan, use dairy-free cheese and sour cream. The rest of the toppings are naturally plant-based. I’ve made this for vegan friends and they loved it.
If you’re planning a full tailgate menu, don’t miss my crispy smash burgers for the main event, and finish with a strawberry shortcake icebox cake for dessert. Happy tailgating!
Pin This Recipe!
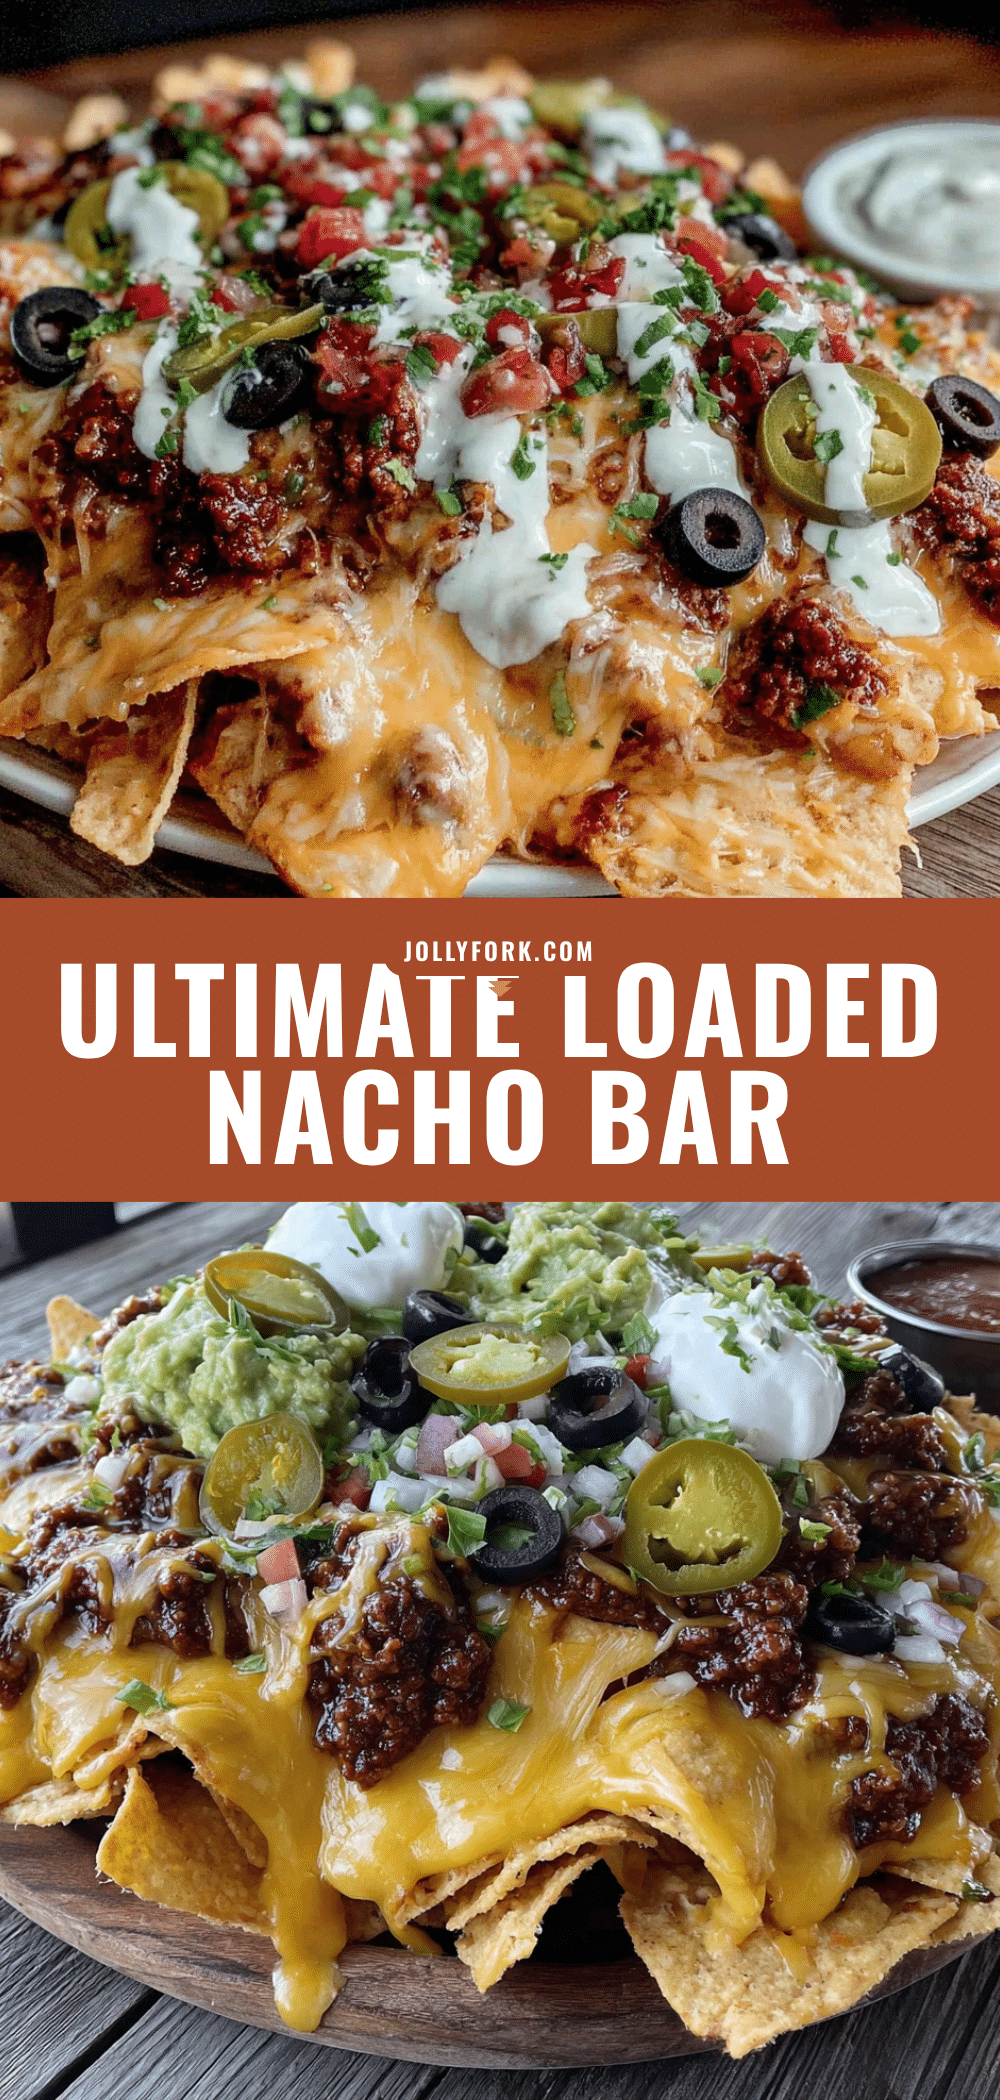
Ultimate Loaded Nacho Bar for Easy Tailgate Parties
This build-your-own nacho bar features a double-layer method for perfectly loaded chips every time, with seasoned beef, melted cheese, and fresh toppings. It’s a crowd-pleasing, make-ahead friendly meal that turns any game day into a celebration.
- Prep Time: 20 minutes
- Cook Time: 15 minutes
- Total Time: 35 minutes
- Yield: 8 servings 1x
- Category: Appetizer / Main Course
- Cuisine: Mexican-American
Ingredients
- 1 large bag (13–16 oz) restaurant-style tortilla chips
- 2 cups shredded Mexican blend cheese
- 1 cup shredded Pepper Jack cheese
- 1 lb ground beef (80/20)
- 1 packet taco seasoning
- 1/4 cup water
- 1 can (16 oz) refried beans
- 1/4 teaspoon cumin
- 1 cup black beans, drained and rinsed
- 1 cup corn kernels (frozen and thawed, or canned and drained)
- 1/2 cup pickled jalapeños
- 1/2 cup sliced black olives (optional)
- 1 cup diced tomatoes (fresh, seeds removed)
- 1/2 cup chopped green onions
- 1/2 cup fresh cilantro, chopped
- 1 cup sour cream
- 1 cup guacamole or sliced fresh avocado
- 1/2 cup salsa or pico de gallo
Instructions
- Preheat your oven to 375°F. If using a grill, set it up for indirect heat at around 375°F.
- Cook the meat: In a skillet over medium-high heat, brown the ground beef, breaking it apart with a spoon, about 5-7 minutes. Drain excess fat if needed, then add the taco seasoning and water. Stir and let it simmer until the liquid thickens, about 2 minutes. Set aside.
- Warm the refried beans: In a small saucepan over low heat, combine the refried beans with a splash of water and the cumin. Stir until smooth and heated through.
- Prep your fresh toppings: Dice the tomatoes, chop the green onions and cilantro, slice the avocado (or make guacamole). Set everything in small bowls.
- Build the first layer: Spread a single, even layer of tortilla chips on a large rimmed baking sheet. Drizzle the refried beans in small spoonfuls over the chips. Sprinkle half of the Mexican blend cheese and half of the Pepper Jack cheese over the beans.
- Add the second layer: Place another layer of chips on top, covering any bare spots. Spread the cooked ground beef evenly over the chips. Sprinkle the black beans and corn over the meat. Top with the remaining cheese.
- Bake until bubbly: Place the baking sheet in the oven and bake for 10-12 minutes, or until the cheese is fully melted and starting to bubble at the edges.
- Add fresh toppings: As soon as the nachos come out of the oven, sprinkle the diced tomatoes, green onions, cilantro, and pickled jalapeños over the top.
- Finish with cold toppings: Dollop sour cream, guacamole, and salsa over the hot nachos. Add the black olives if using.
- Serve immediately. Set out extra bowls of toppings so people can add more to their individual plates.
Notes
For best results, use sturdy tortilla chips and layer strategically to avoid sogginess. Keep wet toppings (salsa, sour cream, guacamole) for after baking. Prep components the night before for easy assembly on game day. If making a huge batch, use two smaller trays for even melting.
Nutrition
- Serving Size: 1/8 of tray
- Calories: 450
- Sugar: 4
- Sodium: 900
- Fat: 28
- Saturated Fat: 12
- Carbohydrates: 35
- Fiber: 6
- Protein: 22
Keywords: nachos, tailgate, party food, loaded nachos, game day, Mexican, appetizer, crowd-pleaser


