I did not trust no-churn ice cream. It sounded like one of those internet shortcuts that promises the world and delivers a block of icy, sad-tasting milk solids. For years, I stuck to my ice cream maker, hauling it out of the back of the cabinet, freezing the bowl for 24 hours, and dealing with the whole production. It was a process, but at least I knew the texture would be right. Then, on a sweltering Tuesday in July, the power flickered and my freezer bowl never fully refroze. I had a pint of heavy cream, a can of sweetened condensed milk, and a stubborn refusal to go to the store. That was the day this Creamy No-Churn Salted Caramel Ice Cream was born out of pure necessity and a whole lot of skepticism.
The first batch was a test, honestly. I figured I would end up with a soupy mess that I would have to turn into a milkshake. But the moment I pulled the loaf pan out of the freezer and saw that smooth, scoopable surface, I knew I had been wrong. The texture wasnt icy at all. It was dense, creamy, and rich in a way that felt almost decadent for something with only four main ingredients. The salted caramel ripple was the real star—it stayed soft and fudgy even after a deep freeze, creating these pockets of salty-sweet magic in every bite.
This recipe has since become my go-to for summer entertaining, lazy weekends, and even those mid-week cravings that hit out of nowhere. It is the kind of dessert that feels like a special treat but comes together with almost no effort. If you have ever been burned by a complicated frozen dessert recipe, I get it. But this one is different. It is the recipe that finally converted me, and I think it might just convert you, too.
Why You Will Love This Recipe
This Creamy No-Churn Salted Caramel Ice Cream isnt just another frozen treat—it is a game-changer for anyone who loves rich, homemade desserts without the fuss. I have tested this recipe more times than I can count, tweaking the ratios and the method to get that perfect scoopable texture every single time.
- Only 4 Simple Ingredients: You do not need an ice cream maker or any fancy equipment. Just heavy cream, sweetened condensed milk, salted caramel sauce, and a pinch of flaky sea salt. Thats it.
- No Machine Required: This is a true no-churn recipe. You whip the cream, fold in the condensed milk, swirl in the caramel, and freeze. No churning, no ice crystals, no hassle.
- Perfectly Creamy Texture: The secret is in the whipped cream technique. By whipping the cream to stiff peaks, you incorporate air that keeps the ice cream light and scoopable, even after hours in the freezer.
- Crowd-Pleasing Flavor: The combination of sweet caramel and flaky sea salt is universally loved. It is rich but not cloying, and the salt cuts through the sweetness beautifully.
- Ready in Under 10 Minutes: Active prep time is minimal. You can have this in the freezer in the time it takes to find your ice cream scoop.
- Endless Customization: Once you master the base, you can riff on it endlessly. Add chocolate chunks, toasted nuts, or a swirl of peanut butter. The possibilities are endless.
This recipe is perfect for hot summer afternoons, backyard barbecues, or when you just need a bowl of something cold and comforting. It is the kind of dessert that makes you close your eyes after the first bite, because it tastes like it took hours of work when it really took ten minutes.
What Ingredients You Will Need
This recipe uses simple, everyday ingredients to deliver a dessert that tastes anything but basic. The magic is in how they come together, not in a long list of obscure items.
- 2 cups (480 ml) cold heavy cream: This is the backbone of the ice cream. You want heavy cream with at least 36% milk fat for the best texture. I prefer brands like Horizon Organic or Organic Valley for their consistent richness. The cream must be very cold—pop it in the fridge overnight for the best results. If you are dairy-free, you can try a full-fat coconut cream, but the texture will be slightly different and more icy.
- 1 (14-ounce / 397 g) can sweetened condensed milk: This is what gives the ice cream its creamy, scoopable texture without needing an ice cream maker. It also adds sweetness and body. Do not substitute with evaporated milk or any other alternative—it will not work the same way. I have tried using a dairy-free sweetened condensed coconut milk, and it works in a pinch, but the texture is a bit softer.
- 1/2 cup (120 ml) good-quality salted caramel sauce: This is where the flavor really shines. You can use store-bought (I love Trader Joe’s or Stonewall Kitchen for convenience), or you can make your own. If you are feeling ambitious, try my homemade fig jam technique for a twist, but for this recipe, a classic caramel is best. Look for a sauce that is thick and rich, not watery. If your caramel is too thin, it will sink to the bottom of the pan.
- 1 teaspoon flaky sea salt (like Maldon): This is non-negotiable. The flaky salt adds little bursts of salinity that make the caramel taste deeper and more complex. Do not use table salt—it will dissolve and you will lose that textural pop. I sprinkle it on top before freezing, and it creates this beautiful, salty crust that contrasts with the sweet, creamy base.
Optional additions: 1 teaspoon vanilla extract for extra depth, or 1/2 cup crushed toffee bits or chocolate chunks for texture. I sometimes add a handful of toasted pecans for crunch, especially if I am serving this after a rich meal.
Equipment Needed
You do not need much to make this recipe, which is part of its beauty. Here is what you will need:
- Large mixing bowl: A stainless steel or glass bowl works best. Make sure it is very clean and dry—any grease can prevent the cream from whipping properly.
- Electric hand mixer or stand mixer: While you can whip the cream by hand with a whisk, it will take a while and your arm will get tired. A hand mixer is ideal. I have used a KitchenAid hand mixer for years and it has never let me down.
- Rubber spatula: For folding the condensed milk and caramel gently into the whipped cream. A silicone spatula is best for scraping down the sides of the bowl.
- 9×5-inch loaf pan: This is the perfect size for this recipe. It allows the ice cream to freeze evenly and makes for easy scooping. A metal pan freezes faster than glass, but either works.
- Plastic wrap or parchment paper: To cover the surface of the ice cream directly, preventing freezer burn and ice crystals from forming.
- Freezer-safe container with lid: If you want to store the ice cream for longer than a week, transfer it to an airtight container after it is fully frozen.
If you do not have a loaf pan, you can use an 8×8-inch square pan or even a metal mixing bowl. Just note that the freezing time may vary slightly depending on the depth of the ice cream.
Preparation Method
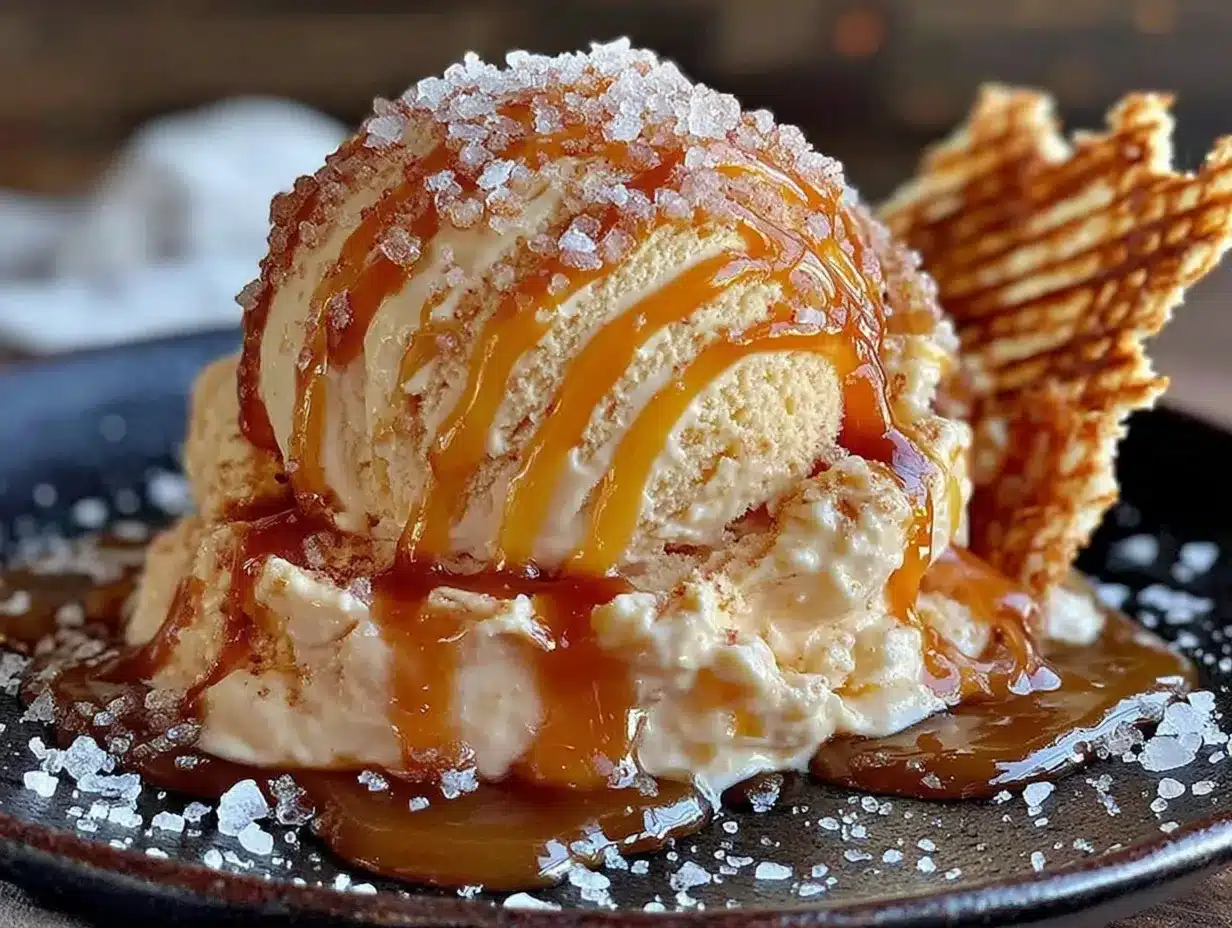
Making this Creamy No-Churn Salted Caramel Ice Cream is almost embarrassingly easy. Follow these steps, and you will have a dessert that tastes like it came from a fancy creamery.
- Chill your bowl and beaters: Pop your large mixing bowl and the beaters of your hand mixer into the freezer for 10-15 minutes. This helps the cream whip up faster and hold its shape better. A cold bowl is a small step that makes a big difference.
- Whip the heavy cream: Pour the cold heavy cream into the chilled bowl. Using your hand mixer on medium-high speed, whip the cream until stiff peaks form. This usually takes about 3-5 minutes. You will know it is ready when you lift the beaters and the cream stands up in firm peaks that do not droop. Be careful not to overwhip—if you go too far, you will end up with butter. I have done this before, and it is a sad day. Stop as soon as the peaks are stiff and the cream looks glossy.
- Fold in the sweetened condensed milk: Pour the entire can of sweetened condensed milk over the whipped cream. Using a rubber spatula, gently fold it in. Start from the bottom of the bowl and bring the mixture up and over, rotating the bowl as you go. Do this until the condensed milk is fully incorporated and the mixture is smooth and uniform. There should be no white streaks left. This step is all about being gentle—you do not want to deflate all the air you just whipped into the cream.
- Add the caramel and salt: Pour about 1/4 cup of the salted caramel sauce over the top of the mixture. Using a knife or a skewer, gently swirl it through the cream mixture. You do not want to mix it in completely—you want distinct ribbons of caramel running through the ice cream. Then, sprinkle half of the flaky sea salt over the top. Reserve the remaining salt for later.
- Transfer to the loaf pan: Pour the mixture into your prepared 9×5-inch loaf pan. Use the spatula to spread it evenly. The mixture will be thick and luscious at this point. Drizzle the remaining 1/4 cup of caramel sauce over the top and swirl it in gently with a knife. Sprinkle the remaining flaky sea salt over the surface. This creates a beautiful, salty crust on top.
- Cover and freeze: Press a piece of plastic wrap directly onto the surface of the ice cream. This is crucial—it prevents ice crystals from forming and keeps the texture creamy. Alternatively, you can use a piece of parchment paper cut to size. Place the loaf pan in the freezer and let it freeze for at least 6 hours, but preferably overnight. The longer it freezes, the firmer it will be. I usually make it the night before I plan to serve it.
- Serve: When you are ready to serve, remove the loaf pan from the freezer and let it sit at room temperature for 5-10 minutes. This softens it just enough for easy scooping. Use a warm ice cream scoop (dip it in hot water first) for the cleanest scoops. Drizzle with extra caramel sauce and a pinch of flaky salt if you are feeling fancy.
Cooking Tips & Techniques
Over the years, I have made this recipe more times than I can count, and I have learned a few things the hard way. Here are my best tips for perfect no-churn ice cream every time.
Do not skimp on the cream whipping: The key to a light, creamy texture is properly whipped cream. If your cream is under-whipped, the ice cream will be dense and icy. If it is over-whipped, it will be grainy and may separate. Aim for stiff peaks that hold their shape firmly. I always do a quick test by lifting the beaters—if the peak stands tall without drooping, you are good to go.
Use room-temperature condensed milk: If your sweetened condensed milk is straight from the fridge, it can cause the whipped cream to seize up and become lumpy. Let it sit on the counter for 15-20 minutes before you start. This ensures a smooth, even fold.
Swirl, do not stir: When adding the caramel sauce, resist the urge to mix it in completely. The goal is to create distinct ribbons of caramel throughout the ice cream. If you stir it too much, the caramel will incorporate fully and you will lose that beautiful marbled effect. A few gentle figure-eight motions with a knife is all it takes.
Patience with freezing: Do not rush the freezing process. The ice cream needs at least 6 hours to set properly, but overnight is best. If you try to scoop it too early, it will be soft and soupy. If you leave it too long (more than 2 weeks), it may become icy. I find the sweet spot is 12-24 hours.
Prevent ice crystals: The plastic wrap directly on the surface is your best friend. It creates a barrier that prevents freezer air from drying out the ice cream. If you skip this step, you will end up with a layer of ice crystals on top that ruins the texture. I have learned this the hard way more than once.
Variations & Adaptations
Once you have mastered the base recipe, the possibilities are endless. Here are a few of my favorite variations.
- Chocolate Salted Caramel: Add 1/4 cup of unsweetened cocoa powder to the sweetened condensed milk before folding it into the whipped cream. Whisk it together until smooth, then proceed with the recipe. The chocolate adds a rich, fudgy depth that pairs beautifully with the salted caramel. I have made this for chocolate lovers, and it disappears fast.
- Peanut Butter Swirl: Warm 1/4 cup of creamy peanut butter in the microwave for 15-20 seconds until it is runny. Swirl it into the ice cream along with the caramel sauce. The combination of peanut butter and caramel is a classic for a reason. If you are feeling extra indulgent, add some chopped peanut butter cups.
- Vegan Version: Use full-fat coconut cream (chilled overnight) instead of heavy cream, and a dairy-free sweetened condensed coconut milk. The texture will be slightly softer and more coconut-forward, but it is still delicious. I have tested this for a friend with dairy allergies, and it was a hit. Just be sure to whip the coconut cream until it is light and fluffy.
- Seasonal Twist: In the fall, add 1 teaspoon of pumpkin pie spice to the condensed milk before folding. In the summer, fold in 1 cup of fresh, chopped strawberries or peaches. The fruit adds a bright, fresh note that cuts through the richness of the caramel.
For a fun party idea, try layering this ice cream with crushed pumpkin bread in a parfait glass. It makes for a stunning presentation and a delicious flavor combination.
Serving & Storage Suggestions
This Creamy No-Churn Salted Caramel Ice Cream is best served slightly softened. Remove it from the freezer about 5-10 minutes before scooping. I love serving it in chilled bowls or cones for a classic ice cream experience. For a more decadent dessert, try it alongside a warm brownie or a slice of pumpkin coffee cake.
For storage, keep the ice cream in the loaf pan with the plastic wrap pressed directly onto the surface. If you have a lid for the pan, use it. Otherwise, cover the entire pan tightly with aluminum foil. The ice cream will keep well for up to 2 weeks in the freezer. After that, it may start to develop ice crystals, but it is still perfectly edible.
If you want to store it for longer, transfer the fully frozen ice cream to an airtight, freezer-safe container. Press a piece of parchment paper over the surface before sealing the lid. This extra layer of protection helps maintain the creamy texture for up to a month.
Flavors actually deepen over time. The caramel and salt meld together beautifully after a day or two in the freezer. I actually prefer the ice cream on day two—the caramel has had time to infuse into the cream, and the salt is perfectly distributed. It is a great make-ahead dessert for parties or holidays.
Nutritional Information & Benefits
While this is definitely an indulgent treat, it is made with real, recognizable ingredients. Here is an approximate nutritional breakdown per serving (1/2 cup, based on 8 servings):
Calories: 380 | Fat: 24g | Saturated Fat: 15g | Carbohydrates: 38g | Sugar: 34g | Protein: 5g | Sodium: 220mg
This recipe contains dairy and is not suitable for vegans unless modified. It is also gluten-free, making it a great option for those with gluten sensitivities.
The heavy cream provides a good source of vitamin A and calcium, while the sweetened condensed milk adds a touch of protein. The flaky sea salt not only enhances flavor but also provides trace minerals. Of course, this is a dessert meant to be enjoyed in moderation—it is about pleasure, not health food. But knowing exactly what goes into it makes that scoop feel a little better than something from a box.
Conclusion
This Creamy No-Churn Salted Caramel Ice Cream has become a staple in my kitchen for a reason. It is proof that you do not need a fancy machine or a culinary degree to make something truly special. With just four ingredients and a few minutes of hands-on time, you can create a dessert that rivals anything from a gourmet ice cream shop. The texture is impossibly creamy, the caramel swirl is perfectly salty-sweet, and the whole thing comes together with almost no effort.
I love how this recipe adapts to whatever I have on hand. Sometimes I add chocolate chunks, sometimes I swirl in peanut butter, and sometimes I keep it simple with just the caramel and salt. It always delivers. Whether you are making it for a summer party, a cozy night in, or just because you deserve a treat, this ice cream will not let you down.
I would love to hear how it turns out for you. Did you try a variation? Did you add something unexpected? Drop a comment below and let me know. And if you share it on social media, tag me—I love seeing your creations. Now go grab your ingredients and get that cream whipping. Your future self will thank you.
Frequently Asked Questions
Can I use half-and-half instead of heavy cream?
No, I do not recommend it. Half-and-half has a much lower fat content, which means it will not whip properly and the ice cream will be icy and thin. Stick with heavy cream for the best texture.
How long does this ice cream need to freeze?
At least 6 hours, but overnight is ideal. The longer it freezes, the firmer and more scoopable it becomes. If you are in a rush, you can eat it after 4 hours, but it will be very soft.
Can I use homemade caramel sauce?
Absolutely. In fact, homemade caramel is even better. Just make sure it is thick enough to hold its shape when swirled. A thin, watery caramel will sink to the bottom of the pan.
Why did my ice cream turn out icy?
This usually happens for one of two reasons: the cream was not whipped to stiff peaks, or the ice cream was not covered properly during freezing. Make sure your cream is very cold and whip it until it is firm. And always press plastic wrap directly onto the surface before freezing.
Can I double this recipe?
Yes, you can easily double it. Just use a larger pan or two loaf pans. The freezing time may increase slightly, so check it after 8 hours. A 9×13-inch baking dish works well for a double batch.
Pin This Recipe!
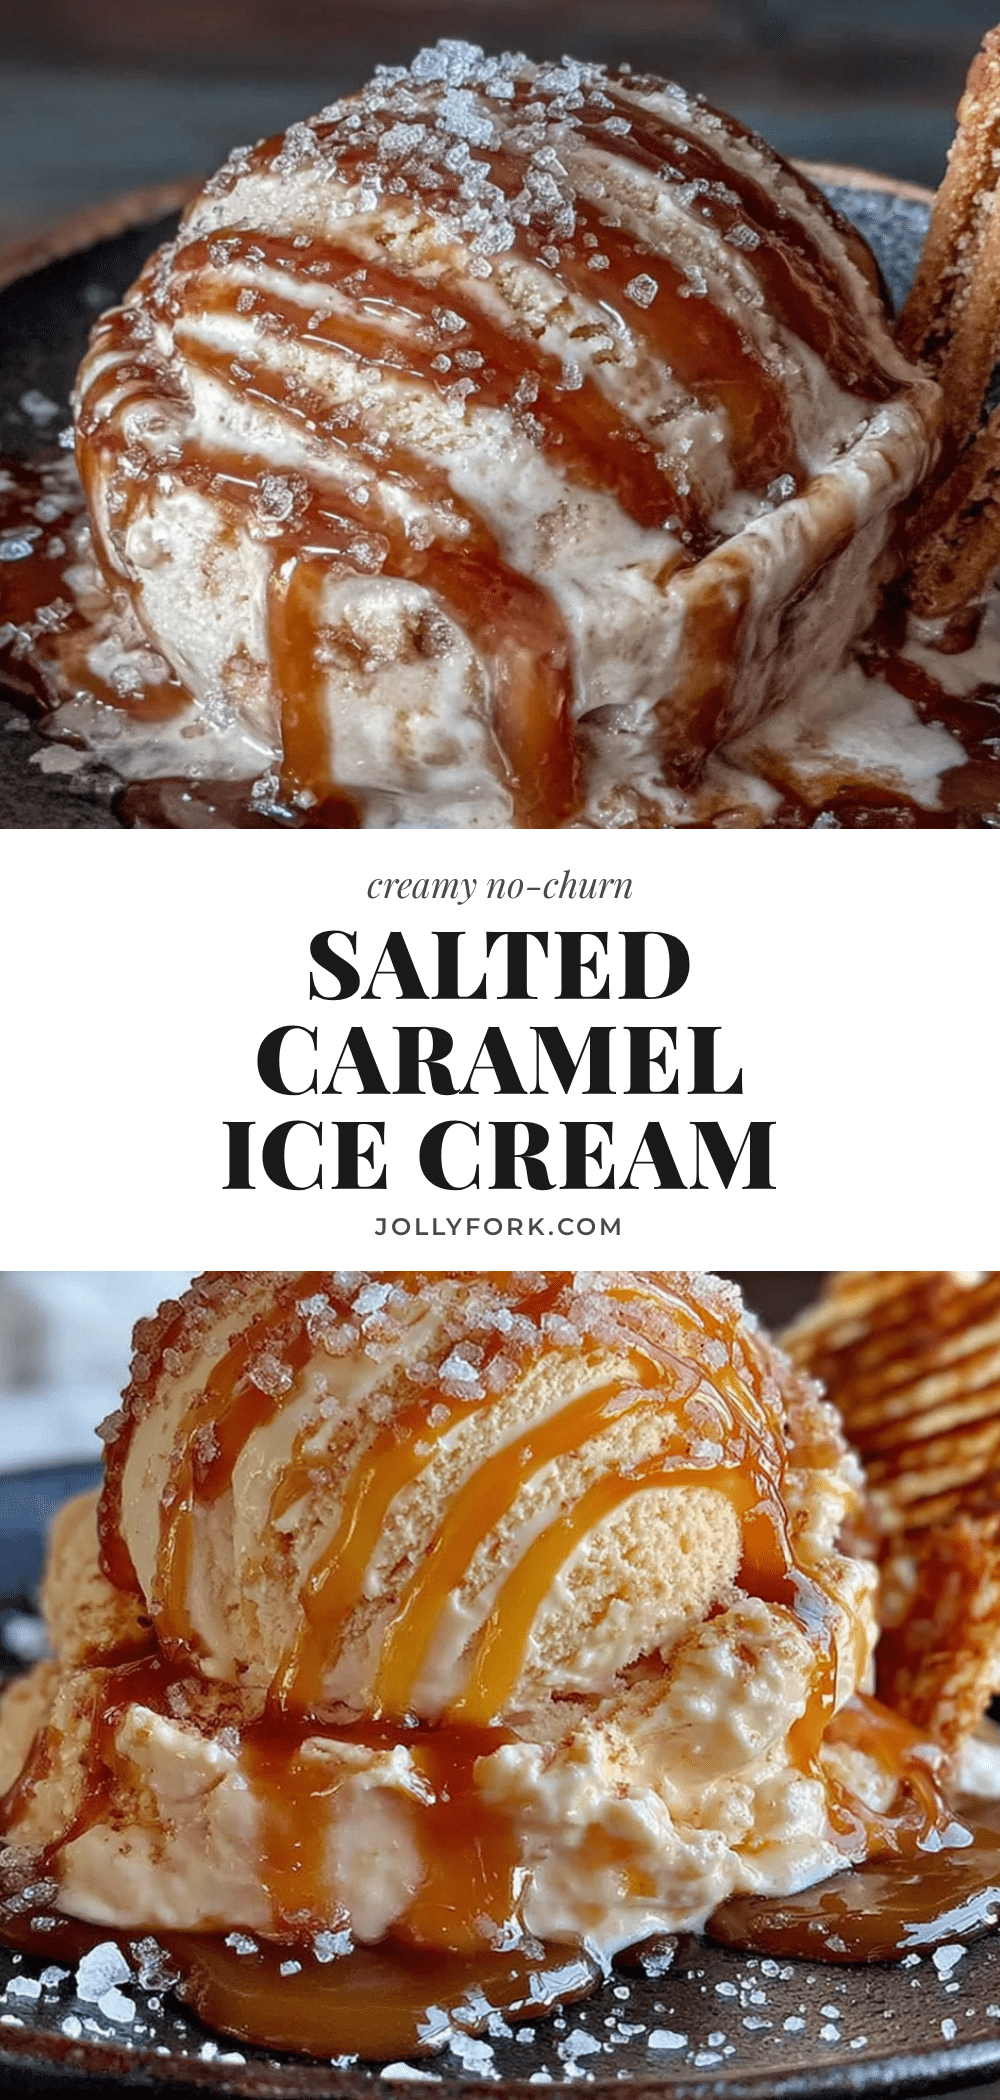
Creamy No-Churn Salted Caramel Ice Cream (Easy 4-Ingredient Recipe)
This creamy no-churn salted caramel ice cream is made with just 4 simple ingredients and no ice cream maker. It’s rich, scoopable, and perfectly balanced with sweet caramel and flaky sea salt.
- Prep Time: 10 minutes
- Cook Time: 0 minutes
- Total Time: 6 hours 10 minutes (includes freezing)
- Yield: 8 servings 1x
- Category: Dessert
- Cuisine: American
Ingredients
- 2 cups (480 ml) cold heavy cream
- 1 (14-ounce / 397 g) can sweetened condensed milk
- 1/2 cup (120 ml) good-quality salted caramel sauce
- 1 teaspoon flaky sea salt (like Maldon)
Instructions
- Chill your large mixing bowl and hand mixer beaters in the freezer for 10-15 minutes.
- Pour the cold heavy cream into the chilled bowl. Using a hand mixer on medium-high speed, whip the cream until stiff peaks form, about 3-5 minutes.
- Pour the entire can of sweetened condensed milk over the whipped cream. Gently fold it in with a rubber spatula until fully incorporated and smooth.
- Pour about 1/4 cup of the salted caramel sauce over the mixture. Gently swirl it through with a knife or skewer to create ribbons. Sprinkle half of the flaky sea salt over the top.
- Transfer the mixture to a 9×5-inch loaf pan. Drizzle the remaining 1/4 cup of caramel sauce over the top and swirl gently. Sprinkle the remaining flaky sea salt over the surface.
- Press a piece of plastic wrap directly onto the surface of the ice cream. Freeze for at least 6 hours, preferably overnight.
- To serve, let the loaf pan sit at room temperature for 5-10 minutes. Scoop with a warm ice cream scoop. Drizzle with extra caramel sauce and a pinch of flaky salt if desired.
Notes
For best texture, ensure the heavy cream is very cold and whipped to stiff peaks. Press plastic wrap directly onto the surface to prevent ice crystals. The ice cream keeps well for up to 2 weeks in the freezer. Flavors deepen after a day or two.
Nutrition
- Serving Size: 1/2 cup
- Calories: 380
- Sugar: 34
- Sodium: 220
- Fat: 24
- Saturated Fat: 15
- Carbohydrates: 38
- Protein: 5
Keywords: no-churn ice cream, salted caramel ice cream, easy ice cream, 4-ingredient ice cream, homemade ice cream, no machine ice cream


