My husband did not trust pumpkin in cookies. That’s the honest truth. Every fall, I’d watch him eye my baking experiments with this polite but unmistakable skepticism, like I was about to serve him a sweater disguised as dessert. “Pumpkin is for pie,” he’d say, and that was that. So when I first creamed together butter and brown sugar with a can of pumpkin puree back in October, I kept it quiet. I figured I’d prove him wrong or eat the whole batch myself.
Honestly, I wasn’t sure it would work either. Pumpkin has a way of making baked goods dense and gummy if you’re not careful. And brown butter? That felt like a gamble. I’d already burnt a batch of butter earlier that week (the smoke alarm still holds a grudge), so my confidence was shaky at best. But the smell of that nutty, toasting butter mixing with cinnamon and cloves changed my mind before the first cookie even hit the oven.
These brown butter pumpkin snickerdoodle cookies turned out soft in the middle with the slightest chew at the edges, and that cinnamon-sugar coating cracked just enough to look like little autumn gems. My husband ate four before asking what was in them. When I told him, he just stared at the cookie in his hand like it had personally betrayed his assumptions. That’s the moment I knew this recipe was a keeper. It’s the kind of cookie that doesn’t need a sales pitch — it does the convincing all on its own.
Why You’ll Love This Recipe
I’ve tested this recipe six times to get the texture right. The first batch was too flat. The second was too cakey. The third? Let’s just say I learned that pumpkin and baking soda have a complicated relationship. But by batch number four, something clicked. The brown butter brought this deep, almost caramel-like warmth that pumpkin alone just can’t achieve. It’s the kind of flavor that makes you close your eyes after the first bite.
Here’s what makes these cookies stand out from every other fall cookie recipe:
- Perfectly Soft Texture : These cookies stay tender for days, thanks to the pumpkin and the right balance of fats. No dry, crumbly disasters here.
- Brown Butter Magic : That nutty, toasted flavor transforms a simple snickerdoodle into something that tastes like you spent hours in the kitchen. (You didn’t. It takes 15 minutes.)
- No Chilling Required : I know, I know — most cookie recipes make you wait. These come together and go straight into the oven. Your patience (or lack thereof) is appreciated.
- Simple Pantry Ingredients : Nothing fancy. If you’ve got flour, sugar, butter, and a can of pumpkin, you’re basically already eating one.
- Crowd-Pleaser Status : I brought these to a Friendsgiving potluck and watched a grown man hide the last three in his coat pocket. True story.
This isn’t just another pumpkin cookie recipe. It’s the one that converts skeptics, satisfies cravings, and makes your kitchen smell like a candle store exploded in the best possible way. Plus, if you’re looking for more cozy fall baking, you might want to check out my brown butter pumpkin coffee cake — it uses a similar nutty butter technique that works beautifully here too.
What Ingredients You Will Need
This recipe keeps things simple. Most of these ingredients are probably already sitting in your pantry, which is exactly how I like to bake. No last-minute grocery runs required.
For the Brown Butter:
- 1 cup (2 sticks) unsalted butter — Use good-quality butter here since it’s the star. I prefer Kerrygold for its lower water content, which browns more evenly.
For the Cookie Dough:
- 1/2 cup (100g) packed light brown sugar — Adds moisture and that molasses depth that pairs so well with pumpkin.
- 1/2 cup (100g) granulated sugar — For sweetness and that slight crisp on the edges.
- 1/2 cup (120g) pumpkin puree — Not pumpkin pie filling. Make sure it’s 100% pure pumpkin. Libby’s is my go-to.
- 1 large egg — Room temperature, if you remember. If not, run it under warm water for 30 seconds.
- 2 teaspoons vanilla extract — Pure, not imitation. Trust me on this.
- 2 cups (250g) all-purpose flour — Spoon and level it. Scooping directly can pack in too much flour.
- 1 teaspoon baking soda — Helps with spread and lift.
- 1/2 teaspoon baking powder — Adds a little extra puff.
- 1/2 teaspoon salt — Balances the sweetness and brings out the brown butter.
- 2 teaspoons ground cinnamon — The backbone of that snickerdoodle flavor.
- 1/2 teaspoon ground nutmeg — Freshly grated if you’re feeling fancy.
- 1/2 teaspoon ground ginger — Adds warmth without stealing the show.
- 1/4 teaspoon ground cloves — Just enough to make things interesting.
For the Cinnamon Sugar Coating:
- 1/4 cup (50g) granulated sugar
- 1 tablespoon ground cinnamon
If you’re out of pumpkin puree, sweet potato puree works surprisingly well here. I tried it once when I was out of pumpkin and honestly couldn’t tell the difference. For a gluten-free version, swap the all-purpose flour with a 1:1 gluten-free baking blend. Just add an extra tablespoon of flour to account for the extra moisture from the pumpkin.
Equipment Needed
You don’t need a professional bakery setup for these cookies. Here’s what you’ll actually use:
- Light-colored saucepan — A heavy-bottomed pan works best for browning butter. Dark pans make it hard to see the color change, and you’ll end up with burnt butter. I learned this the hard way.
- Mixing bowls — One medium, one large. Nothing fancy.
- Whisk — For combining dry ingredients and smoothing out the brown butter mixture.
- Rubber spatula — For folding everything together without overmixing.
- Cookie scoop (1.5 tablespoon size) — For even, consistent cookies. A regular spoon works too, but your cookies won’t be as uniform.
- Baking sheets — Two is ideal so you can rotate batches. Line them with parchment paper or a silicone baking mat.
- Cooling rack — Essential for stopping the baking process and keeping the bottoms from getting soggy.
If you don’t have a cookie scoop, just use two spoons to portion the dough. It’s not as pretty, but the taste is exactly the same. And if you’re looking for a baking sheet recommendation, Nordic Ware is my favorite — they don’t warp in the oven.
Preparation Method
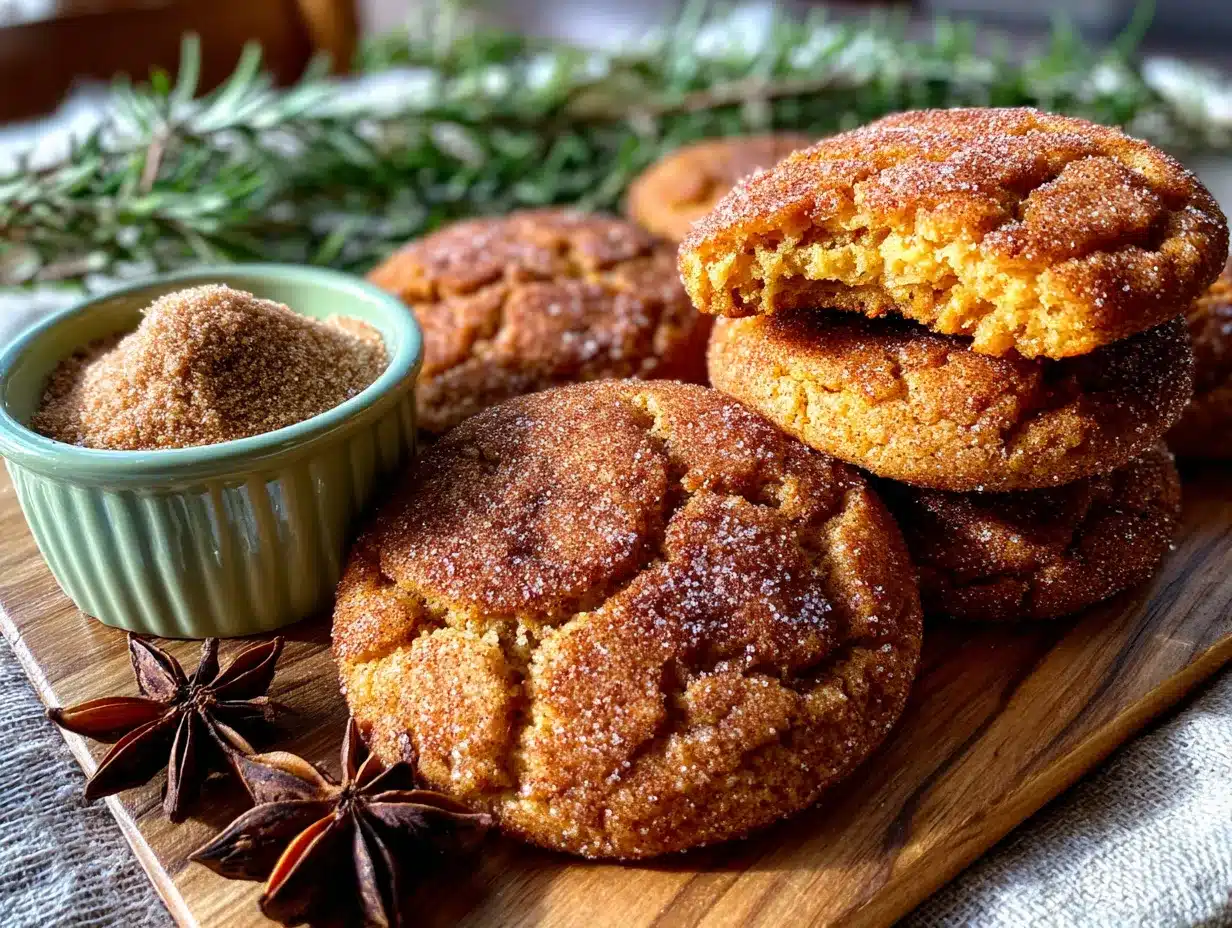
Let’s make some cookies. This process takes about 30 minutes total, including baking time. No chilling, no complicated steps.
Step 1: Brown the Butter
Cut the butter into tablespoon-sized pieces and add them to a light-colored saucepan over medium heat. Stir constantly with a rubber spatula or wooden spoon. After about 5 minutes, the butter will start to foam and turn golden. Watch closely — once you see brown specks forming at the bottom and smell that nutty aroma, remove it from the heat immediately. Pour the browned butter into a heatproof bowl, making sure to scrape all those brown bits (that’s where the flavor lives). Let it cool for 10 minutes. Don’t skip this cooling step, or your cookies will spread into flat puddles.
Step 2: Mix the Wet Ingredients
In a large bowl, whisk together the cooled brown butter, brown sugar, and granulated sugar until smooth. It should look like wet sand. Add the pumpkin puree, egg, and vanilla extract. Whisk until everything is fully combined and slightly glossy. The mixture might look a little separated at first — that’s normal. Keep whisking.
Step 3: Combine the Dry Ingredients
In a separate medium bowl, whisk together the flour, baking soda, baking powder, salt, cinnamon, nutmeg, ginger, and cloves. Make sure there are no clumps. I like to use a fork to break up any stubborn spice lumps.
Step 4: Bring It Together
Pour the dry ingredients into the wet ingredients. Fold gently with a rubber spatula until just combined. A few streaks of flour are fine — overmixing will make the cookies tough. The dough will be soft and slightly sticky, not stiff like traditional cookie dough. That’s the pumpkin talking.
Step 5: Prepare the Coating
In a small shallow bowl, mix together the 1/4 cup granulated sugar and 1 tablespoon cinnamon. Set aside.
Step 6: Shape and Coat
Using a cookie scoop or tablespoon, portion out rounded tablespoons of dough (about 1.5 tablespoons each). Roll each portion into a ball between your palms. Drop the dough ball into the cinnamon sugar mixture and roll to coat generously. Place on a parchment-lined baking sheet, spacing them about 2 inches apart. These cookies spread, so don’t crowd them.
Step 7: Bake
Preheat your oven to 350°F (175°C). Bake one sheet at a time for 10-12 minutes. The edges should look set and slightly golden, but the centers will still look soft and puffy. That’s exactly what you want. Remove from the oven and let the cookies rest on the baking sheet for 5 minutes. This allows them to set up without overbaking. Then transfer to a cooling rack.
Step 8: Cool and Enjoy
Let the cookies cool completely on the rack before storing. If you can wait that long. The texture improves as they cool — the centers firm up just enough while staying soft.
If you’re feeling ambitious, these cookies pair beautifully with a batch of cream cheese stuffed pumpkin chocolate chip muffins for a full fall baking marathon.
Cooking Tips & Techniques
I’ve made every mistake possible with these cookies so you don’t have to. Here’s what I learned:
Don’t Overbrown the Butter
Brown butter can go from perfect to burnt in about 30 seconds. The moment you see those brown specks and smell that nutty scent, pull it off the heat. Pour it into a bowl immediately to stop the cooking process. If it smells burnt, start over. Trust me, I’ve tried to salvage burnt butter, and the cookies taste like regret.
Measure Flour Correctly
This is the most common mistake in cookie baking. Spoon the flour into your measuring cup and level it off with a knife. Scooping directly from the bag packs in too much flour, which makes cookies dry and dense. If you want to be precise, use a kitchen scale. 250 grams is your target.
Watch Your Oven Temperature
Ovens run hot or cold more often than you’d think. I keep an oven thermometer inside mine because my oven runs about 25 degrees hot. If your cookies are browning too fast on the bottom, your oven might be running hot. Adjust accordingly.
Let Them Rest
The 5-minute rest on the baking sheet is non-negotiable. The cookies are too soft to move right out of the oven, and they’ll fall apart if you try. Let them set up, then transfer to a rack. Patience pays off.
Batch Baking Strategy
If you’re making a double batch, keep the unused dough at room temperature. Refrigerating it will make it too stiff to scoop, and the brown butter will harden. Just cover the bowl with a towel while the first batch bakes.
Variations & Adaptations
One of the best things about this recipe is how flexible it is. Here are some ways to make it your own:
Gluten-Free Version
Swap the all-purpose flour with a 1:1 gluten-free baking blend that contains xanthan gum. I’ve tested this with Bob’s Red Mill 1:1 Baking Flour, and the texture was nearly identical. Add an extra tablespoon of flour to compensate for the pumpkin’s moisture.
Dairy-Free Option
Use vegan butter sticks instead of regular butter. I’ve had good results with Earth Balance. Just note that vegan butter browns slightly differently — it won’t get as dark, but the nutty flavor still comes through. Watch it carefully to avoid burning.
Spice It Up
If you love a stronger spice profile, add a pinch of cardamom or allspice to the dry ingredients. I sometimes add 1/4 teaspoon of cardamom for a more complex, almost floral warmth. It’s subtle but noticeable.
Add Mix-Ins
Fold in 1/2 cup of white chocolate chips or chopped pecans after combining the wet and dry ingredients. White chocolate and pumpkin are a match made in heaven. Toasted pecans add a lovely crunch.
Pumpkin-Free Version
In a pinch, butternut squash puree or canned sweet potato puree works beautifully. The flavor is slightly sweeter, but the texture remains the same. Just make sure it’s pure puree, not seasoned.
If you’re in the mood for more pumpkin goodness, try my rustic sourdough pumpkin bread for a completely different texture experience.
Serving & Storage Suggestions
These cookies are best enjoyed slightly warm, when the edges are still a little soft and the center is tender. I like to serve them with a cold glass of milk or a hot cup of coffee. For a truly indulgent experience, sandwich two cookies with a spoonful of cream cheese frosting — it’s like a pumpkin snickerdoodle whoopie pie.
Storage Instructions:
Store the cookies in an airtight container at room temperature for up to 5 days. Place a slice of plain bread in the container to keep them soft — the bread absorbs excess air and releases moisture. Replace the bread slice every other day if the cookies last that long.
Freezer Instructions:
These cookies freeze beautifully. Let them cool completely, then place them in a single layer in a freezer-safe bag or container. They’ll keep for up to 3 months. To thaw, leave them at room temperature for about 30 minutes. You can also reheat frozen cookies in a 300°F oven for 5 minutes to bring back that fresh-baked texture.
Reheating Tip:
Microwave a single cookie for 10-15 seconds for that just-baked warmth. If you’re reheating a whole batch, pop them in a 300°F oven for 5 minutes. The centers will soften beautifully.
Flavor Development:
These cookies actually taste better the next day. The brown butter flavor deepens overnight, and the spices meld together into something more cohesive. If you can resist eating them all on day one, day two is when the magic really happens.
Nutritional Information & Benefits
Here’s the estimated nutritional breakdown per cookie (based on a batch of 24 cookies):
| Nutrient | Amount Per Cookie |
|---|---|
| Calories | 145 |
| Total Fat | 8g |
| Saturated Fat | 5g |
| Cholesterol | 28mg |
| Sodium | 85mg |
| Total Carbohydrates | 18g |
| Dietary Fiber | 1g |
| Sugars | 11g |
| Protein | 2g |
Pumpkin is packed with vitamin A and fiber, which helps with digestion and keeps you feeling full. The cinnamon in the coating has anti-inflammatory properties and may help regulate blood sugar. Brown butter, while indulgent, adds a richness that means one or two cookies actually feels satisfying — unlike some treats that leave you reaching for more.
These cookies are not gluten-free, dairy-free, or vegan as written, but substitutions are easy. They contain gluten (flour), dairy (butter), and eggs. For allergen-friendly versions, check the variations section above.
Conclusion
These brown butter pumpkin snickerdoodle cookies are the fall baking recipe you didn’t know you needed. They’re soft, spiced, and just sweet enough without being cloying. The brown butter adds a depth of flavor that makes them taste far more complicated than they actually are, and the cinnamon sugar coating gives that classic snickerdoodle crackle we all love.
My husband now asks for these cookies by name. He’s even started browning butter himself — badly, but enthusiastically. That’s the kind of impact a good recipe can have. It turns skeptics into bakers.
I’d love to hear how these turn out for you. Did you add any mix-ins? Did you try a different spice blend? Drop a comment below and let me know. And if you’re looking for another fall favorite, check out my brown butter apple cider snickerdoodle cookies for a fruity twist on the same concept.
Happy baking, friends. May your butter brown evenly and your cookies stay soft.
Frequently Asked Questions
Can I use salted butter instead of unsalted?
Yes, but reduce the added salt in the recipe to 1/4 teaspoon. Salted butter has varying salt levels, so it’s safer to start with less and adjust to taste.
Why did my cookies spread too much?
This usually happens if the brown butter wasn’t cooled enough before mixing, or if the dough was too warm going into the oven. Let the brown butter cool for a full 10 minutes, and don’t skip the parchment paper.
Can I refrigerate the dough and bake later?
You can, but the dough will be very stiff after chilling because the brown butter solidifies. Let it sit at room temperature for 15-20 minutes before scooping. The cookies might spread less and be slightly thicker.
How do I know when the cookies are done?
The edges should look set and lightly golden, but the centers will still look soft and slightly puffy. They will continue to set on the baking sheet as they cool. Overbaking leads to dry cookies.
Can I double this recipe?
Absolutely. Just make sure your mixing bowl is large enough to accommodate the doubled dough. Brown the butter in two batches to ensure even browning. The rest of the recipe scales perfectly.
Pin This Recipe!
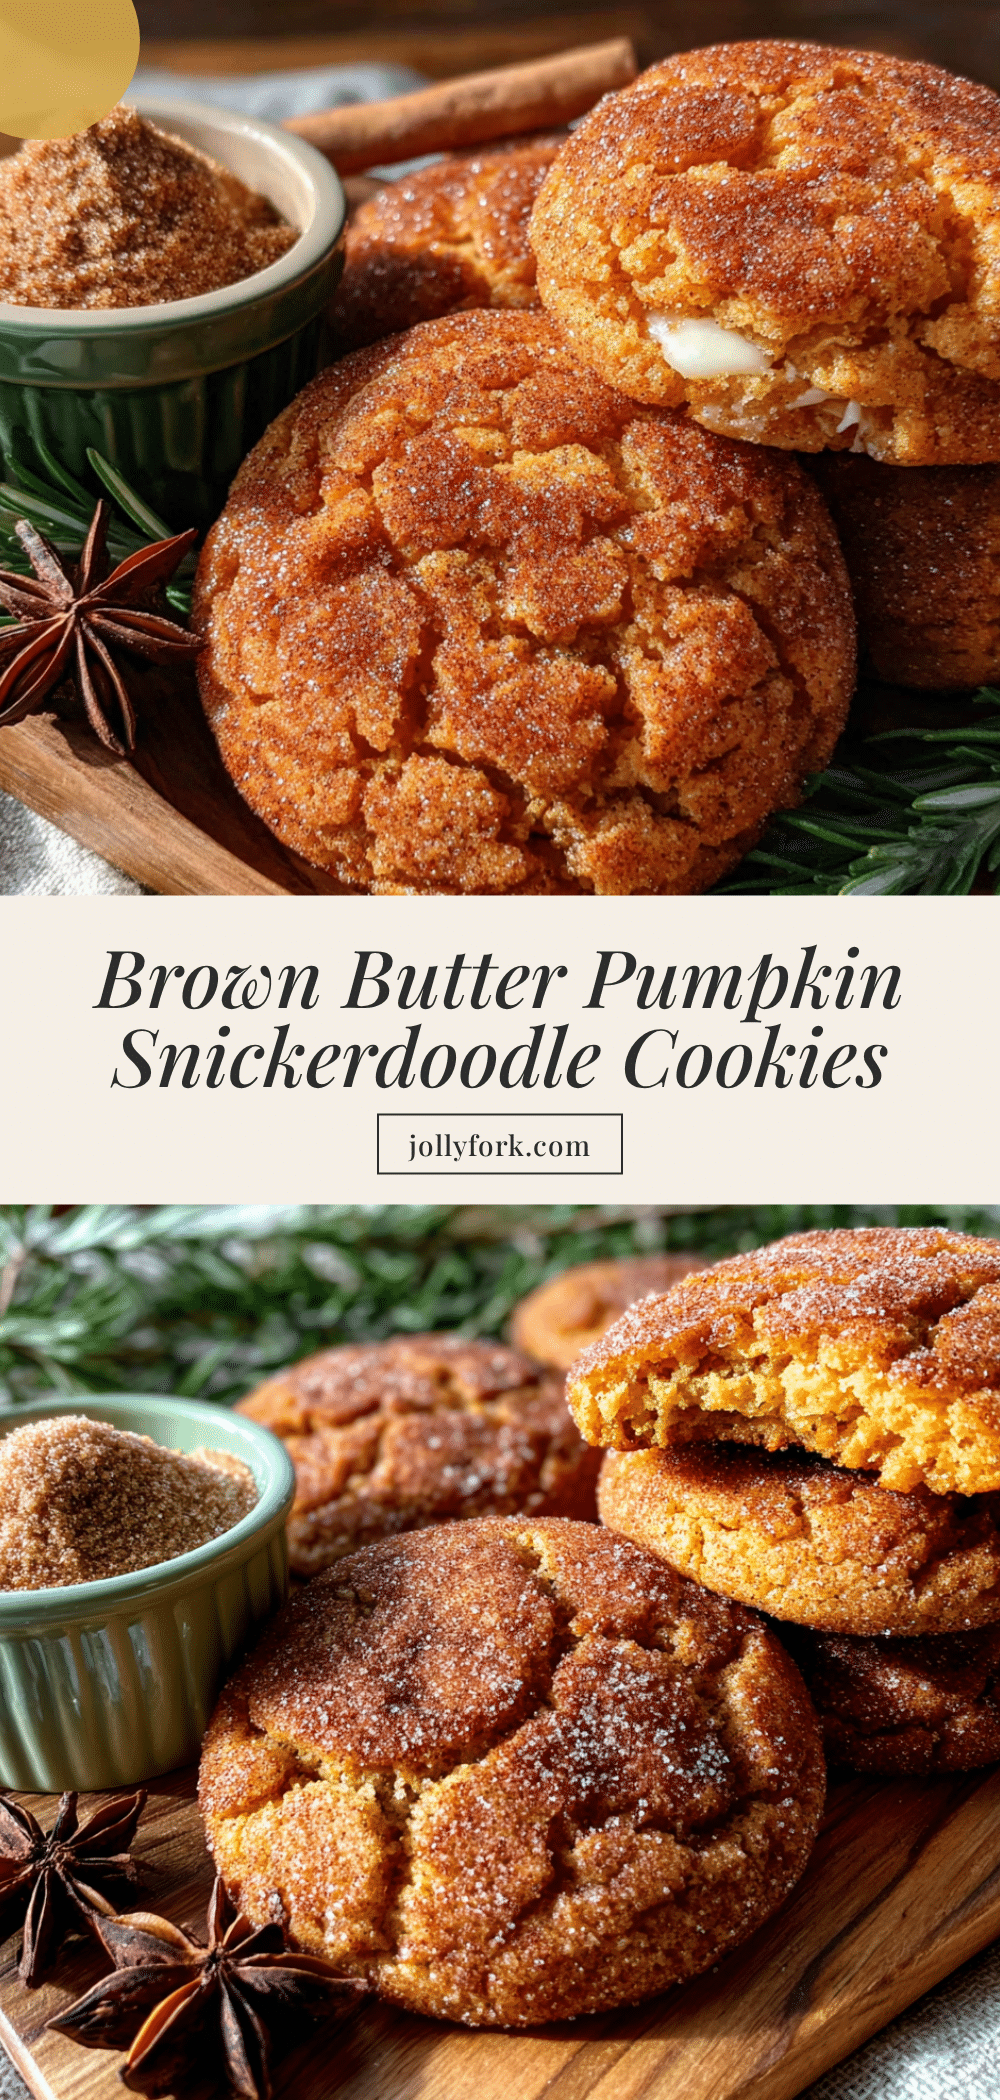
Best Brown Butter Pumpkin Snickerdoodle Cookies Recipe
These brown butter pumpkin snickerdoodle cookies are soft in the middle with a slight chew at the edges, coated in cinnamon sugar. The brown butter adds a deep, nutty warmth that transforms a classic fall cookie into something irresistible.
- Prep Time: 15 minutes
- Cook Time: 12 minutes
- Total Time: 27 minutes
- Yield: 24 servings 1x
- Category: Dessert
- Cuisine: American
Ingredients
- 1 cup (2 sticks) unsalted butter
- 1/2 cup (100g) packed light brown sugar
- 1/2 cup (100g) granulated sugar
- 1/2 cup (120g) pumpkin puree
- 1 large egg
- 2 teaspoons vanilla extract
- 2 cups (250g) all-purpose flour
- 1 teaspoon baking soda
- 1/2 teaspoon baking powder
- 1/2 teaspoon salt
- 2 teaspoons ground cinnamon
- 1/2 teaspoon ground nutmeg
- 1/2 teaspoon ground ginger
- 1/4 teaspoon ground cloves
- 1/4 cup (50g) granulated sugar (for coating)
- 1 tablespoon ground cinnamon (for coating)
Instructions
- Brown the butter: Cut the butter into tablespoon-sized pieces and add to a light-colored saucepan over medium heat. Stir constantly. After about 5 minutes, the butter will foam and turn golden. Once brown specks form and a nutty aroma appears, remove from heat immediately. Pour into a heatproof bowl, scraping all brown bits. Let cool for 10 minutes.
- Mix the wet ingredients: In a large bowl, whisk together the cooled brown butter, brown sugar, and granulated sugar until smooth. Add pumpkin puree, egg, and vanilla extract. Whisk until fully combined and slightly glossy.
- Combine the dry ingredients: In a separate medium bowl, whisk together flour, baking soda, baking powder, salt, cinnamon, nutmeg, ginger, and cloves until no clumps remain.
- Bring it together: Pour dry ingredients into wet ingredients. Fold gently with a rubber spatula until just combined. The dough will be soft and slightly sticky.
- Prepare the coating: In a small shallow bowl, mix together 1/4 cup granulated sugar and 1 tablespoon cinnamon.
- Shape and coat: Using a cookie scoop or tablespoon, portion out rounded tablespoons of dough (about 1.5 tablespoons each). Roll into balls, then coat generously in the cinnamon sugar mixture. Place on a parchment-lined baking sheet, spacing 2 inches apart.
- Bake: Preheat oven to 350°F (175°C). Bake one sheet at a time for 10-12 minutes. Edges should be set and slightly golden, centers soft and puffy. Remove from oven and let rest on baking sheet for 5 minutes, then transfer to a cooling rack.
- Cool and enjoy: Let cookies cool completely on the rack before storing. Texture improves as they cool.
Notes
Don’t overbrown the butter; remove from heat as soon as brown specks appear. Measure flour correctly by spooning and leveling. Let cookies rest on baking sheet for 5 minutes after baking. For best flavor, enjoy the next day as the brown butter flavor deepens. Store in an airtight container at room temperature for up to 5 days with a slice of bread to keep soft. Freeze for up to 3 months.
Nutrition
- Serving Size: 1 cookie
- Calories: 145
- Sugar: 11
- Sodium: 85
- Fat: 8
- Saturated Fat: 5
- Carbohydrates: 18
- Fiber: 1
- Protein: 2
Keywords: brown butter, pumpkin, snickerdoodle, cookies, fall, cinnamon, easy, no chill


