I used to hate making chicken wings. There, I said it. For years, I avoided them entirely, convinced they were a restaurant-only food because mine always turned out either rubbery or burnt, with sauce that slid off like a bad raincoat. I burned the honey garlic glaze not once, not twice, but three separate times before I realized the problem wasn’t me—it was my impatience. I wanted that sticky, glossy finish so badly that I kept cranking the heat, and the sugar would just scorch. The worst batch I ever made filled my entire apartment with a smell like burnt caramel and regret. My husband took one bite, smiled politely, and asked if we could order pizza. That was the moment I decided to actually figure these wings out.
So I started over. I tested lower temperatures, different rack positions, and a whole lot of basting schedules. I learned that the secret isn’t in some fancy ingredient—it is in letting the honey and garlic work slowly, building that sticky coating without rushing it. The first time I pulled a perfectly caramelized tray out of the oven, with the wings glossy and the sauce clinging to every ridge, I actually texted my sister a photo. She didn’t respond, but I didn’t care. I had cracked it. These sticky honey garlic baked chicken wings are the result of all that trial and error, and honestly, they are the only wings I make now. They are sweet, savory, a little garlicky, and exactly as sticky as you want them to be.
Why You’ll Love This Recipe
These wings have become my go-to for game days, casual dinners, and even potlucks where people end up standing around the platter, eating with their hands and not caring. Here is why they work so well:
- Oven-Baked, Not Fried: You get that crispy, caramelized exterior without the mess of deep frying. No splattering oil, no lingering kitchen smell.
- Simple Pantry Ingredients: Honey, garlic, soy sauce, and a few staples you probably already have. No trips to a specialty store.
- Perfect for Entertaining: These wings hold up well on a platter, stay sticky at room temperature, and are always the first thing to disappear.
- Customizable Heat Level: You can keep them mild or add a kick with sriracha or red pepper flakes.
- Foolproof Method: Once you master the low-and-slow bake with a final high-heat broil, you will never go back to takeout wings.
What makes these different from other honey garlic wings is the double-baking technique. You bake them low to render the fat and get the skin tender, then you crank the heat to get that sticky, almost candied finish. It sounds like extra work, but it is actually less hands-on than frying, and the result is a wing that is crispy on the outside, juicy on the inside, and coated in a glaze that actually sticks. I have brought these to parties where people asked for the recipe before they even finished eating.
What Ingredients You Will Need
This recipe relies on a handful of ingredients that work together to create that signature sticky-savory coating. Nothing fancy, just good combinations.
- Chicken Wings (2 lbs / about 900g): I use whole wings, separated into drumettes and flats. You can buy them pre-separated or do it yourself with a sharp knife. Pat them very dry with paper towels—this is crucial for crispy skin.
- Honey (1/2 cup / 170g): Use a good quality, runny honey. I prefer a mild wildflower honey, but clover or orange blossom work well too. Avoid honey that is crystallized or overly thick.
- Soy Sauce (1/4 cup / 60ml): Low-sodium soy sauce is best here so you can control the saltiness. Tamari or coconut aminos work for gluten-free options.
- Garlic (6 cloves, minced): Fresh garlic makes a difference. Do not use the jarred pre-minced stuff—it lacks the sharp, aromatic punch you need.
- Rice Vinegar (2 tablespoons / 30ml): Adds a mild acidity that balances the sweetness. Apple cider vinegar works as a substitute.
- Toasted Sesame Oil (1 tablespoon / 15ml): Just a little for that nutty, savory depth. It is subtle but important.
- Cornstarch (2 tablespoons / 16g): This is my secret weapon for extra crispiness. Tossing the wings in a light dusting before baking helps the skin get shatteringly crisp.
- Salt and Black Pepper (to taste): Keep it simple. The sauce brings plenty of flavor.
- Optional Garnishes: Sliced green onions, toasted sesame seeds, and a pinch of red pepper flakes for color and heat.
I recommend using a kitchen scale for the honey and soy sauce if you have one—it makes the glaze more consistent. For the wings, look for plump, evenly sized pieces so they cook at the same rate. If you are using frozen wings, thaw them completely in the fridge and pat them very dry before starting.
Equipment Needed
You do not need much for this recipe, which is part of its appeal.
- Baking Sheet (rimmed, preferably 13×18 inches): A rimmed sheet catches any drips and prevents a mess in your oven.
- Wire Rack: Fits inside the baking sheet and allows air to circulate around the wings, helping them crisp evenly. If you do not have one, you can bake directly on the sheet, but flip the wings halfway through.
- Mixing Bowls: One for the sauce, one for tossing the wings with cornstarch.
- Small Saucepan: For simmering the glaze to thicken it slightly before glazing.
- Pastry Brush: For applying the glaze in even layers. A silicone brush works best and is easy to clean.
- Tongs: For flipping and moving the wings without tearing the skin.
- Instant-Read Thermometer: Not strictly necessary, but helpful to ensure the wings reach 165°F (74°C) internally.
If you do not have a wire rack, you can use a broiler pan or even a cooling rack set inside a baking sheet. Just make sure it is oven-safe. I have used a basic metal cooling rack for years and it works perfectly.
Preparation Method
- Preheat the oven to 250°F (120°C). Yes, that low. This initial slow bake renders the fat and tenderizes the skin without drying out the meat. Place one rack in the middle of the oven and another about 6 inches from the broiler for later.
- Prepare the wings. If using whole wings, cut them at the joint to separate the drumettes from the flats. Discard the wing tips or save them for stock. Pat the wings very dry with paper towels—this is the most important step for crispy skin. Place them in a large bowl.
- Toss with cornstarch. Sprinkle the cornstarch, salt, and pepper over the wings and toss until evenly coated. The cornstarch should look like a light dusting, not a thick paste. Shake off any excess.
- Arrange on the rack. Place the wire rack inside the rimmed baking sheet. Arrange the wings in a single layer, leaving a little space between each piece. Do not overcrowd—if they touch, they will steam instead of crisp.
- Bake low and slow. Place the sheet in the preheated 250°F oven and bake for 30 minutes. This step is not about browning—it is about slowly rendering fat and starting the crisping process. You will see some fat pooling in the bottom of the pan.
- Increase the heat. After 30 minutes, remove the sheet from the oven and increase the temperature to 425°F (220°C). Once the oven reaches temperature, return the sheet and bake for another 20-25 minutes, until the wings are golden brown and the skin looks tight and crispy. Flip the wings halfway through this step for even cooking.
- Make the glaze while the wings bake. In a small saucepan, combine the honey, soy sauce, minced garlic, rice vinegar, and toasted sesame oil. Bring to a gentle simmer over medium heat, then reduce the heat to low. Let it simmer for 8-10 minutes, stirring occasionally, until the glaze thickens slightly and reduces by about a third. It should coat the back of a spoon. Remove from heat and set aside.
- Glaze the wings. Once the wings are baked and crispy, remove them from the oven. Using tongs, transfer the wings to a large bowl. Pour about two-thirds of the warm glaze over the wings and toss gently to coat. Reserve the remaining glaze for later.
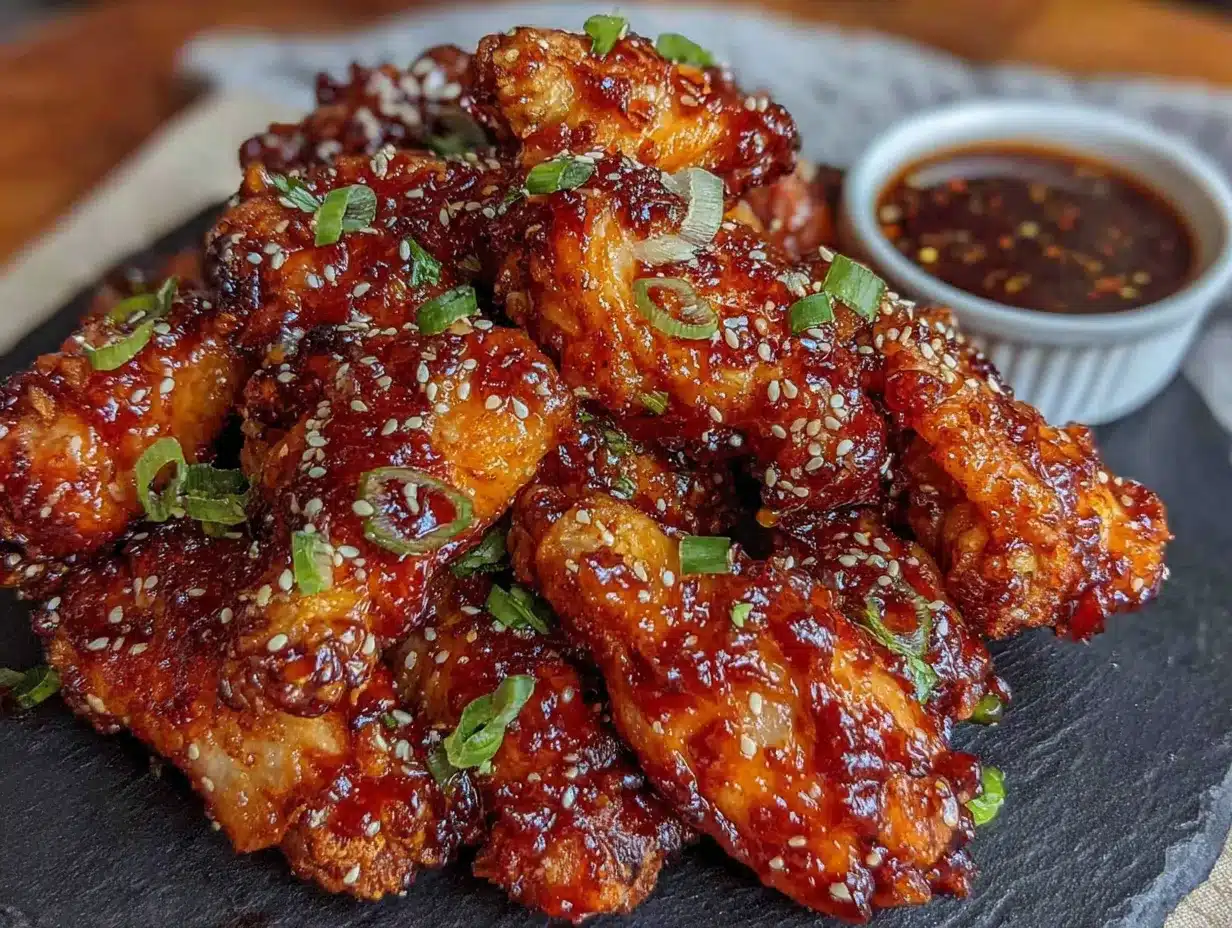
- Broil for the final stickiness. Return the glazed wings to the wire rack in a single layer. Place the sheet under the broiler for 2-3 minutes, watching closely. The glaze will bubble and caramelize, becoming sticky and glossy. Do not walk away—sugar burns fast under the broiler.
- Finish and serve. Remove from the oven and brush or drizzle the remaining glaze over the hot wings. Garnish with sliced green onions and toasted sesame seeds. Let them rest for 2-3 minutes before serving—the glaze will set slightly and become even stickier.
One thing I learned the hard way: do not skip the low-temperature step. I tried to shortcut it once by starting at 400°F, and the wings came out tough and dry. The slow start is non-negotiable for tender, juicy meat with crispy skin.
Cooking Tips & Techniques
I have made enough mistakes with these wings to fill a small notebook. Here is what I have learned so you do not have to repeat my errors.
Dry the wings thoroughly. This is the single most important tip. Moisture is the enemy of crispy skin. After patting them dry, let them sit on a paper-towel-lined plate for 10 minutes in the fridge. The cold air helps dry the surface even more.
Do not skip the cornstarch. It seems like a small step, but it makes a huge difference. The cornstarch absorbs any remaining moisture and creates a light, crackly crust when baked. If you are gluten-free, arrowroot powder works the same way.
Watch the broiler like a hawk. The line between perfectly caramelized and burnt is about 30 seconds. I have ruined more than one batch by getting distracted. Stay by the oven, watch the bubbles form, and pull them out the second the glaze looks sticky and dark amber.
Make extra glaze. I always double the sauce recipe because I like to have extra for dipping. It keeps in the fridge for a week and is amazing drizzled over rice or roasted vegetables. If you want a similar flavor profile for a main dish, try these honey garlic baked chicken thighs—same sticky sauce, different cut of meat.
Use a meat thermometer. Chicken wings are safe to eat at 165°F (74°C), but I find they are best at 175-180°F (80-82°C), where the connective tissue has fully broken down and the meat is fall-apart tender. The low-and-slow method gets you there without drying them out.
If you are making these for a party, you can bake the wings through step 5 (the 425°F bake) a few hours ahead, then finish with the glaze and broil just before serving. They reheat beautifully in a hot oven for 5 minutes.
Variations & Adaptations
This recipe is forgiving and easy to adapt. Here are a few ways I have changed it up over the years.
Spicy Honey Garlic Wings: Add 1-2 tablespoons of sriracha or sambal oelek to the glaze while it simmers. The heat balances the sweetness beautifully. I also sprinkle red pepper flakes over the finished wings for extra color.
Ginger-Sesame Version: Add 1 tablespoon of freshly grated ginger to the glaze along with the garlic. The ginger adds a warm, zesty note that pairs perfectly with the sesame oil. Top with extra toasted sesame seeds and sliced scallions.
Lemon-Honey Variation: Replace the rice vinegar with fresh lemon juice and add the zest of one lemon to the glaze. The citrus cuts through the richness and makes the wings feel lighter. This version is great for summer cookouts.
Air Fryer Adaptation: If you have an air fryer, you can make these in half the time. Toss the wings with cornstarch, then air fry at 380°F (190°C) for 20-25 minutes, shaking the basket halfway through. Toss with the glaze and air fry for another 2-3 minutes at 400°F (200°C) for that sticky finish.
Gluten-Free Option: Use tamari or coconut aminos instead of soy sauce, and make sure your cornstarch is certified gluten-free. The rest of the ingredients are naturally gluten-free.
I have also made these with drumsticks and thighs, and they work just as well—just adjust the baking time by 10-15 minutes. If you are looking for another crowd-pleasing appetizer that uses a similar sweet-savory glaze, these mini corn dog muffins with honey butter glaze are always a hit at parties.
Serving & Storage Suggestions
These wings are best served hot and sticky, straight from the oven. I pile them on a large platter, garnish with green onions and sesame seeds, and let people grab them with their hands. They are perfect for game day spreads, potlucks, or casual dinners where napkins are a must.
For sides, I love serving them with crunchy celery and carrot sticks and a bowl of ranch or blue cheese dressing for dipping. They also pair well with a simple cucumber salad or coleslaw—the cool, crisp texture balances the sticky richness. If you want a full meal, serve them over steamed rice or alongside roasted broccoli.
Storage: Leftover wings keep in an airtight container in the refrigerator for up to 4 days. The glaze will soften the skin slightly, but they are still delicious cold or reheated.
Reheating: The best way to reheat these is in a 375°F (190°C) oven for 8-10 minutes, which restores some of the crispiness. You can also reheat them in an air fryer at 350°F (175°C) for 5-6 minutes. Avoid the microwave—it makes the skin rubbery and the glaze gooey in a bad way.
Freezing: These wings freeze well. Let them cool completely, then arrange them in a single layer on a baking sheet and freeze until solid. Transfer to a freezer-safe bag or container for up to 3 months. Reheat directly from frozen in a 400°F (200°C) oven for 15-20 minutes.
The flavors actually deepen after a day in the fridge. I have been known to eat cold leftover wings straight from the container for a midnight snack—do not judge me.
Nutritional Information & Benefits
Here is an approximate nutritional breakdown per serving (about 4-5 wings, based on a 2-pound batch serving 4 people):
| Nutrient | Amount |
|---|---|
| Calories | 380 |
| Protein | 28g |
| Fat | 22g |
| Saturated Fat | 6g |
| Carbohydrates | 18g |
| Sugar | 15g |
| Sodium | 680mg |
Chicken wings are a good source of protein and contain essential B vitamins like niacin and B6, which support energy metabolism. The honey provides quick energy and contains trace antioxidants, while garlic offers anti-inflammatory properties. If you are watching your sodium, use low-sodium soy sauce and reduce the added salt.
These wings are naturally gluten-free if you use tamari, and they are keto-friendly if you swap the honey for a sugar-free alternative like monk fruit sweetener (though the texture will be slightly different). They are not low-fat, but honestly, that is not the point of wings.
Conclusion
These sticky honey garlic baked chicken wings have become my signature party dish, and I am not ashamed to say I am proud of them. They took me three burned batches and a lot of patience to get right, but now they are the wings I actually look forward to making. The combination of sweet honey, savory garlic, and that irresistible sticky glaze is hard to beat, especially when the skin is perfectly crispy and the meat is tender enough to fall off the bone.
I hope you give these a try and make them your own. Add extra garlic if you are a garlic lover like me, or dial up the heat if that is your style. The recipe is forgiving, and the results are consistently delicious. If you make them, I would love to hear how they turned out—drop a comment below or tag me in your photos. And if you are looking for another sweet-and-savory snack that disappears fast, check out these chewy sunbutter honey granola bars for something completely different but equally addictive.
Happy cooking, and do not forget the napkins.
Frequently Asked Questions
Can I use frozen chicken wings for this recipe?
Yes, but thaw them completely in the refrigerator first. Pat them very dry before proceeding, as frozen wings release a lot of moisture as they thaw. The drying step is even more important with previously frozen wings.
Why are my wings not crispy?
The most common reason is moisture. Make sure you pat the wings very dry before adding cornstarch. Also, do not overcrowd the baking sheet—if the wings are touching, they will steam instead of crisp. Using a wire rack helps air circulate.
Can I make the glaze ahead of time?
Absolutely. The glaze keeps in an airtight container in the refrigerator for up to 2 weeks. Reheat it gently on the stovetop or in the microwave before using, as it thickens when chilled.
How do I make these wings less sweet?
Reduce the honey to 1/3 cup (115g) and add an extra tablespoon of rice vinegar or a squeeze of lemon juice. You can also add a pinch of cayenne or red pepper flakes to balance the sweetness with heat.
Can I grill these wings instead of baking?
Yes. Grill the wings over medium heat (about 350°F/175°C) for 20-25 minutes, turning occasionally, until cooked through and charred in spots. Brush with the glaze during the last 5 minutes of grilling, being careful not to burn the sugar.
Pin This Recipe!
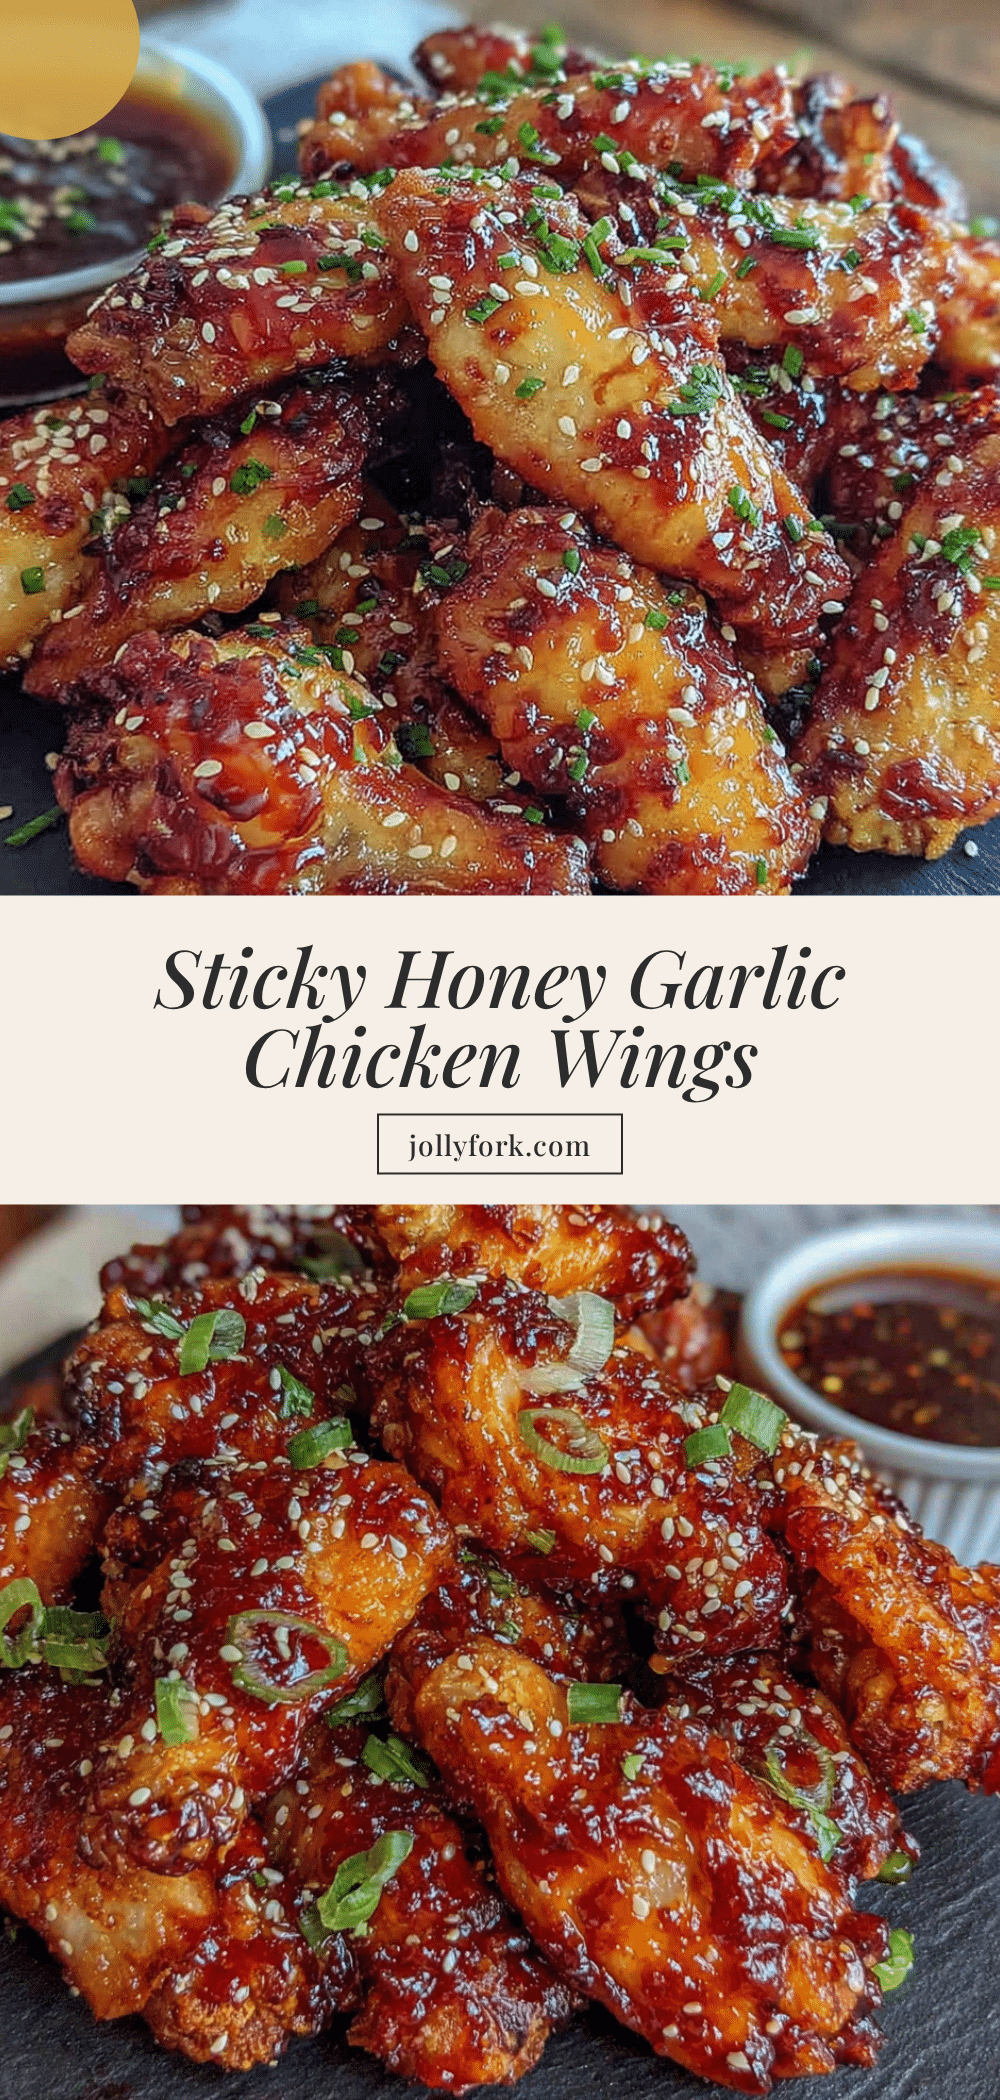
Best Sticky Honey Garlic Baked Chicken Wings

These oven-baked chicken wings are coated in a sweet and savory honey garlic glaze, baked low and slow for tender meat and crispy skin, then broiled to sticky perfection. A foolproof recipe that’s perfect for game days, parties, or any casual gathering.
- Prep Time: 15 minutes
- Cook Time: 55 minutes
- Total Time: 1 hour 10 minutes
- Yield: 4 servings 1x
- Category: Appetizer
- Cuisine: American
Ingredients
- 2 lbs (about 900g) chicken wings, separated into drumettes and flats
- 1/2 cup (170g) honey
- 1/4 cup (60ml) low-sodium soy sauce
- 6 cloves garlic, minced
- 2 tablespoons (30ml) rice vinegar
- 1 tablespoon (15ml) toasted sesame oil
- 2 tablespoons (16g) cornstarch
- Salt and black pepper to taste
- Optional: sliced green onions, toasted sesame seeds, red pepper flakes for garnish
Instructions
- Preheat the oven to 250°F (120°C). Place one rack in the middle of the oven and another about 6 inches from the broiler for later.
- If using whole wings, cut them at the joint to separate the drumettes from the flats. Discard the wing tips or save for stock. Pat the wings very dry with paper towels.
- In a large bowl, sprinkle the cornstarch, salt, and pepper over the wings and toss until evenly coated. Shake off any excess.
- Place a wire rack inside a rimmed baking sheet. Arrange the wings in a single layer on the rack, leaving space between each piece.
- Bake at 250°F for 30 minutes. This renders fat and starts crisping.
- Remove the sheet from the oven and increase the oven temperature to 425°F (220°C). Once hot, return the sheet and bake for another 20-25 minutes, flipping halfway, until golden brown and crispy.
- While wings bake, make the glaze: In a small saucepan, combine honey, soy sauce, minced garlic, rice vinegar, and toasted sesame oil. Bring to a gentle simmer over medium heat, then reduce to low. Simmer for 8-10 minutes, stirring occasionally, until thickened slightly. Remove from heat.
- Once wings are baked, transfer them to a large bowl. Pour about two-thirds of the warm glaze over the wings and toss gently to coat. Reserve remaining glaze.
- Return glazed wings to the wire rack in a single layer. Broil for 2-3 minutes, watching closely, until glaze bubbles and caramelizes.
- Remove from oven and brush or drizzle remaining glaze over hot wings. Garnish with green onions and sesame seeds. Let rest 2-3 minutes before serving.
Notes
Do not skip the low-temperature step; it ensures tender, juicy meat. Watch the broiler closely to prevent burning. For extra crispiness, dry wings thoroughly and let them sit on a paper-towel-lined plate in the fridge for 10 minutes before coating. Make extra glaze for dipping.
Nutrition
- Serving Size: 4-5 wings
- Calories: 380
- Sugar: 15
- Sodium: 680
- Fat: 22
- Saturated Fat: 6
- Carbohydrates: 18
- Protein: 28
Keywords: sticky honey garlic chicken wings, baked chicken wings, honey garlic wings, crispy chicken wings, game day appetizer


