Late October, and the kitchen counter is littered with the aftermath of a pumpkin carving session—seeds everywhere, that stringy orange pulp stuck under my fingernails, and one lone sugar pumpkin that escaped the knife. All I wanted was something creamy, something cold, something that didn’t require turning on the oven after a day of chasing toddlers and untangling Halloween decorations from the attic. That’s when this creamy no-bake pumpkin pie with ginger snap crust happened.
Honestly, it was born out of pure laziness and a serious craving for that spiced, silky pumpkin filling we all associate with Thanksgiving. But I didn’t have the patience for blind-baking a pastry shell or waiting for a custard to set in a hot oven. I had a box of ginger snaps, a block of cream cheese softening on the counter, and a can of pumpkin puree staring at me from the pantry. So I just went for it.
The first bite was a revelation. The crunchy, spicy ginger snap crust crumbled perfectly against the smooth, almost mousse-like pumpkin filling. It wasn’t just good—it was better than any baked pumpkin pie I’d made in years. No cracks in the filling, no soggy bottom crust, no worrying about over-baking. Just pure, uncomplicated fall flavor. And honestly, that’s the kind of recipe that sticks.
Why You’ll Love This Recipe
Look, I’ve tested a lot of pumpkin pie recipes over the years. Some are fussy, some are bland, and some just don’t deliver on that creamy texture we’re all chasing. This one? It’s different. And here’s why you’ll find yourself making it on repeat this fall.
- No Oven Required : This is a true no-bake dessert. Perfect for those days when your oven is already occupied with a herb butter roasted turkey breast or a batch of pumpkin cream cheese muffins. Just mix, press, chill, and serve.
- Simple Ingredients : You probably have most of these in your pantry right now. Cream cheese, pumpkin puree, ginger snaps, butter, sugar, and a few warm spices. No fancy extracts or hard-to-find items.
- Make-Ahead Friendly : This pie actually gets better after a day in the fridge. The flavors meld together, and the crust firms up perfectly. It’s the ultimate stress-free dessert for holiday gatherings.
- Crowd-Pleaser : I’ve served this at Friendsgiving, Halloween parties, and even a casual Sunday dinner. Every single person asked for the recipe. Kids love the cookie-like crust, and adults appreciate the sophisticated spice profile.
- Unbelievably Creamy : The secret is in the technique. By whipping the cream cheese until it’s light and airy before adding the pumpkin, you get a filling that’s silky smooth—not dense or heavy like some no-bake cheesecakes.
This isn’t just another pumpkin pie recipe. It’s the one that makes you close your eyes after the first bite and actually savor the moment. The kind of dessert that feels special enough for Thanksgiving but simple enough for a random Tuesday in October when you just need a little taste of fall.
What Ingredients You Will Need
This recipe uses simple, wholesome ingredients to deliver that bold pumpkin flavor and satisfying creamy texture without any fuss. Most of these are pantry staples during the fall season.
- Ginger snap cookies (2 cups, finely crushed) – I prefer using Nabisco Ginger Snaps or the store-brand version. They have that perfect balance of heat and sweetness. You’ll need about one full 16-ounce box. For best results, crush them into fine crumbs using a food processor or a rolling pin and a zip-top bag.
- Unsalted butter (6 tablespoons, melted) – This binds the crust together. Using unsalted butter lets you control the salt level in the crust. If you only have salted butter on hand, just reduce the added salt in the crust slightly.
- Granulated sugar (2 tablespoons, for the crust) – Just a little sweetness to balance the spicy ginger snaps.
- Cream cheese (16 ounces, full-fat, softened) – This is the backbone of the creamy filling. Full-fat cream cheese is non-negotiable here for that luscious texture. Let it sit at room temperature for at least 30 minutes before mixing. I recommend Philadelphia brand for consistent results.
- Pumpkin puree (1 can, 15 ounces) – Make sure you’re buying 100% pure pumpkin puree, not pumpkin pie filling. Libby’s is my go-to brand because it’s consistently thick and not watery. If you’re feeling ambitious, you can use homemade roasted pumpkin puree, just make sure to drain any excess liquid through a cheesecloth.
- Powdered sugar (1 cup) – This dissolves seamlessly into the cream cheese, giving the filling a silky sweetness without any grittiness.
- Heavy whipping cream (1 cup, cold) – This gets whipped to stiff peaks and folded into the filling, creating that light, mousse-like texture. Don’t substitute with milk or half-and-half—you need the fat content for structure.
- Pumpkin pie spice (2 teaspoons) – You can use store-bought or make your own blend. My homemade mix includes cinnamon, nutmeg, ginger, allspice, and a tiny pinch of cloves.
- Ground cinnamon (1 teaspoon) – For an extra layer of warmth.
- Vanilla extract (1 teaspoon) – Pure vanilla extract adds depth. Avoid imitation vanilla if you can.
- Salt (a pinch) – Just a tiny amount to brighten all the flavors.
For garnish, you’ll want whipped cream (optional but highly recommended), a sprinkle of cinnamon, and maybe some candied pecans or crunchy smoked paprika roasted pumpkin seeds for a salty-sweet crunch.
Equipment Needed
You don’t need a professional pastry kitchen for this one. Here’s what you’ll need:
- 9-inch pie dish – A standard glass or ceramic pie dish works perfectly. I prefer a deep-dish version for this recipe because the filling is generous.
- Food processor or rolling pin – For crushing the ginger snaps into fine crumbs. A food processor makes this step effortless, but a rolling pin and a sturdy zip-top bag work just as well. (Pro tip: place a kitchen towel under the bag to muffle the noise.)
- Electric hand mixer or stand mixer – You’ll need this to whip the cream cheese until fluffy and to whip the heavy cream. A hand mixer is fine, but a stand mixer with the whisk attachment makes the job even easier.
- Medium mixing bowls – One for the crust mixture, one for the cream cheese filling, and one for the whipped cream.
- Rubber spatula – For folding the whipped cream into the filling gently. A silicone spatula is ideal.
- Measuring cups and spoons – Accuracy matters, especially with the spices.
- Plastic wrap – To cover the pie while it chills in the refrigerator.
If you don’t have a food processor, don’t stress. I’ve made this crust using the old-fashioned method of placing the cookies in a bag and going to town with a rolling pin. It’s a great way to work out any cooking frustrations, honestly.
Preparation Method
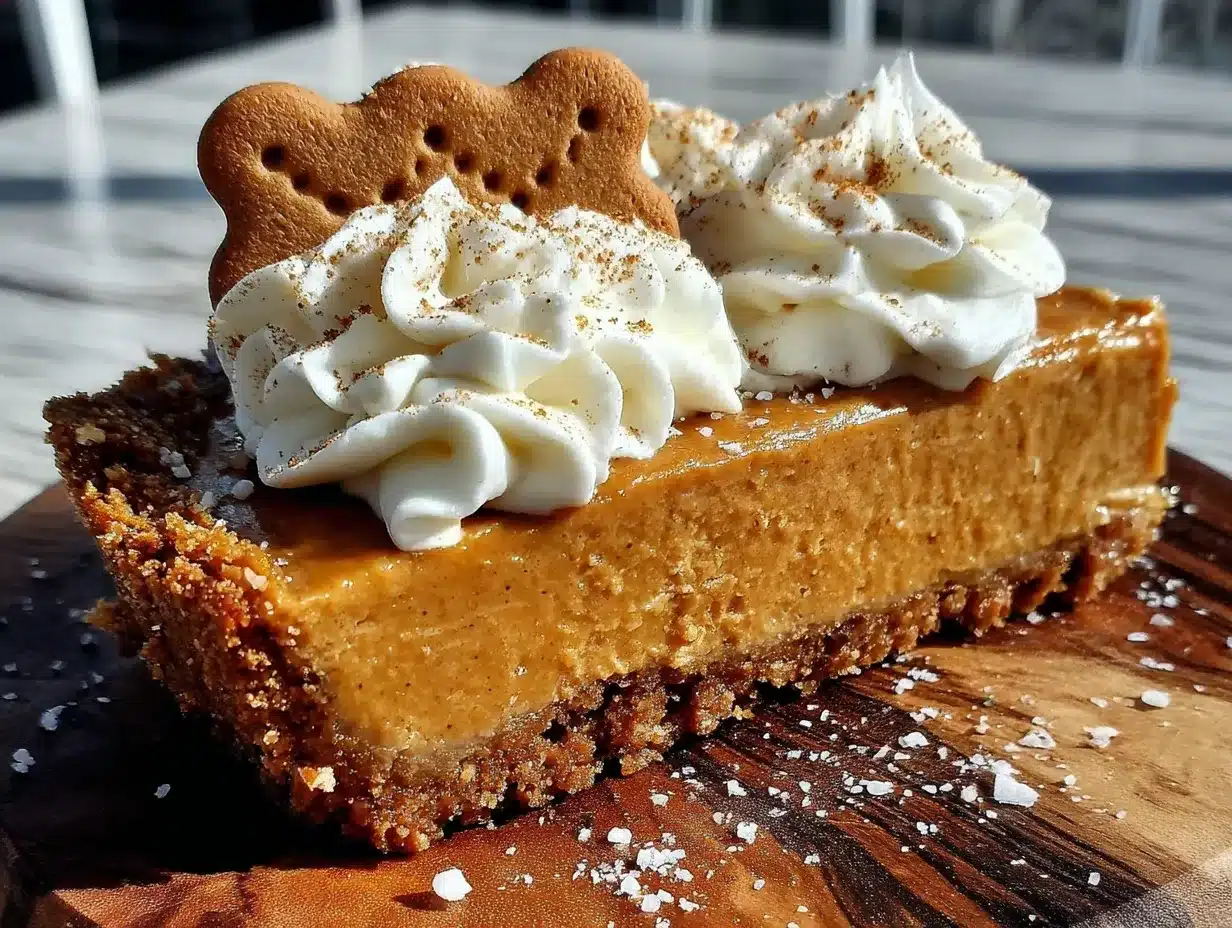
Let’s get to the good part. This recipe comes together in about 20 minutes of active work, plus at least 4 hours of chilling time. Plan ahead, and you’ll be rewarded with the creamiest pumpkin pie of your life.
Step 1: Make the Ginger Snap Crust
Start by crushing your ginger snap cookies. If using a food processor, pulse the cookies until you have fine, uniform crumbs. You should end up with about 2 cups of crumbs. Transfer them to a medium bowl.
Add the 2 tablespoons of granulated sugar and a pinch of salt to the crumbs. Pour in the 6 tablespoons of melted butter and stir with a fork until every crumb is moistened. The mixture should look like wet sand and hold together when you squeeze a handful.
Press the mixture firmly into the bottom and up the sides of your 9-inch pie dish. I use the bottom of a flat measuring cup to really pack it down—this prevents a crumbly crust later. Pay special attention to the edges; they should be even and about 1/4-inch thick. Place the crust in the refrigerator to firm up while you prepare the filling. At least 15 minutes of chill time here makes a difference.
Step 2: Whip the Cream Cheese Base
In a large mixing bowl, beat the softened cream cheese with an electric mixer on medium speed until it’s completely smooth and fluffy—about 2 to 3 minutes. Scrape down the sides of the bowl with a rubber spatula halfway through. This step is crucial. If the cream cheese isn’t fully softened or whipped, you’ll end up with lumps in your filling.
Add the powdered sugar, pumpkin pie spice, ground cinnamon, vanilla extract, and a pinch of salt. Beat on low speed until combined, then increase to medium and beat for another minute until the mixture is light and airy.
Now, add the pumpkin puree. Beat on low speed until just incorporated. Don’t overmix at this stage, or the filling can become too dense. You want a uniform, creamy orange mixture. Set this aside.
Step 3: Whip the Heavy Cream
In a separate, clean bowl (chilled if possible), pour in the cold heavy whipping cream. Using clean beaters, whip the cream on medium-high speed until stiff peaks form. This takes about 3 to 4 minutes with a hand mixer. You’ll know it’s ready when you lift the beaters and the cream stands up in firm peaks without drooping.
Be careful not to overwhip, or you’ll end up with butter. Trust me, I’ve done it. It’s a sad day when your whipped cream turns into a lumpy, greasy mess.
Step 4: Fold It All Together
Take a large spoonful of the whipped cream and stir it into the pumpkin-cream cheese mixture. This lightens the batter and makes it easier to fold in the rest of the cream without deflating it.
Now, gently fold the remaining whipped cream into the pumpkin mixture using a rubber spatula. Use a slow, sweeping motion—cut down through the center, scrape along the bottom, and bring the mixture up and over. Rotate the bowl as you go. Fold just until no white streaks remain. Over-folding will deflate the air you just whipped in, resulting in a denser pie.
Step 5: Assemble and Chill
Remove the crust from the refrigerator. Spoon the filling into the chilled crust, spreading it evenly with the spatula. Smooth the top as best you can.
Cover the pie loosely with plastic wrap and refrigerate for at least 4 hours, but overnight is truly best. The filling needs this time to set up properly. If you try to slice it too early, you’ll end up with a delicious but messy puddle on your plate.
Cooking Tips & Techniques
After making this pie more times than I can count (and messing it up a few times along the way), I’ve gathered some tips that will help you nail it on the first try.
Room temperature ingredients matter. I cannot stress this enough. Cold cream cheese will leave you with a lumpy filling no matter how long you beat it. Take it out of the fridge at least 30 minutes before starting. The same goes for the pumpkin puree—let it sit out for a bit too.
Don’t skip the crust chilling step. I once got impatient and poured the filling into a warm crust. The butter melted, the crust slid down the sides, and I ended up with a lopsided pie with a thick, soggy bottom. Not cute. Let that crust chill for a full 15 to 20 minutes.
Use a metal pie dish if you have one. Glass and ceramic dishes retain heat longer, which can slightly soften the crust as it sits. A metal pie dish conducts cold better and helps the crust stay crunchy. That said, I use a glass dish all the time and it works fine—just make sure it’s thoroughly chilled.
Taste as you go. Before you add the whipped cream, taste the pumpkin-cream cheese mixture. Does it need more spice? A touch more salt? Adjust now, because once the cream is folded in, you can’t go back.
Patience is a virtue. The hardest part of this recipe is waiting for it to set. I know you want to dig in immediately. But if you cut into it too soon, the filling will be soft and won’t hold its shape. Give it the full 4 hours minimum. Overnight is even better—the flavors deepen and the texture becomes almost mousse-like.
Variations & Adaptations
This recipe is wonderfully adaptable. Here are some ways to make it your own.
Gluten-Free Version: Swap the ginger snaps for gluten-free gingersnap cookies or even gluten-free graham crackers. The rest of the filling is naturally gluten-free, so this is an easy switch. Just make sure your spices are certified gluten-free if you have a sensitivity.
Vegan Option: Use vegan cream cheese (like Kite Hill or Miyoko’s) and a vegan butter substitute for the crust. For the whipped cream, use a can of full-fat coconut cream that’s been chilled overnight. Whip it the same way you would heavy cream. The texture will be slightly different but still delicious.
Bourbon Pumpkin Pie: Add 2 tablespoons of bourbon to the cream cheese mixture along with the vanilla. The warmth of the bourbon pairs beautifully with the pumpkin and ginger. It’s a grown-up twist that’s perfect for holiday gatherings.
Chocolate Ginger Snap Crust: Replace half of the ginger snaps with chocolate wafer cookies. The chocolate and ginger combination is surprisingly good—think of it as a pumpkin pie that met a chocolate tart and decided to be friends.
Mini Pie Version: Press the crust mixture into a muffin tin lined with cupcake liners to make individual servings. Reduce the chilling time to about 2 hours. These are perfect for parties or portion control (if that’s your thing).
Spice Level Adjustment: If you like things spicy, add an extra 1/2 teaspoon of ground ginger and a pinch of cayenne pepper to the filling. The heat cuts through the richness beautifully.
Serving & Storage Suggestions
This pie is best served cold, straight from the refrigerator. I like to take it out about 10 minutes before slicing to take the chill off slightly—it makes the filling even creamier.
For presentation, top each slice with a generous dollop of freshly whipped cream, a dusting of cinnamon or pumpkin pie spice, and a few candied pecans or roasted pumpkin seeds for crunch. A drizzle of caramel sauce never hurt anyone either.
This pie pairs beautifully with a cup of hot coffee or spiced apple cider. For a full dessert spread, serve it alongside a slice of cinnamon apple cake with caramel drizzle or some maple pumpkin cinnamon rolls.
Storage: Cover the pie tightly with plastic wrap or aluminum foil and store it in the refrigerator for up to 5 days. The crust will soften slightly over time, but the flavor actually improves.
Freezing: This pie freezes beautifully. Wrap the entire pie (or individual slices) in a layer of plastic wrap, then a layer of aluminum foil. Freeze for up to 3 months. To serve, thaw overnight in the refrigerator. Do not thaw at room temperature, or the texture can become watery.
Reheating: Honestly, I don’t recommend reheating this pie. It’s meant to be served cold. If you absolutely must warm it up, pop a slice in the microwave for about 10 seconds—just enough to take the chill off, not enough to melt the filling.
Nutritional Information & Benefits
Here’s the estimated nutritional breakdown for one slice (based on 8 servings):
- Calories: 410
- Fat: 28g
- Carbohydrates: 38g
- Protein: 6g
- Fiber: 2g
- Sugar: 22g
While this is definitely a treat, it does offer some nutritional benefits. Pumpkin is packed with vitamin A (in the form of beta-carotene), which supports eye health and immune function. It’s also a good source of fiber and potassium. The ginger in the crust has anti-inflammatory properties, and the cinnamon can help regulate blood sugar levels.
For those watching their intake, you can reduce the sugar in the filling by using a sugar substitute like monk fruit or allulose. Just note that the texture might be slightly less creamy.
This recipe contains dairy (cream cheese, butter, heavy cream) and gluten (ginger snaps). It can be made dairy-free with the substitutions mentioned above.
Conclusion
This creamy no-bake pumpkin pie with ginger snap crust has become my go-to fall dessert for a reason. It’s simple enough for a weeknight craving but impressive enough for a Thanksgiving table. The combination of the spicy, crunchy crust and the silky, spiced filling is just unbeatable.
I love that this recipe doesn’t demand perfection. You don’t need to worry about a perfectly crimped crust or a custard that sets just right. It’s forgiving, it’s delicious, and it’s exactly the kind of dessert that makes you feel like you’ve got this whole cooking thing figured out.
Now I want to hear from you. Have you tried a no-bake pumpkin pie before? What’s your favorite way to customize it? Drop a comment below and let me know. And if you make this recipe, tag me in your photos—I love seeing your creations. Happy fall baking, friends.
Frequently Asked Questions
Can I use homemade pumpkin puree instead of canned?
Absolutely. Just make sure to strain your homemade puree through a cheesecloth or fine-mesh sieve for at least an hour to remove excess water. Canned pumpkin is naturally thicker, so homemade puree can make the filling too loose if you skip this step.
Why is my crust falling apart when I slice the pie?
This usually happens when the crust isn’t packed firmly enough into the pie dish. Use the bottom of a measuring cup to really press the crumbs down. Also, make sure you’re using enough melted butter—the mixture should feel like wet sand and hold together when squeezed.
Can I make this pie a day ahead?
Yes, and I actually recommend it. Making it a day ahead gives the filling plenty of time to set and allows the flavors to meld together. Just cover it tightly with plastic wrap and keep it refrigerated.
How do I get clean slices?
Use a sharp knife dipped in hot water and wiped dry between each cut. This helps the knife glide through the cold filling without sticking. For the cleanest slices, chill the pie for at least 6 hours or overnight.
Can I use a different type of cookie for the crust?
Of course. Graham crackers, shortbread cookies, or even vanilla wafers work well. Just keep in mind that the spice level will change. If using a milder cookie, you might want to add an extra teaspoon of pumpkin pie spice to the crust mixture.
Pin This Recipe!
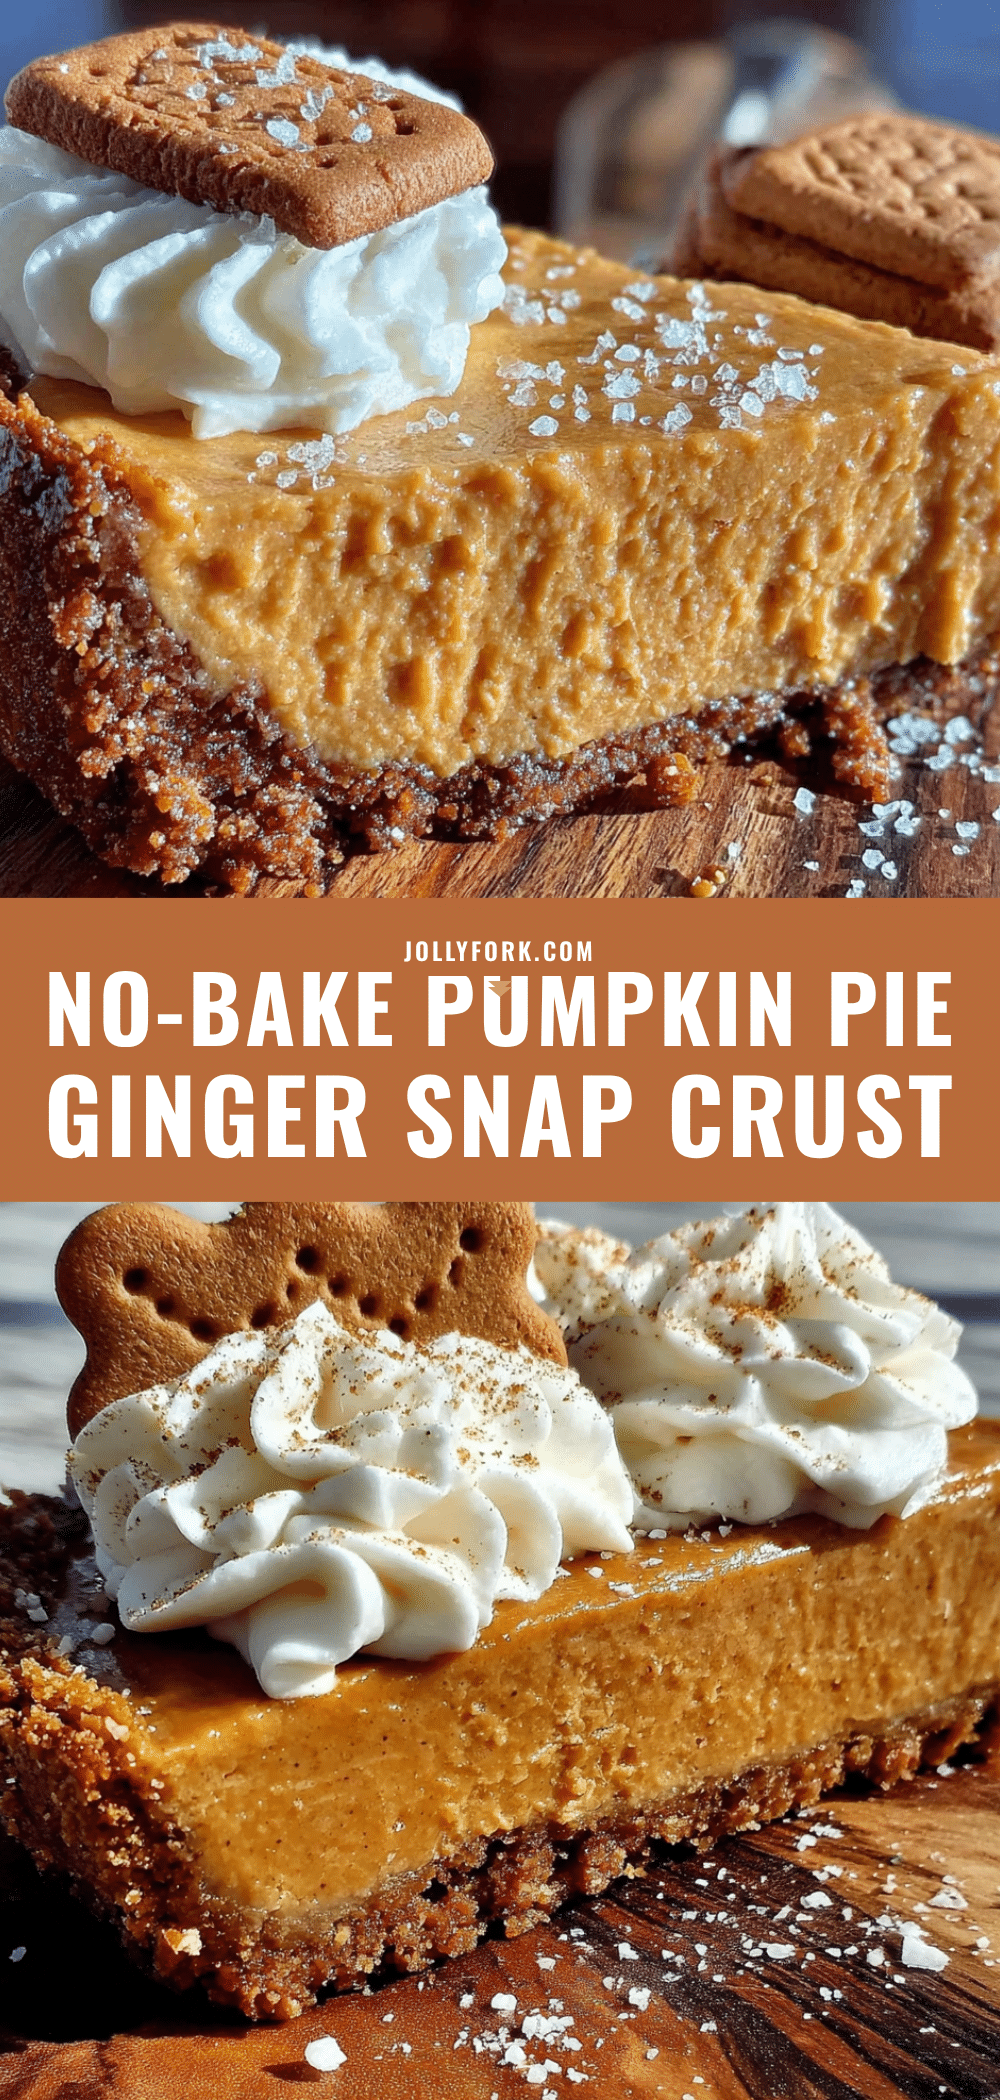
Creamy No-Bake Pumpkin Pie with Easy Ginger Snap Crust

A creamy, no-bake pumpkin pie with a spicy ginger snap crust that’s perfect for fall. This easy dessert requires no oven and is make-ahead friendly, delivering a silky, mousse-like filling that’s a crowd-pleaser.
- Prep Time: 20 minutes
- Cook Time: 0 minutes
- Total Time: 4 hours 20 minutes (includes chilling)
- Yield: 8 servings 1x
- Category: Dessert
- Cuisine: American
Ingredients
- 2 cups finely crushed ginger snap cookies (about one 16-ounce box)
- 6 tablespoons unsalted butter, melted
- 2 tablespoons granulated sugar
- 16 ounces full-fat cream cheese, softened
- 1 can (15 ounces) 100% pure pumpkin puree
- 1 cup powdered sugar
- 1 cup cold heavy whipping cream
- 2 teaspoons pumpkin pie spice
- 1 teaspoon ground cinnamon
- 1 teaspoon vanilla extract
- Pinch of salt
- For garnish: whipped cream, cinnamon, candied pecans or roasted pumpkin seeds (optional)
Instructions
- Make the crust: Crush ginger snap cookies into fine crumbs (about 2 cups). In a medium bowl, combine crumbs, 2 tablespoons granulated sugar, and a pinch of salt. Pour in 6 tablespoons melted butter and stir until moistened like wet sand. Press firmly into bottom and up sides of a 9-inch pie dish. Refrigerate for at least 15 minutes.
- Whip the cream cheese base: In a large bowl, beat softened cream cheese with an electric mixer on medium speed until smooth and fluffy (2-3 minutes). Add powdered sugar, pumpkin pie spice, cinnamon, vanilla, and a pinch of salt. Beat on low until combined, then medium for 1 minute. Add pumpkin puree and beat on low until just incorporated. Set aside.
- Whip the heavy cream: In a separate chilled bowl, whip cold heavy cream on medium-high speed until stiff peaks form (3-4 minutes). Do not overwhip.
- Fold together: Stir one large spoonful of whipped cream into the pumpkin mixture to lighten it. Gently fold in remaining whipped cream with a rubber spatula until no white streaks remain.
- Assemble and chill: Remove crust from fridge. Spoon filling into crust, spread evenly, and smooth top. Cover loosely with plastic wrap and refrigerate for at least 4 hours, preferably overnight.
- Serve: Slice cold, optionally topped with whipped cream, cinnamon, and candied pecans or roasted pumpkin seeds.
Notes
For best results, use full-fat cream cheese and let it soften at room temperature. Chill the crust before adding filling. The pie sets best when refrigerated overnight. For a gluten-free version, use gluten-free ginger snaps. For a vegan option, use vegan cream cheese, vegan butter, and coconut cream.
Nutrition
- Serving Size: 1 slice
- Calories: 410
- Sugar: 22
- Fat: 28
- Carbohydrates: 38
- Fiber: 2
- Protein: 6
Keywords: no-bake pumpkin pie, ginger snap crust, creamy pumpkin pie, fall dessert, Thanksgiving dessert, easy pumpkin pie


