There used to be a little diner on Route 9, just past the old water tower, that made a turkey pot pie that ruined me for all others. When they closed—suddenly, with a handwritten sign taped to the door that said “Thanks for the memories”—I stood there in the parking lot holding a container of soup they’d let me take home, feeling genuinely lost. After eleven tries—some too watery, one with a crust that tasted like cardboard, a couple that were just plain sad—I finally got it.
Honestly, I didn’t set out to recreate it perfectly. I just wanted something close enough that I’d stop thinking about that flaky, golden crust and the impossibly creamy filling every time Thanksgiving leftovers took over my fridge. Let me tell you, the version I landed on is better than the original. I mean, the diner’s pot pie was something special, but this one? It’s the kind of meal that makes a Tuesday night feel like a celebration. And it uses up every last bit of that leftover turkey, which honestly feels like a small victory after all that cooking.
You know that feeling when you’re staring at a mountain of leftover turkey, wondering how many turkey sandwiches one family can possibly eat? That’s exactly where this recipe comes in. It’s the answer to that post-holiday question nobody wants to ask: “What are we doing with all this turkey?” The creamy sauce, the tender vegetables, that flaky top crust—it all comes together in a way that makes you forget you’re eating leftovers at all. Maybe you’ve been there, standing in front of the open fridge, turkey containers stacked up, feeling a little overwhelmed. I’ve been there too. This pot pie is my way of saying, “I’ve got you.”
Why You’ll Love This Recipe
I’ve tested this recipe more times than I care to count, and let me tell you, it’s the one I keep coming back to. My sister-in-law, who’s a trained chef, actually asked me for the recipe after she tried it at a family dinner. That’s when I knew I’d really nailed it. Here’s what makes this pot pie stand out from every other recipe you’ll find:
- Quick & Easy: This comes together in about 45 minutes from start to finish. No complicated techniques, no fussing over a perfect crust—just good, honest cooking that works on a busy weeknight.
- Simple Ingredients: You probably have most of these in your pantry right now. No trips to specialty stores, no weird ingredients you’ll never use again. Just the basics, doing what they do best.
- Perfect for Post-Holiday Meals: This is the recipe that makes leftover turkey feel brand new. It’s also amazing for using up those last bits of vegetables in your crisper drawer.
- Crowd-Pleaser: I’ve served this to picky kids, foodie friends, and my dad who “doesn’t like casseroles.” Everyone goes back for seconds. I’m not kidding—every single time.
- Unbelievably Delicious: The filling is creamy without being heavy, the vegetables are tender but not mushy, and that golden crust on top? It’s the stuff of dreams. The secret is in the technique—a quick roux, a slow simmer, and a little patience that pays off big time.
This isn’t just another leftover turkey recipe. It’s the one that makes you look forward to leftovers. It’s comfort food that feels like a hug in a bowl, but with a little more sophistication than your average casserole. And honestly? It’s the kind of meal that makes everyone at the table happy, which is really what cooking is all about, isn’t it?
What Ingredients You Will Need
This recipe uses simple, wholesome ingredients to deliver bold flavor and satisfying texture without the fuss. Most of these are pantry staples or things you’ll already have after a holiday meal, which makes this the perfect “clean out the fridge” dinner.
For the Filling
- 3 tablespoons unsalted butter (I use Kerrygold for the rich flavor, but any good butter works)
- 1 medium yellow onion, diced (about 1 cup; sweet onions work too if that’s what you have)
- 2 medium carrots, peeled and diced (about 1 cup; I like them in small, even pieces)
- 2 celery stalks, diced (about 1/2 cup; this adds that classic pot pie flavor)
- 3 cloves garlic, minced (fresh is best, but jarred minced garlic works in a pinch)
- 1/3 cup all-purpose flour (this thickens the sauce; you can use gluten-free flour blend if needed)
- 2 cups low-sodium chicken broth (or turkey broth if you have some leftover from the bird)
- 1 cup whole milk (2% works too, but whole milk gives the creamiest result)
- 1/2 cup heavy cream (this is the secret to that luxurious texture; don’t skip it!)
- 3 cups cooked turkey, diced or shredded (dark meat and white meat both work great)
- 1 cup frozen peas (no need to thaw them first; they’ll cook perfectly in the filling)
- 1/2 cup frozen corn kernels (optional, but I love the little pops of sweetness)
- 1 teaspoon dried thyme (or 1 tablespoon fresh thyme leaves, if you have them)
- 1/2 teaspoon dried rosemary (crush it between your fingers to release the oils)
- 1 teaspoon salt (plus more to taste; I use fine sea salt)
- 1/2 teaspoon black pepper (freshly ground is best)
- 1/4 teaspoon garlic powder (just a little extra garlic flavor)
For the Topping
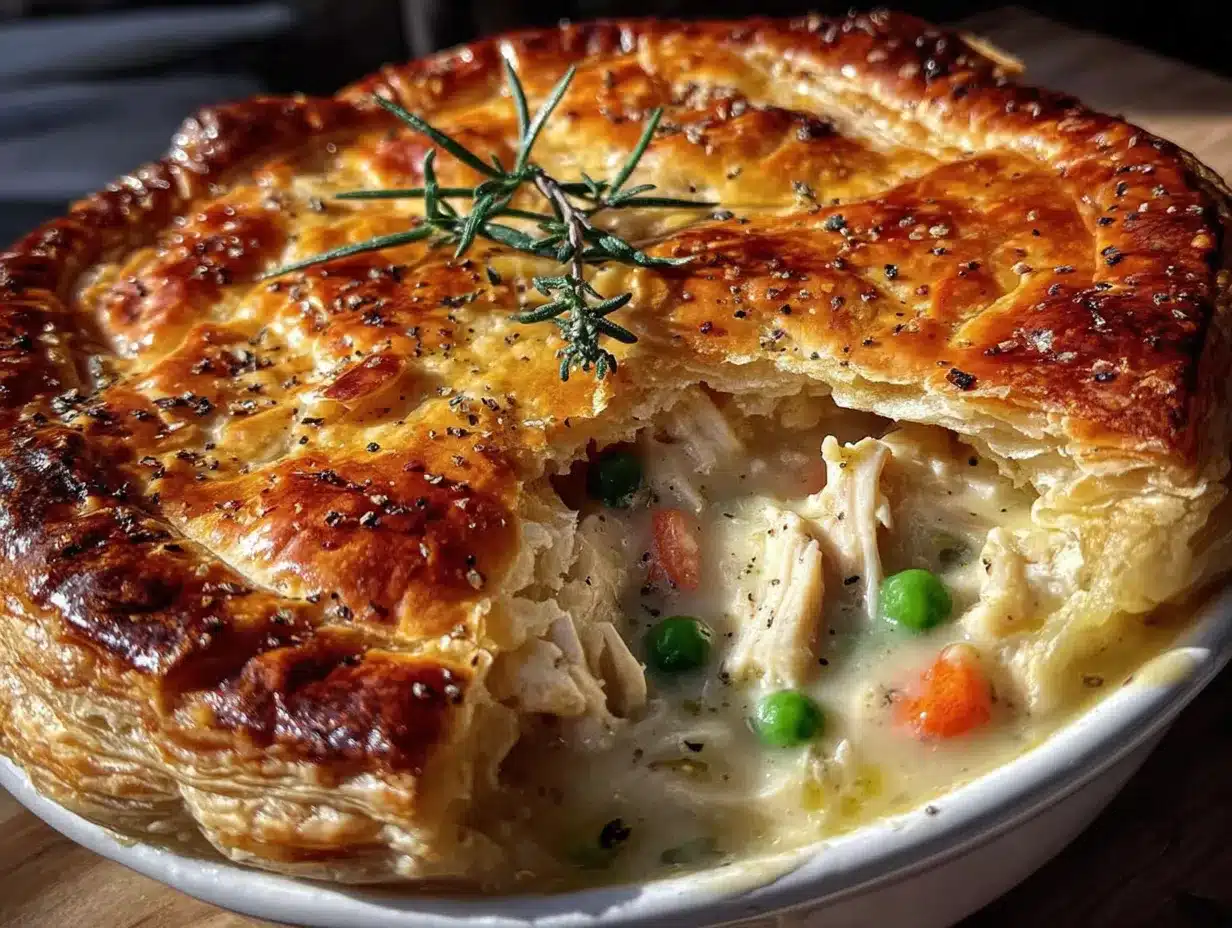
- 1 sheet puff pastry, thawed (I recommend Pepperidge Farm or Dufour; both work beautifully)
- 1 large egg (for the egg wash)
- 1 tablespoon water (to thin the egg wash)
- Flaky sea salt, for sprinkling (optional, but it adds a lovely crunch)
A few notes on ingredients: If you don’t have heavy cream, you can substitute with an additional 1/2 cup of whole milk mixed with 1 tablespoon of melted butter. The texture won’t be quite as luxurious, but it’ll still be delicious. For the puff pastry, make sure it’s fully thawed but still cold when you use it—this helps it puff up beautifully in the oven. And if you’re using leftover turkey that’s already seasoned, you might want to go easy on the salt at first and adjust at the end.
Equipment Needed
You don’t need a lot of fancy equipment for this recipe, which is part of what makes it so approachable. Here’s what you’ll need:
- A 10-inch oven-safe skillet or a 9×13-inch baking dish (I use my trusty cast iron skillet—it goes from stovetop to oven without any fuss)
- A sharp chef’s knife (for dicing the vegetables; a dull knife makes this job miserable)
- A cutting board (preferably a large one so you have room to work)
- A wooden spoon or silicone spatula (for stirring the filling as it thickens)
- A whisk (for making the roux smooth and lump-free)
- Measuring cups and spoons (I like having both dry and liquid measuring cups for accuracy)
- A small bowl (for the egg wash)
- A pastry brush (or just use a paper towel if you don’t have one—I’ve done it many times)
- A pizza cutter or sharp knife (for cutting the puff pastry to size)
If you don’t have an oven-safe skillet, no worries at all. Just make the filling in a regular skillet, then transfer it to a greased baking dish before topping with the pastry. I’ve done it both ways, and the results are equally delicious. And if you don’t have a pastry brush, you can use a folded paper towel to dab on the egg wash. It’s not as pretty, but it works perfectly fine.
Preparation Method
Alright, let’s make this happen. I’ve broken this down into clear steps so you can follow along without any stress. Trust me, if I can do this after a long day of holiday cooking, you can too.
- Preheat your oven to 400°F (200°C). This gives it plenty of time to come to temperature while you prepare the filling. Place a rack in the middle position for even baking.
- Melt the butter in your oven-safe skillet over medium heat. Let it foam up a bit, then add the diced onion, carrots, and celery. Cook for 5-7 minutes, stirring occasionally, until the vegetables have softened but aren’t browned. You want them tender, not mushy—they’ll cook more in the oven later.
- Add the minced garlic and cook for 30 seconds until it’s fragrant. Don’t let it burn! Garlic goes from perfect to bitter in about 10 seconds flat. I learned this the hard way, trust me.
- Sprinkle the flour over the vegetables and stir constantly for 1-2 minutes. This is your roux, and it’s the key to a creamy, not-gloppy filling. The flour should be fully incorporated and starting to turn a pale golden color.
- Slowly pour in the chicken broth while whisking constantly. This prevents lumps from forming. Keep whisking until the mixture is smooth and starts to thicken, about 2-3 minutes. You’ll notice it going from soupy to creamy right before your eyes.
- Add the milk and heavy cream, whisking to combine. Bring the mixture to a gentle simmer—not a boil, just a few lazy bubbles breaking the surface. Let it cook for 3-4 minutes, stirring occasionally, until it’s thick enough to coat the back of a spoon.
- Stir in the thyme, rosemary, salt, pepper, and garlic powder. Taste the sauce at this point and adjust the seasoning if needed. Remember, the turkey will add some saltiness too, so don’t go overboard.
- Fold in the diced turkey, frozen peas, and frozen corn. Stir gently until everything is well combined and the turkey is heated through, about 2 minutes. The filling should be thick and creamy, not runny. If it seems too thick, add a splash more broth. If it’s too thin, let it simmer for another minute or two.
- Remove the skillet from the heat. If you’re using a baking dish instead, transfer the filling to a greased 9×13-inch dish at this point.
- Unfold the thawed puff pastry sheet on a lightly floured surface. Cut it to fit your skillet or baking dish, leaving about 1/2 inch of overhang on all sides. The overhang will shrink as it bakes, so don’t trim it too close.
- Place the pastry on top of the filling, tucking the edges gently into the sides of the dish. Cut 3-4 small slits in the top of the pastry to let steam escape—this prevents a soggy bottom and helps the pastry puff up evenly.
- Make the egg wash by whisking together the egg and water in a small bowl. Brush it evenly over the entire surface of the pastry. Sprinkle with flaky sea salt if you’re using it. This gives you that gorgeous golden-brown, glossy finish.
- Place the skillet on a baking sheet (to catch any drips) and bake for 20-25 minutes, until the pastry is puffed up and deep golden brown. The filling should be bubbling up around the edges—that’s how you know it’s done.
- Let it rest for 10 minutes before serving. I know it’s hard to wait, but this step is crucial. The filling needs time to set up so it doesn’t run all over the plate. Use this time to set the table and call everyone to dinner.
A quick note: If the edges of your pastry are browning too quickly but the center isn’t done yet, loosely tent the edges with foil for the last 5-7 minutes of baking. Every oven is a little different, so keep an eye on it.
Cooking Tips & Techniques
After making this pot pie more times than I can count—including a few spectacular failures—I’ve picked up some tricks that make a real difference. Here’s what I’ve learned:
Don’t rush the roux. I know it’s tempting to dump in the liquid as soon as the flour is mixed in, but letting it cook for that full minute or two really matters. It cooks out the raw flour taste and gives you a much smoother, more flavorful sauce. I learned this the hard way when I made a pot pie that tasted like paste. Never again.
Keep your puff pastry cold. If it gets too warm, it won’t puff up properly. I like to keep it in the fridge until the last possible minute. If your kitchen is warm and the pastry starts feeling sticky, pop it in the freezer for 5 minutes before you put it on the filling.
Taste as you go. This is the number one thing that separates good home cooks from great ones. Taste the sauce before you add the turkey, then taste it again after. Adjust the salt, pepper, and herbs based on what you’re tasting. Your taste buds know what they’re doing.
Use a mix of dark and white meat. If you have both, this is the perfect recipe to use them together. Dark meat adds richness and moisture, while white meat gives you those nice, meaty chunks. If you only have one kind, that’s fine too—just add a little extra butter if you’re using all white meat to keep things moist.
Let it rest. I mentioned this in the instructions, but it bears repeating. That 10-minute rest is non-negotiable if you want clean slices and a filling that holds its shape. I once served it immediately and ended up with what looked like turkey soup with a pastry hat. Still tasted good, but not exactly Instagram-worthy.
Make extra filling. This recipe makes enough for one pot pie, but the filling freezes beautifully. I often double the filling portion and freeze half for a busy night later. Just thaw it in the fridge overnight, reheat it on the stovetop, and top with fresh pastry before baking.
Variations & Adaptations
One of the things I love most about this recipe is how adaptable it is. Here are some ways to make it your own:
Chicken Pot Pie: This works perfectly with rotisserie chicken or any leftover cooked chicken. Just swap the turkey for an equal amount of diced or shredded chicken. I’ve even used canned chicken in a pinch—just drain it well first.
Vegetarian Version: Skip the turkey and add an extra cup of mixed vegetables—mushrooms, diced potatoes, and green beans all work beautifully. Use vegetable broth instead of chicken broth, and add a can of drained chickpeas for extra protein and texture.
Gluten-Free Adaptation: Use a gluten-free all-purpose flour blend (I like Bob’s Red Mill 1-to-1) for the roux, and top with a gluten-free puff pastry or a simple biscuit topping made with gluten-free flour. The filling will be slightly less thick, but still delicious.
Herb Variations: Not a fan of thyme and rosemary? Try adding 1 teaspoon of dried sage for a more traditional flavor, or 2 teaspoons of fresh dill for something brighter. I once made it with tarragon and it was unexpectedly amazing—that licorice-like flavor pairs beautifully with turkey.
Biscuit Topping: If you don’t have puff pastry or just want something different, drop spoonfuls of refrigerated biscuit dough (like Pillsbury) on top of the filling and bake as directed. The biscuits will be golden and fluffy, and it gives the whole dish a more rustic, homey feel.
Crustless Version: For a lower-carb option, skip the pastry entirely and top the filling with a layer of mashed potatoes or cauliflower mash. Broil for 3-4 minutes until the top is golden. It’s like a shepherd’s pie, but with turkey—and it’s honestly just as comforting.
Serving & Storage Suggestions
This pot pie is a meal in itself, but if you want to round it out, here’s what I recommend:
Serving Temperature: Serve it hot, straight from the oven, after that crucial 10-minute rest. The filling should be bubbling and the pastry should shatter when you cut into it. I like to serve it in shallow bowls so none of that creamy sauce goes to waste.
What to Serve With It: A simple green salad with a tangy vinaigrette is perfect—the acidity cuts through the richness of the filling. Roasted green beans or steamed broccoli also work well. And if you’re feeling extra indulgent, a side of cranberry sauce (leftover from the holiday, of course) adds a lovely sweet-tart contrast.
Storage Instructions: Leftovers keep in the refrigerator for up to 4 days in an airtight container. The pastry will soften over time, but the flavor actually gets better as the ingredients meld together. To reheat, place individual portions in a 350°F oven for 10-15 minutes, or microwave for 2-3 minutes if you’re in a hurry.
Freezing Instructions: You can freeze the assembled but unbaked pot pie for up to 3 months. Wrap it tightly in plastic wrap and then foil. To bake from frozen, add 15-20 minutes to the baking time and cover the top with foil for the first half of baking to prevent the pastry from burning. Alternatively, freeze just the filling in a freezer-safe container, then thaw and top with fresh pastry when you’re ready to bake.
Flavor Development: Here’s a little secret—this pot pie actually tastes better the next day. The flavors have time to meld and deepen, and the filling gets even creamier. I often make it a day ahead, let it cool completely, and reheat it in the oven before serving. Just don’t add the pastry until you’re ready to bake, or it’ll get soggy.
Nutritional Information & Benefits
While this is definitely comfort food, it’s not without its redeeming qualities. Here’s a rough estimate of the nutritional breakdown per serving (based on 6 servings):
- Calories: 485
- Protein: 32g
- Fat: 26g
- Carbohydrates: 32g
- Fiber: 4g
- Sugar: 6g
- Sodium: 680mg
This recipe is a great source of lean protein from the turkey, which helps keep you full and satisfied. The carrots and peas provide vitamin A and fiber, while the celery adds a good dose of vitamin K. Using low-sodium broth helps keep the salt content in check, and you can always reduce the butter or swap in low-fat milk if you’re watching your fat intake.
If you’re following a specific diet, this recipe can be adapted: it’s naturally nut-free and egg-free (except for the egg wash, which can be omitted or replaced with milk). For a lower-calorie version, skip the pastry topping and use a light biscuit or mashed potato topping instead.
FAQs
Can I use a store-bought pie crust instead of puff pastry?
Absolutely! A refrigerated pie crust works great. Just roll it out to fit your dish, cut a few slits for steam, and bake as directed. The texture will be more like a traditional double-crust pot pie, which some people actually prefer.
How do I prevent the bottom crust from getting soggy?
Since this recipe uses a top crust only, sogginess isn’t usually an issue. But if you’re using a bottom crust, blind bake it for 10 minutes at 400°F before adding the filling. You can also sprinkle a thin layer of breadcrumbs or grated cheese on the bottom crust to create a barrier.
Can I make this in a slow cooker or Instant Pot?
You can make the filling in a slow cooker—just sauté the vegetables and make the roux on the stovetop first, then transfer everything to the slow cooker and cook on low for 4-6 hours. For the Instant Pot, use the sauté function for the vegetables and roux, then pressure cook on high for 5 minutes. In both cases, add the pastry topping and bake in the oven separately for best results.
What’s the best way to thicken the filling if it’s too runny?
If your filling seems thin after adding the liquids, mix 1 tablespoon of cornstarch with 2 tablespoons of cold water to make a slurry. Stir it into the simmering filling and cook for another minute—it’ll thicken up quickly. Just be careful not to add too much, or you’ll end up with a gluey texture.
Can I use frozen mixed vegetables instead of fresh?
Yes, and this is actually a great time-saver! Use a 12-ounce bag of frozen mixed vegetables (peas, carrots, corn, and green beans are a classic combo). Add them straight from the freezer in step 8, no need to thaw. Just be aware that they might release a little extra water, so you may need to simmer the filling for an extra minute or two to thicken it up.
Conclusion
This creamy leftover turkey pot pie is more than just a way to use up leftovers—it’s a meal that brings people together. Every time I make it, I think about that little diner on Route 9 and how something that seemed lost ended up leading me to something even better. The flaky pastry, the velvety sauce, the tender chunks of turkey and vegetables—it all adds up to a dish that feels special, even on an ordinary Tuesday night.
I’d love for you to try this recipe and make it your own. Maybe you’ll add extra vegetables, swap in a different herb, or top it with biscuits instead of puff pastry. That’s the beauty of cooking—you get to put your own stamp on things. When you do make it, come back and let me know how it turned out. Did your kids ask for seconds? Did your partner say it was the best thing you’ve ever made? I want to hear all about it. Leave a comment below or tag me in your photos—I’m always looking for inspiration from this amazing community of home cooks. Happy cooking, friends!
Pin This Recipe!
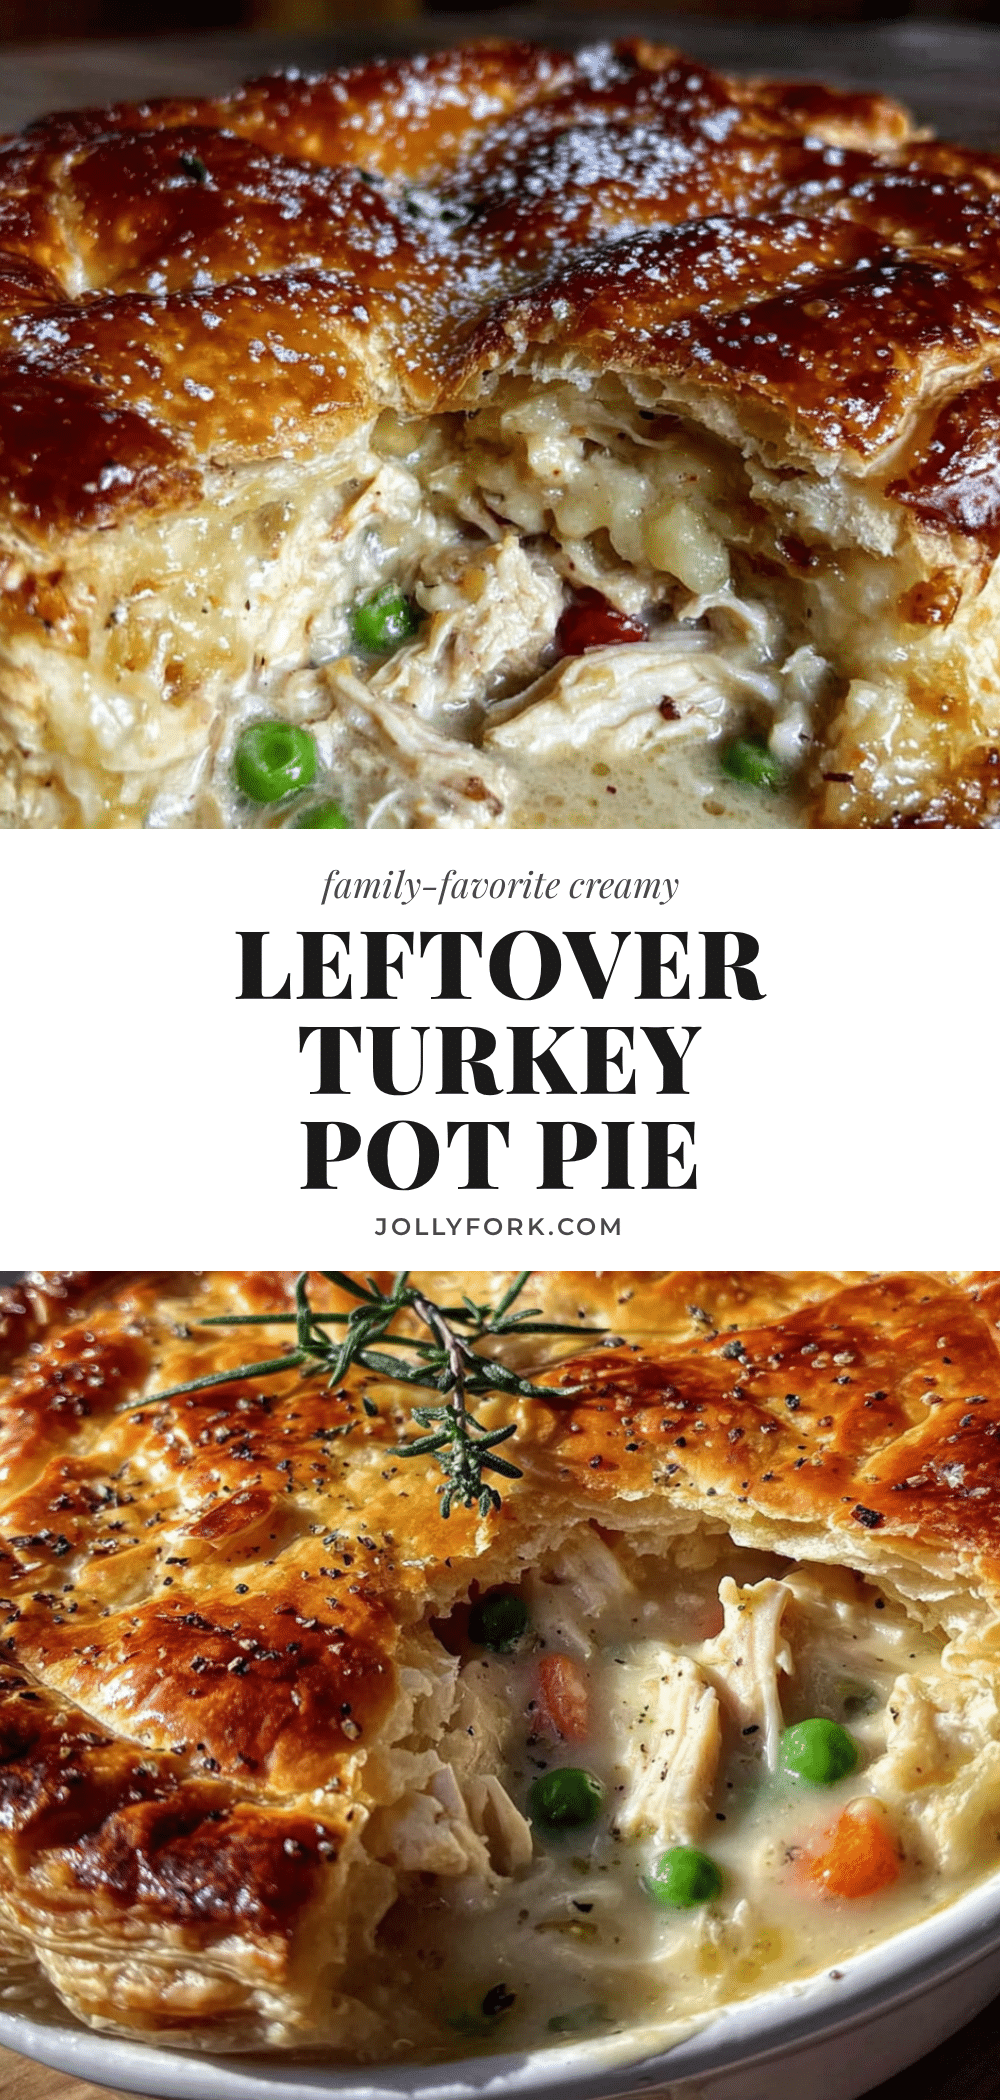
Easy Creamy Leftover Turkey Pot Pie Best Recipe

This creamy leftover turkey pot pie features a flaky puff pastry crust and a velvety sauce filled with tender turkey and vegetables. It’s the perfect way to transform holiday leftovers into a comforting, crowd-pleasing meal that tastes even better than the original.
- Prep Time: 15 minutes
- Cook Time: 30 minutes
- Total Time: 45 minutes
- Yield: 6 servings 1x
- Category: Main Course
- Cuisine: American
Ingredients
- 3 tablespoons unsalted butter
- 1 medium yellow onion, diced (about 1 cup)
- 2 medium carrots, peeled and diced (about 1 cup)
- 2 celery stalks, diced (about 1/2 cup)
- 3 cloves garlic, minced
- 1/3 cup all-purpose flour
- 2 cups low-sodium chicken broth
- 1 cup whole milk
- 1/2 cup heavy cream
- 3 cups cooked turkey, diced or shredded
- 1 cup frozen peas
- 1/2 cup frozen corn kernels (optional)
- 1 teaspoon dried thyme
- 1/2 teaspoon dried rosemary
- 1 teaspoon salt
- 1/2 teaspoon black pepper
- 1/4 teaspoon garlic powder
- 1 sheet puff pastry, thawed
- 1 large egg
- 1 tablespoon water
- Flaky sea salt, for sprinkling (optional)
Instructions
- Preheat your oven to 400°F (200°C). Place a rack in the middle position.
- Melt the butter in an oven-safe skillet over medium heat. Add the diced onion, carrots, and celery. Cook for 5-7 minutes, stirring occasionally, until softened.
- Add the minced garlic and cook for 30 seconds until fragrant.
- Sprinkle the flour over the vegetables and stir constantly for 1-2 minutes to make a roux.
- Slowly pour in the chicken broth while whisking constantly. Whisk until smooth and thickened, about 2-3 minutes.
- Add the milk and heavy cream, whisking to combine. Bring to a gentle simmer and cook for 3-4 minutes, stirring occasionally, until thick enough to coat the back of a spoon.
- Stir in the thyme, rosemary, salt, pepper, and garlic powder. Taste and adjust seasoning.
- Fold in the diced turkey, frozen peas, and frozen corn. Stir gently until heated through, about 2 minutes.
- Remove the skillet from the heat. If using a baking dish, transfer the filling to a greased 9×13-inch dish.
- Unfold the thawed puff pastry on a lightly floured surface. Cut it to fit your skillet or baking dish, leaving about 1/2 inch of overhang.
- Place the pastry on top of the filling, tucking the edges gently into the sides. Cut 3-4 small slits in the top for steam to escape.
- Make the egg wash by whisking together the egg and water. Brush evenly over the pastry. Sprinkle with flaky sea salt if desired.
- Place the skillet on a baking sheet and bake for 20-25 minutes, until the pastry is puffed and deep golden brown and the filling is bubbling around the edges.
- Let it rest for 10 minutes before serving.
Notes
Let the pot pie rest for 10 minutes before serving to allow the filling to set. Keep puff pastry cold until ready to use for best puff. If edges brown too quickly, tent with foil. The filling can be made ahead and frozen; add fresh pastry when ready to bake.
Nutrition
- Serving Size: 1 serving (1/6 of re
- Calories: 485
- Sugar: 6
- Sodium: 680
- Fat: 26
- Saturated Fat: 12
- Carbohydrates: 32
- Fiber: 4
- Protein: 32
Keywords: leftover turkey, turkey pot pie, creamy pot pie, puff pastry pot pie, easy pot pie, post-holiday recipe, comfort food


