That line came from my roommate last week, right when we were both scrambling to catch up on emails and errands. Honestly, it hit home because I’m the same way—by mid-afternoon, I’m gnawing on whatever’s in reach, usually regretting it moments later. This little exchange sparked the creation of my easy no-bake chocolate peanut butter protein balls recipe. I needed something fuss-free, packed with energy, and just plain tasty. Something I could whip up in ten minutes and stash in the fridge for those “hangry” emergencies.
What’s funny is how these protein balls came about almost by accident. I was messing around with peanut butter and cocoa powder in the kitchen—just trying to mask the blandness of a protein powder sample I wasn’t thrilled about. But the combo worked better than I expected. Sweet, nutty, and with a little chewiness that made me want to keep popping them one after another.
They’re no-fuss but still feel like a treat, which is why I’ve been reaching for these more than my usual granola bars. Plus, they don’t need baking or fancy equipment, so the kitchen stays cool and clean—always a win. I remember sitting down finally with one of these balls in hand, realizing that a snack could be both simple and satisfying without any guilt. It’s kind of funny how a desperate plea for a quick bite turned into my go-to recipe for quick energy.
These chocolate peanut butter protein balls stuck with me because they fill you up in the best way—no crash, just steady fuel. And if you’ve ever had one mid-afternoon, you know exactly what I mean. So yeah, this recipe isn’t just about convenience; it’s about that peace of mind when hunger strikes hard, but you want to keep your healthy habits intact.
Why You’ll Love This Recipe
Making these easy no-bake chocolate peanut butter protein balls is honestly a game-changer for anyone juggling work, workouts, or just the chaos of life. Here’s why my kitchen keeps seeing batches of these little powerhouses:
- Quick & Easy: Ready in under 10 minutes, no oven required. Perfect for those moments when you need an instant pick-me-up.
- Simple Ingredients: You probably already have peanut butter, oats, and cocoa powder in your pantry—no last-minute grocery runs.
- Perfect for On-the-Go: Whether you’re packing lunch, prepping for a hike, or need a post-workout snack, these protein balls travel well and stay fresh.
- Crowd-Pleaser: Kids and adults alike love these, which makes them a fantastic option for family snacks or casual get-togethers.
- Unbelievably Delicious: The combo of chocolate and peanut butter is a classic, but adding protein powder and a touch of honey makes it a guilt-free treat.
- Unique Twist: Instead of just mixing everything in, I blend in a bit of coconut flakes and flaxseed for texture and extra nutrients—trust me, it’s the kind of detail that makes these protein balls stand out from the usual.
- Emotionally Satisfying: These are the kind of snacks that make you pause, close your eyes, and just enjoy a moment — the kind that turns a rushed day into a little celebration.
Not only does this recipe fill your belly, but it also feels like a small, delicious victory in your busy day. Plus, if you’ve ever tried my healthy high-protein quinoa and black bean salad, you know I’m all about snacks and meals that fuel without fuss. This easy no-bake chocolate peanut butter protein balls recipe fits right into that vibe.
What Ingredients You Will Need
This recipe uses simple, wholesome ingredients that blend together to give you bold flavor and satisfying texture without any complicated steps. Most of these are pantry staples, so you won’t have to hunt for anything unusual.
- Natural Peanut Butter (creamy or chunky, about 1 cup / 240 ml) – I usually go for a no-sugar-added brand like Smucker’s Natural for the best flavor and texture.
- Old-Fashioned Rolled Oats (1 cup / 90 g) – The base for chewiness and bulk; quick oats work but can get mushy.
- Chocolate Protein Powder (1/2 cup / 50 g) – Choose a quality whey or plant-based powder; I prefer Optimum Nutrition’s chocolate flavor for smooth taste.
- Cocoa Powder (2 tablespoons / 10 g) – Unsweetened, to deepen the chocolate flavor without extra sugar.
- Honey (1/4 cup / 85 g) – For a natural touch of sweetness and to help bind the balls.
- Ground Flaxseed (2 tablespoons / 14 g) – Adds fiber and omega-3s; boosts nutrition and texture.
- Unsweetened Shredded Coconut (1/4 cup / 20 g) – Optional but highly recommended for a subtle tropical note and chewiness.
- Vanilla Extract (1 teaspoon / 5 ml) – For a hint of warmth and depth.
- Salt (a pinch) – Balances sweetness and enhances flavor.
If you want a gluten-free option, just make sure your oats are certified gluten-free. Also, swapping honey for maple syrup works well if you prefer a vegan twist. And if peanut butter isn’t your thing, almond or cashew butter can step in without losing that creamy richness.
Equipment Needed
This recipe is super forgiving when it comes to tools. Here’s what you’ll want handy:
- Mixing Bowl: A medium or large bowl works fine for combining everything by hand.
- Measuring Cups and Spoons: For accuracy, especially with the protein powder and cocoa.
- Mixing Spoon or Spatula: A sturdy spoon or silicone spatula helps with thorough mixing.
- Baking Sheet or Plate: To place the protein balls on while they chill in the fridge.
- Refrigerator: For setting the balls; no cooking or baking needed.
You don’t need a food processor, although I sometimes pulse the oats quickly to make the texture smoother. If you want to keep things budget-friendly, skip fancy tools and just get your hands involved—rolling the balls is oddly therapeutic!
Preparation Method
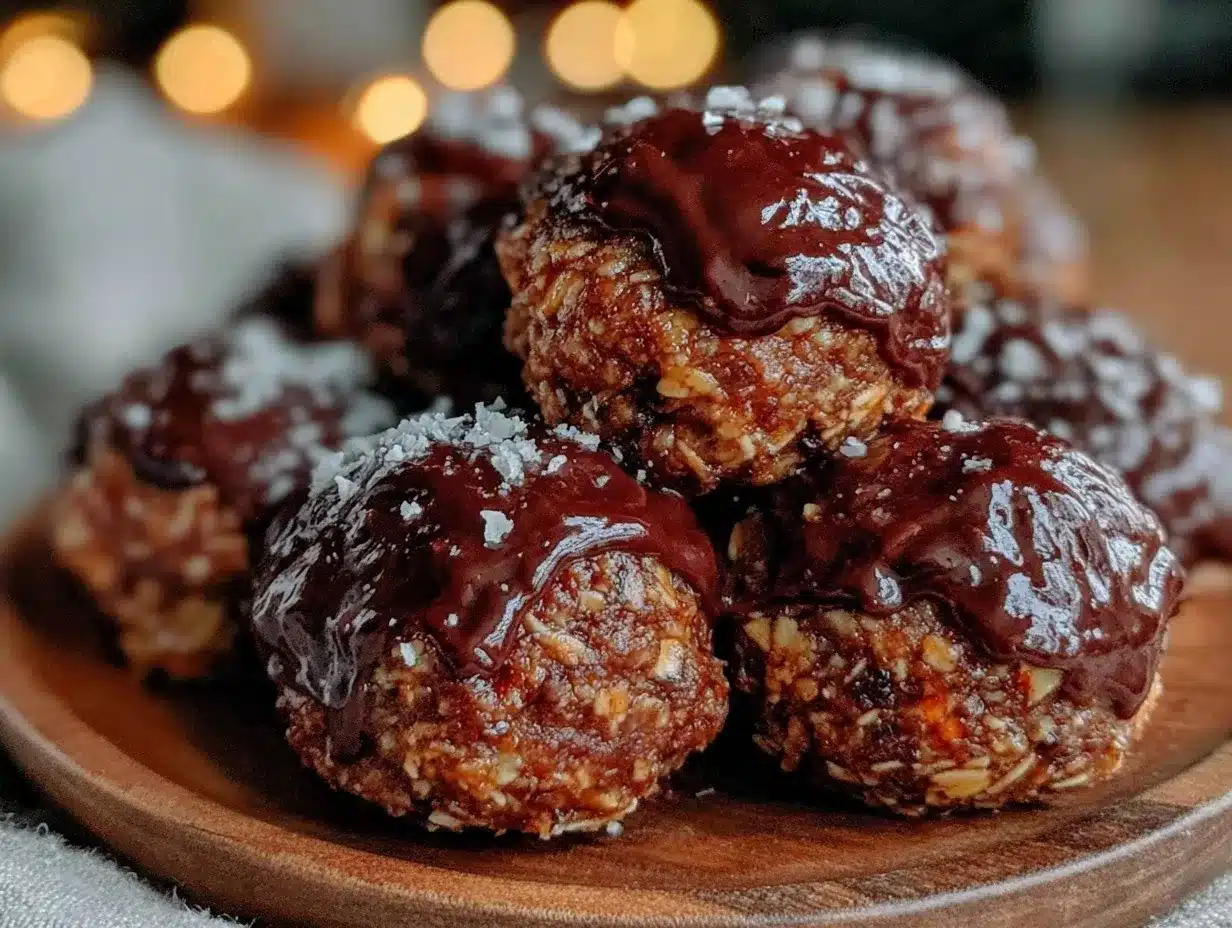
- Measure out all ingredients. Having everything prepped saves time and keeps you from scrambling mid-mix. (5 minutes)
- Combine the dry ingredients. In your mixing bowl, add oats, protein powder, cocoa powder, ground flaxseed, shredded coconut, and salt. Stir until evenly mixed. The dry mix should look uniform with little clumps from the coconut and flaxseed. (3 minutes)
- Add the wet ingredients. To the dry mix, add the peanut butter, honey, and vanilla extract. Use a spoon or spatula to blend everything. This part takes a bit of muscle—you want the mixture sticky enough to hold together but not too wet. If it feels crumbly, add a teaspoon of water or more honey. (5 minutes)
- Test the mixture. Pinch a small amount and squeeze it—if it holds shape without falling apart, you’re good to go. If not, adjust stickiness with a touch more peanut butter or honey. (1 minute)
- Roll into balls. Grab about a tablespoon (15 ml) of the mix and roll it between your palms into a firm ball. Place it on your baking sheet or plate. Repeat until all mixture is used, typically 15-18 balls. (5-7 minutes)
- Chill the balls. Pop the tray into the fridge for at least 30 minutes to let them firm up. This step makes handling easier and improves texture. (30 minutes)
- Store properly. Once chilled, transfer your protein balls into an airtight container. They’ll keep well in the fridge for up to a week or freeze for longer storage. (1 minute)
Pro tip: If your kitchen is warm, chilling the balls on parchment paper prevents sticking. Also, if you want a little extra flair, roll finished balls in additional shredded coconut or cocoa powder before chilling.
Cooking Tips & Techniques
Making these protein balls isn’t rocket science, but a few things can make your life easier and the results tastier:
- Mixing consistency matters. If your balls are crumbly, it usually means not enough sticky binder. Don’t be shy with the honey or peanut butter, but add slowly to avoid a gooey mess.
- Use fresh ingredients. Old oats or stale protein powder can affect both texture and flavor. I learned this the hard way when my first batch turned out a bit off.
- Chilling is key. Don’t skip the fridge time. It helps the peanut butter firm up and the flavors meld.
- Rolling technique. Lightly dampen your hands if the mixture sticks too much. This trick keeps your fingers clean and the balls smooth.
- Multitask smartly. While these chill, you can prep other meals, like my easy tender crockpot Greek lemon chicken and potatoes. It’s a great way to streamline your kitchen time.
Honestly, the first time I made these, I rushed the chilling step and ended up with a sticky mess. Lesson learned: patience pays off, especially with no-bake recipes.
Variations & Adaptations
These protein balls are super flexible, which is why I keep tweaking them depending on my mood or what’s in the pantry:
- Nut-Free Variation: Swap peanut butter for sunflower seed butter to avoid allergens while keeping the creaminess.
- Seasonal Twist: Add dried cranberries or chopped dates for a fruity pop in fall or winter months.
- Flavor Boost: Sprinkle in cinnamon or a dash of espresso powder to deepen the chocolate notes.
- Vegan Option: Use maple syrup instead of honey and plant-based protein powder for a fully vegan-friendly snack.
- Crunch Factor: Toss in chopped nuts or seeds for extra texture, like sunflower seeds or almonds.
I once added a spoonful of instant coffee powder and a pinch of cayenne just to see what would happen—it turned into this subtle mocha kick that kept me alert during late-night study sessions.
Serving & Storage Suggestions
These protein balls are best served chilled or at room temperature. I like to grab one or two right out of the fridge for a quick energy boost mid-day.
- Serving: Pair with a cup of black coffee or green tea for a balanced afternoon snack. They also make a great companion to a smoothie bowl or a small yogurt parfait.
- Storage: Keep the protein balls in an airtight container in the fridge for up to 7 days. For longer storage, freeze them in a zip-top bag for up to 3 months.
- Reheating: No need to heat—these are meant to be enjoyed cold or at room temp. If frozen, let them thaw in the fridge overnight.
- Flavor Development: The flavors actually mellow and blend after a day in the fridge, so making them a day ahead is ideal.
One time, I packed a few of these in my bag before heading out for a hike and was so glad I did. They kept me energized and satisfied without weighing me down.
Nutritional Information & Benefits
Each protein ball (based on 18 balls per batch) roughly contains:
| Calories | Protein | Fat | Carbohydrates | Fiber |
|---|---|---|---|---|
| 110 kcal | 6 g | 7 g | 8 g | 2 g |
These no-bake chocolate peanut butter protein balls are a great source of plant-based fiber and protein, which means they help keep blood sugar steady and hunger at bay. The healthy fats from peanut butter and flaxseed contribute to heart health, while the cocoa powder offers antioxidants. If you’re watching gluten, just double-check the oats. I always appreciate how these fit nicely into a balanced diet without feeling like a compromise on flavor.
Conclusion
Honestly, these easy no-bake chocolate peanut butter protein balls have become my snack lifesaver. They’re quick, tasty, and pack enough punch to keep me going when life gets hectic. What I love most is how adaptable they are—you can easily tweak the flavors, swap ingredients, and make them your own.
Give them a try next time you need a reliable, homemade snack that feels like a treat but fuels your day. I’d love to hear how you customize yours or what flavors you add! Sharing these little bites of energy has been a fun way to connect with friends and family, and I hope they become a favorite in your kitchen too.
For more fuss-free, nourishing meals, you might find inspiration in my easy creamy crockpot Thai peanut chicken bowls or the comforting yellow squash casserole. Recipes that make life easier without sacrificing flavor—that’s what cooking should feel like.
FAQs About Easy No-Bake Chocolate Peanut Butter Protein Balls
Can I use other nut butters instead of peanut butter?
Yes! Almond butter, cashew butter, or sunflower seed butter all work well and bring their own unique flavors and nutrition profiles.
How long do these protein balls last?
They keep fresh in the fridge for up to one week and can be frozen for up to three months. Just thaw overnight in the fridge before eating.
Can I make these without protein powder?
You can, but the protein content will be lower and texture might change slightly. Try adding extra oats or ground nuts to compensate.
Are these suitable for vegans?
They can be! Swap honey for maple syrup and use a plant-based protein powder to make a vegan-friendly version.
What’s the best way to store these on the go?
Pack them in an airtight container or reusable snack bag and keep them cool if possible. They’re great for lunchboxes or hiking snacks.
Pin This Recipe!
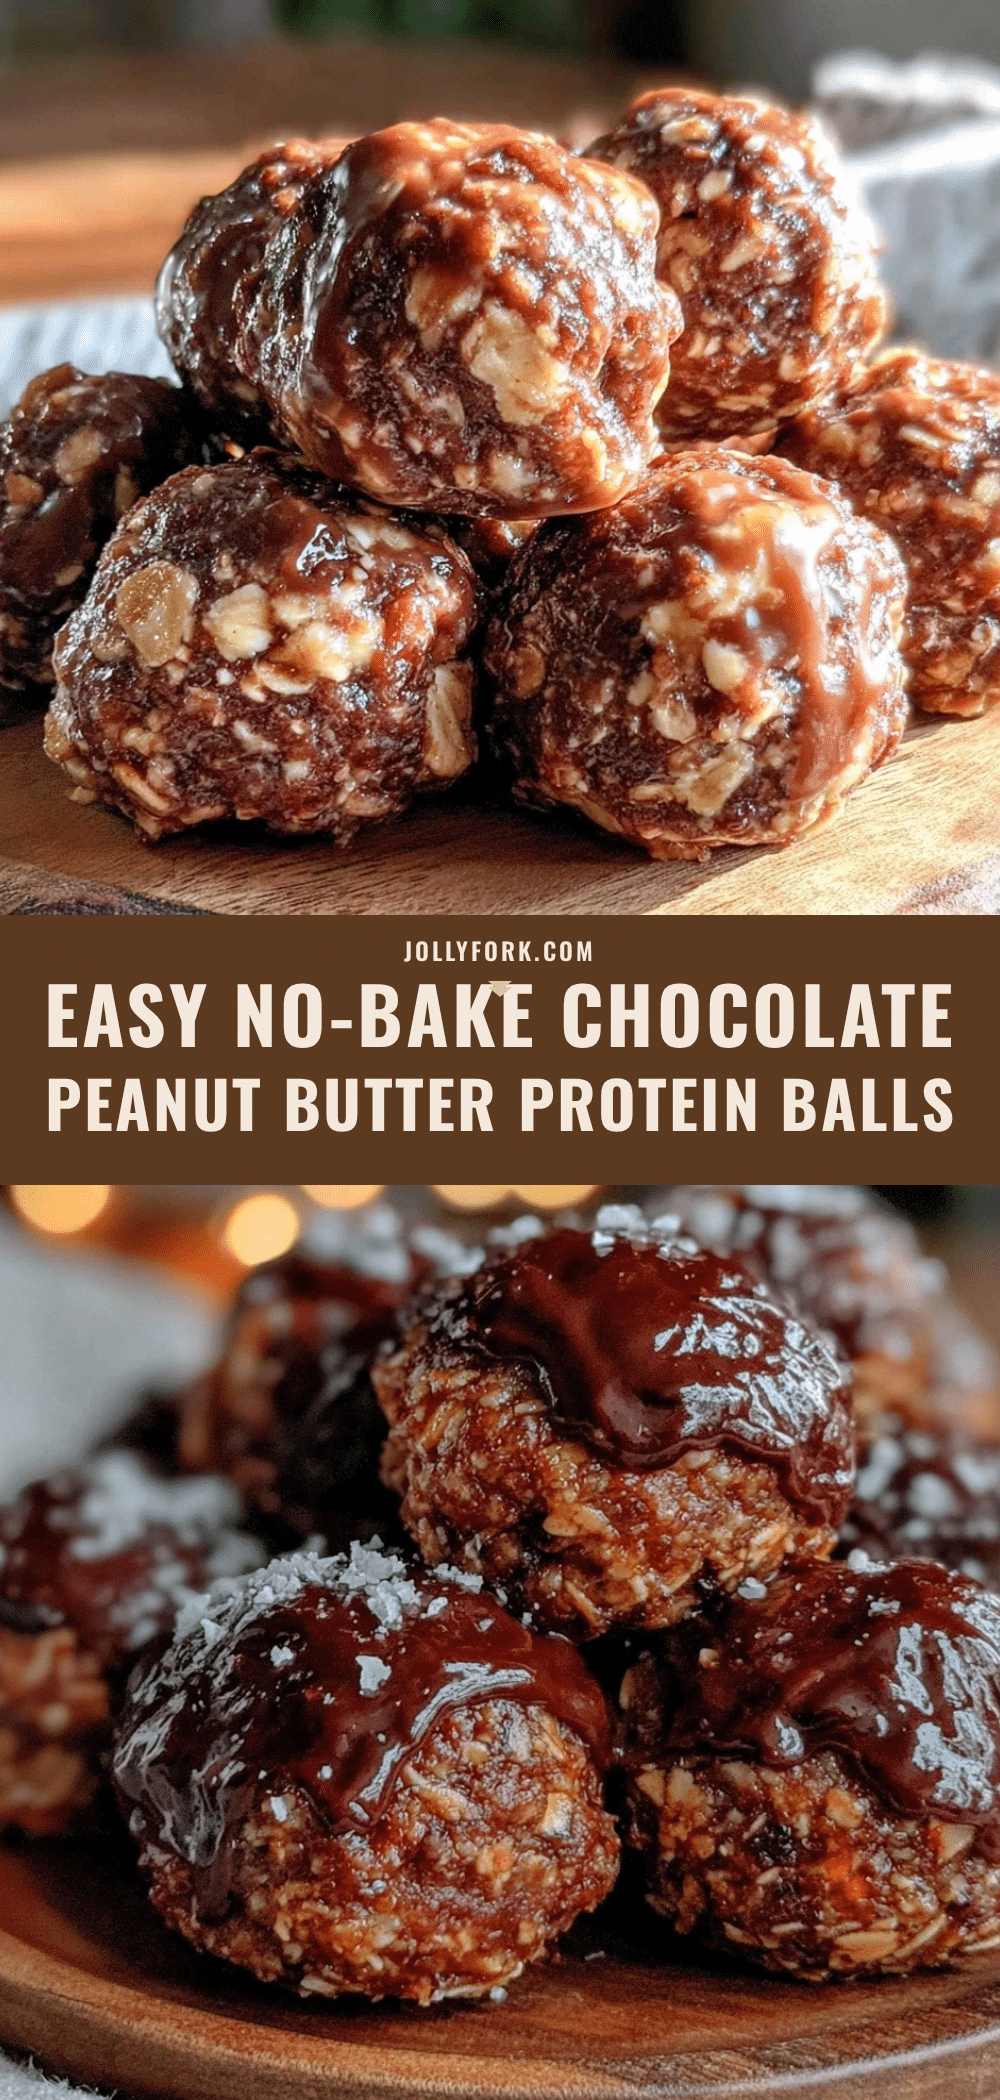
Easy No-Bake Chocolate Peanut Butter Protein Balls
These no-bake chocolate peanut butter protein balls are a quick, fuss-free snack packed with energy and flavor, perfect for on-the-go or mid-afternoon cravings.
- Prep Time: 14 minutes
- Cook Time: 0 minutes
- Total Time: 44 minutes
- Yield: 15-18 balls 1x
- Category: Snack
- Cuisine: American
Ingredients
- 1 cup natural peanut butter (creamy or chunky)
- 1 cup old-fashioned rolled oats
- 1/2 cup chocolate protein powder
- 2 tablespoons unsweetened cocoa powder
- 1/4 cup honey
- 2 tablespoons ground flaxseed
- 1/4 cup unsweetened shredded coconut (optional)
- 1 teaspoon vanilla extract
- Pinch of salt
Instructions
- Measure out all ingredients.
- In a mixing bowl, combine oats, protein powder, cocoa powder, ground flaxseed, shredded coconut, and salt. Stir until evenly mixed.
- Add peanut butter, honey, and vanilla extract to the dry mix. Blend thoroughly until the mixture is sticky enough to hold together. If crumbly, add a teaspoon of water or more honey.
- Pinch a small amount and squeeze it to test if it holds shape without falling apart. Adjust stickiness if needed.
- Roll the mixture into tablespoon-sized balls and place them on a baking sheet or plate.
- Chill the balls in the refrigerator for at least 30 minutes to firm up.
- Store the protein balls in an airtight container in the fridge for up to one week or freeze for up to three months.
Notes
If mixture is crumbly, add more honey or peanut butter to achieve desired stickiness. Chill on parchment paper to prevent sticking. Rolling balls with lightly dampened hands helps keep them smooth. For vegan version, substitute honey with maple syrup and use plant-based protein powder. Oats should be certified gluten-free for gluten-free option.
Nutrition
- Serving Size: 1 protein ball
- Calories: 110
- Fat: 7
- Carbohydrates: 8
- Fiber: 2
- Protein: 6
Keywords: no-bake, protein balls, chocolate peanut butter, quick snack, healthy snack, energy boost, vegan option, gluten-free option


